Showing posts with label Sequins. Show all posts

2/15/20

Happy Birthday Balloon Shaker

Hi all! I am really working on making birthday cards again. Those cards are definitely given out the most and all my friends and family expect handmade now! My card today features the Balloon Shaker Die from Pretty Pink Posh.


I created the background first. I used the Pennant Stencil that is part of the Layered Birthday Stencils. This is a set of two stencils that can be used layered together or separately. Next I die cut the Balloon Shaker Die twice, once directly into the card front, and a second time from aqua cardstock. I added a piece of twine for the balloon string and then inlayed the die cut into the front of card and added clear acetate and foam behind the balloon window to foam the shaker. 


I added a few more details with the smaller stamps in the Love Stamp Set. I colored the images with Copic Markers and die cut with the Love Coordinating Dies. Inside the shaker and scattered on the card front I used confetti from the Sparkling Clear Confetti Mix.

Thanks for stopping by! Have a great weekend! I have lots more to share this next week. Be sure to stop by and follow me on Instagram


1/10/20

The Pretty Pink Posh January Release is

The new Pretty Pink Posh January Release is available now! You can find all the new products HERE! It's a really fun release with six new stamp set, new dies, and new stencils. During January 2020, we’ll be giving away this not-yet-released 3″ x 4″ stamp set called Ladybug Friends with qualifying orders over $80. Qualifying orders over $100 will also receive the coordinating die set! This is while supplies last and will automatically be included with orders.

Today I have a card I created with the Ladybug Friends Stamp Set and coordinating dies.


I stamped the ladybugs in black ink and colored with Copic Markers and then die cut the images. I cut a piece of white cardstock for the card front and lightly blending Tumbled Glass Distress Ink on the background. I cut a heart directly into the card front, along with the scalloped heart frame with the PPP Scallop Hearts Dies


The sentiment is included in the stamp set. I stamped in Versamrk Ink and embossed with white embossing powder. The grass is die cut with the Scallop Borders Dies and the fence with the Spooky Fence Die. I finished off with a little sparkle with a few sequins from the Sparkling Clear Confetti Mix.


Stop by the the PPP Blog for a lots of inspiration with the new release! Thanks for visiting!! 


12/21/19

Warm Winter Wishes

Hi All! I know my blog has been a little quiet! Such a busy time of year. I made this card a few weeks ago but I am just now finding the time to share the details. Once I am done with my Christmas cards I like to look at my holiday products and see if I can get a little more use out of them during the Winter Season. The Winter Scene Die from Pretty Pink Posh was one of my favorites products from the PPP Holiday Release and works perfect through the winter.


Let's start with the background. I cut a piece of aqua cardstock and a piece of vellum to fit the card front. On the vellum I stamped the snowflake border from the Winter Borders Stamp Set and the sentiment from the Holiday Greetings Stamp Set in Versamark Ink and embossed with white embossing powder. Then I layered the cardstock and the vellum together. 


I die cut the Winter Scene Die twice, once from white cardstock and once from green. I sponged on aqua ink on the sky and add embossing paste to the edges of the snow, and then layered to pieces to create the scene. The branched are die cut with the Pine Sprigs Dies. I finished off the card with a few sequins from the Marshmallow Confetti Mix.

Thanks for stopping by! Best wishes to you in the Holiday season!


11/1/19

Wishing You A Blessed Holiday Season

Hi All! I am building my stash of Christmas cards! Today I have a card I created with the Amaryllis Stamp Set from Pretty Pink Posh. I used a mix of Kraft, red, and green.


I stamped the flowers and leaves in the Amaryllis Stamp Set, colored with Copic Markers, and die cut with the Amaryllis Coordinating Dies. To create the background, I cut a piece of Kraft Cardstock for the card front. Then I used the Snowflakes Stencil with a Kraft ink to stencil the snowflakes. I splattered the background with white paint and sponged the edges of the card front with white ink. 


The sentiment is from the Joy Stamp Set. I stamped in Versamark Ink and embossed with white embossing powder. I finished off the card with a few white sequins in the Merry Confetti Mix. I like the mix of the earthy colors! 

Thanks for stopping by! Have a great weekend. 

10/17/19

Pretty Pink Posh October Release Blog Hop Day 2


Hi and welcome to Day 2 o f the Pretty Pink Posh October Release Blog Hop. The hop will be full inspiration for Holiday projects!

Be sure to leave a comment as you hop! There are 4 $25 gift certificates up for grabs (two winners each day). Winners will be picked randomly along the blog hop. Comments must be left by 11:59 PM PST on 10/22/2019. Winners will be announced on the PPP blog.


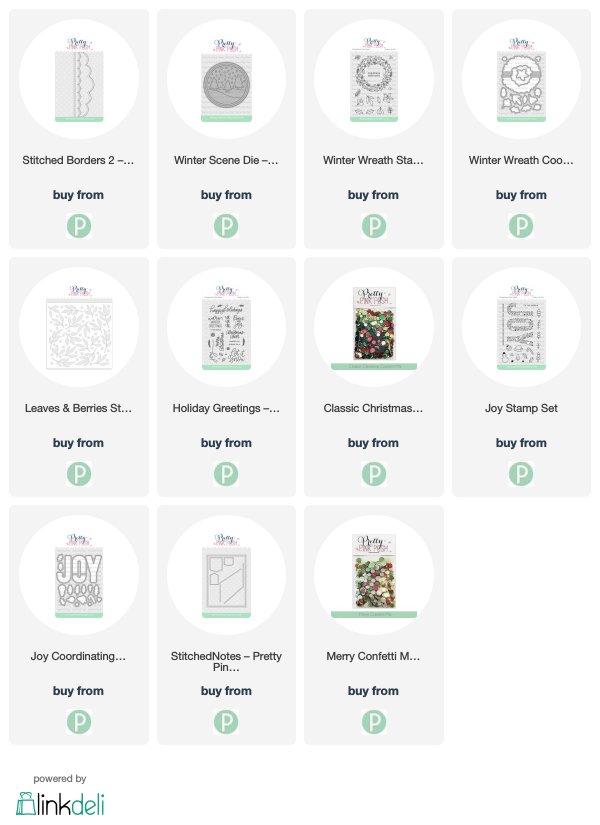
I have two cards to share with you! My first card features the Winter Scene Die and the Leaves & Berries Stencil. To create the background I used the Leaves & Berries Stencil with a white pigment ink. The scene in the center is so easy to create with the Winter Scene Die. The night sky is ink blended and I added embossing paste to hills of snow to add some texture. 


I added the floral embellishment with the new Winter Wreath Stamp Set and the Winter Wreath Coordinating Dies. I stamped in Versamark Ink, embossed with white embossing powder and colored with Copic Markers. The sentiment is from the Holiday Greetings Stamp Set. I finished off the card with confetti from the new Classic Christmas Confetti Mix


Next up is the Joy Stamp Set and the Joy Coordinating Dies. So fun! I stamped "JOY" on white cardstock and colored with Copic markers. Then I die cut a panel of aqua cardstock with the largest die in the Stitched Notes Dies. And then I cut the Joy Coordinating Dies directly into the panel to frame the stamped image. 

I framed the panel with white cardstock and trimmed the edges with the Stitched Borders 2 Dies. The sentiment, Santa hat, and holly are all included in the Joy Stamp Set. I added three red berries to the Santa hat from the new Merry Confetti Mix

Here is the complete blog hop list for today: 

Caly Person       
Thi Lam      
Melody Rupple       
Alix Davis        
Dana Kirby    
Heather Hoffman      


5/30/19

Sending You A Big Hug!

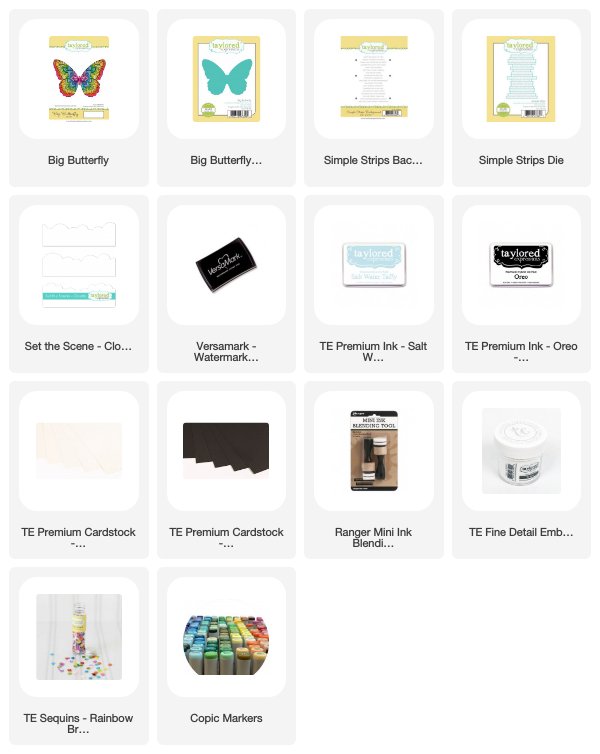
Hi All! We are finally having some beautiful spring weather here in San Diego. Time to clean off the patios and pull out the lounge chairs! It a perfect time to share this pretty butterfly card created with the Big Butterfly Stamp Set from Taylored Expressions. 


I stamped the butterfly in Oreo Ink, colored the images with Copic Markers,  and then I die cut the butterfly with Big Butterfly Die. I wanted to keep the background simple so I just stenciled some light clouds with the Set the Scene - Clouds Stencil Strips


I also wanted to keep the sentiment simple and the Simple Strips Background Stamp and the Simple Strips Die is perfect! I finished off the card with a few sequins. 


Thanks for stopping by!

4/1/19

Taylored Expressions April Sneak Peeks Day 1

Hi and welcome to the first day of Taylored Expressions April Sneak Peeks. We have 40 new products to share including spring occasions like Mother's Day, Graduation, Teacher Appreciation, Wedding, and Baby! All the new products will be available starting at 9am CDT Thursday, April  4th.


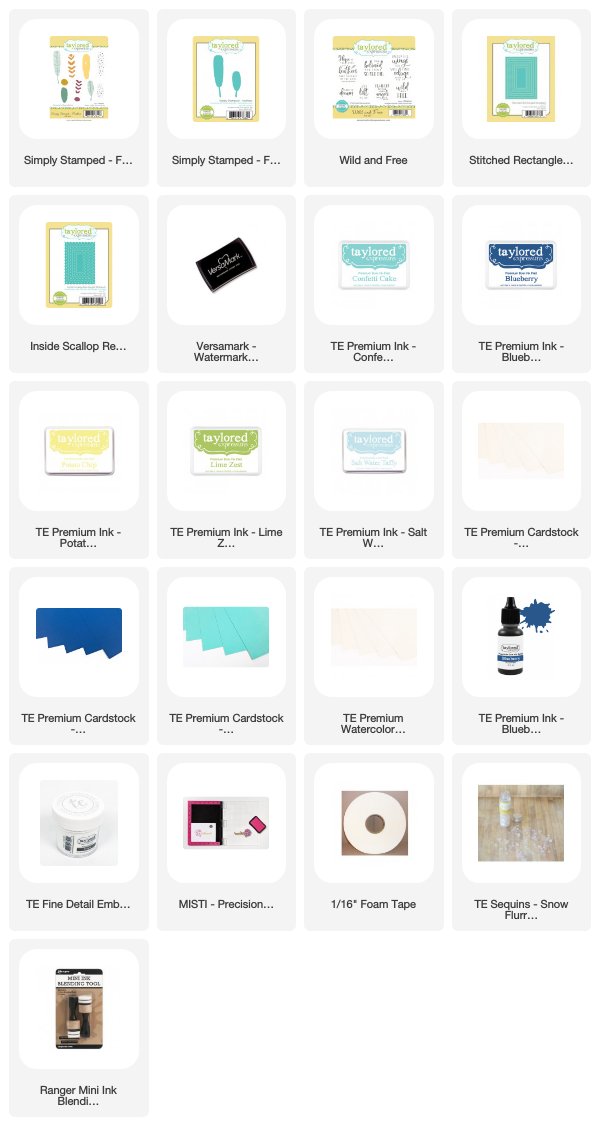
Today I am giving you a peek at the new Simply Stamped - Feathers Stamp Set and Simply Stamped - Feathers Dies. This is one of the new stamp sets designed by Heather Nichols! I decided to go with blues and greens for the feathers. The feathers are done in three steps, which adds so much texture and pattern. 


I cut the card front from watercolor paper and and sponged on Salt Water Taffy Ink and splattered on watered down white paint and Blueberry Ink. I used the Stitched Rectangle Stacklets and the Inside Scallop Rectangle Stacklets to create the window in the card front. The sentiment is from the new Wild and Free Stamp Set. I arranged the feathers around the sentiment and added a few Snow Flurries Sequins. 


Taylored Expressions is celebrating Release Week with a giveaway during each day of sneak peeks! Visit the TE Blog to answer Taylor’s Question of the Day for a chance to win one of the latest products before you can buy it!

Thanks for stopping by! I will be back tomorrow with another Sneak Peek.


2/15/19

Celebrate!

Hi All! I know it has been a little quiet around here! I just got back from a fun, little get away in Sedona with a group of friends. The Red Rocks are beautiful and we even got a little snow. I am popping in today with a birthday card I created with some fun, new products from Pretty Pink Posh.


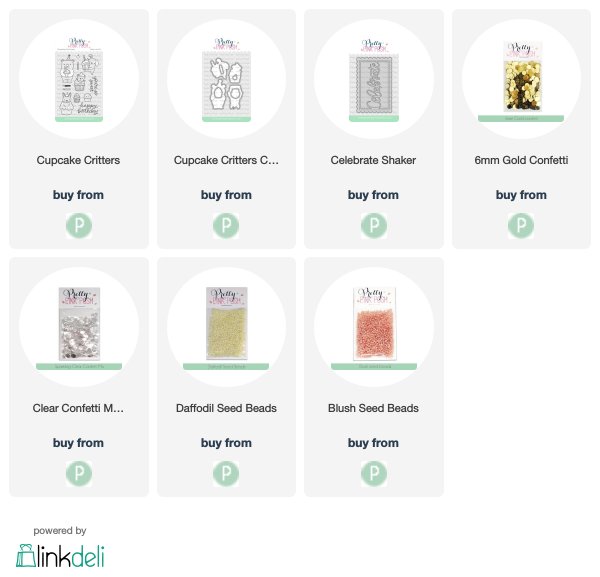
To create this shaker card I used the new Celebrate Shaker Die. First I used Distress Oxide Inks to blend the background in Scattered Straw, Worn Lipstick, and Candied Apple. Next I die cut the Celebrate Shaker Die directly into the card front to cut the window and then inlayed the die cut back into the card front. Behind the window I add clear acetate and foam tape. My shaker mix includes Sparkling Clear Confetti Mix, 6mm Gold Confetti, Daffodil Seed Beads, and Blush Seed Beads.


My stamped images are from the Cupcake Critters Stamp Set and die cut with the Cupcake Critters Coordinating Dies. I stamped a line of candles to create the border and tie a bow with twine. The cute bunny is colored with Copic Marker. I added a sparkle with a glitter pen on the cupcake frosting. 


Have a great weekend! 

1/25/19

Pretty Pink Posh Valentine Theme Week


Hi Everyone! Welcome to another day of Valentine Theme Week! You can stop by the Pretty Pink Posh Blog for all the details. I have a Valentine card to share with you that would be perfect for your older daughters or girlfriends. I still enjoy sending Valentines to my daughters even though they are young adults now. 

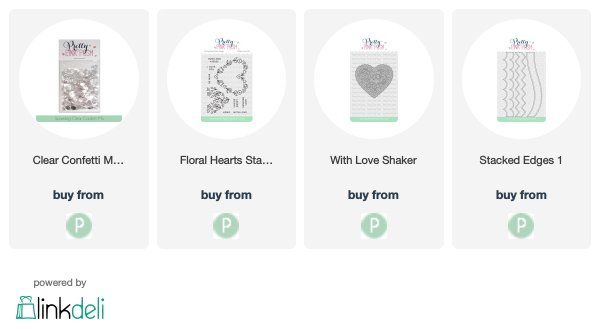
started by cutting the With Love Shaker Die from white cardstock and adding color with Copic Markers. You could use a number of options to add the color, colored pencil, inks, and watercolors.  I cut a square of white cardstock and cut the With Love Shaker Die directly in the center of the square. I inlayed the colored heart in the white square. On the backside I added clear acetate and foam tape to form the shaker. 

Here are the other pieces I created to add to my card. I cut another square of white cardstock, brushed on Distress Ink in Squeezed Lemonade. This square covers the back of the shaker after the sequins are dropped in. Next I cut a strip of pink cardstock and stamped a sentiment from the Floral Hearts Stamp Set across the strip. I cut three scalloped borders with the Stacked Edges 1 Dies and sponged on Worn Lipstick, Squeezed Lemonade, and Twisted Citron Distress Inks. 


I used the Sparkling Clear Confetti Mix for the shaker. Since I used a lot of different colors and patterns on my card I decided the clear confetti would look the best.


Here's a look at the finished card with all the elements put together. 


Thanks for stopping by today. I hope we have inspired you to starting creating your Valentines! You can find the Valentine Category HERE


8/22/18

A Cherry Blossoms Thank You

Hi Everyone! I hope your week is going well. I am popping in today with a thank you card that I created with the Pretty Pink Posh Cherry Blossoms Stamp Set and Coordinating Dies. I am experiment with a new color combo, pink, gray, and aqua.


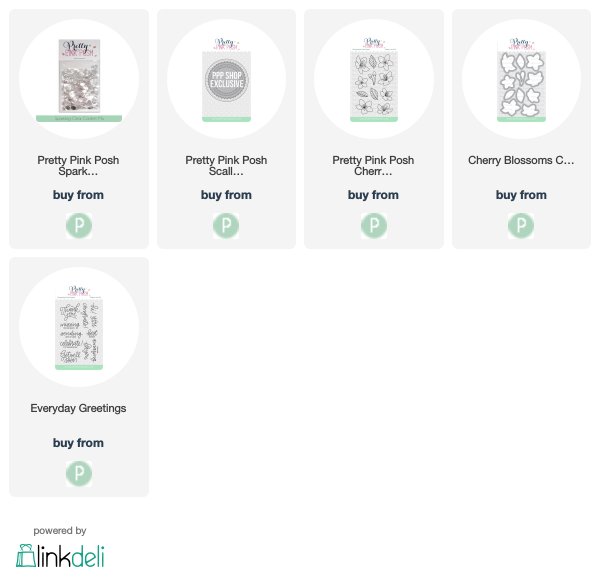
The card front is cut from a pale gray and embossed. I used the smaller die in the Scallop Circle Die Set and cut a circle directly into the card front and again from cardstock. I inlayed the Scallop Circle Die cut in the card front and then added clear acetate behind the window and foam tape to create the shaker. The sentiment in the window is from the Everyday Greeting Stamp Set. 


The beautiful flowers and leaves are stamped with the Cherry Blossoms Stamp Set and die cut with the Cherry Blossoms Coordinating Dies. The clear sequins are from the Sparkling Clear Confetti Mix. 


Thanks for taking a look!


6/25/18

Hey There Smarty Pants

Hi Everyone and thanks for stopping by today. I have a card to share using the new School Friends Stamp Set from Pretty Pink Posh. This stamp set if full of sweet school themed stamps, perfect for cards, tags, bookmarks, and teacher gifts.

My stamped images are colored with Copic Markers and die cut with the School Friends Coordinating Dies. The sentiment is also from the stamp set. I stamped the sentiment in Versamark Ink and embossed with white embossing powder to look like a chalkboard. 

I scored a piece of Kraft card stock to create a table to set the books on and the framed the scene with the smaller die in the Scallop Frames Dies. I added a Red Heart Confetti Sequin to the center of the lunch pail. 

Thanks for taking a look! Have a good week. 


6/15/18

Pretty Pink June Blog Hop - Pandas and Geraniums

HI and welcome to Day 2 of the Pretty Pink Posh June Release Blog Hop! Hop along for lots of inspiration and prizes! 

Be sure to leave comments on each stop. Pretty Pink Posh is giving away 4 $25 gift certificates to four random comments (2 winners each day) left before June 19, 2018 at 11:59 PM PST. The winners will be announced next week on the PPP Blog!


I have two projects to share with you today featuring a number of the new products from the June Release. 

My first card features the new Koala Friends Stamp Set and the Koala Friends Coordinating Dies

I created a simple background of clouds and grass using distress inks and then a die cut a frame with the Scallop Hexagons Dies. The koalas are colored with Copic Markers and then layered inside the frame along with a few sequins from the Sparkling Clear Confetti Mix

The sentiment is included in the Koala Friends Stamp Set. I finished off the card with a watercolor geranium and leaf from the new Geraniums Stamp Set and die cut with the Geraniums Coordinating Dies. 

 
The center piece of my second card is the new Hello Shaker Die. I cut die directly into the card front to form the opening and the die cut the Hello Shaker Die again from a pink cardstock, layering acetate and foam tape behind the window to form the shaker. Then I dropped in three of the beautiful new seed bead colors, Cotton Candy, Pewter, and Rose Pink


I framed the shaker window with pretty flowers from the new Geraniums Stamp Set and die cut with the Geraniums Coordinating Dies. 

BONUS: We’re giving away a free not-yet-released die in each order over $60 this month, while supplies last!


Thanks for hopping along! Be sure to leave a comment for a chance to win! You can stop by the Pretty Pink Posh Blog for all the details! 

Here is the list of designers sharing projects for Day 2 of the Blog Hop:


6/11/18

Miss You

Hi Everyone! It has been so crazy at my house lately! But I finally am getting a chance to share some of my projects from the new Pretty Pink Posh release. June's release is available and later in the week we will be having a Blog Hop full of inspiration and creative ideas.

For my first project I will be showcasing the new Darling Dragonflies Stamp Set and the Darling Dragonflies Coordinating Dies.

I started with the Storybook 3 Dies and white cardstock to create the card front. Using a stencil brush with Distress Ink I did light wash of color. I added clear acetate behind the top two window to form a shaker and dropped in two new colors of seed beads, Pewter and Aquamarine, and a few Iridescent Mini Circle Confetti. 

I stenciled clouds on the panel in the background to add additional interest. I stamped a sentiment from the new Simple Sayings: Miss You Stamp Set. I love the font! The fence is die cut with the Picket Fence Die. All the stamped images are included in the Darling Dragonflies Stamp Set. I colored with Copic Markers and used a glitter pen to add sparkle to the wind. 

Thanks for stopping by and have a good week! 

4/27/18

Birthday Wishes

Hi Everyone and happy Friday! I am popping in today with a birthday card I created with the Sparkle Dot Patterns 2 Stamp Set from Pretty Pink Posh.

I started by cutting a piece of watercolor paper for the card front. I used Distress Oxide Inks in Broken China and Peeled Paint to create the sky and grass background. The frame is cut is the smaller die in the Scallop Frames Dies.  I stamped a sentiment from the Birthday Friends Stamp Set in Versamark Ink on vellum and then embossed with black embossing powder.

The sparkling balloon is so easy to create with the Sparkle Dot Patterns 2 Stamp Set. You just stamp your pattern in a light colored ink and add the pretty Watermelon Jewels! The clouds are die cut with the Rainy Days Coordinating Dies and the flowers are stamped with the Bunny Friends Stamp Set and die cut with the Bunny Friends Coordinating Dies

Thanks for stopping by! Have a great weekend! 


4/23/18

Happy Birthday

Hi Everyone! I hope you had a great weekend. It was so beautiful here! I had a little time in my studio and I created this card with pretty products from Pretty Pink Posh.

I have a number of family and friends birthdays in May. I went with pretty spring colors and a little bling for one of besties! I cut a piece of lavender cardstock for the card front and added a panel of lavender cardstock in the middle with the Stitched Notes Dies

The flower and leaves are stamped with the Wild Rose Stamp Set, colored with Copic Markers, and die cut with the Wild Rose Coordinating Dies. I cut the frame from black cardstock with the larger die in the Scallop Circles Dies. Behind the circle I just added a circle of white cardstock that was brushed lightly with yellow ink. The "Birthday" sentiment is from the Fox Friends Stamp Set


The word "happy" is die cut with the Happy Easter Script Die. At the bottom I added three rows of beautiful jewels. These are so pretty in person! I used the Sparkle Dot Patterns 2 Stamp Set to stamp my pattern, making it so easy to attach the jewels. The three colors are Lemon Drop JewelsShamrock Jewels, and Pansy Purple Jewels

Thanks for stopping by! Have a good week!