Showing posts with label Friend. Show all posts

9/1/26

Little Bits, Big Ideas

Hello September! My first post this month is full of new Little Bits Dies from Taylored Expressions. TE is adding to the Little Bits Collection with six new themes, Birthday, Crafty, Get Well, Shapes, Words, and Vintage. Little Bits are perfect on there own or mixed with other products when you just what to add one more small touch to your card. 


My first two card feature the the Vintage Collection which includes a retro Television, Rotary Telephone, Record Turntable, Record Sleeve, and Instant Camera. There is also a Vintage Vibes Stamp Set with coordination dies. 

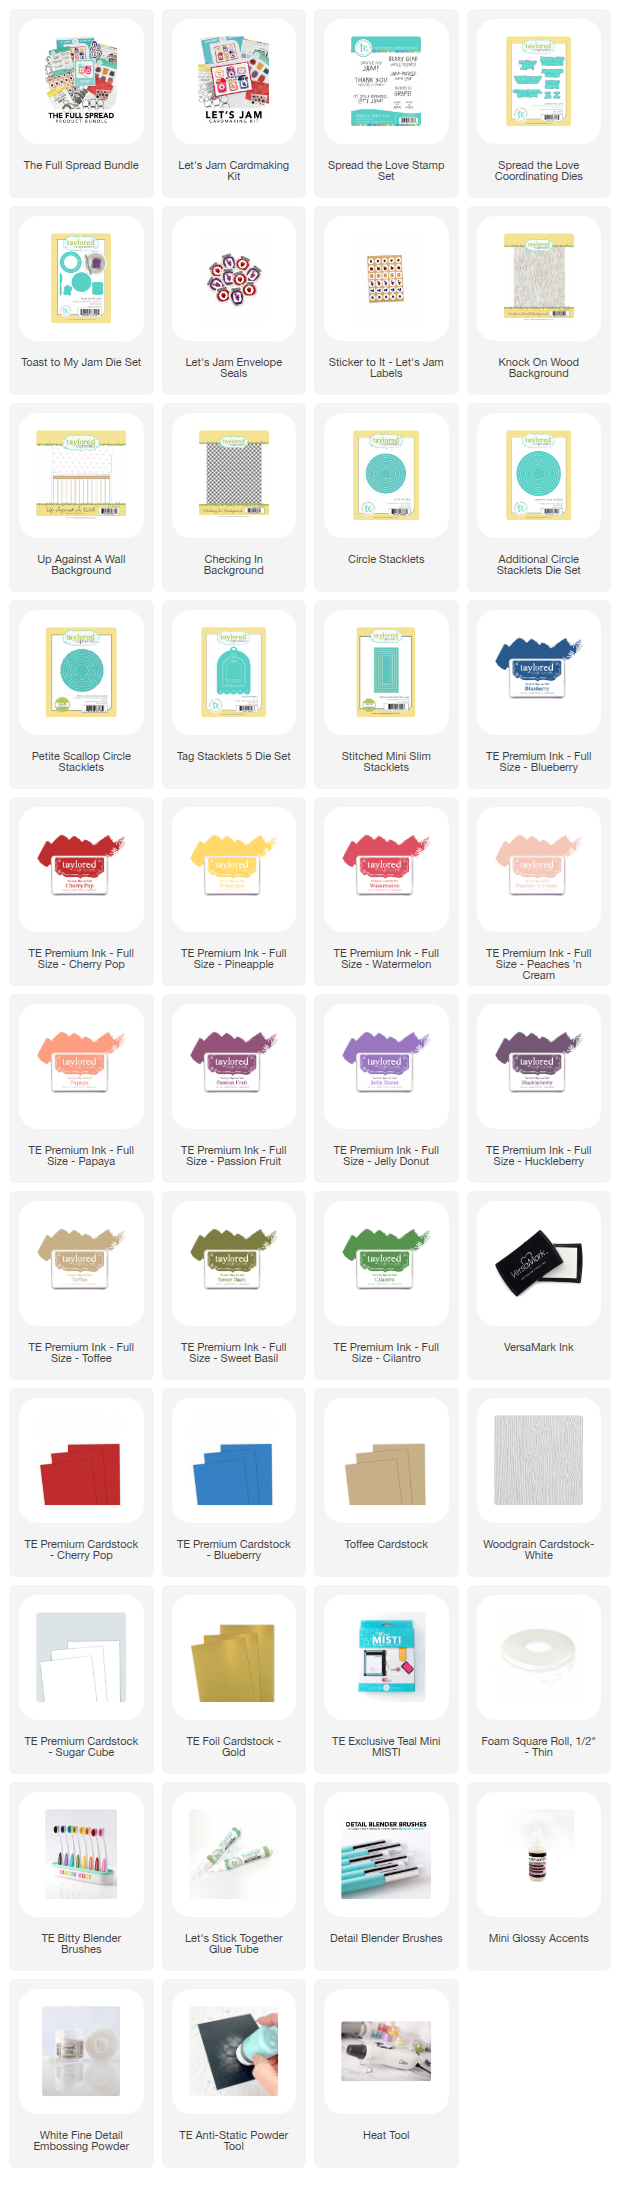
I die cut the television from Confetti Cake Cardstock and then used the 1/4 Inch Easy Strips Dies to cut the stripes in the TV screen. I listed the colors of cardstock I used below. 


I used the Pixie Dust Background Stamp with Confetti Cake Ink behind the television. I used the Circle Stacklets to die cut the circles. The background is embossed with the Halftone Embossing Folder using Blue Raspberry Cardstock. 


I used the Little Bits Inverted Diamonds Die to die cut the diamond shapes and added a few rhinestones. The sentiment is from the new Vintage Vibes Stamp Set and Dies. 

My next card features the Little Bits Die Set - Instant Camera Dies. I love the all the details of the camera. And the previously released Instant Photo Frames Die Set works perfectly the camera! 


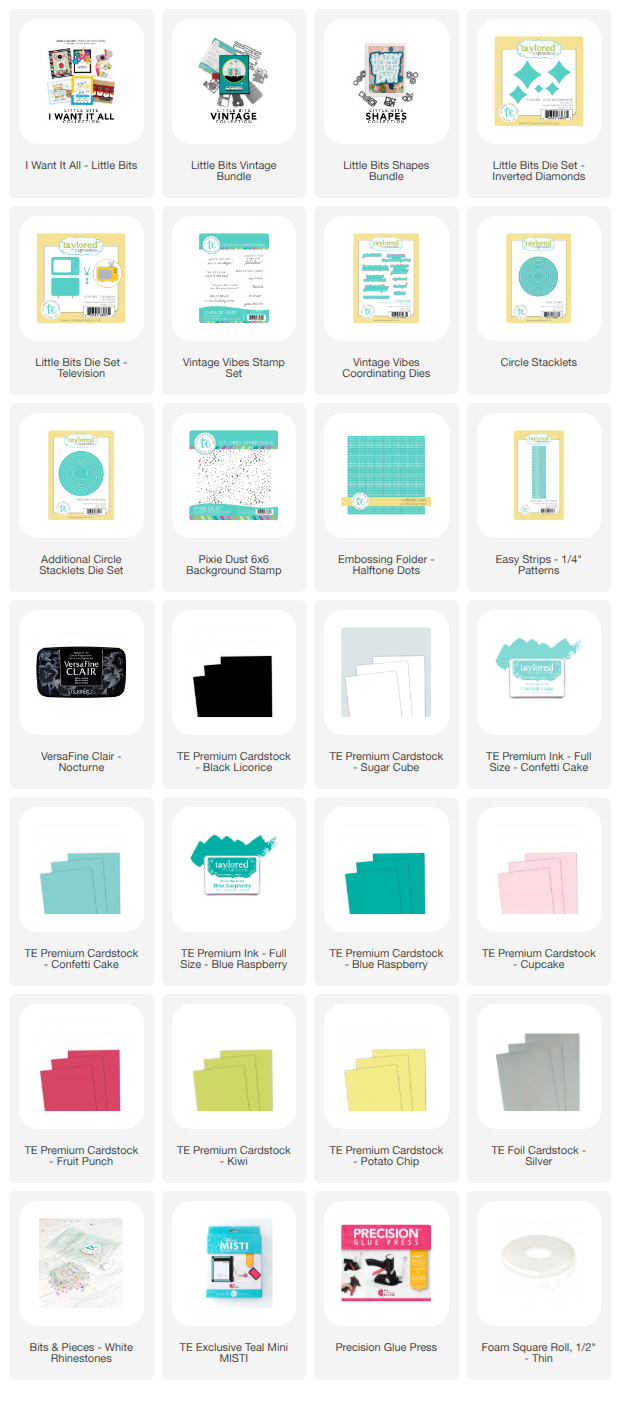
Here is a closer look at the details. I die cut the flower with the Garden Variety Die Set to add to the photo frame. I embossed the Mint Julep Cardstock with the Swiss Dots Embossing Powder. I used the Sketchy Stripes Background Stamp for the card front. I used Licorice Cardstock, stamped in Versamark Ink, and embossed with White Embossing Powder. 


I used the Little Bits Die Set - Friend for the larger sentiment and the smaller sentiment is from the new Bitty Strips Stamp Set - Small Talk. 

My new next card features dies from the Little Bits Birthday Collection. I used the cupcake and balloons. The collection also includes a birthday hat and a present. 


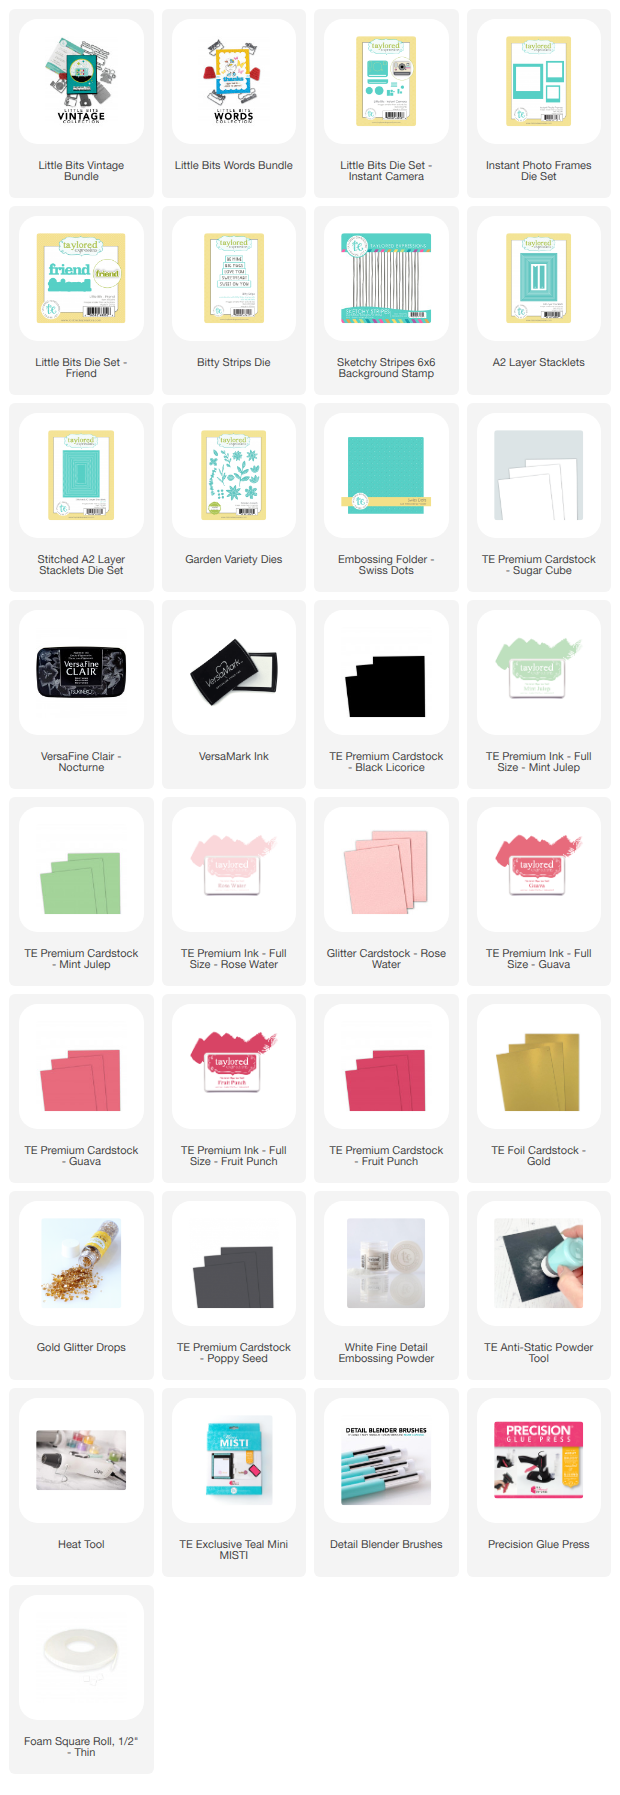
I like the size of the Little Bits Words. Here I used the Little Bits Die Set - Happy along with the smaller sentiment is from the new Bitty Strips - Small Talk Stamp Set. 


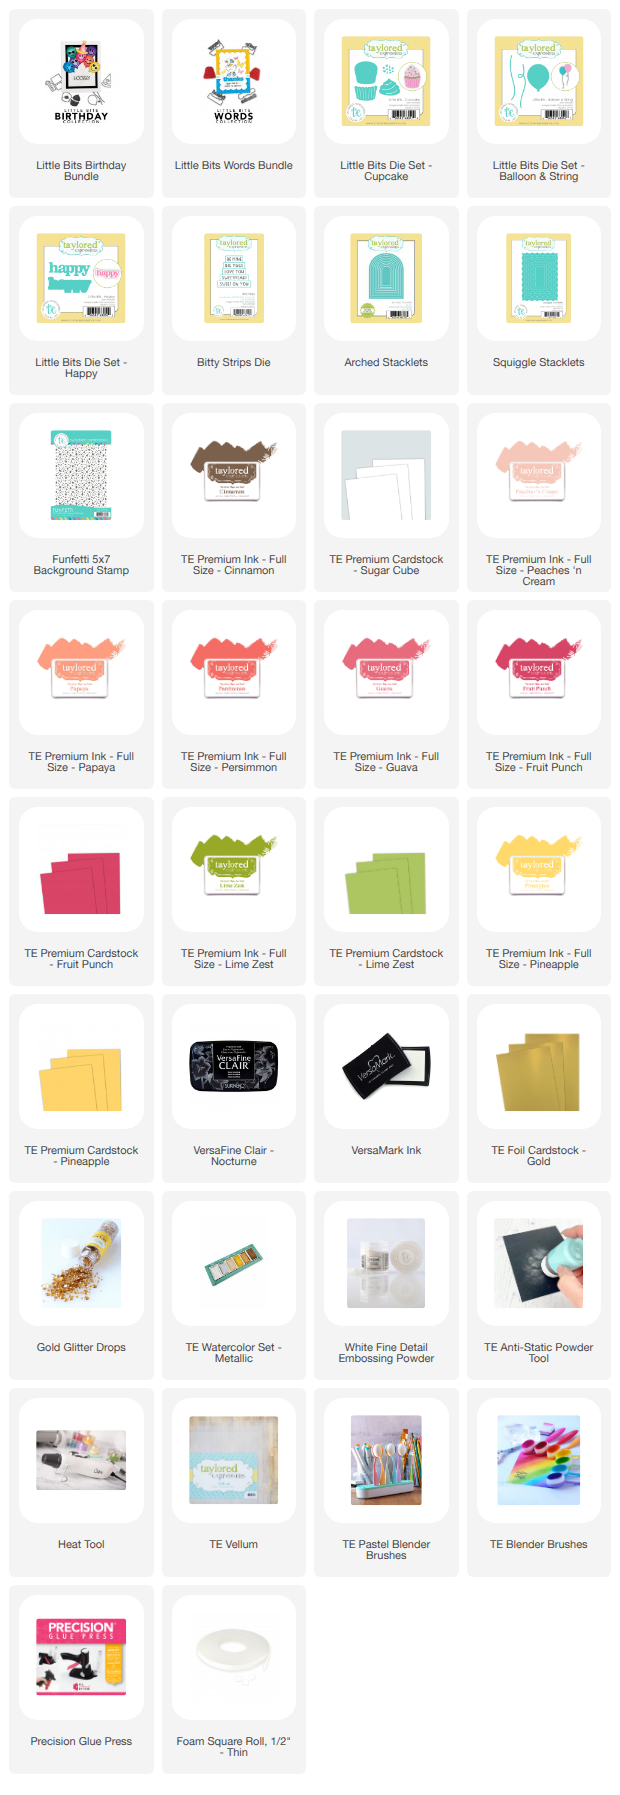
The background is stamped with the Funfetti Background Stamp with Versamark Ink on Sugar Cube Cardstock and embossed with TE White Embossing Powder. I blended the background with the inks I have listed below. 
Happy crafting! Stop by the TE Blog for all the details on the new products, and more inspiration from the team.

8/4/26

More Happy Half Sheets

Today Taylored Expressions is releasing new Happy Half Sheets. With Happy Square Sheets, you can turn one 6 x 6 inch patterned panel into a coordinated collection of cards without wondering where to cut or how to arrange each piece.Two new sets of Happy Square Sheets are joining the TE catalog that give you the layouts and measurements for easy card layouts. 


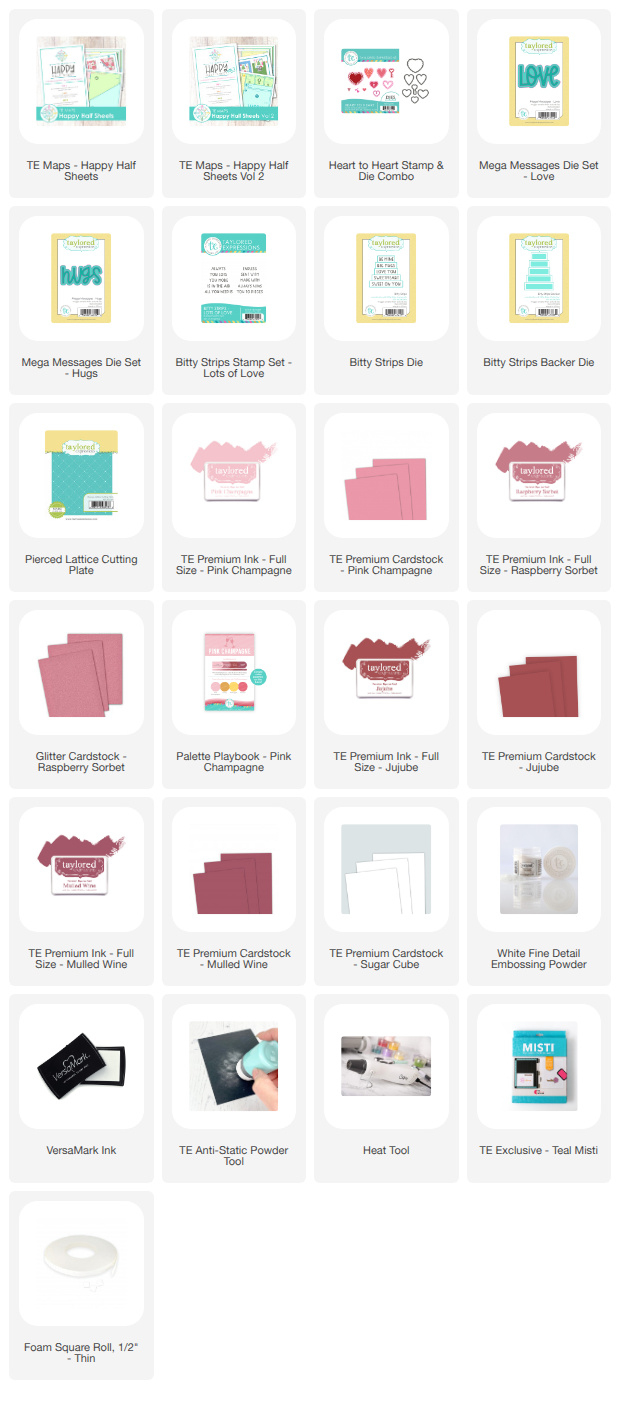
I used one of the layouts from Happy Half Sheets Volume 1. You can start with a piece of patterned paper or make your own. Here I used the Heart to Heart Stamp & Die Combo to create my patterned paper. I stamped a variety of hearts from the stamp set using Pink Champagne, Raspberry Sorbet, Jujube, and Mulled Wine Inks. 


Here is my first layout. I die cut the sentiment with the Mega Messages Die Set - Hugs and added a die cut heart. 


I used the Pierced Lattice Cutting Plate Die to die cut the card front which adds a subtle pattern.


Here is my second card. I just followed the layout and added the strip of the stamped pattern to a panel I die cut with the Pierced Lattice Cutting Plate Die from Raspberry Sorbet Cardstock. 


The larger sentiment is die cut with the Mega Messages Die Set - Love and the smaller sentiment is from the Bitty Strips Stamp Set - Lots of Love. 

Turn one stamped or stenciled 6 x 6 inch panel into coordinated cards with Happy Square Sheets! Volumes 1 and 2 are joining the Taylored Expressions catalog with 10 easy-to-follow cutting maps and 37 unique card layouts between them.

You can also create a colorful floral-and-butterfly panel with the Florals & Flutters 6 x 6 Stamp & Stencil Combo, then use your favorite Happy Square Sheet to confidently cut and arrange every piece.

For a limited time, earn DOUBLE CRAFTY REWARDS on the entire Happy Sheets category—including products that help you create beautiful patterns and polished card layouts!


Happy crafting! Stop by the TE Blog for all the details on the new products, and more inspiration from the team. 


5/26/26

Adventure Awaits

It's the last Tuesday of the Month and time for a new Taylored Expressions Cardmaking Kit! This month's kit is all about travel, making it perfect for both card makers and scrapbookers. The kit is available now in the TE Store


I have two card inspired by the new kit. 

Kit Contents:
  • Adventure Awaits Layering Stencil 
  • Adventure Awaits Coordinating Dies
  • All Together Adventure Icons Stamp & Die Combo
  • The Insiders - Adventure Awaits
Add-Ons:
  • Road Map 6x6 Background Stamp
  • Going Places Stamp Set
  • Going Places Coordinating Dies
  • Sticker to It - Adventure Awaits


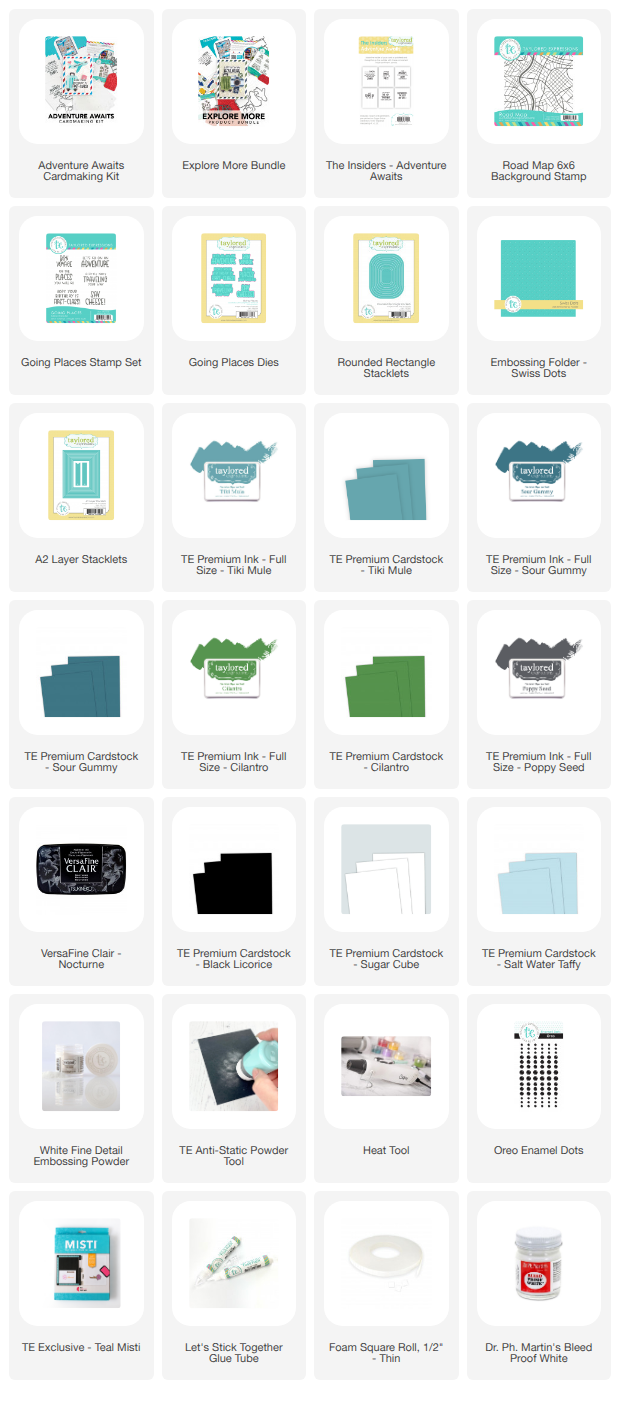
The Adventure Awaits Layering Stencil creates five images, the plane, luggage, camera, car, and suitcases. I used all five images between the two cards. I used a color combo of Tiki Mule, Sour Gummy, Cilantro, and Poppy Seed along with VersaFine Clair - Nocturne Ink. 

For the card front I stamped Road Map 6x6 Background Stamp with VersaFine Clair - Nocturne Ink on Salt Water Taffy Cardstock. 


I used the Going Places Stamp Set and Dies to added the sentiments to my cards using Sour Gummy Ink on Sugar Cube Cardstock. I stamped the All Together Adventure Icons Stamp & Die Combo to create the smaller icons. 


For my second card I stamped Versamark Ink on Licorice cardstock with the Road Map 6x6 Background Stamp and embossed with white embossing powder. 


The card front is embossed with the Swiss Dots Embossing Folder. 


Taylored Expressions' Adventure Awaits Collection is a travel-inspired release designed to help cardmakers celebrate life’s meaningful moments through handmade cards filled with heart and connection. ✈️🌍

Whether you’re sending smiles across the miles, celebrating a special trip, wishing someone well on a new adventure, or reminding loved ones they’re never far away, the Adventure Awaits Cardmaking Kit makes it easy to create thoughtful cards that help people feel remembered and loved.

Shop the full Adventure Awaits Collection now at Taylored Expressions and find all the supplies used in today’s projects linked below!


To help inspire your crafty journey, Taylored Expressions is sharing an exclusive early-access tutorial created just for you! In this special video, Creative Team member Theary Chea-Tran walks you through how to create a heartfelt “Sending Smiles Across the Miles” card using the Adventure Awaits Collection.


This month, every order qualifies for the adorable Critter Crew - Flamingo stamp FREE with any purchase, bringing a bright pop of playful personality to your crafty projects. When your order reaches $100+, you’ll also receive the Fruit Cocktail Die & Stencil Combo FREE!

Whether you’re shopping the new Adventure Awaits Collection, stocking up on essentials, or grabbing products from your wishlist, now’s the perfect time to treat yourself and pick up a few extra crafty goodies along the way.

Don’t wait too long — these freebies are only available through May 31st while supplies last!


Happy crafting! Stop by the TE Blog for all the details on the new products, and more inspiration from the team. 

5/5/26

You're TEERIFIC!

I am popping in today to share a few products from the new release at Taylored Expressions. It's the For Him Release. Father's Day is coming up and I know I never have enough masculine birthday cards in my stash. I have four son-in-laws! So I happy to have these new products in my craft room. But really the products are not just for the guys. I have a of female friends who love to golf, barbecue, and maybe have a beer! 


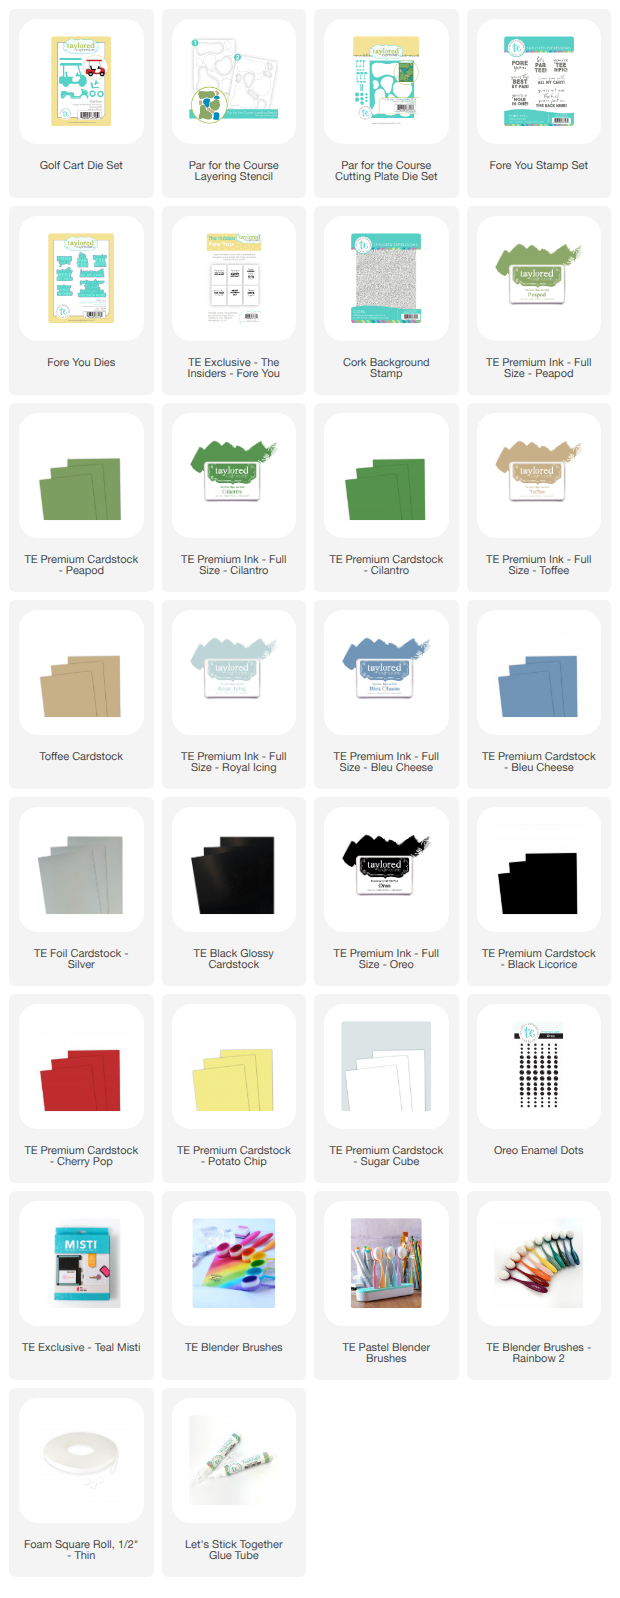
First up is a look at the golf themed products. I started by creating the golf cart using the Golf Cart Die. I used Bleu Cheese Cardstock with TE Silver Foil and Black Glossy Cardstock. Next I cut a piece of Peapod Cardstock for the card front and stamped the previously released Cork Background Stamp with Peapod Ink and die cut with the Par for the Course Cutting Plate. 


Next I used the Par for the Course Layering Stencil to create the grass, sand, and water. Then I layered the die cut card front over the stenciled background. Included in the Par for the Course Cutting Plate are the dies to add the flags and trees. 


The sentiment is from the Fore You Stamps Set and die cut with the Fore You Dies. 


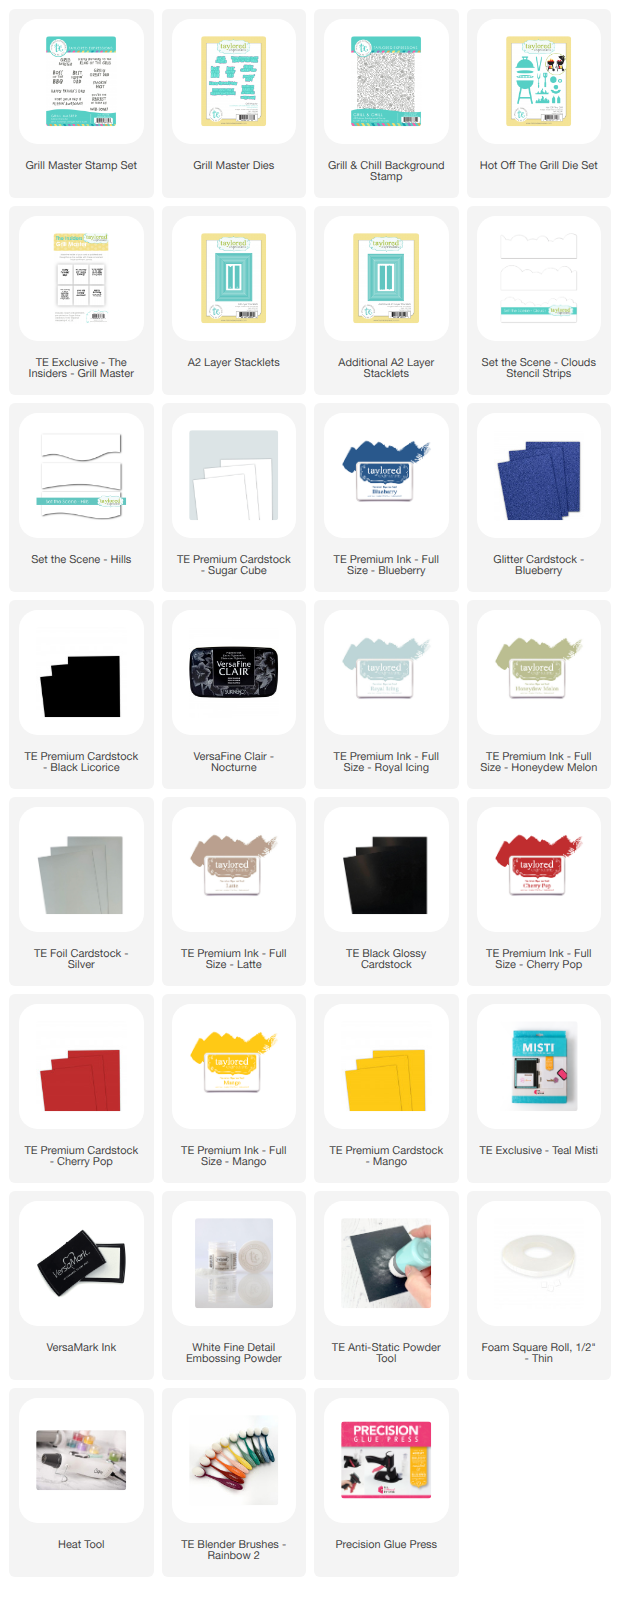
My next card is for all the Grill Master's in our lives. I created the grill with the Hot off the Grill Dies.I love the details of the barbecue tools and mustard and ketchup bottles. There is another option for creating the grill with flames. 


To create the frame I stamped the Chill & Grill Background Stamp with Versamark Ink on Blueberry Cardstock and then embossed with TE White Embossing Powder. Then the used the A2 Layer Stacklets Die Set to cut out the middle of the frame and mat with Licorice Cardstock.  I stenciled on Sugar Cube Cardstock with the Set the Scene - Clouds Stencil Strips and the  Set the Scene Stencil Strips – Hills and added the background behind the grill. 


This sentiment is part of the Grill Master Stamp Set and die cut with the coordinating dies. 

Happy crafting! Stop by the TE Blog for all the details on the new products, and more inspiration from the team. 


4/28/26

Let's Jam!

It's the last Tuesday of the month and time to reveal the newest cardmaking kit from Taylored Expressions.  It's the Let's Jam Cardmaking Kit! The kit and some fun coordinating products are now available in the TE Store


Cardmaking Kit Includes:
Let's Jam Stamp & Stencil Combo
Let's Jam Coordinating Die
Let's Jam Accessories Die Set
Fruit Flavors Clear Stamp Set
The Insiders - Let's Jam

Extras:
Let's Jam Envelope Seals
Sticker to It - Let's Jam Labels
Spread the Love Stamp Set
Spread the Love Coordinating Dies
Toast to My Jam Dies


My card is a mini slim card with a line up of the cute jam jars. I have linked the inks I used below. First step is to stamp and stencil with the Let's Jam Stamp & Stencil Combo. Next I used the Fruit Flavors Clear Stamp Set to added the fruit to the jam jars and then die cut with the Let's Jam Coordinating Die. The Let's Jam Accessories Die Set contains the dies to add the gold lids or cute fabric looking tops. 


To create the card front I used the Up Against the Wall Background Stamp, stamping Versamark Ink on Blueberry Cardstock and embossing with TE White Embossing Powder. I used TE Woodgrain Cardstock in White.


Available for purchase outside of the kit is the Toast to My Jam Die Set. This die set includes the plate, knife, and toast I added to this card. All sentiments I used on my projects are from the Spread the Love Stamp Set and die cut with the coordinating dies. 


For the background on the card I used the Knock on Wood Background Stamp, stamping Toffee Ink on Toffee Cardstock. All the checked patterns are stamp with the Checking In Background Stamp.


I also made a set of tags. I used the Tag Stacklets 5 Die set to die cut the tags. 


Perfect to add to a jar of homemade jam! 

Happy crafting! Stop by the TE Blog for all the details on the new products, and more inspiration from the team. 

4/27/26

It's Day 4 of the Papertrey Ink April Release Countdown!

Hi and welcome to Day 4 of the Papertrey Ink April Release Countdown. I have two more projects to with you. All the new products will be available tomorrow, April 28th at 12 PM EDT. 


I am loving the pretty new Peaceful Meadows Stamp Set and Dies. I started by creating the background. I used the new Brushstrokes Stencil Collection and a mix of inks in blues and greens. 

Next I stamped the grass and the stems and flowers over the stenciledl background. Then I lightly splattered bronze watercolor paint on the background. 


I stamped and die cut the tree and birds and attached them to card front. 

The sentiment is included in the Peaceful Meadow Stamp Set. 

Supplies:
Stamps: Peaceful Meadow
Dies: Peaceful Meadow
Ink: Prairie Grass, Spring Moss, Aqua Mist, Pure Black, Sweet Blush
Paper: Stamper's Select White, Prairie Grass
Other: Brushstrokes Stencil Collection, Blending Brushes, Copper Watercolor


My next card is created with a variety of new and previously release products. The centerpiece of the card is bumblebee that is created with Build-A-Bumblebee Die Set. You can create three different size bees. This is the largest one. 


You can tell I am loving the Brushstrokes Stencil Collection. I stenciled the background and then die cut with the previously released Cover Plate: Honeycomb Die. Behind the die cuts I added a layer of vellum and Lemon Tart Cardstock. 


The flowers are die cut with the new Into the Blooms: Pressed Flowers. I also added Diamond Stickles to the wings of the bees. 


The sentiment is from the This is Big Sentiments: Wishes Stamp Set

Supplies:
Stamps: This is Big Sentiments: Wishes Stamp Set
Dies: Into the the Blooms: Pressed Flowers, Build-A-Bumblebee, Cover Plate: Honeycomb Die
Ink: Spring Moss, Sweet Blush, Harvest Gold, Lemon Tart, True Black, Pinefeather
Paper: Stamper's Select White, Lemon Tart, True Black, Vellum
Other: Brushstrokes Stencil Collection, Diamond Stickles, PTI Black Gems, Blending Brushes

Stop by the PTI Blog of all the details and more inspiration from the team. You can start shopping tomorrow at 12 PM EDT.