Showing posts with label Home. Show all posts

4/28/26

Let's Jam!

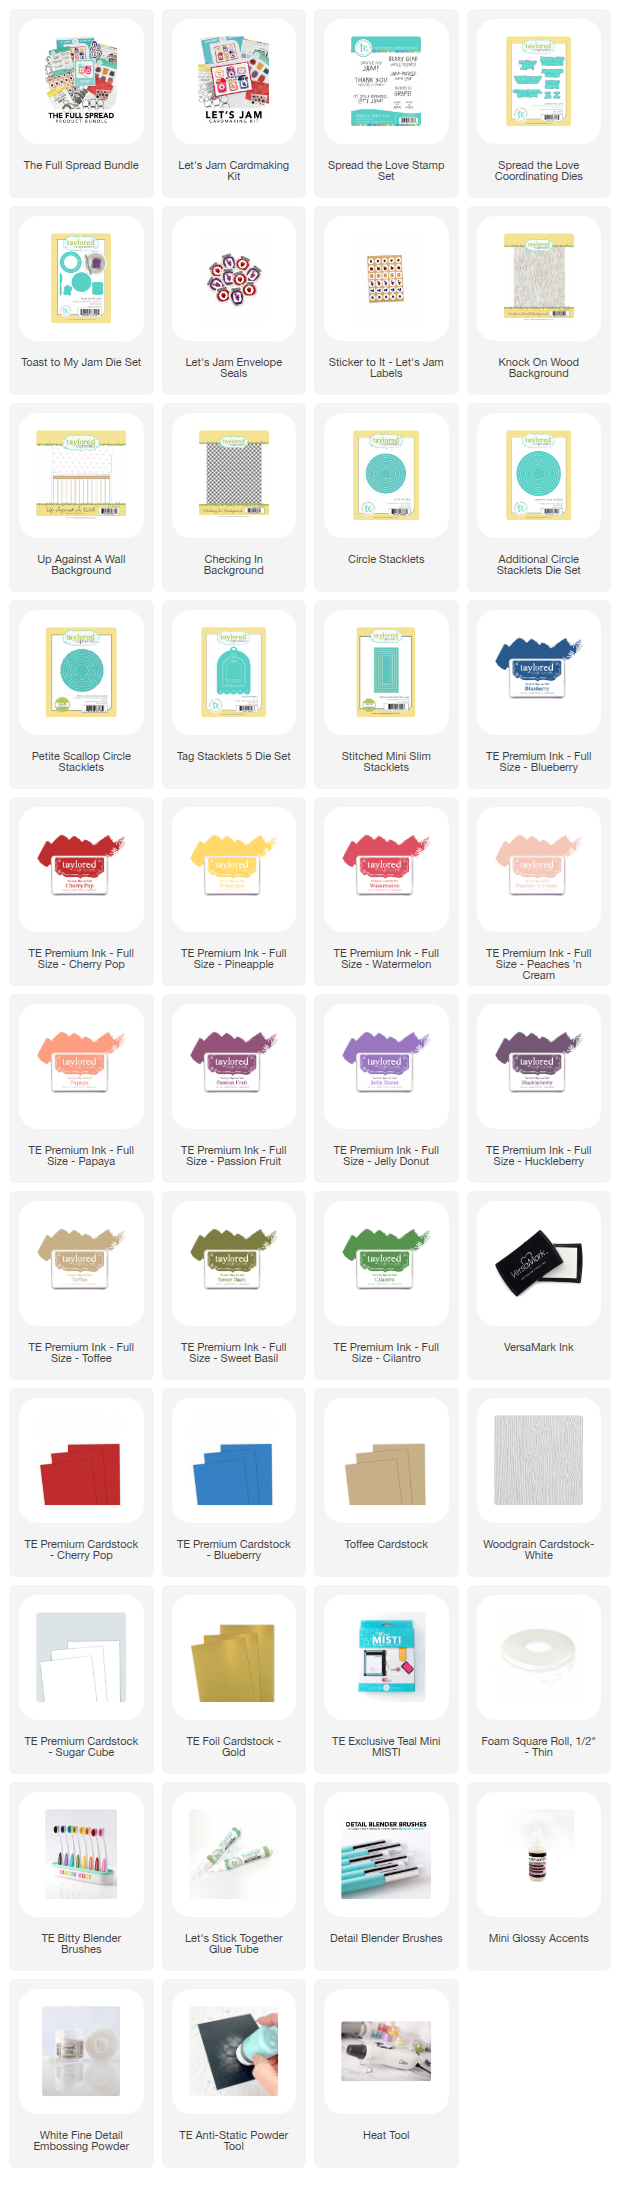
It's the last Tuesday of the month and time to reveal the newest cardmaking kit from Taylored Expressions.  It's the Let's Jam Cardmaking Kit! The kit and some fun coordinating products are now available in the TE Store


Cardmaking Kit Includes:
Let's Jam Stamp & Stencil Combo
Let's Jam Coordinating Die
Let's Jam Accessories Die Set
Fruit Flavors Clear Stamp Set
The Insiders - Let's Jam

Extras:
Let's Jam Envelope Seals
Sticker to It - Let's Jam Labels
Spread the Love Stamp Set
Spread the Love Coordinating Dies
Toast to My Jam Dies


My card is a mini slim card with a line up of the cute jam jars. I have linked the inks I used below. First step is to stamp and stencil with the Let's Jam Stamp & Stencil Combo. Next I used the Fruit Flavors Clear Stamp Set to added the fruit to the jam jars and then die cut with the Let's Jam Coordinating Die. The Let's Jam Accessories Die Set contains the dies to add the gold lids or cute fabric looking tops. 


To create the card front I used the Up Against the Wall Background Stamp, stamping Versamark Ink on Blueberry Cardstock and embossing with TE White Embossing Powder. I used TE Woodgrain Cardstock in White.


Available for purchase outside of the kit is the Toast to My Jam Die Set. This die set includes the plate, knife, and toast I added to this card. All sentiments I used on my projects are from the Spread the Love Stamp Set and die cut with the coordinating dies. 


For the background on the card I used the Knock on Wood Background Stamp, stamping Toffee Ink on Toffee Cardstock. All the checked patterns are stamp with the Checking In Background Stamp.


I also made a set of tags. I used the Tag Stacklets 5 Die set to die cut the tags. 


Perfect to add to a jar of homemade jam! 
Happy crafting! Stop by the TE Blog for all the details on the new products, and more inspiration from the team. 

1/25/23

Papertrey Ink January Release Countdown Day 4

Thanks for stopping by! It's Day 4 of the Papertrey Ink January Release. This is final day of the Countdown.  I hope you enjoy a look at the January Release.  Everything will be available for purchase beginning at 10 PM ET tomorrow, Thursday, January 26th. 


My first card features the Welcome to the Neighborhood Stamp Set and Dies. There is also another coordinating stamp set, Welcome to the Neighborhood On the Move. These sets are perfect for welcoming a new neighbor, welcoming someone home, or announcing a new address. 


I stamped some of my favorite images, stacked the boxes, and added the great accessories. The sentiment is included in the Welcome to the Neighborhood Stamp Set. The card is framed with the largest die in the Skinny Stitched Frame Dies

Supplies: 

Stamps: Welcome to the Neighborhood 
Dies:  Welcome to the Neighborhood , Border Bling: Skinny Stitched Frame
Ink: Classic Kraft, True Black, Spring Rain, Enchanted Evening, Soft Stone, Tropical Teal, Ocean Tides
Paper:  Stamper's Select White, Classic Kraft, Soft Stone, Pale Peony
Other: Glue, Foam Tape


Up next is the Psalm Reflections January Stamp Set and Psalm Reflections January Dies. I started by creating the background.  I cut a piece of Stamper's Select White Cardstock to fit the card front. I very lightly blended Lemon Tart Ink on the background and polka dots for a little extra detail with the Stencil Basics: Dots Stencil Collection. Then I added the sunrise with the On the Border: Sunburst Border Die and a circle of Lemon Tart Cardstock. 


Next I stamped the sentiment on Vellum with Versamark Ink and embossed with Clear Embossing Powder. I cut the vellum long enough to tuck the corners around the edges.  This is a great way to attach vellum. I used the Psalm Reflections January Die to highlight the word Lord in Royal Velvet Cardstock. 

The flowers and greenery are created with Into the Blooms: Dahlia. Die Set. 

Stamps: Psalm Reflections January
Dies: Psalm Reflections January, Into the Blooms: Dahlia, On the Border: Sunburst Border Die
Ink: Lemon Tart, Summer Sunrise, Ripe Avocado,  Versmark
Paper: Stamper's Select White, Vellum, Royal Velvet
Other: Stencil Basics: Dots Stencil Collection, Black Embossing Powder, Clear Jewel, Blender Brushes

Thanks for stopping by! Stop by the PTI Blog for more inspiration for the Design Team and  all the information. 


1/24/23

Papertrey Ink January Release Countdown Day 3

Thanks for stopping by! It's Day 3 of the Papertrey Ink January Release. Today my projects are about invitations and home. Everything will be available for purchase beginning at 10 PM ET on Thursday, January 26th. 


My first card features the new In the Pocket Dies, the Party Time Stamp Set, and the Into the Blooms: Cherry Blossoms Dies


The In the Pocket Dies are perfect for creating invitations. The dies create the pocket and the invitation insert to go in the packet. I created my invitation with a bridal shower in mind. I am the mother of four daughters! I created the pocket in Sweet Blush Cardstock and stenciled the polka dots on the outside pocket with the Dots Stencil Collection. I used the Party Time Stamp Set to stamp the necessary information on the pocket insert. 


On the outside pocket I added the fence with Picket Fence Die and the flowers with the new Into the Blooms: Cherry Blossoms. I cut the flowers from Stamper's Select White Cardstock and the blended Sweet Blush and Hibiscus Burst inks. I also added Lovely Lady Sequins to the centers of the flowers. 

Supplies: 

Stamps: Party Time
Dies: In the Pocket,  Into the Blooms: Cherry Blossoms, Picket Fence
Ink: Scarlet Jewel, Simply Chartreuse, Pale Peony, Sweet Blush, Hibiscus Burst
Paper: Stamper's Select White, Sweet Blush, Scarlet Jewel, Simply Chartreuse, Spring Moss
Other: Sequins, Stencil Basics: Dots Stencil Collection, Glue


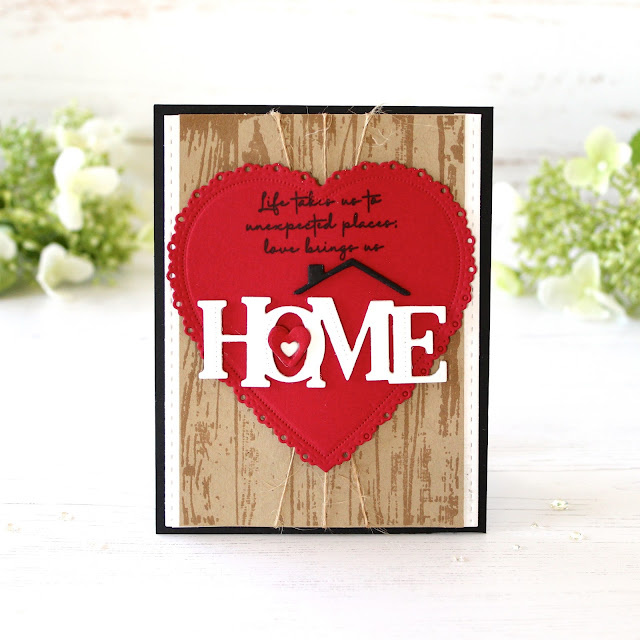
Next up is a look the Larger Than Life: Home Stamp. Set and Dies. I die cut the heart from Pure Poppy Cardstock with the Love to Layer: Hearts Dies. Then I stamped a sentiment form the Larger Than Life: Home Stamp Set and added Home and the roof with the Larger Than Life: Home Dies. 


The background is stamped with the Weathered Wood Background with Classic Kraft Ink on Classic Kraft Cardstock. I added the stitched, white border with a die from the new Love to Layer:  Decorative Brackets.

Supplies: 

Stamps: Larger Than Life: Home, Weathered Wood Background
Die: Larger Than Life: Home, Love to Layer: Hearts, Love to Layer:  Decorative Brackets
Ink: True Black, Classic Kraft, 
Paper: Stamper's Select White, True Black, Pure Poppy, Classic Kraft
Other: Twine, Glue, Foam Tape

Thanks for stopping by! I will be back tomorrow with another look at the new release. Stop by the PTI Blog for more inspiration. 


3/15/17

Curtain Call Inspiration Challenge - Fluff

Hi All! It's the 15th of March and time for a new Curtain Call Inspiration Challenge - Fluff.


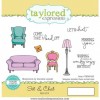
I hope you get a chance to play along. The LEAD of this challenge will be invited as a Guest Designer in a future challenge. I took inspiration from the pillows and created this card with the Sit & Chat Stamp Set from Taylored Expressions


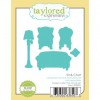
The couch and lamp are die with the Sit & Chat Dies. All the patterned paper is from the Simple Stories 6x8 Paper Pad - Domestic Bliss


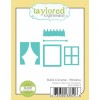
I created the window in the card with Build a Scene - Window Die. The sentiment is from the stamp set. 

Thanks for taking a look!
Fluff Designers


3/9/17

It's Release Day at Taylored Expressions

It's release day at Taylored Expressions! All the new March products are available at the TE web store NOW.  I have two cards to share today showcasing a number of the new products. 

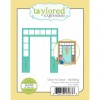
My first card features the new Door to Door 2 Dies and Door to Door Sentiments


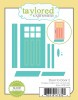
The Door to Door 2 Dies are an addition to the TE Door to Door product line. My cards uses a mix of the new products and previously released dies. (See links below) What is special about the Door to Door 2 Die is that the door can be opened! Here I used the Door to Door Molding Die around the door and added the door mat, rain boots, birdhouse and wreath. 


Here's a look at the door open and a sentiment for the Door to Door Sentiments Stamp Set. 


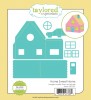
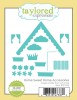
For my second project I created a little house with the new Home Sweet Home and Home Sweet Home Accessories Dies. I cut the base out twice to form the house. Then I ran the home pieces through my die cutting machine again this time embossing with the Brick Embossing Folder.

I added all the details before I assembled the house, using the Home Sweet Home Accessories to add curtains, flowers, and greenery. Behind the windows I added vellum and Potato Chip Cardstock.