Showing posts with label Winter. Show all posts

12/9/25

The Cute Combo Release

Hi All! Today is the Cute Combo Release at Taylored Expressions. The Cute Combo Release is full of cute, petite stamp and die combos that are perfect for many different occasions. There are 10 different sets to chose from. I have cards to share with you with four of the stamp and die combos. 


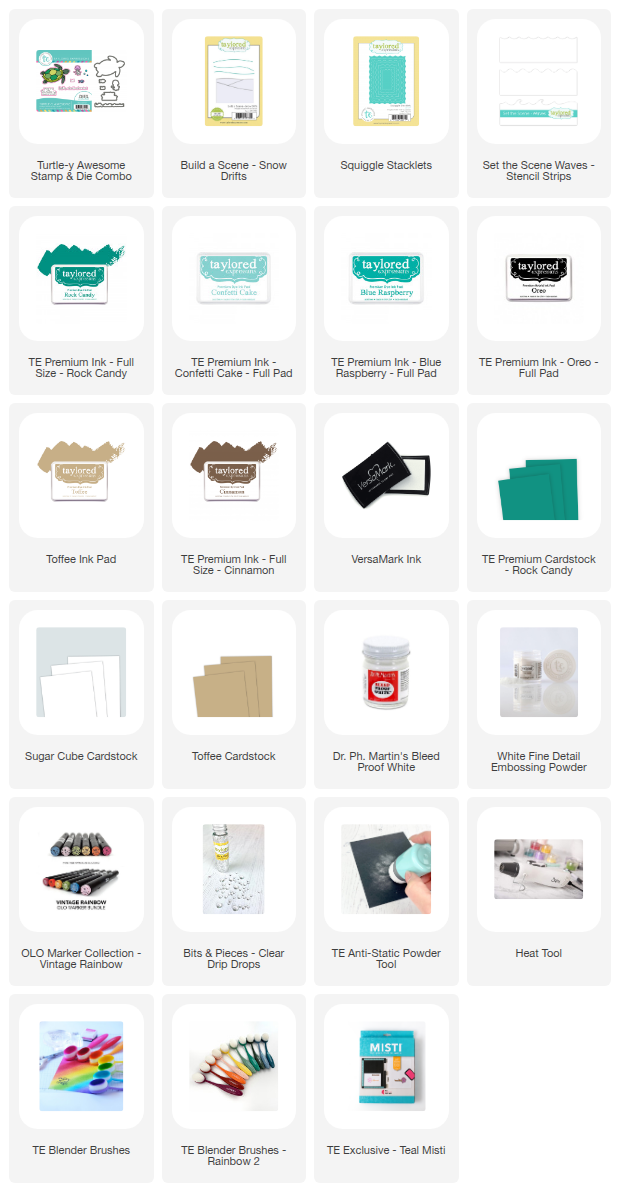
My first card is created with the  Turtle-y Awesome Stamp & Die Combo. Such a cute turtle! I stamped in Oreo Ink and colored with Olo Markers and then die cut. 


To create the ocean theme I die cut the front panel with the Squiggle Stacklets from Sugar Cardstock. Next I used the Set the Scene - Waves Stencil with Rock Candy, Blue Raspberry, and Confetti Cake Inks, starting with the darkest ink at the the bottom. I stamped the bubbles with a a stamp included in the stamp set with Rock Candy Ink. I finished off with a light splattering of white ink and a few Bits & Pieces - Clear Drip Dots. 


The sentiment is included in the Turtle-y Awesome Stamp & Die Combo. I stamped in Versamark Ink on Rock Candy Cardstock and embossed with TE White Embossing Powder. 

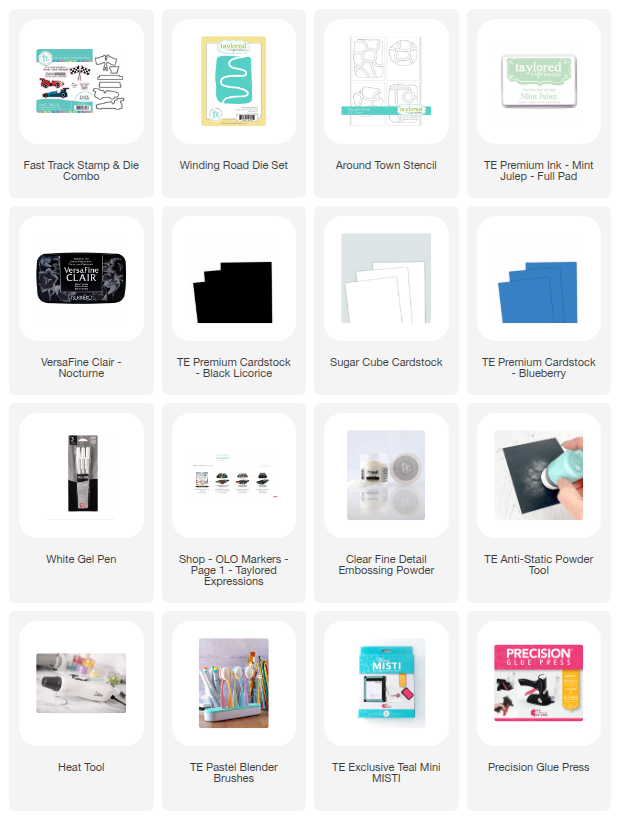
Next is a look at the Fast Track Stamp and Die Combo. A great set for all the car and car racing fans! I stamped the cars and the flags with VersaFine Clair - Nocturne Ink and embossed with TE Clear Embossing Powder to add a little extra shine to my cars. Then I colored with Olo Markers. I added Bit & Pieces - Bits & Pieces - Black Rhinestones to the wheels. 


I used the Winding Road Die to create the street, using a white gel pen to added the street line. The background is stenciled with the Around Town Stencil with Mint Julep Ink. 


The sentiment is also included in the  Fast Track Stamp and Die Combo. 


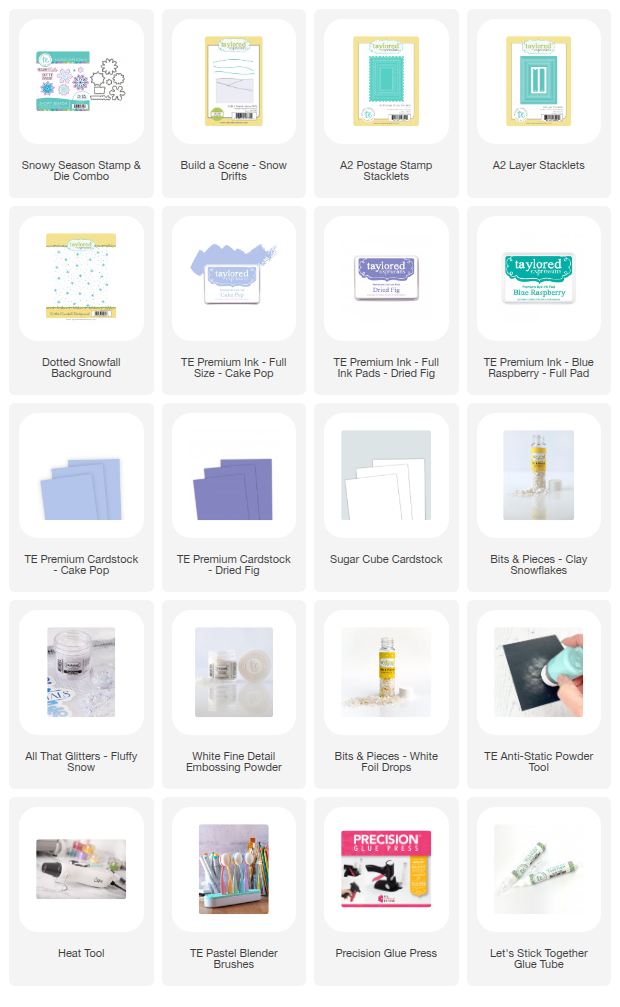
The Snowy Season Stamp Set and Die combo is perfect for this time a year. The set is full of pretty snowflakes. I stamped a variety of snowflakes in Cake Pop, Blue Raspberry, and Versmark Ink on Dried Fig Cardstock and embossed with white embossing powder. 


I used Cake Pop Cardstock for the background and blended Cake Pop Ink on the edges. Then I stamped the Dotted Snowfall Background Stamp in Versamark Ink and embossed with TE White Embossing Powder. I added the hills of snow at the bottom with the Build A Scene - Snow Drifts Die Set. I inked the edges with Cake Pop Ink and added TE All That Glitters - Fluffy Snow. 


I also added a few Bit & Pieces - Clay Snowflakes. I added a sentiment for the stamp set at the bottom. 


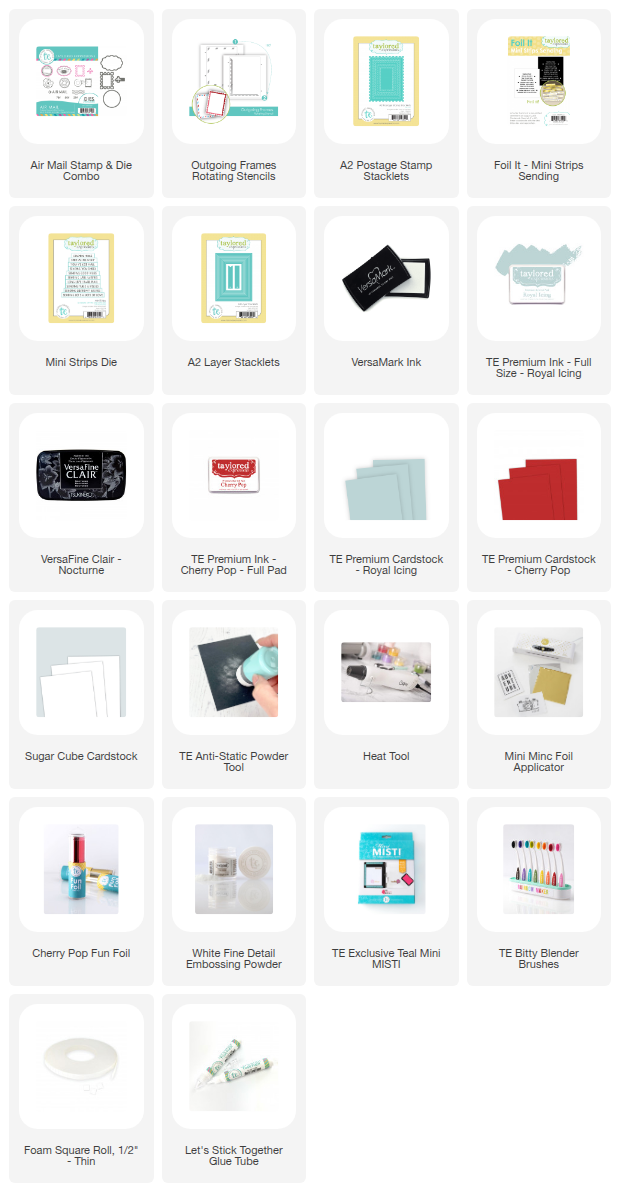
My last card features the Air Mail Stamp and Die Combo. I think I will use this stamp set on cards throughout the year. I stamped a variety of the postage themed stamps to create the background, stamping in Royal Icing Ink on Royal Icing Cardstock. I added a die cut image to the top corner and center of the card. 


This sentiment is from the Foil It - Mini Strips Sending and die cut with the Mini Strip Die. I used TE Fun Foil in Cherry Pop.


The outside border is stenciled with the Outgoing Frames Layering Stencil with Cherry Pop and Royal Icing Inks. 

https://www.tayloredexpressions.com/whats-new/cute-combos/
Cute Combos are unique, petite stamp and die combos that bring personality to every project, making it easy to create cards that feel tailored to the people you love.

This week, save 15% when you get 4 or more Cute Combos!

If you want the whole collection, the I Want It All Bundle is also available at 15% off, making it easy to bring home every set.

Offer valid Tuesday, December 9 (12/9), 2025 at 9 AM CT through Tuesday, December 16 (12/16), 2025 at 9 AM CT.

Stop by the TE Blog for all the details and more inspiration from the team. 

11/24/25

Hi and welcome to Day 3 of the Papertrey Ink November Release Countdown.  I have two more projects to share with you today. All the new products will be available tomorrow,  November 25th at 12 PM EDT.  


First up is a look at the cute Cover Plate: Snowman Dies. This is another no stamping card. You just die cut the pieces and put your card together. 


Here is closer look. I used a white glitter cardstock for the hills of snow and PTI Black Gems for the eyes and buttons. I used a black gel pen to accent the mouth. 


The extra snowflakes are added with the Holiday Tag, Let it Snow Die Set. 

Supplies:

Dies: Cover Plate: Snowman, Holiday Tag: Let It Snow. 
Ink: Aqua Mist, Sweet Blush, Pure Poppy
Paper: Stamper's Select White, Pure Poppy, Aqua Mist, Ripe Avocado, Sweet Blush, Orange Zest
Other: White Glitter Cardstock, PTI Black Gems, PTI Clear Gems, Blender Brushes, White Paint


Next is a set of tags created with a mix of new and previously release products. 


On this tag I used Holiday Tag: Peace on Earth Die and a sentiment from the new This is Big Sentiment: Holiday Tag.  I used the Winter Magic Stencil with Tim Holtz Distress Texture Paste to add the snow. 


Here is another sentiment from the This is Big Sentiments: Holiday Tags. The flower is created with the Into the Blooms: Poinsettia Dies. 


My last tag is created with the Holiday Tags: Let It Snow die. 

Supplies: 
Stamps: This is Big Sentiments: Holiday Tags
Dies: This is Big Sentiments: Holiday Tags, Holiday Tags: Snowman, Holiday Tag: Peace On Earth, Holiday Tags: Let It Snow, Into the Blooms: Poinsettia
Ink: Aqua Mist, Pure Poppy, Ocean Tides, Ripe Avocado
Paper: Stamper's Select White, Pure Poppy, Ripe Avocado, Orange Zest, Sweet Blush, Dark Indigo, Ocean Tides
Other: Tim Holtz Texture Paste, Snowflake Embellishments, White Glittered Cardstock, Twine, PTI White Pearl, PTI Black Gems, Winter Magic Stencil

Stop by the PTI Blog for more inspiration and all the details on the release. All the new products will be available tomorrow, November 25th at 12 PM EDT.  

8/10/25

City Holiday Collection by Yana Smakula

Hi All! Today I have two projects to share with you from the new City Holiday Collection by Yana Smakula for Spellbinders.  It is a wonderful collection!


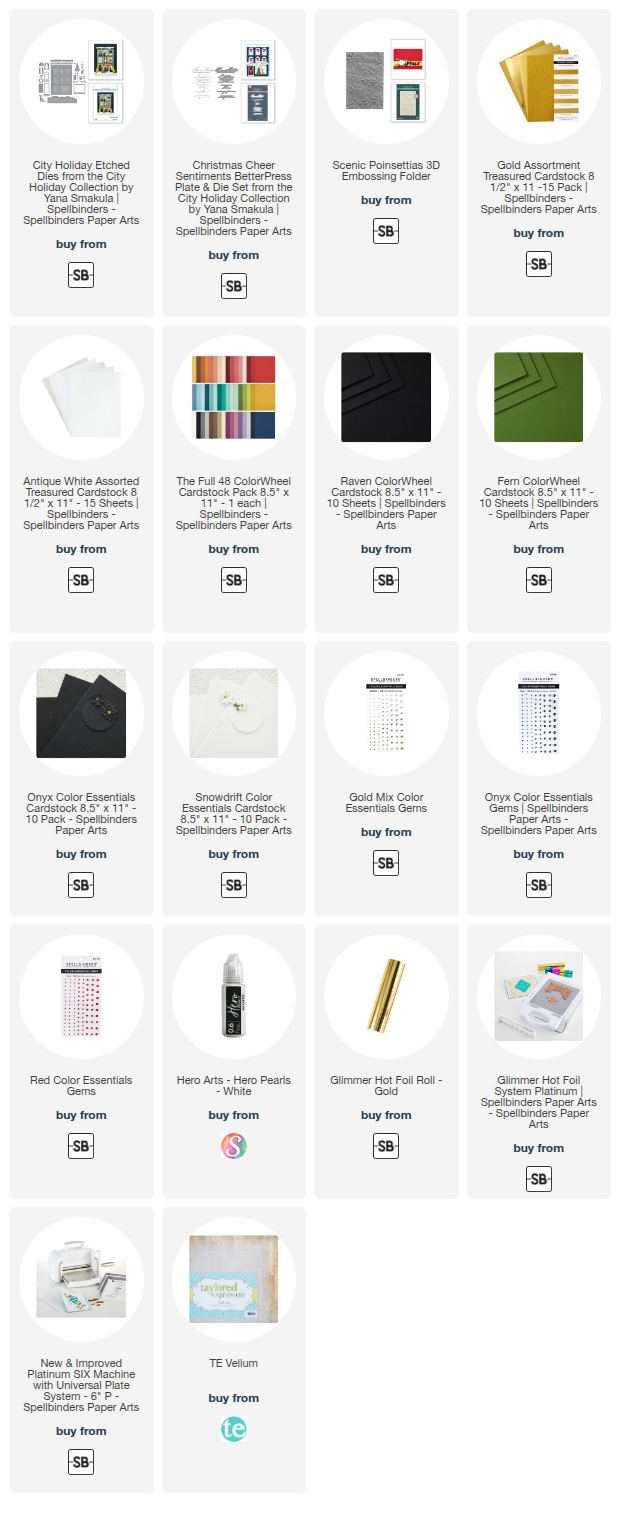
My first two projects showcase the City Holiday Etched Dies and the Christmas Cheer Sentiments BetterPress Plate & Die Set. I have linked the products below. I love little Christmas houses so this collection was so fun to play with. 


I die cut the house from white cardstock and then created the windows, doors, and Christmas embellishments. The die that cut the house also impresses the spots for the windows and doors so it is easy to align everything up. I also added the roof and snow at the top of the house and a hill of snow at the bottom of the house. 


For the sentiments on my card I used the Christmas Cheer Sentiments BetterPress Plate & Die Set. I love that the BetterPress plates also work with the Glimmer Hot Foil System. Here I foiled my sentiment with gold foil on Onyx Cardstock. 


To create the background I splattered white paint on Onyx Cardstock and then added drops of Hero Arts White Pearls. 


On my second card I just used the dies for the doors, the trees and the hill of snow. This makes the die set very versatile. 


The background is embossed with the previously released Scenic Poinsettias 3D Embossing Folder. This is one of my favorite embossing folders. 


I added another sentiment from the Christmas Cheer Sentiments BetterPress Plate & Die Set.
Thanks for stopping by! I will have two more cards to share with you tomorrow. 

7/29/25

O Christmas Tree Cardmaking Kit

It is the last Tuesday of the month and time for a new cardmaking kit for Taylored Expressions. We are celebrating Christmas in July with the new O Christmas Tree Cardmaking Kit, available now in the TE Store. 


I created two different themed cards with the new kit to share with you today. 


When it comes to untraditional Christmas color combos this is one of my favorite. I used Spearmint, Brussels Sprout, Salt Water Taffy and Macaron with silver accents. My first step was to stencil and die cut the tree. 


Next I stamped the O Christmas Tree Split Stamp & Stencil Combo, using the part of the stamp that is created the snowflake background. I stamped in Versamark Ink and embossed with white embossing powder. I added the Christmas tree to the background and the die cut the presents to put under the tree. 


I used the See the Light Die Set to add the ornaments to the tree. The See the Light Die Set is available separately for the kit. I added one of the sentiments in the Mini Strips Stamp - Holiday 2 from the card kit. 


On my second card I went with a more traditional color theme, stenciling in Cilantro, Jalapeño, and Cinnamon inks, using Red Glitter Cardstock for the ornaments, and Licorice Cardstock for the card base. I stamped the snowflake in Versamark Ink and embossed with gold embossing powder. 


To add the birds I used the new Winter Birds Die Set, also available for purchase separately. There are a number of types of birds you can create. I can see using this die set throughout the winter season. I used red glitter cardstock to add the ornament with the Light It Up Die Set. 


This is another sentiment from the Mini Strips Stamp - Holiday 2. 


  • O Christmas Tree Split Stamp & Stencil Combo
  • O Christmas Tree Dies
  • Mini Strips Stamp - Holiday 2
  • The Insiders - O Christmas Tree
  • Taylored Tutorial
Kits go fast and most items are not available to purchase outside the kit. Plus, each cardmaking kit includes a Taylored Tutorial! This detailed instruction sheet helps kickstart your creative journey with step-by-step instructions.


Pair your kit with these coordinating products to take your projects even further:
Want it all? We totally understand and have made it easy for you to get everything in one click! Get the All Spruced Up Bundle that includes the kit along with each of the additional coordinating products ensuring you have one of everything.

https://www.tayloredexpressions.com/all-spruced-up-bundle/

Thanks for stopping by! Stop by the TE Blog for all the details and more inspiration from the team.


11/24/24

Papertrey Ink November Release Countdown Day 3

Hi and welcome back for Day 3 of the Papertrey Ink November Release Countdown. I have two more projects to share with you today. All the new products will be available on November 26th at 12 PM ET. 


My first card features three new products, the Build-A-Snowflake Dies, the Big Blooms: Pretty Petals Dies, and the Fantastic Front Snowflakes Dies. To create the card front I die cut the top panel with the Fantastic Front Snowflakes Dies. The set also includes the die to cut the large snowflake under the flower. The Bottom part of the card is stenciled with the Spectacular Snowflakes Stencil Collection using Tropical Teal Ink. 


I used the Build-A-Snowflake Dies to build the snowflakes. The flower and greenery are die cut with the  Big Blooms: Pretty Petals Dies. The dies in this set allow you to create flowers in many different sizes. 


The sentiment is from the previously released Winter Greetings Stamp Set and die cut with the coordinating dies. 


Next up is a look at the Reflections: November Stamps and Dies. The November Reflections Die Set includes two sizes of frames. I used the larger die on this card. 


First I used the Stargazing Hot Foil Plate with gold foil on Pinefeather Cardstock. Next I die cut the frame with the foiled stars, and then two more time from Pinefeather Cardstock. I layered the frames together to add dimension. Next I stamped the sentiment in Versamark Ink and embossed with gold embossing powder. 


I die cut the greenery I attached around the frame with the Into the Blooms: Swag Die. 

I will be back tomorrow with more projects with the new release. Stop by the PTI Blog for more inspiration from the team.


11/23/24

Papertrey Ink November Release Countdown Day 2

Hi and welcome back for Day 2 of the Papertrey Ink November Release Countdown. I have two more projects to share with you today. All the new products will be available on November 26th at 12 PM ET. 


First up is a look at the Build-A-Hat Dies and the This is Big Sentiments: Snow Stamp Set and Dies. I love this cute winter hat and there are so many options in the die set for designing your hat. 


Here is a closer look at the designs I added to hat with the detail dies. The sentiments are from the new This is Big Sentiments: Snow Stamp Set and Dies. The snowflake dies are also included in the die set. 


I die cut the card front from patterned paper and die cut with the Love to Layer: Torn Edges Dies. 


My next project features the Line It Up: New Years Dies and the Elegant Edges: Clock Dies. There are two more sentiments in the Line It Up: New Years Dies so the die set can be used throughout the year. 


I started by using the Stargazing Hot Foil Plate with gold foil on True Black cardstock. Then I die cut with the Elegant Edges: Clock Dies. I added gold foil behind the clock number and Stamper's Select white cardstock behind the black cardstock. I also cut the sentiment from gold foil. 


I added the flower with the Into the Blooms: Poinsettia Die, adding Gold Stickles to the white cardstock. 

I will be back tomorrow with more projects with the new release. Stop by the PTI Blog for more inspiration from the team.