8/11/20

A New Card Kit from Taylored Expressions!

Hi All! I am so excited to share the new card kit being released today from Taylored Expressions! Field Notes may be my favorite kit so far! The kit is designed by the amazIng Lori Craig and is just so pretty! Stop by the TE Blog for the details on the kit! 


Here are the first cards I designed with the kit. I love the beautiful botanicals and the sketchbook look of the stamps! 


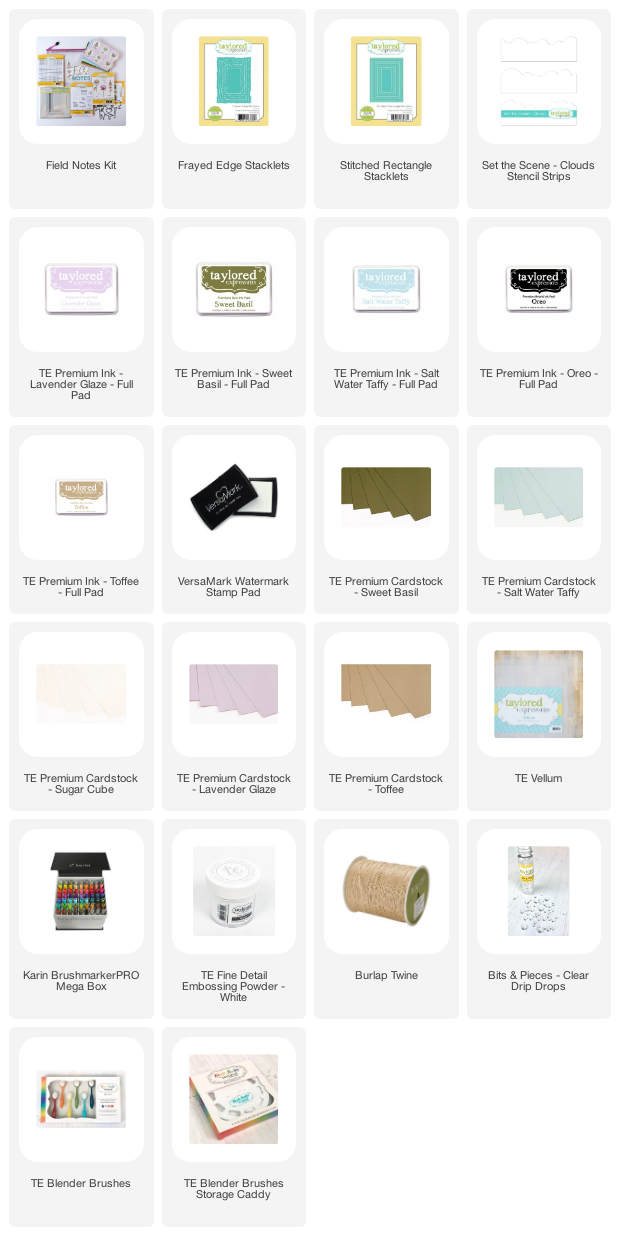
Here a closer look at the first card. I used the Masking Stencil - Frayed Edges Rectangle that is included in the kit to create the background. I used the Set the Scene - Cloud Stencil Strips to added the clouds with Salt Water Taffy Ink and the Sweet Basil Ink for the grass. 


I stamped two of the stamps included in the Field Notes Stamp Set from the Kit in the background and then die cut with the previously released Frayed Edge Stacklets. (See links below)


The flowers are stamped with the Sketchbook Florals Stamp Set that is also included in the kit. I watercolored the flowers with  BrushmarkerPRO Brushmarkers. These brush makers are new to me and I am happy with the results. The sentiment is included in the Sketchbook Florals Stamp Set. I finished off the card with a few Bits & Pieces - Clear Drip Drops which you can purchase separately. 


On my next card I stamped the Rough Draft Background Stamp for the background, also included in the kit. I stamped on Toffee Cardstock with Toffee Ink. On the background I stamped two flowers Versamark Ink, embossed with TE White Embossing Powder, then watercolored the flowers. 


This flower is die cut with Sketchbook Florals Dies, part of the Kit. The kit also includes the pretty seals and pretty mix of colored envelops. 


Here is a look at the last card, done in Lavender Glaze Cardstock and Ink. I used the smaller masking stencil on this card and then used the Stitched Rectangle Stacklets to cut the rectangle in the card front. 


I added the calendar and sentiment from the Field Notes Stamp Set, thinking the stamps would work perfectly for a sympathy card. 
Stop by the TE Blog for all the details on the kit and more inspiration from the rest of the TE Team! 

8/10/20

Spellbinders Large Die of the Month for August!

Hi Crafters! I am starting the week off with a fun project I created the Spellbinders Large Die of the Month for August. This month's 3D Still Life Easel & Canvas large die set is perfect for making cards, decor, and more.

Join the Large Die of the Month Club and receive an expertly designed die set each month, complete with inspiration. Plus, members get store savings, extra deals, gifts, and more. Click Here to learn more about club membership. 

Membership Includes:

Exclusive Larger Set of Versatile Dies that cut, emboss, deboss and stencil. Double the size of the Small Die Set! $40 Value!

Project Inspiration: Each kit will feature project ideas with at least one detailed how-to instruction tutorial each month.

Member Benefits & Savings: Receive exclusive member pricing in the Spellbinders store. Plus receive access to deals, savings, and gifts - only available to members.


This month's die creates this easel and canvas. I put the easel together with black Cardstock and double stick tape, an added the accent at the top of the easel with gold foil. 


I created the canvas from watercolor paper then stenciled the clouds in the background. The die set includes the dies to cut the vase, flowers, table, and paint pallet. The flowers are watercolored and I added gold jewels to the center of flowers with jewels from Pretty Pink Posh. See the links below. 

Here's a closer look at the paint pallet and paint brush which could also be used to create a card! 

Thanks for taking a look. You can find all the information about the Large Die of the Month Club here


8/4/20

Just a Note

Hi! I have been trying to pop a few notes in the mail to friends I have not seen for months! Just want them to know I am thinking of them and miss their company. Today's Just a Note card has a summer vibe with products from Pretty Pink Posh

The background is die cut with the Lattice Background Die. (See Links Below) I cut a piece of cardstock to fit behind the lattice die cut and blended Picked Raspberry, Spiced Marmalade, and Squeezed Lemonade Distress Inks. 

Next I stamped the monkeys from the Monkey Friends Stamp Set and the palm trees from the Tropical Birds Stamp Set, colored with Copic Markers, and die cut with the coordinating dies. 

The grass is added with the Nature Essentials Dies and I added some machine stitching. The sentiment is from the Simple Sentiments Stamp Set and die cut with the Simple Strips Dies. I stamped the sentiment in Versamark Ink and embossed with white embossing powder. Lastly I added Lemon Drop Jewels to the center of the flowers. 

Thanks for visiting! 

7/29/20

Yappy Birthday to You

Hi! I have been working on birthday cards this month. They seem to go out the fastest and I can never have too many in my stash. This card is created with the Gus & Gertie Stamp Set from Taylored Expressions. When it come to critters this is one of favorites! 


The images from the stamp set are stamped in Oreo Ink, colored with Copic Markers, and die cut with the Gus & Gertie Dies. I cut a circle of Sugar Cube Cardstock with the Stitched Circle Stacklet. I added clouds to be background with the Set the Scene - Clouds Stencil Strips and Gumball Ink. I used the Petite Scallop Circle Stacklets to mat the circle of clouds with Cherry Pop Cardstock. 


The background is created with the Puppy Love Layered Stencil. This is a set of two layering stencils. The sentiment is from the Simple Strips - Woof Stamp Set and die cut with the Simple Strips - Well Rounded Die. For a little extra detail I added the machine zig zag stitch. 


Have a great day and thanks for taking a look! 

7/28/20

Celebrate Your Day!

Hi Everyone! I have another birthday card with products from Pretty Pink Posh to share today. I've had a few cards ready to go from the new release but I have been waiting to share them until all the products were back in stock!! 

I started this card by cutting the frame with the Tropical Frame Die (see links below) from white Cardstock and then inked with Shabby Shutters and Peeled Paint Distress Inks. Behind the frame I added a piece of cardstock inked with Tumbled Glass Distress Ink. 

The cute monkey and vines are from the new Monkey Friends Stamp Set and die cut with Monkey Friends Coordinating Dies. The branch with the flowers on it is created with the branch in the Tropical Toucans Set and Dies. 

The sentiments are included the Simple Sentiments Stamp Set and die cut with the Simple Strips Dies. I finished off with a few Caribbean Blue Jewels. 

Thanks for taking a look! I will be back with a few more cards this week. 

7/24/20

A Friend Birthday Card with Pretty Pink Posh

I am popping in today with a birthday card I created with products from Pretty Pink Posh.  I've had this card ready to share but have been waiting until the products were back in stock!

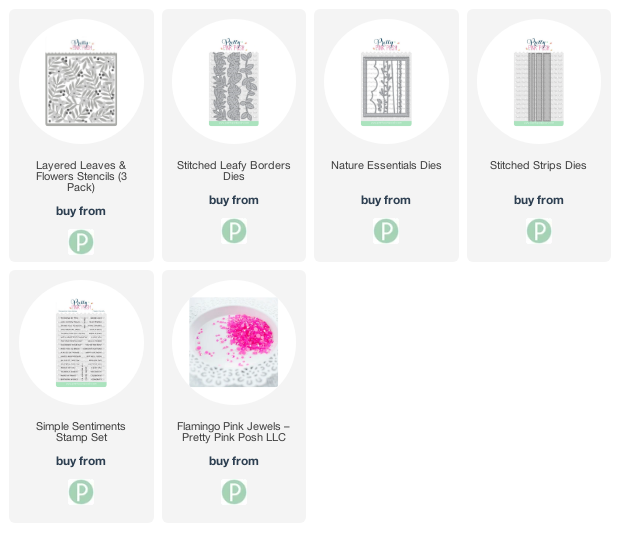
Let's start with the background for my card. I used the Layered Leaves & Flowers Stencils - See links below. This is a set of three stencils that you layer on on top of each other.  I started by cutting a piece of white cardstock for the card front and brushing on a light coat of Tumbled Glass Distress Ink. Next I stenciled the leaves, then the berries, and my last step was to use white embossing paste for the flowers. 


I die cut one of three dies in Stitched Leafy Borders Dies to add at the bottom along with the small white border with the Stitched Strips Dies. The sentiments are from the new Simple Sentiments Stamp Set and die cut with the Simple Strips Dies. The frame is die cut with the Nature Essentials Dies. All back in stock here! I finished off the card by adding Flamingo Pink Jewels to the center of the flowers. 

Thanks for stopping by! Have a great weekend! 

7/22/20

Christmas Tags with the new Frosty Kit from Taylored Expressions

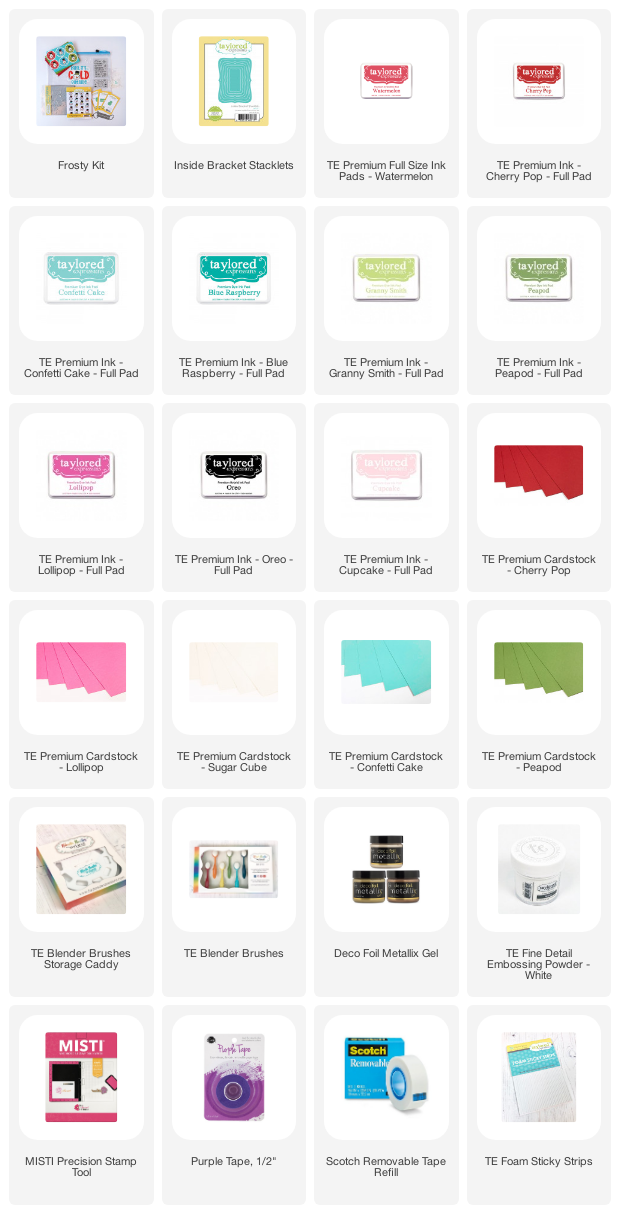
Hi All! I am back today with some Snowmen Tags I created with the cute, new Frosty Kit from Taylored Expressions. I like making tags for the holidays and I love getting an early start!


I used the Inside Bracket Stacklets for the base of all four tags. I used my TE Blender Brushes to ink the backgrounds and added an eyelet and a checked ribbon at the top of each tag. 


I used the Frosty Stencil with Deco Foil Metallix Gel in White Pearl to add the snowflakes to the background along with a few Bits and Pieces - White Rhinestones. 


The snowmen are easy and quick to put together and perfect for mass producing! I stamped two of sentiments included in the kit and attached them to the bottom of tag. Looking forward to adding these tags to dress up my packages at the holiday! 


Here is everything included in the Frosty Kit - which retails for $65:
  • Frosty Background Cling & Clear Combo stamp set
  • Frosty's Head die
  • Frosty's Body die
  • Frosty stencil
  • Winter Wishes Clearly Crafty stamp set
  • Sentiment Strip Duo die collection
  • Bits & Pieces - Snowflakes
  • 6 Custom Envelope Seals
  • 6 Colored Envelopes
  • Packaged in a zippered pouch with a custom kit label

Stop by the TE blog for all the details on the kit and more inspiration.  Also you can find me on Instagram here