It is Christmas in July at Taylored Expressions today. This month's Cardmarking Kit, Berry & Bright, will get you started on your holiday creating early! It is perfect for cards and tags! I have two projects to share with you using two different color combos.
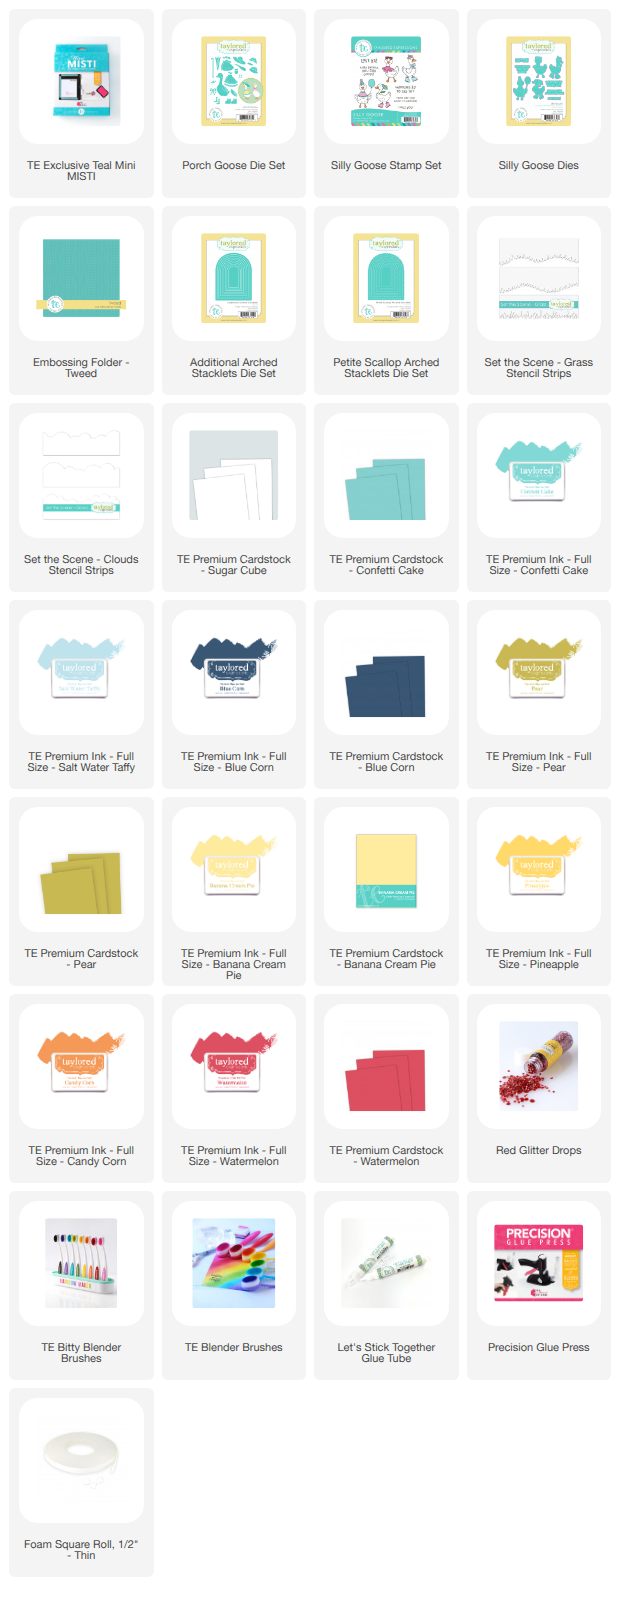
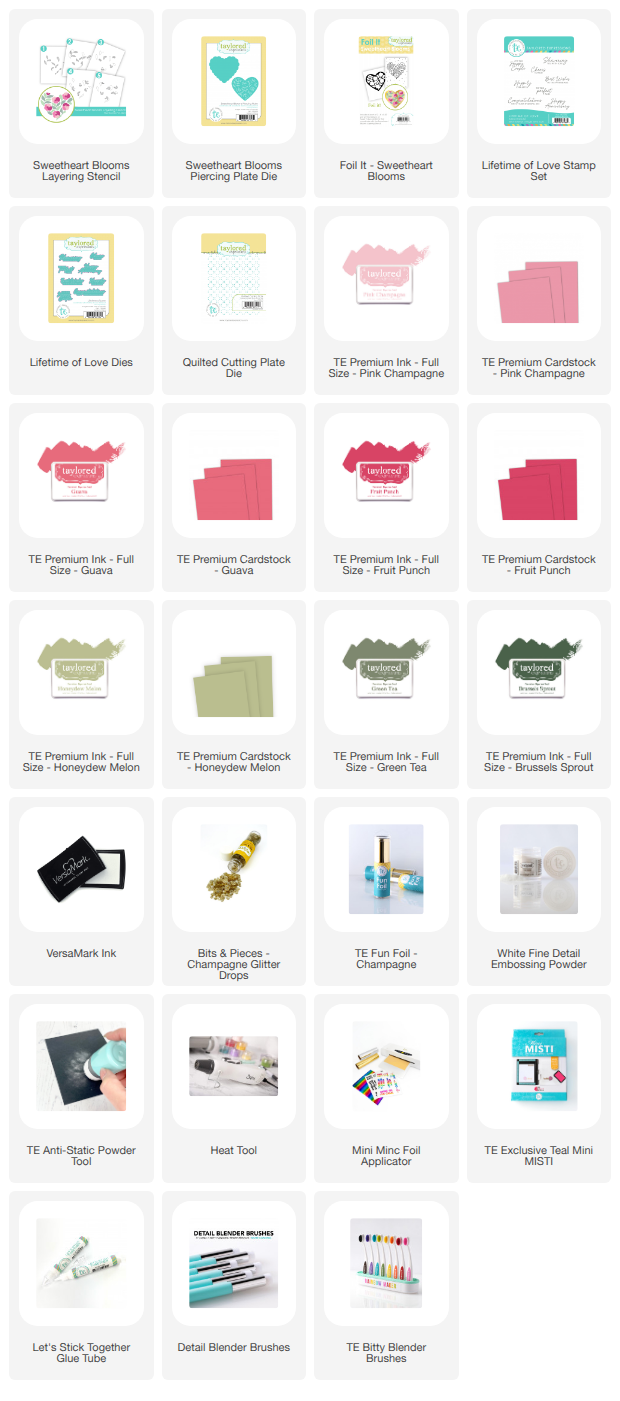
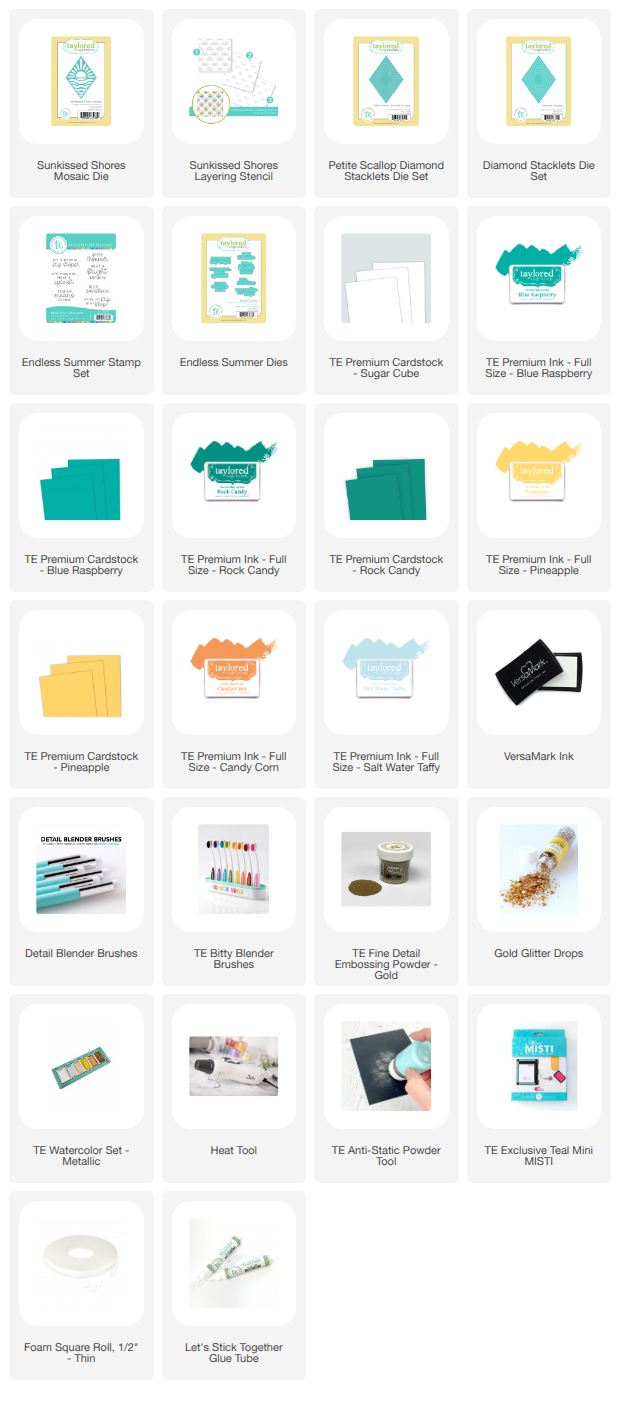
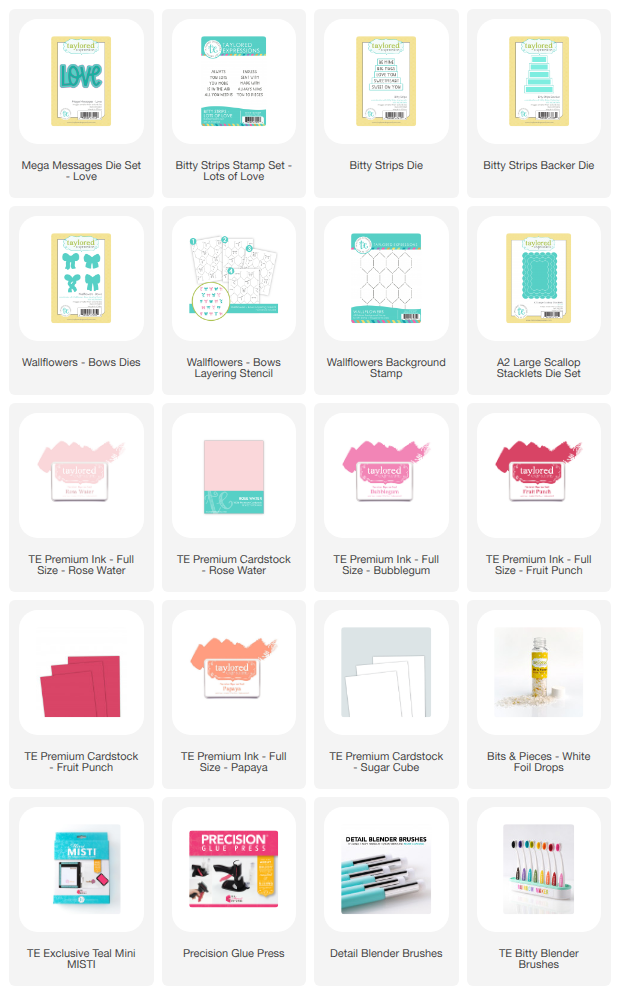
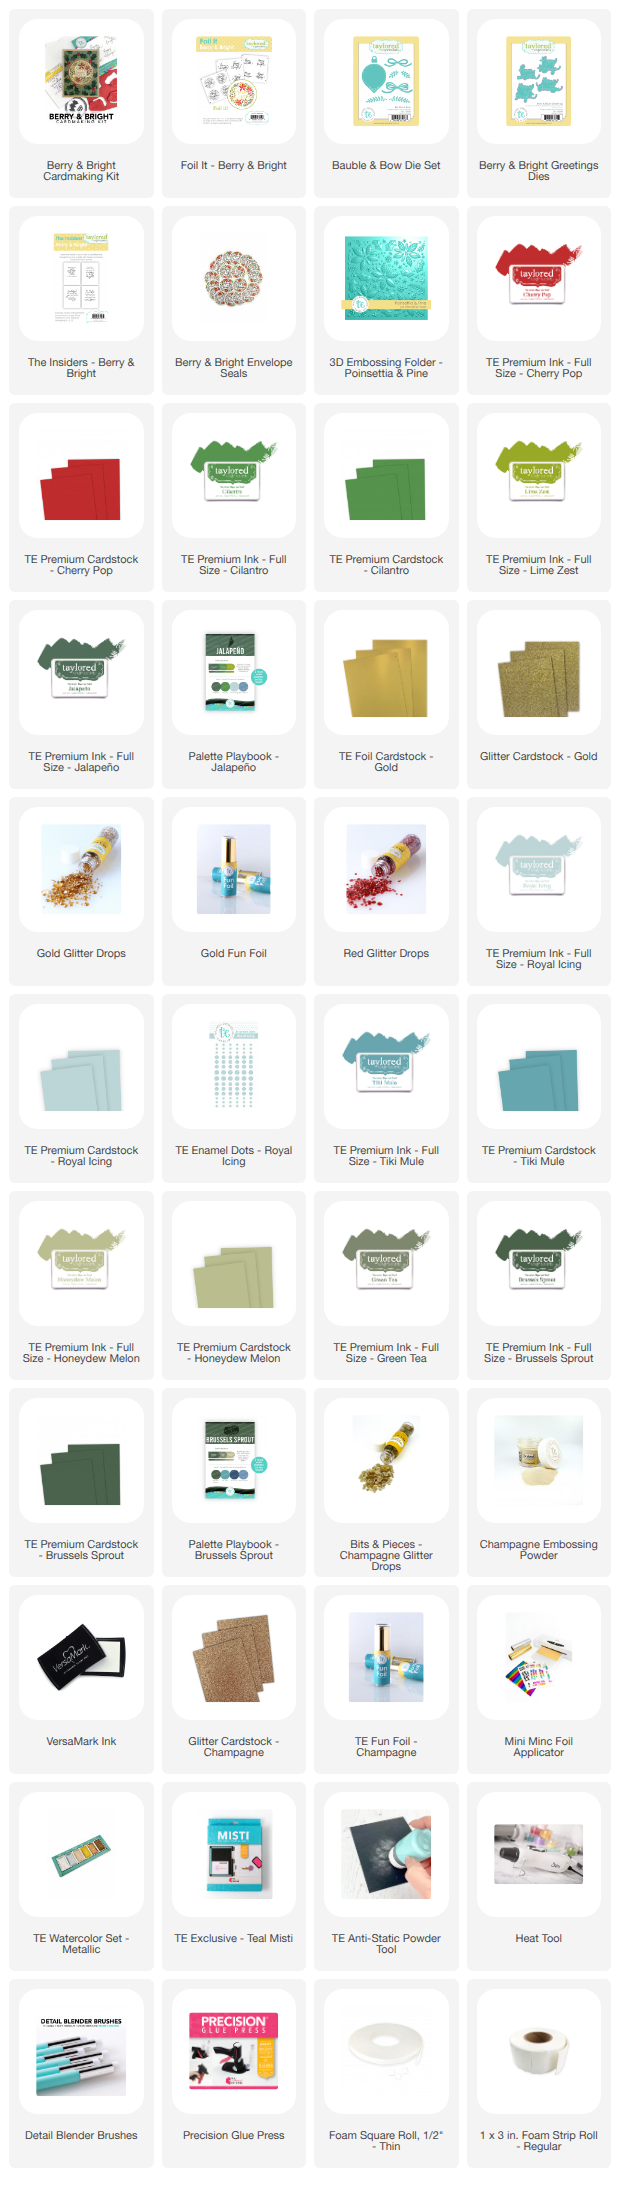
Here's what's included in the kit:

For my first project I went with a traditional color combo, combining Cherry Pop, Cilantro, and gold.

I foiled one of the Foil It- Berry & Bright panel with TE Gold Foil using my Minc. I used Cherry Pop and Mulled Wine Ink for the poinsettias and berries and Lime Zest, Cilantro, and Jalapeño for the greenery. Then I die cut with the Berry & Bright Coordinating Dies.

I used Cherry Pop Cardstock for the card base and embossed with the 3D Embossing Folder - Poinsettia & Pine. With the Bauble & Bow Die Set, which is available for purchase outside of the kit, I added the ornament hanger and bow.

This is one of The Insiders - Berry & Bright panels that are included in the kit.

One Foil It- Berry & Bright panel creates four stenciled images. I created three tags with the other three stenciled images. I am excited to already have six tags in my stash for wrapping Christmas presents!


Featured Promotion 🎁
When you purchase the Berry & Bright Cardmaking Kit or Boughs & Baubles Bundle, you’ll receive exclusive early access to a bonus tutorial from Creative Team member Alicia Ekermans.

Stamp Joy 2026 Registration Closes on August 3rd! 🎉
Registration for Stamp Joy Staycation closes Monday, August 3 at 11:59 PM CT, and we don't want you to miss out!
Join Taylored Expressions on Saturday, November 7 for a live virtual crafting experience filled with creativity, learning, and connection. You'll create exclusive projects alongside TE founder and Creative Director Taylor VanBruggen and Designer Susan Block, discover exciting new techniques, enjoy a $60+ goodie bag of brand-new TE products, and craft with a welcoming community of fellow cardmakers... all from the comfort of your own craft space!
👉 Learn more and reserve your spot before registration closes!