Showing posts with label Tags. Show all posts

9/29/26

Christmas 2026 with Taylored Expressions

Thanks for stopping by today! It time for the Christmas 2026 Release from Taylored Expressions! This is truly one of my favorite releases of the year and I am excited to share my projects with you. There a number of bundles to choose from and all the products are available for purchase separately as well. All the new products are available now in the TE Store.


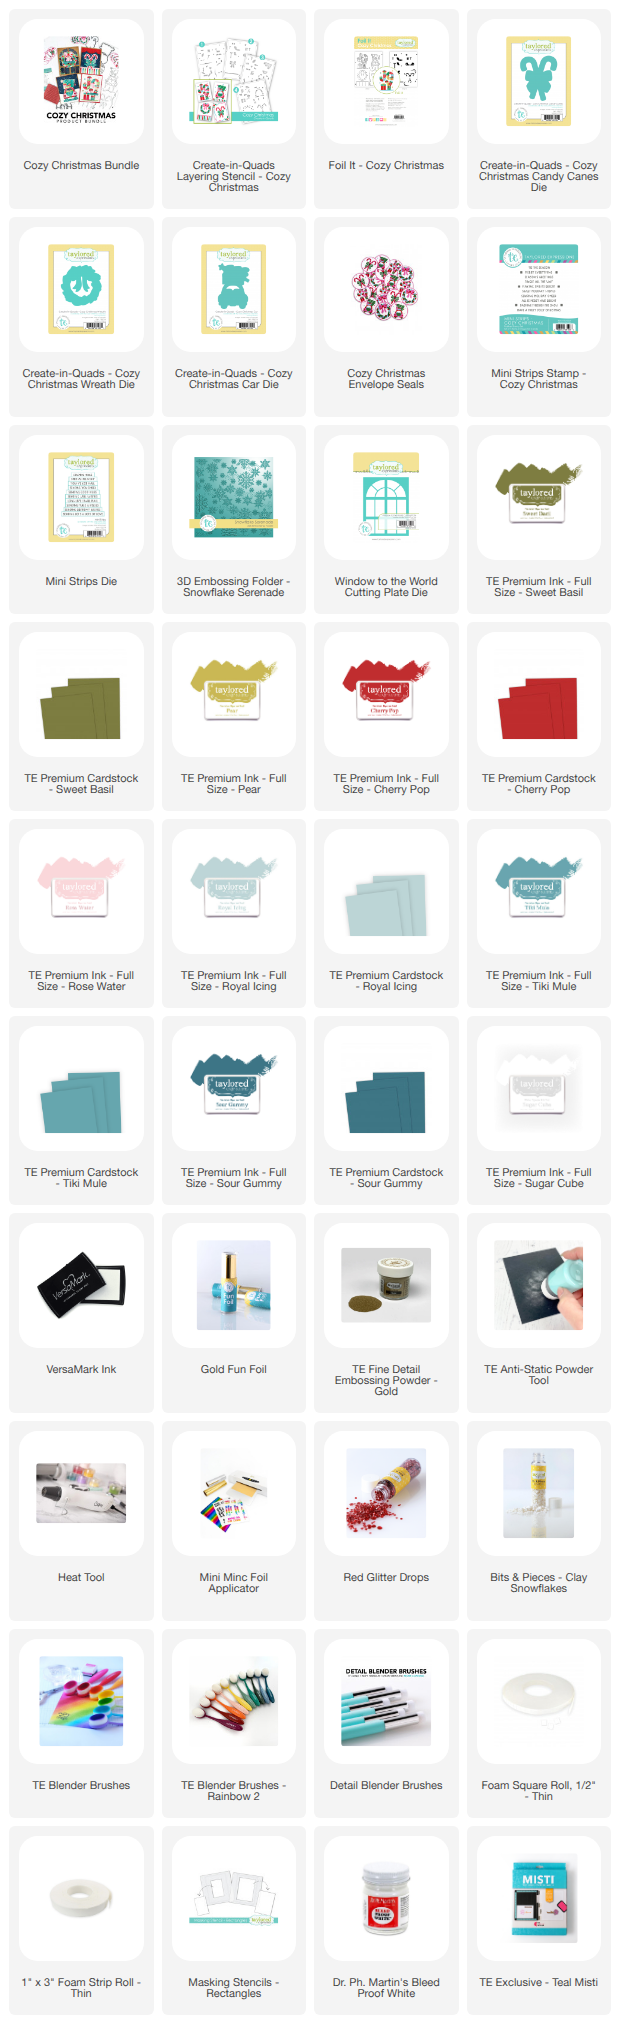
First up is a look at Cozy Christmas Collection. This Bundle includes the Create-n-Quads Layering Stencil - Cozy Christmas, the Foil It - Cozy Christmas, three Create-n-Quads coordinating Dies, Cozy Christmas Car, Cozy Christmas Wreath, Cozy Christmas Candy Cane, and the Mini Strips Stamp - Cozy Christmas. 

I used all the products in the Bundle on my cards but you can purchase the products individually. 


Here is the stenciled wreath. I used a combination of Royal Icing, Tiki Mule, Sour Gummy, Cherry Pop, Rose Water, Pear, and Sweet Basil Inks and Cardstock. I stamped the sentiments on Cherry Pop Cardstock in Versamark Ink and embossed with gold embossing powder. 

On this card I used two more of the new products, the Window to the World Cutting Plate Die and the Snowflake Serenade Embossing Folder. 


To create the background on this card I embossed Tiki Mule Cardstock with the Snowflake Serenade Embossing Folder and then lightly dragged my Sugar Cube Pigment Ink across the embossed cardstock. 


I did use the Foil It - Cozy Christmas with TE Gold Foil using my Minc Foiling Machine. Then I stenciled all the images. Here I used the Masking Stencils - Rectangle to add color behind the candy canes. 


The snowflake embellishments are added with the Bits & Pieces - Clay Snowflakes.


I really like this color combo and the Create-in-Quads Layering Stencil - Cozy Christmas is great for mass producing Christmas cards. 


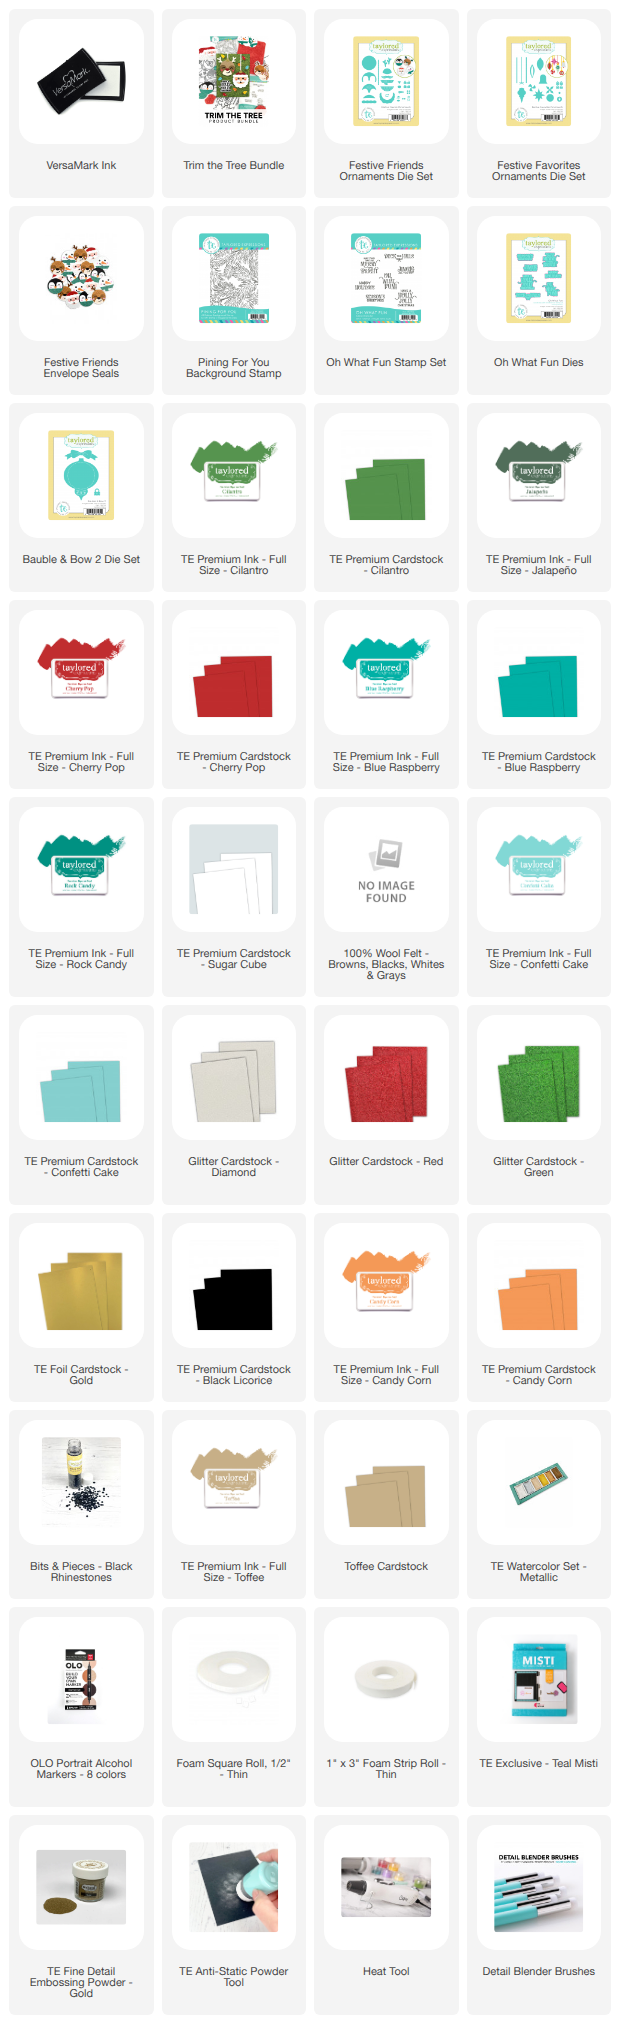
My next card and tag are created with the Trim the Tree Collection. This collection includes the Festive Friends Ornaments Die Set, the Festive Favorites Ornaments Die Set, the Pining For You Background Stamp, and the Oh What Fun Stamp Set and coordinating Dies. 


I used the Pining For You Background Stamp for the card front, stamping on Cilantro Cardstock with JalapeƱo Ink. This is such a great background for your holiday cards. The Santa, Penguin, and Snowman are die cut with the Festive Friends Die Set and the smaller ornaments with the Festive Favorites Ornaments Die Set. There are options for ornament toppers and hangers in both die sets. 


I used foam tape to attach the ornaments for a little dimension. The sentiment is from the Oh What Fun Stamp Set. 


I think the Festive Friends Ornaments also make cute tags. The base of the tag is die cut with the new Bauble & Bow 2 Die Set. 


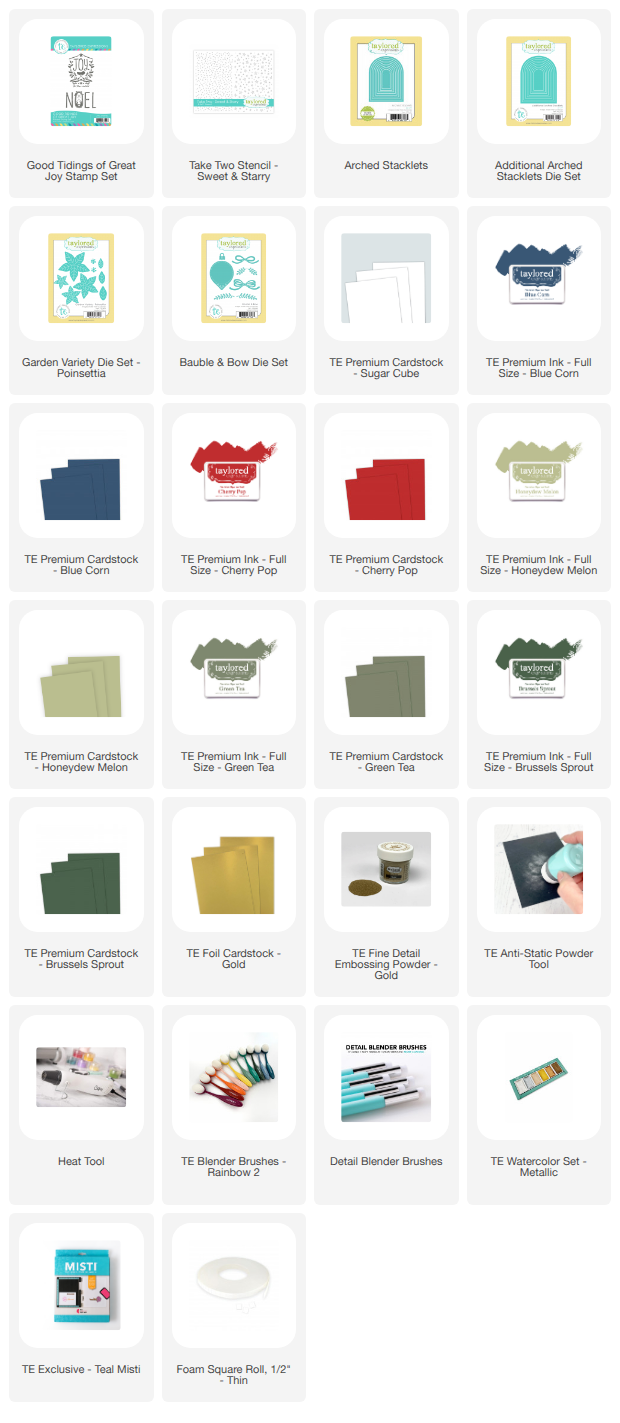
The Good Tidings of Great Joy Stamp Set includes to large images for the focal point of your card. You can keep your cards really simple with these images for mass producing. They are beautiful on their own. On this card I stepped up the design and added the poinsettia and greenery. 

First I stamped image in Versamark Ink and then embossed with TE Gold Embossing Powder. Then I blended Bleu Cheese and Honeydew Inks over the embossed image. 


This is a 5x7 card. I cut a piece of Blue Corn Cardstock for the card front and stenciled with the Take Two - Sweet & Starry Stencil with Blue Corn Ink. Next I die cut the arch into the card front with the Arched Stackles and matted the arch with Te Gold Foil Cardstock with the Additional Arched Stacklets Die Set. 

I created the poinsettia with the Garden Variety Die Set - Poinsettia. 


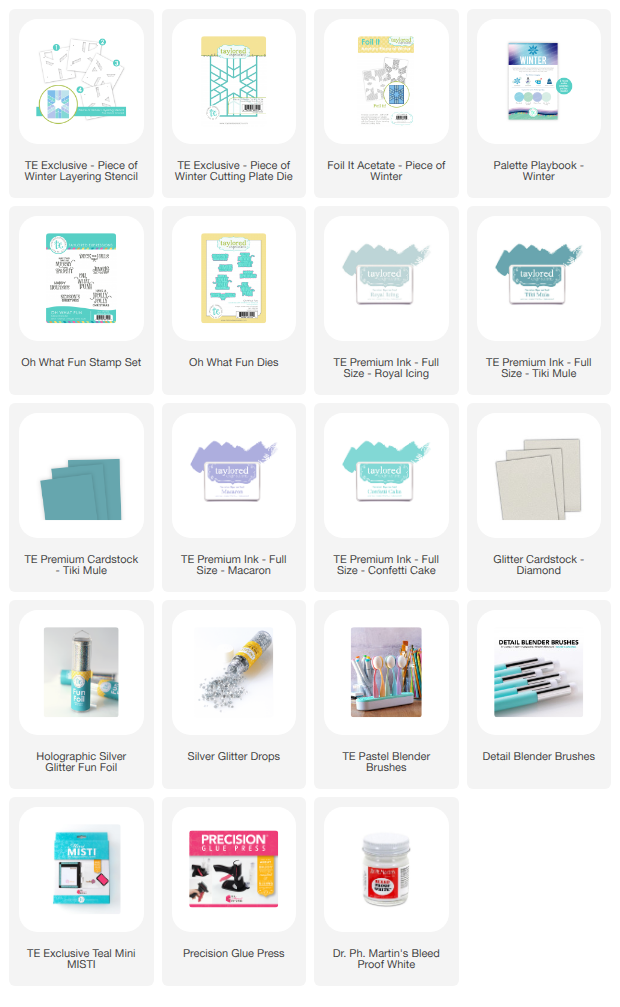
My next card is created with the gift with purchase products. If you spend $100 you will receive the Piece of Winter Layering Stencil and if you spend $200 you will also receive the Piece of Winter Cutting Plate. 


First I stenciled with the Piece of Winter Layering Stencil. I used a combination of Royal Icing, Confetti Cake, Macaron, and Tiki Mule. Next I foiled the Foil It Acetate - Piece of Winter with Silver Foil and glued it over the stencil card front. 


I die cut the Piece of Winter Cutting Plate Die from Tiki Mule cardstock and aligned it over the stenciling. I die cut the middle snowflake with the new Diamond Glitter Cardstock and used foam tape to inlay it back in the frame. 

The holidays are a wonderful time to send a little extra love through the mail, and there’s something especially meaningful about receiving a card made by hand. The Christmas 2026 Release from Taylored Expressions is here, with new ways to create cards, gifts, and projects for the people who make the season meaningful.

There’s something for every kind of holiday crafting! Create four coordinating cards at once, build on the previously released Berry & Bright collection with new coordinating products, or take the creativity beyond the card with products that can be used to create cards, tags, ornaments, garlands, gift embellishments, and more.

And there’s a little extra winter joy during release week! ❄️ Now through October 6, 2026, or while supplies last, Taylored Expressions is offering two exclusive gifts with qualifying purchases:

  • $100+ purchase: FREE TE Exclusive - Piece of Winter Layering Stencil
  • $200+ purchase: FREE TE Exclusive - Piece of Winter Cutting Plate Die

Whether there’s a long list of holiday cards to make or just a few extra-special projects planned for friends and family, there are so many ways to make the season handmade.

The Christmas 2026 Release is available now at Taylored Expressions!


Stop by the TE Blog for all the details on the new products and more inspiration from the team. 


9/26/26

Merry and Bright

Hi and welcome to Day 2 of the Papertrey Ink September Release Countdown! Today I have a pretty wreath and the cutest tags to share with you. All the new products will be available on Tuesday, September 29th at 12 PM EST.


My first card is created with the Holiday Wreath Stamp Set and Dies. I think you could use the wreath stamp throughout the year with a variety of stamps and dies. I stamped and die cut all the elements and arranged them on the wreath and hung the ornament in the center of the wreath. 


Next I foiled the card front with the previously released Fresh Greens Hot Foil Plate using gold hot foil. I also added some gold gems. 


I used a glittered red cardstock for the bow. 

Supplies:

Stamps: Christmas Wreath

Dies: Christmas Wreath

Ink: Sweet Blush, Pure Poppy, Scarlet Jewel, Classic Kraft, Simply Chartreuse, Pine Feather, Gold, Versamark

Paper: Pinefeather, Sweet Blush, Stamper's Select White, Vellum

Other: Fresh Greens Hot Foil Plate, Gold Hot Foil, Gold Gems, Gold Watercolor, Gold Embossing Powder, Red Glittered Cardstock

Next up is the Cutting Board Tags Die Set and Cutting Board Tags Stencil Collection! I think this is the cutest Idea! There is also a new sentiment stamp set with coordinating dies, Made With Love. The set is perfect for handmade treats or gifts. 


I love the woodgrain details on the cutting board. I used three different cardstocks for the three cutting boards, Vintage Cream, Fine Linen, and Classic Kraft. 


I used the Cutting Board Tags Stencil Collection to add the pattern to each kitchen towel. 


There is greenery to add to the cutting boards and the cute fork and spoon. 

Supplies:

Stamps: Made With Love

Dies: Made with Love, Cutting Board Tags

Ink: Classic Kraft, Pure Poppy, Pinefeather, Prairie Grass, Spring Moss, Fine Linen

Paper: Vintage Cream, Fine Linen, Classic Kraft, Tropical Teal, Prairie Grass, Gold

Other: Cutting Board Tags Stencil Collections, Distress Inks in Antique Linen, Brushed Corduroy, PTI Red Gems, Blender Brushes, Gold Watercolor Paint

Stop by the PTI Blog for all the details and more inspiration from the team. I will be back to tomorrow with more projects with the new release. 

8/24/26

Spooky Greetings

Welcome to Day 4 of the Papertrey Ink August Release Countdown!I have two project to share with you today. All the new products available tomorrow, August 25th at 12 PM EDT.


Who doesn't love a cute, little ghost! There are numerous ways to dress up your ghost with the new Build-A-Ghost Die Set. I added the witch's hat, broom, candy corn, and the Pumpkin Trick or Treat Basket. 


To create the die cut behind the ghost I die cut the largest die in the Love to Layer: Little Loopy Die Set from True Black cardstock. Next I added clouds with white pigment ink and then foiled using gold foil with the Stargazing Hot Foil Plate. 


The sentiments are from the new This is Big Sentiments: Halloween. 

Supplies: 

Stamps: This is Big Sentiments: Halloween

Dies: This is Big Sentiments: Halloween, Build-A-Ghost, Love to Layer: Little Loopy

Ink: Fresh Snow, True Black, Sweet Blush, Honey, Versamark

Paper: Stamper's Select White, True Black, Gold, Orange Zest, Harvest Gold, Bitty Big Collection: Sweet Blush

Other: Blending Brushes, Black Glitter Cardstock, Stargazing Hot Foil Plate, Gold Foil, Gold Embossing Powder, Gold Foil


Next I created a set of tags using the new Halloween Silhouettes Stamp Set and Dies. The pumpkins are stamped with Candy Corn Ink and the other three images are stamped on True Black Cardstock with Versamark Ink and embossed with gold embossing powder. 


The sentiments are all included in the Halloween Silhouettes Stamp Set and have coordinating dies. 


The Halloween Silhouettes Dies cut all the spooky images and the card they are centered on. I added the loopy edges with the medium sized die in the Love to Layer: Little Loopy. 


I punched a hole at the top of each tag, strung twine and added the button. 


Stamps: Halloween Silhouettes

Dies: Halloween Silhouettes, Love to Layer: Little Loopy

Ink: Versamark, True Black, Orange Zest, Terra Cotta Tile

Paper: Royal Velvet, Green Parakeet, True Black, Tropical Teal, Orange Zest

Other: Gold and Black Embossing Powder, Buttons, Twine, Gold and Black Rhinestones


Happy Crafting! Stop by the PTI Blog for all the details and more inspiration from the team.  


7/28/26

Berry & Bright!!

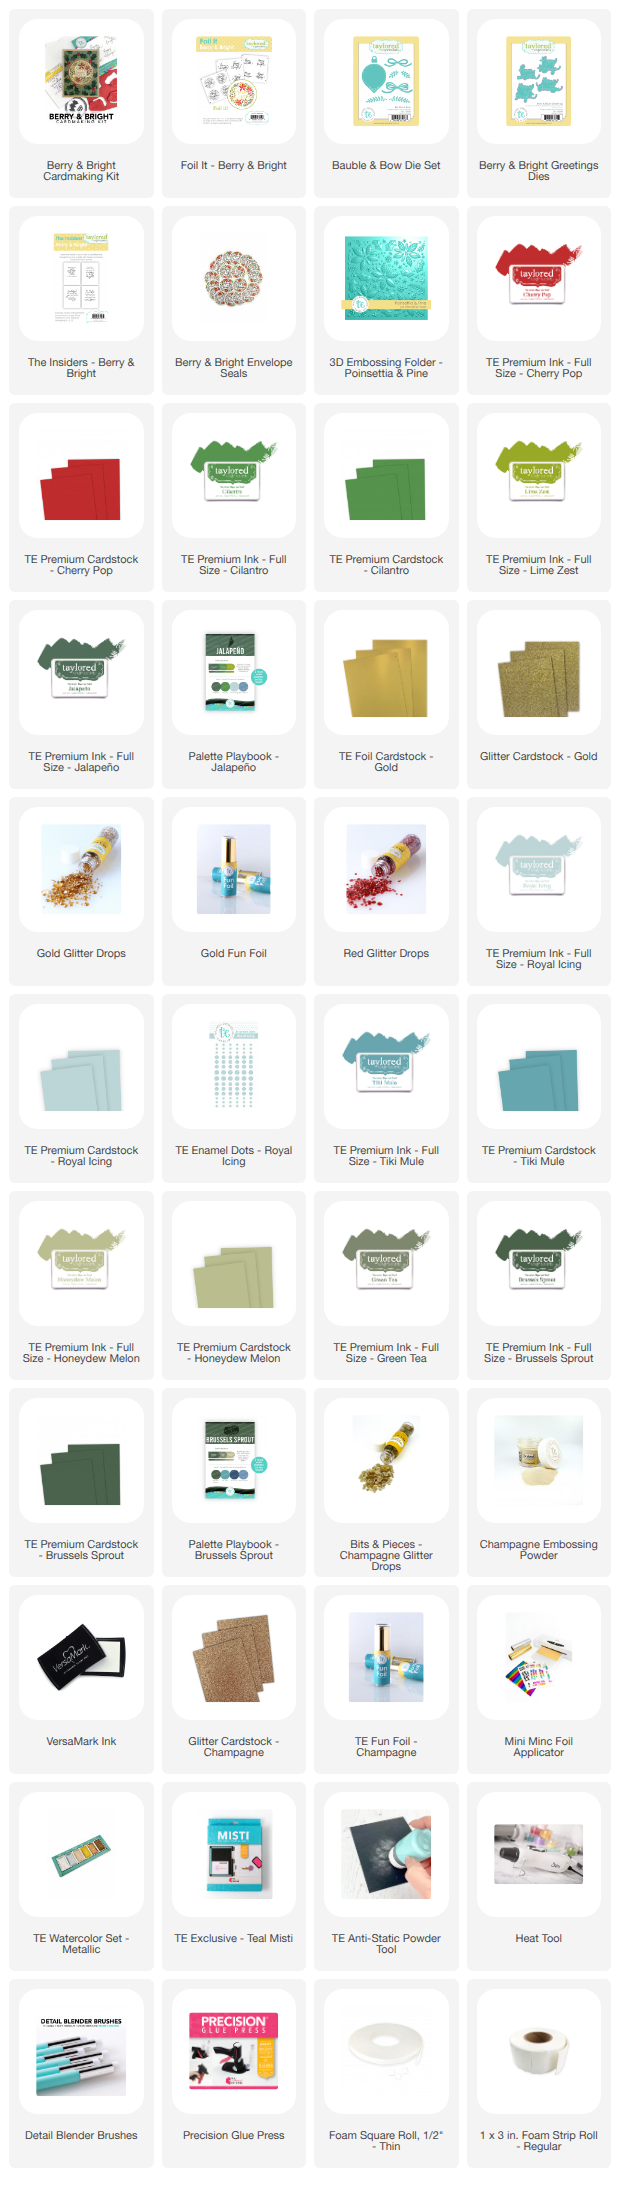
 It is Christmas in July at Taylored Expressions today. This month's Cardmarking Kit, Berry & Bright, will get you started on your holiday creating early! It is perfect for cards and tags! I have two projects to share with you using two different color combos.

Here's what's included in the kit:

Berry & Bright Layering Stencil
Berry & Bright Greetings Split Stamp
Berry & Bright Coordinating Dies
The Insiders - Berry & Bright

These items are available for purchase outside of the kit:
Bauble & Bow Die Set
Berry & Bright Greetings Coordinating Dies
Foil It - Berry & Bright


For my first project I went with a traditional color combo, combining Cherry Pop, Cilantro, and gold. 


I foiled one of the Foil It- Berry & Bright panel with TE Gold Foil using my Minc. I used Cherry Pop and Mulled Wine Ink for the poinsettias and berries and Lime Zest, Cilantro, and JalapeƱo for the greenery. Then I die cut with the Berry & Bright Coordinating Dies. 


I used Cherry Pop Cardstock for the card base and embossed with the 3D Embossing Folder - Poinsettia & Pine. With the Bauble & Bow Die Set, which is available for purchase outside of the kit, I added the ornament hanger and bow. 


This is one of The Insiders - Berry & Bright panels that are included in the kit. 


One Foil It- Berry & Bright panel creates four stenciled images. I created three tags with the other three stenciled images. I am excited to already have six tags in my stash for wrapping Christmas presents! 


For my next project I used a combination of Royal Icing, Tiki Mule, Honeydew Melon, Green Tea, Brussels Sprouts with Champagne accents. This might be one of new favorite color combo! 


On this card I used all the dies in the Bauble & Bow Die Set. I added the ornament base, double layer bow, ornament hanger, and greenery. 


Here I stamped a sentiment from the Berry & Bright Greetings Stamp Set on Brussels Sprouts Cardstock and embossed with Champagne Embossing Powder. Then I die cut with Berry & Bright Greetings Coordinating Dies, which are available for purchase separately from the kit. 


And the inside of the card is done and ready to go! 


And I have three more tags done and ready to go!


The Berry & Bright Cardmaking Kit makes it easy for you to create four beautifully detailed wreaths at once, helping you make more heartfelt Christmas cards in less time. With the coordinated layering stencil, split sentiment stamp, and die, you can quickly build a collection of polished holiday cards while personalizing each one with your favorite colors, backgrounds, and embellishments.

Your creativity can extend well beyond cards, too! Use the Berry & Bright collection to make ornaments, gift tags, garlands, package decorations, and more. If you choose the Boughs & Baubles Bundle, you’ll have even more possibilities with dimensional ornament shapes, statement bows, coordinating sentiment dies, Foil It panels, and festive envelope seals.


Featured Promotion šŸŽ

When you purchase the Berry & Bright Cardmaking Kit or Boughs & Baubles Bundle, you’ll receive exclusive early access to a bonus tutorial from Creative Team member Alicia Ekermans.


Stamp Joy 2026 Registration Closes on August 3rd! šŸŽ‰

Registration for Stamp Joy Staycation closes Monday, August 3 at 11:59 PM CT, and we don't want you to miss out!


Join Taylored Expressions on Saturday, November 7 for a live virtual crafting experience filled with creativity, learning, and connection. You'll create exclusive projects alongside TE founder and Creative Director Taylor VanBruggen and Designer Susan Block, discover exciting new techniques, enjoy a $60+ goodie bag of brand-new TE products, and craft with a welcoming community of fellow cardmakers... all from the comfort of your own craft space!


šŸ‘‰ Learn more and reserve your spot before registration closes!


Happy crafting! Stop by the TE Blog for all the details on the new products, and more inspiration from the team. 


3/17/26

Pick Your Pairings

Hi and welcome to a  look at the Pick Your Pairing Release at Taylored Expressions. Twice a year, we invite our Fans of TE Facebook community to share ideas for coordinating products that would enhance or extend items they already love. 


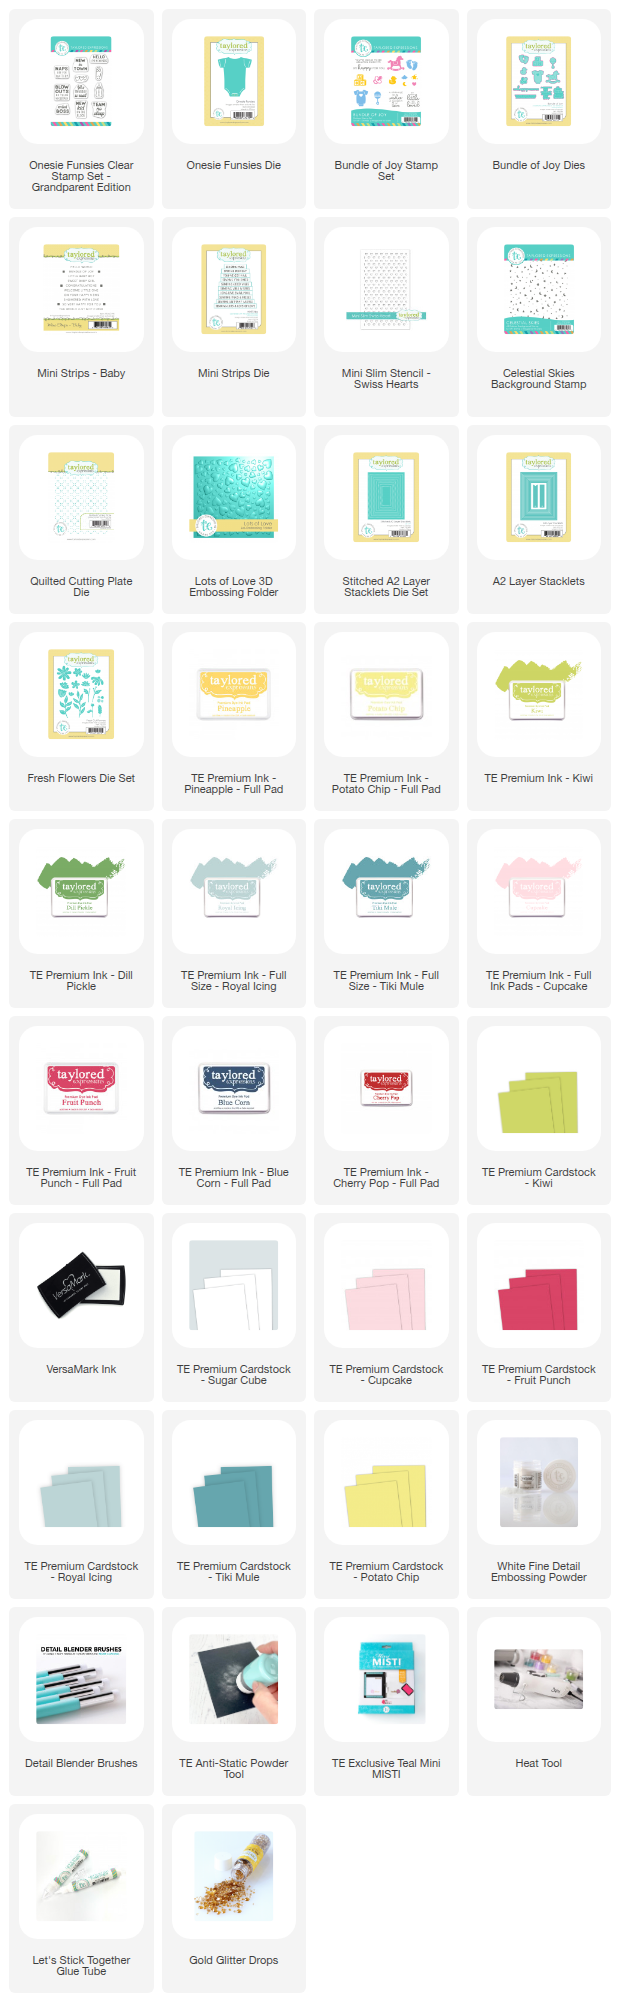
First up is a look at the Onesie Funsie Clear Stamp Set - Grandparents addition. This is a new sentiment set that coordinates with the previously released Onesie Funsie Dies. 


I love the idea of sentiments for new grandparents! Here I added hearts to the onesie with the Mini Slim Stencil - Sweet Hearts and then stamped the sentiment. I added the baby themed embellishments with the Bundle of Joy Stamp Set and coordinating Dies. I added the flowers with the Fresh Cut Flowers Die Set. 


The background is embossed with the Lots of Love 3D Embossing Folder. The bottom sentiment is from the Mini Strips - Baby Stamp Set and die cut with the Mini Strips Die. 


I added one of  the Insiders - Grandparents panels to the inside of the card. 


Here is the second version of the card using most of the same products I used on the first card. 


I stamped the background and onesie with the Celestial Skies Background Stamp using Tiki Mule Ink on Royal Icing Cardstock. 


You can foil the Insiders panels. Here I used Blueberry Foil. 


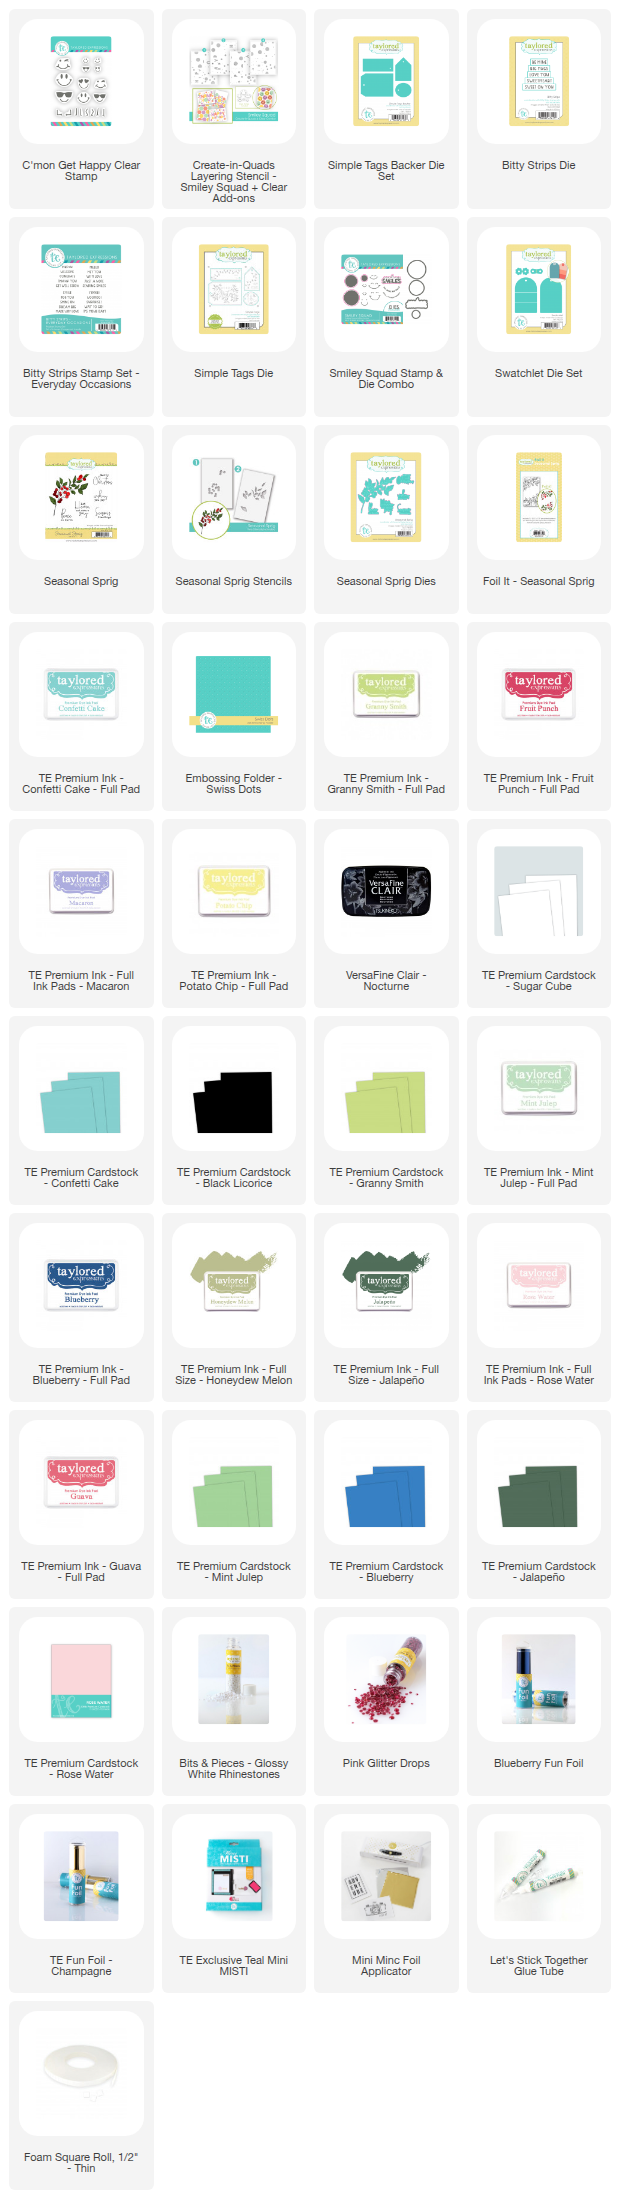
Next I created a few tags with the Bitty Strips - Everyday Occasions and coordinating Bitty Strips Die and a few more of the new products. This set of tags showcase the Seasonal Sprig Stamp Set and coordinating Seasonal Sprig Foil It and Dies. I have listed the Foils and ink colors I used below. 


I die cut the stenciled image and cut it fit the tag. The tag is created with the Simple Tags Die and Backer Die. 


These tags are created with the Create in Quad Layering Stencil - Smiley Squad + Clear Add-Ons, C'mon on Get Happy Stamp Set, and the Smiley Squad Clear Stamp and Die Combos. These sentiments are also included in the Bitty Strips - Everyday Occasions Stamp Set. 


How cute are these smiley faces! 

Happy crafting! Stop by the TE Blog for all the details and more inspiration from the team.