Showing posts with label Christmas Tags. Show all posts

11/22/25

Papertrey Ink November Release Countdown Day 2

Hi and welcome to Day 2 of the Papertrey Ink November Release Countdown. The products releasing this month are designed for quick and easy creating as we head into  this busy time of year. I have two more projects to share with you today. All the new products will be available on November 25th at 12 PM EDT. 


Here is a look at the new Christmas Wishes Stamp Set & Dies. I went with a non traditional color combo of Tropical Teal, New Leaf, and Pinefeather. Another quick and easy card! 


The sentiments are included in the stamp set. I added the hill with the Bring Home the Holidays Die using a white glittered cardstock. 


To create the background I used the previously release Fanciful Snowflake Background Hot Foil Plate with white foil. 

Supplies:

Stamps: Christmas Wishes
Dies: Christmas Wishes, Bring Home the Holidays
Ink: Tropical Teal, New Leaf, Pinefeather
Paper: Stamper's Select White, Tropical Teal
Other: Fanciful Snowflake Background Hot Foil Plate, White Foil, White Glittered Cardstock, PTI Clear Gems, Blending Brushes, Foam Tape


Next we have the Cover Plate: Let It Snow and Holiday Tag: Let It Snow. I blended Dark Indigo, Enchanted Evening, Tropical Teal, and Hawaiian Shores Inks to create the background. I sprayed the background with a glitter spray so in person it has some sparkle. 


I added some extra snowflakes and PTI Blueberry Sky gems. 


The sentiment is from the This is Big Holiday Sentiments: Holiday Tag. 


Here is the tag I created with the Holiday Tag: Let It Snow.

Supplies: 

Stamps: This is Big Holiday Sentiments: Holiday Tag
Dies:  This is Big Holiday Sentiments: Holiday Tag, Cover Plate: Let It Snow, Holiday Tag: Let It Snow
Ink: Dark Indigo, Enchanted Evening, Tropical Teal, Hawaiian Shores, Aqua Mist, Blueberry Sky
Paper: Stamper's Select White
Other: Sparkle Spray, White Glittered Cardstock, PTI Blueberry Sky Gems, Blender Brushes

I will be back tomorrow with more projects with the November Release. Stop by the PTI Blog for more inspiration. 

11/21/25

Papetrey Ink November Release Countdown Day 1

Hi and welcome to Day 1 of the Papertrey Ink November Release Countdown. The products releasing this month are designed for quick and easy creating as we head into  this busy time of year. All the new products will be available on November 25th at 12 PM EDT. 


First up is a look at the Cover Plate: Elegant Ornament Die and the Holiday Tag: Elegant Ornament die. 


There is no stamping on this card! It is just created with the dies in the Cover Plate: Elegant Ornament. Just pick your color combination, die cut and glue the pieces together. Here I used a combination of Pure Poppy, Ripe Avocado, and True Black with touches of gold. 


I used the Holly Berry Stencil to create the background for the card and tag. 


I used gold foil cardstock to add the touches of gold. I added a little sparkle with PTI Red Gems. The sentiment die is included in the set. 


Here is a closer look at the tag. It is so easy to create and would be great for mass producing. 

Supplies:

Dies: Cover Plate: Elegant Ornament, Holiday Tag: Elegant Ornament
Ink: Ripe Avocado, Pinefeather, Pure Poppy
Paper: Stamper's Select White, True Black, Pure Poppy, Gold
Other: Holly Berry Stencil, Black Glittered Cardstock, PTI Red Gems, Blender Brushes, Twine


Next I have two card I put together with the Cover Plate: Peace on Earth Die. It is the same concept as the first card. Just die cut and adhere the pieces together!

I used a cloud stencil with Spring Rain Ink and then splatter white paint to create the background. I die cut  the stars from silver foil and the trees white glitter cardstock. 


I added PTI Blueberry Sky gems to the center of the stars. 

Supplies:

Dies: Cover Plate: Peace on Earth
Ink: Spring Rain, Pinefeather
Paper: Stamper's Select White Cardstock, Pinefeather, Silver
Other: White Glittered Cardstock, PTI Blueberry Sky Gems, Cloud Stencil, White Paint, Blender Brushes


Here is another card created with the Cover Plate: Peace on Earth Die. I created in the same manner with a different color combo. 


I used gold foil for the stars and added white pearls. 


At the bottom of this card I stamped a sentiment form the new This is Big Sentiments: Holidays. This is a great stamp set for making tags and cards. 

Supplies:
Stamps: This is Big Sentiments: Christmas Tags
Dies: Cover Plate: Peace On Earth
Ink: Enchanted Evening, Dark Indigo, Ripe Avocado
Paper: Stamper's Select White, Ripe Avocado, Gold
Other: White Glittered Cardstock, White Paint, PTI Pearl Gems, Cloud Stencil, Blender Brushes


Next I created three tags with the Holiday Tags: Peace on Earth. Again, so easy to create. 


I chose three different color combinations. On the first page I used Pinefeather, gold and white cardstock. I used a white gel pen to add the snow. 


Here I used Sweet Blush, Scarlet Jewel and white on the tag on the left and Ocean Tides, Dark Indigo, gold and white on the one on the right. 


I added white cardstock to the back of the cards and stamped the sentiment from the This is Big Sentiments: Holiday Tags. 

Supplies:

Dies: Holiday Tag: Peace on Earth
Ink: Pinefeather, Scarlet Jewel, Pink Peony, Ocean Tides, Dark Indigo
Paper: Pinefeather, Gold, Sweet Blush, Scarlet Jewel, Stamper's Select White, Ocean Tides, Dark Indigo
Other: White Glitter Cardstock, PTI Pearl Gems, White Gel Pen, Twine, Rose Gold Foil

I will be back tomorrow with more projects with the November Release. Stop by the PTI Blog for more inspiration. 

11/20/23

Papertrey Ink November Countdown Day 4

 Hi All! I have been on vacation for the last couple of weeks but I am back in my craft room today. I am jumping in for Day 4 of the Papertrey Ink November Countdown. All the new products will be available on Tuesday, November 21st at 10 pm ET. 


First up is a look at the new Vintage Holiday Flair Stamp Set and Dies. This is a sentiment set with a vintage vibe and perfect for the focal point of your card. I stamped the sentiment in Versamark Ink on Dark Indigo Cardstock and embossed with white embossing powder. I added the flower and greenery around the sentiment and then added the smaller banner sentiment. 


The pretty background is stenciled with the the Winter Magic Stencil Collection. This is a set of four stencils. The fourth stencil is the snow. I used a white texture paste through the stencil for the snow. I also added Star Dust Stickles to the stenciled snow. 


I framed the card with the Skinny Diagonals Frame Die using Dark Indigo Cardstock. 

Supplies:
Stamps: Vintage Holiday Flair
Dies: Vintage Holiday Flair, Border Bling: Skinny Diagonals Frame Die
Ink: Dark Indigo, Enchanted Evening, Blueberry Sky, Pinefeather, Ocean Tides, Spring Rain, Versamark
Paper: Stamper's Select White, Dark Indigo
Other: Winter Magic Stencil Collection, White Embossing Powder, White Paste, White Gel Pen, Star Dust Stickles


Here is another sentiment from the Vintage Holiday Flair Stamp Set. I stamped Merry Christmas in Versamark Ink on True Black Cardstock and embossed with Gold Embossing Powder and then die cut with the coordinating Vintage Holiday Flair Dies. The holly and greenery and the banner are all included in the set. 

The trees in the background are die cut with the new Into the Blooms: Evergreens.


The background is foiled with the new Diagonal Stripes Hot Foil Plate. I used the Spellbinders Glimmer Hot Foil System and Gold Foil with the plate. The border at the bottom is die cut with the new On the Edge Scallop Collection. 

Supplies:
Stamps: Vintage Holiday Flair
Dies: Vintage Holiday Flair, Into the Blooms: Evergreen, On the Edge Scallop Collection
Ink: Ripe Avocado, Pure Poppy, Versamark
Paper: Stamper's Select White, True Black, Pure Poppy
Other: Diagonal Stripes Hot Foil Plate, Gold Embossing Powder


Next up is a group of tags I made with the new Just Tags Dies and a combination of other products. The Just Tags Dies are what I used to die cut all the sentiments. The base of each tag is die cut with the Charming Tags 1 Die 


The background of each tag is foiled with the Diagonal Stripes Hot Foil Plate, using white or pink foil. At the bottom of each tag I added the border with the new On the Edge Scallop Collection Dies. I added the snowflakes with the Forever Snowflake Frame Dies and the Poinsettia with the Into the Blooms: Poinsettia Dies. 


Here I used the Into the Blooms: Poinsettia and Into the Blooms: Christmas Sprigs Dies. 

Supplies: 
Stamps: Winter Greeting, Holiday Vintage Flair, Christmas Your Way
Dies: Just Tags, Charming Tags 1 Die, Forever Snowflake Frame, Into the Blooms: Poinsettia, Into the Blooms: Christmas Sprigs, Into the Blooms: Holly, On the Edge Scallop Collection
Ink: Ocean Tides, Pinefeather, Sweet Blush, Autumn Rose, Scarlet Jewel
Paper: Stamper's Select White, Pinefeather, Scarlet Jewel, Sweet Blush, Ocean Tide, Autumn Rose
Other: Diagonal Stripes Hot Foil Plate, Twine, Buttons, Clear Jewels

Stop by the Papertrey Ink Blog for all the details and more inspiration. I will be back with more projects from the new release throughout the week. 


9/26/23

It's the Taylored Expressions Christmas Release!

I am always excited for the Taylored Expression Christmas Release! And this year's is a good one! It's full products perfect for cardmaking, mass producing cards, tags, and more. All the products are available now in the TE Store. 


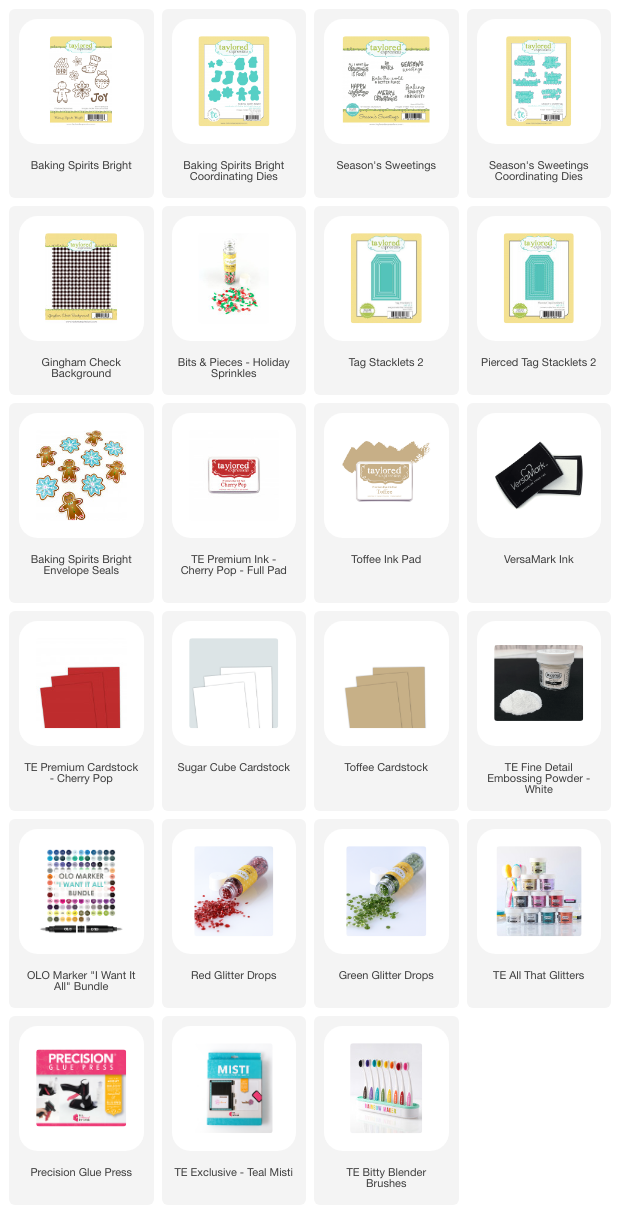
I have lots to share with you so let's get started. My first projects are created with the new Baking Spirits Bright Stamp Set and Dies along with the new sentiment set, Season's Sweetings


Let's start with the card. I stamped the cookies on a few different cardstocks. On the Toffee and Cherry Pop Cardstock I stamped in Versamark Ink and embossed with TE White Embossing Powder. I added a few details to the cookies with Olo Markers. 


And what's a Christmas Cookie without sprinkles! The new Bits & Pieces - Holiday Sprinkles are perfect. I also used red and green Glitter Drops and added a little Sugar Cube Glitter to a few of the cookies. 

To create the background I stamped the Gingham Check Background Stamp on Sugar Cube Cardstock with Cherry Pop Ink. Lastly I added on the great sentiments in the Season's Sweeting Stamp Set and die cut with the coordinating die. 


I thought these tags would be perfect for food gifts and make those handmade goodies extra special! I used the Tag 2 Stacklets and the Pierced Tag Stacklets to die cut the tags. Then I punched a hole at the top and added ribbon. 

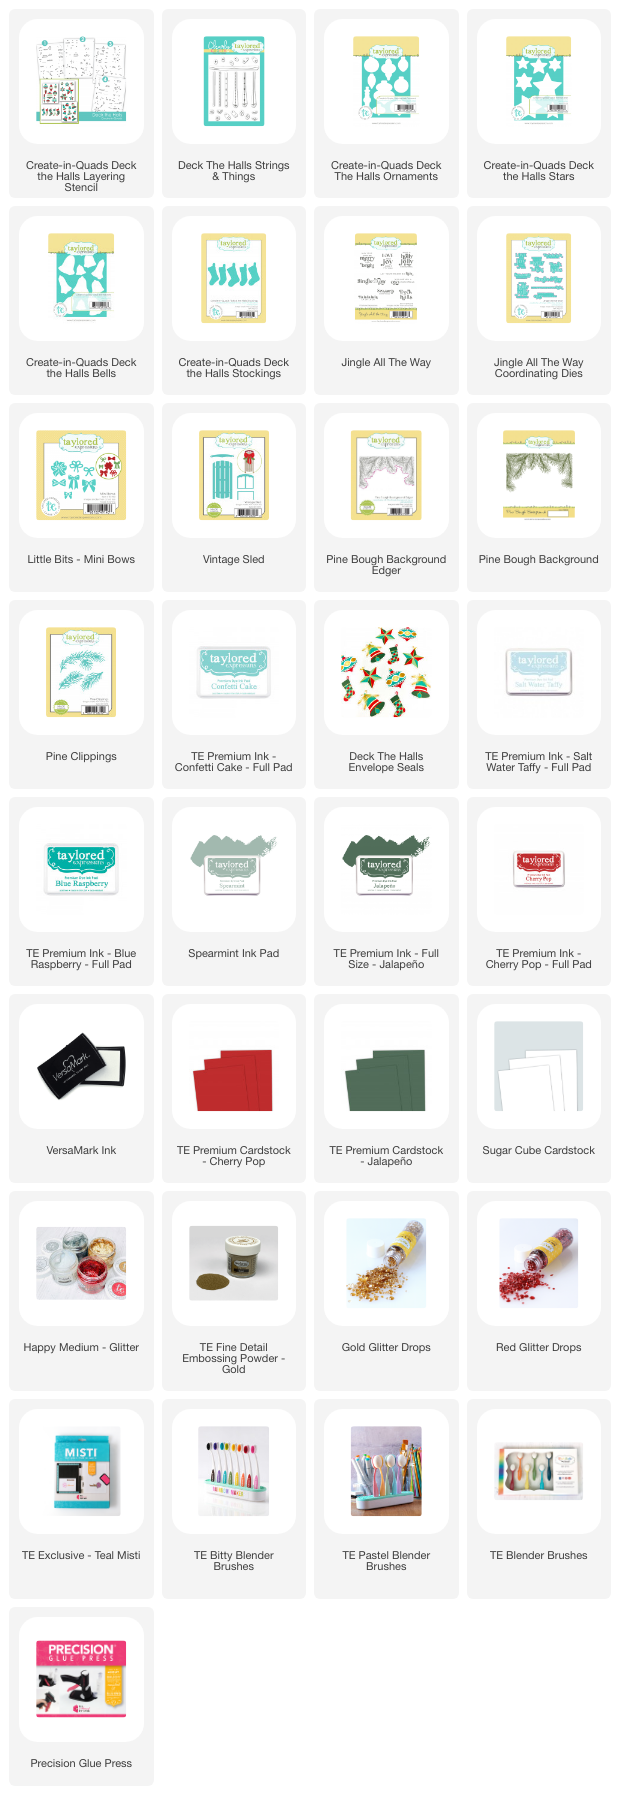
Next up is four cards I made with the Create-in-Quads - Deck the Hall Stencil. This is a set of four stencils which is prefect for mass producing your holiday cards. There are also coordinating dies to cut the stars, bells, ornaments, and stocking, which gives you so many options for cards or tags. And the Deck the Hall - Strings and Things Stamp Set gives you the option to stamp the strings and other details. 


On the background of all my cards I lightly blended Salt Water Taffy Ink and then splattered the background with gold paint. I used the Create-in-Quads - Deck the Hall Bells Die to die cut the all the bells in one one step. There are also coordinating die for the stars, stockings and ornaments.

First I stamped the strings and background details and then I attached the bells with foam tape. The pine branches are die cut with the previously release Pine Clippings Dies. 


I used Spearmint, Jalapeño, Cherry Pop, Confetti Cake, and Blue Raspberry Inks with the stencil. To add the gold I used Happy Medium in Gold. I waited for the Happy Medium to dry and then die cut all the pieces. 


At the top of this card I used Pine Bough Background Stamp and the Pine Bough Background Edger to add the branches at the top. 


All the sentiments are from the new Jingle All the Way Stamp Set and die cut with the coordinating Jingle All The Way Dies


My final project is created with the new Peaceful Dove Stamp & Stencil Combo and the Peaceful Dove Die. I think this dove is so pretty and elegant and could be used for occasions other than Christmas. 

First I stamped the Peaceful Dove Stamp in Jalapeño Ink on Sugar Cube Cardstock. Jalapeño is a new ink and just perfect for the Holiday season. Next I stenciled the dove with Jalapeño, Confetti Cake, and Banana Cream Pie Inks. 
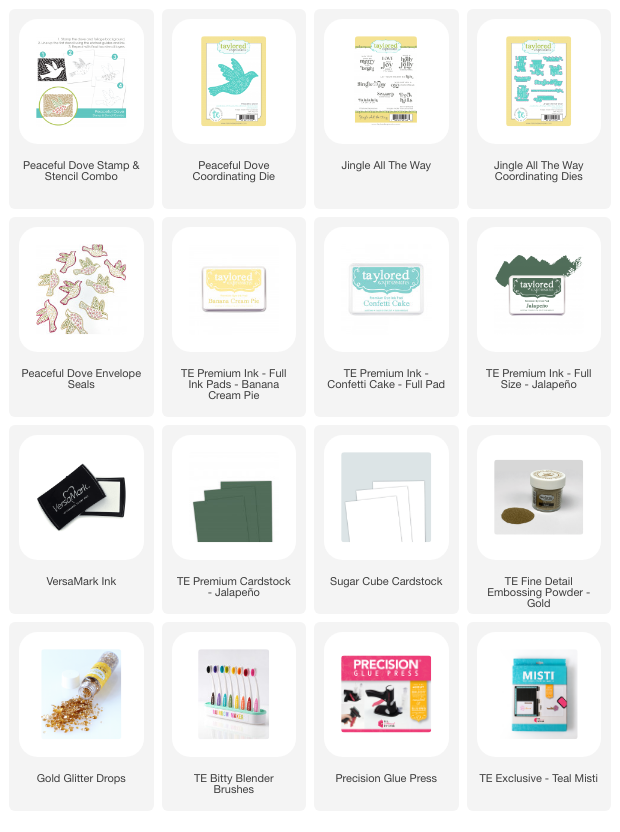


Next I die cut the dove with the Peaceful Dove Coordinating Dies. I die cut the dove two more times from Sugar Cube Cardstock and glued the layers together. I wanted the dove to stand out from the background. The sentiment is also from the Jingle All the Way Stamp Set


While supplies last, when you place and order of $200+ you will receive the All Together - Occasions 3 Stamp & Die Combo set FREE. It's the perfect collection of holiday sentiments that you can stamp in one impression and die cut with one pass through your die cut machine - perfect for holiday card making mass production! Offer valid while supplies last.

Thanks for stopping by! I hope I got you excited to start your holiday creating. Stop by the TE Blog for all the details and more inspiration from the team! 

11/16/22

Papertrey Ink November Release Countdown Day 4

Hi and welcome to Day 4 of the Papertrey Ink November Release Countdown. Today I have a set of tags and a new card to share with you. Everything will be available for purchase beginning at 10 PM EST, tomorrow, November 17th.


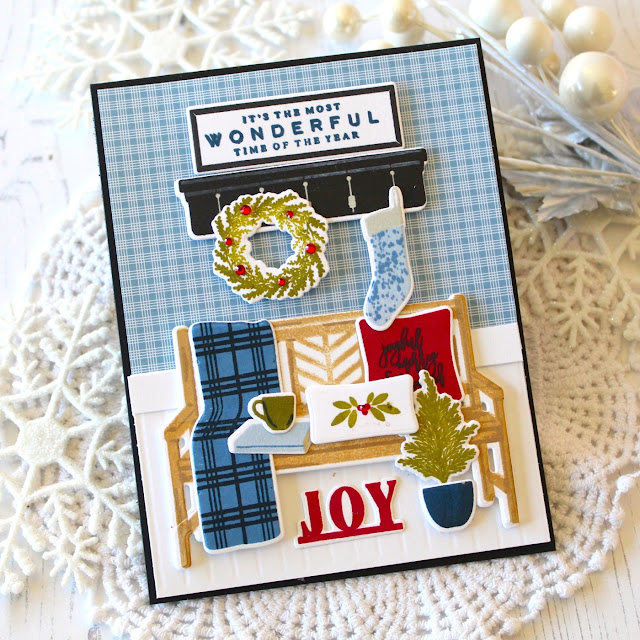
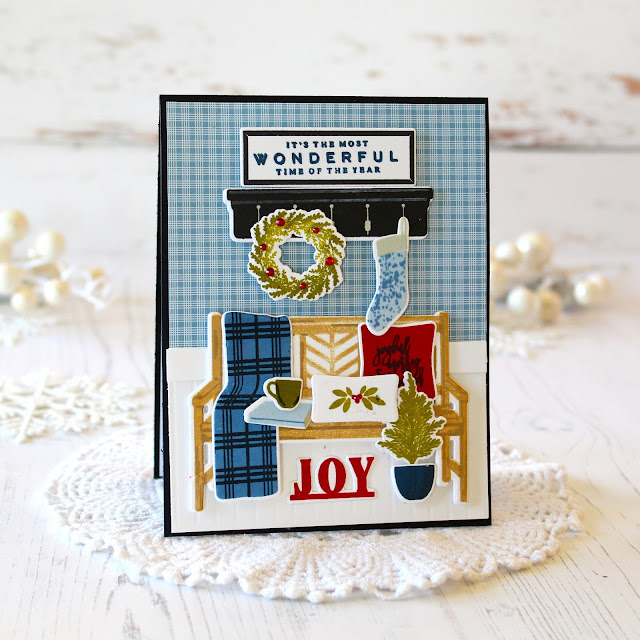
First up is a look at the new Winter Bench Stamp Set and coordinating Dies. I love the homey, cozy feel of this set. I decided I wanted the look of a bench sitting in the entry way of a warm home. I cut a piece of Bitty Big Collection, Spring Rain to fit the card front. Then I added a panel of Stamper's Select White Cardstock to the bottom half of the card. I scored lines with a Score-Pal to add to the look.


I stamped the bench in Antique Linen Ink and added the details with Classic Kraft Ink. Then I created all the details for scene and chose a sentiment for the sign. 


I love the details of the plaid blanket and a sentiment you can add to the pillow. Makes for a cozy scene! 

Supplies:

Stamps: Winter Bench
Dies: Winter Bench
Ink:  Spring Rain,  Blueberry Sky, Enchanted Evening, Dark Indigo, Antique Linen, Classic Kraft, Pure Poppy, True Black, Simply Chartreuse, Ripe Avocado
Paper: Stamper's Select White, True Black, Bitty Big Collection, Spring Rain, Red Jewels, Foam Tape, Scor-Pal


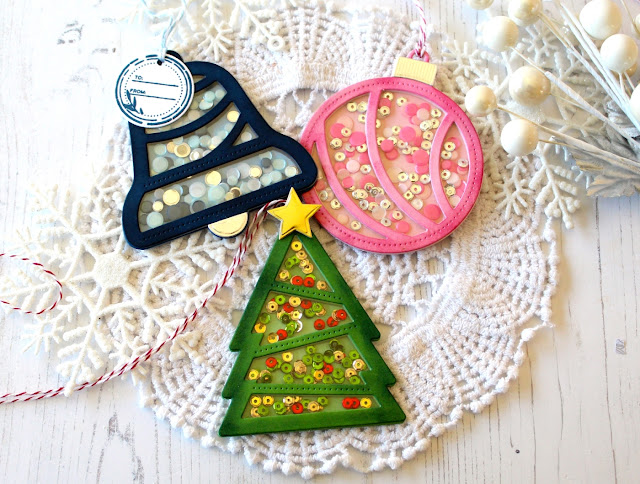
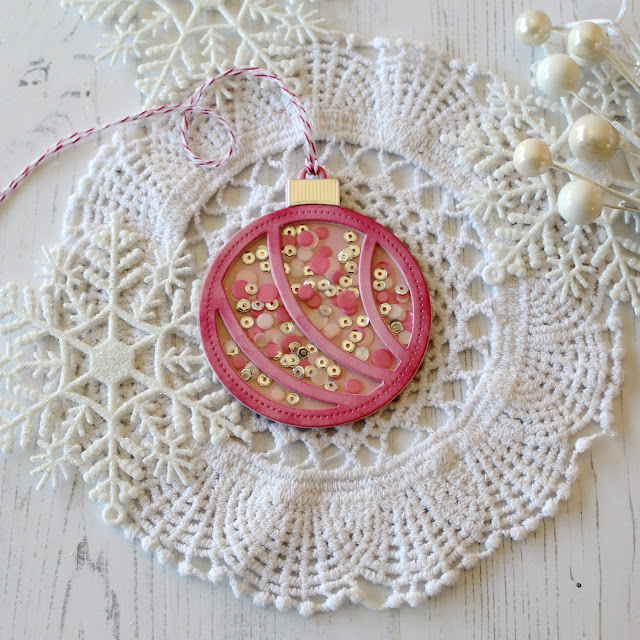
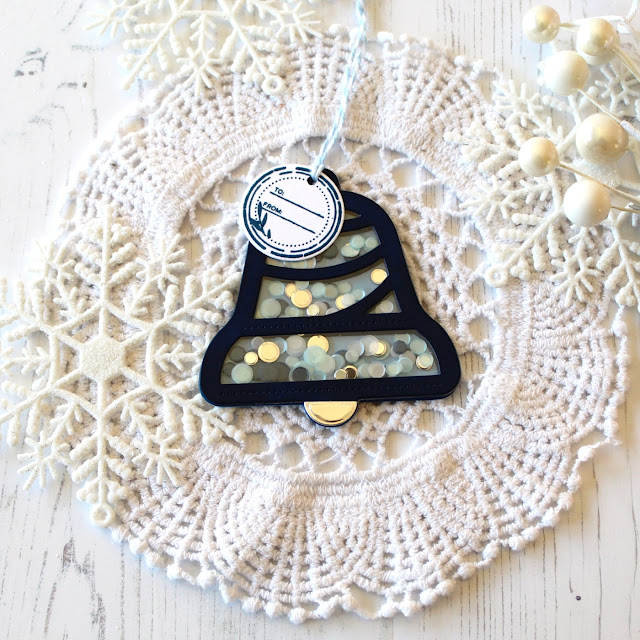
Next up is a look at the Christmas Shaker Dies. You certainly could add these cute shakers to a card but I decided to go with tags. I really like adding one of my handmade tags to my Christmas packages and bag. I kept the tags pretty simple so they would be easy to mass produce. 


When you create a shaker you need to make a little room for your filling to be able to shake around. For these tags I cut the front die four times and then the solid tree, once from acetate and once from cardstock to cover the back of shakers. 


I glued to the acetate to the front die cut and glued the next three die cuts behind the acetate. 


Then I dropped in the sequins and covered the back with the solid die cut and added twine to the top of the tag. 

I hope you have enjoyed my look at the November Release. There will also be an Instagram Hop on Thursday. You can follow me on Instagram here