Showing posts with label Treat Holder. Show all posts

10/20/26

All the Trimmings

It's the annual All the Trimmings Release at Taylored Expressions. This release is full of new products to make the season merry, bright and wonderfully handmade. I have a number of projects to share with you today that will add that extra handmade touch to your gift giving this year. 


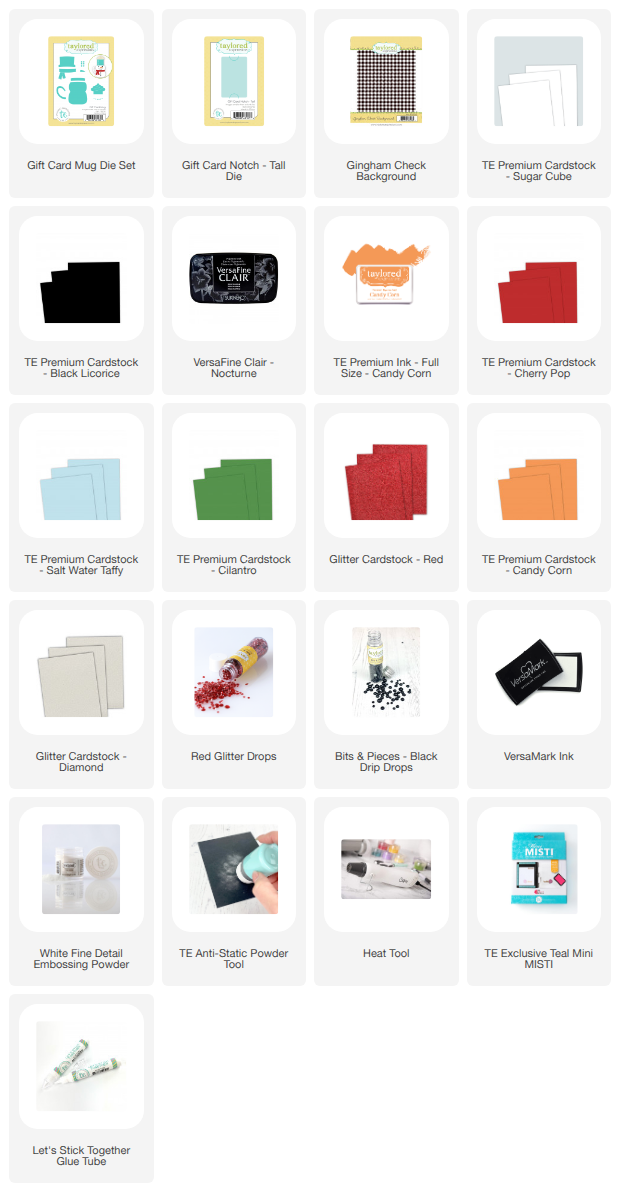
Let's start with a look at the adorable Gift Card Mug Die Set. You can create the snowman with a hat or whip cream which can be pulled up to reveal a gift card. 


I cut two snowman from Sugar Cube Cardstock, one for the front and one for the back. Then on the front snowman I die cut the mouth, added the nose and eyes, and buttons. I stamped the Gingham Check Background Stamp with Versamark Ink and embossed with TE White Embossing Powder and die cut the scarf. I used TE Regular Foam Sticky Strips to attach the front to the back of the snowman. I found this work best for leaving enough room for the gift card. I used the I'm Interactive Clear Stamp Set to stamp the "PULL" sentiment. 


Here is a look at the snowman with the whip cream. 


You can use the Tall Gift Card Notch Die to add the gift card or just use a glue dot and attach the hat or whip cream directly to the gift card. 

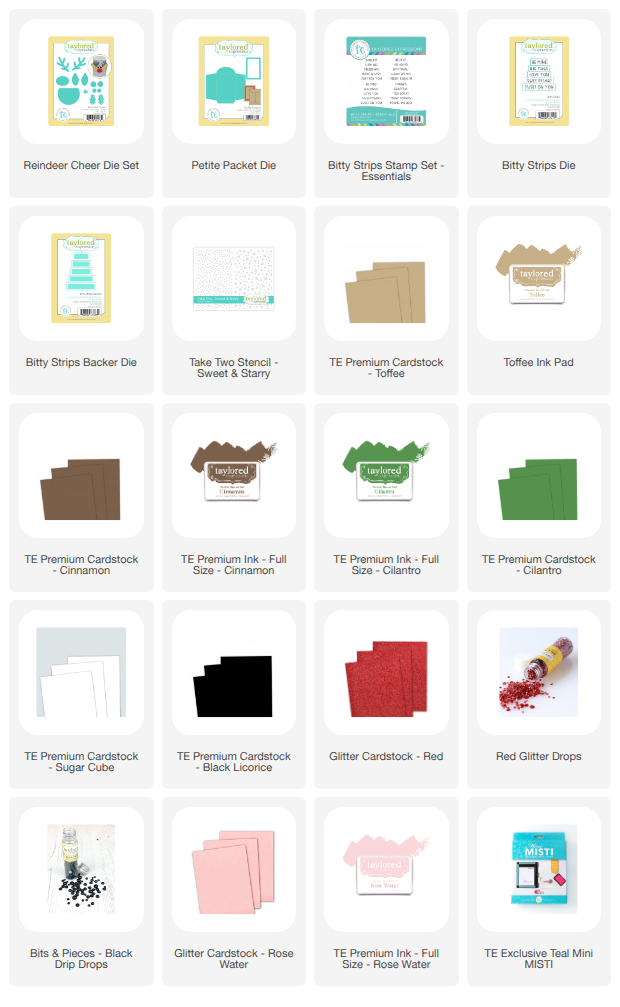
Next up is the Reindeer Cheer Die. There a number of different way to use this die! 


The Reindeer Cheer Die can be used with the previously released Giftables - Bitty Box Die. The box can hold a sweet treat or a small gift. 


I also created a gift card holder using the Petite Packet Die and adding the face of reindeer. I used a circle die for the head. Another idea is to create a band that could around socks or another soft item and then add the reindeer elements to the band. 

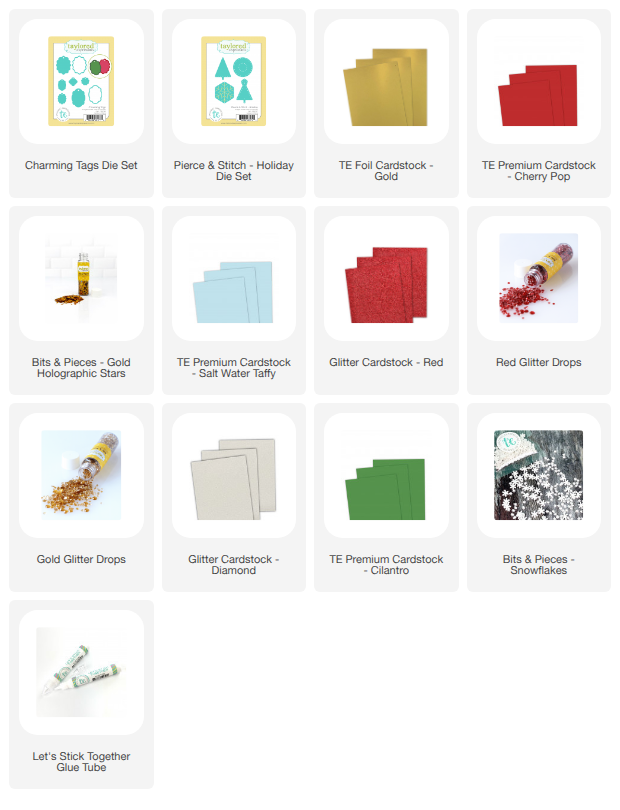
My final project is a set a tags created with the new Charming Tags Die Set and the Pierce & Stitch Holiday Die Set. The Charming Tags Die set creates two different shape tags. 


Once I cut the base of tag I used each of the Pierce & Stitch Dies to die cut directly into the center of the tag. I used two strands of DMC Embroidery Floss for the simple stitching patterns. 


I added a few embellishments to the stitching but that is optional. 


I added twine to the hole at the top of tags. I added white cardstock to the back of each tag so I could write to and from on the back. 
Stop by the TE Blog for all the details on the new products and more inspiration from the team. 


8/11/26

It's the Halloween Release at Taylored Expressions

Hi and thanks for stopping by today! I always look forward to creating for holidays and as a card designer you start early! Today Taylored Expressions is releasing new Halloween products and they are so fun to work with! 


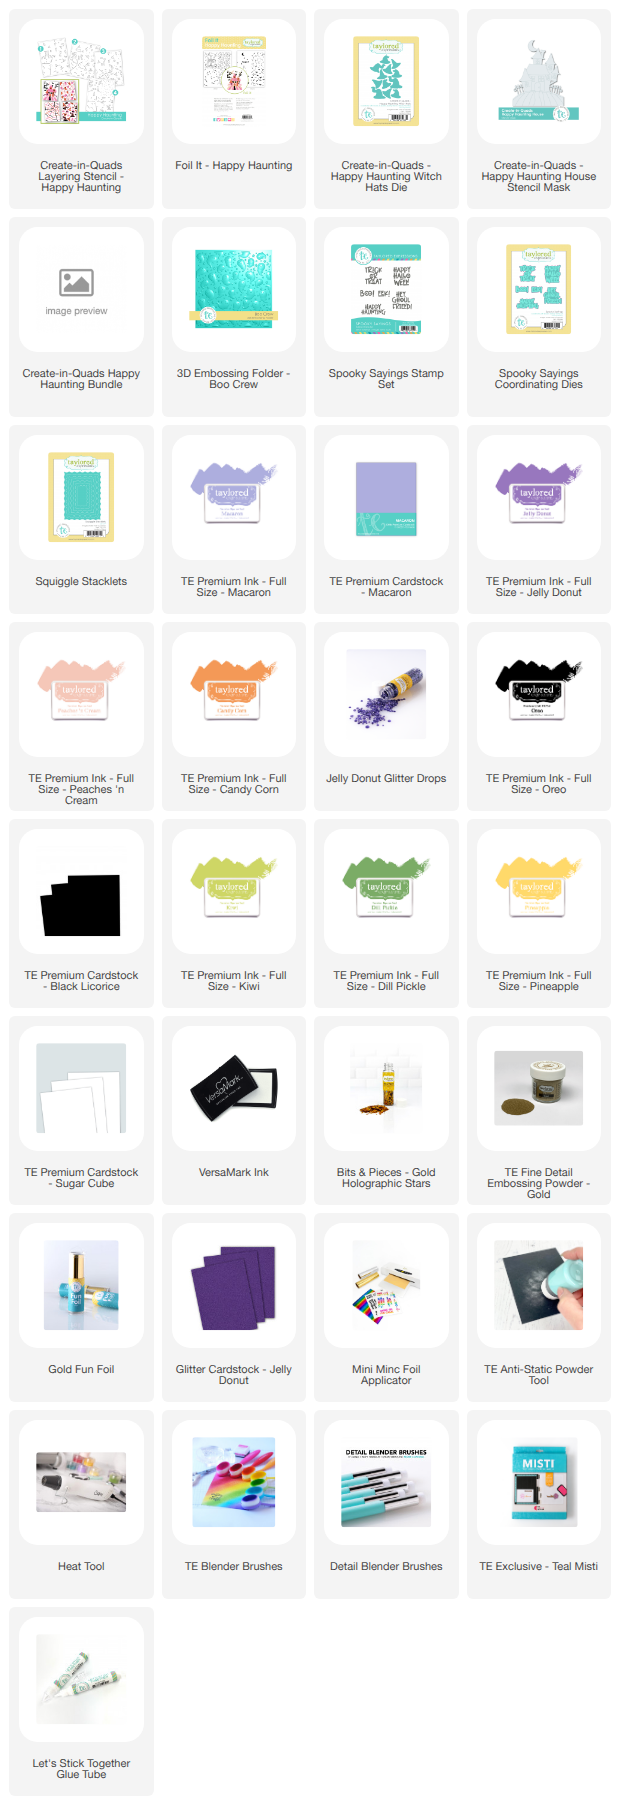
First up is a look at the Create-in-Quads – Happy Haunting product line. The Happy Haunting Stencil  turns one sheet of cardstock into four finished card fronts with a single layering stencil—a haunted house, playful ghosts, a colorful spiderweb, and witch hats. I foiled one of the Foil It-Happy Haunting panels with TE Gold Foil and then stenciled with the inks I have listed below. 


My first card focuses on the Witch's Hats. I stencil all four images and cut the images into four panel. With the hats I used the coordinating Create-in-Quads - Happy Haunting Witch Hats Die to die all the hats at one time. 


Next I cut a piece of Macaron Cardstock with the Squiggle Stacklets for the card front. I stenciled the clouds with the Set the Scene - Clouds Stencil Strips with Jelly Donut Ink. Then I die with the Happy Haunting Witch Hats Die again and inlayed the hats back in to the card front. 


The sentiment is from the new Spooky Saying Stamp Set. 


I created one more card with the four panel but you can get a glimpse at the other two images in the background. 


After I stenciled I used the new coordinating 3D Embossing Folder - Boo Crew. I just love the added dimension and texture. It is even better in person! And the Boo Crew Embossing folder would be great on its own for a Halloween card background. This is another sentiment from the new Spooky Saying Stamp Set. 

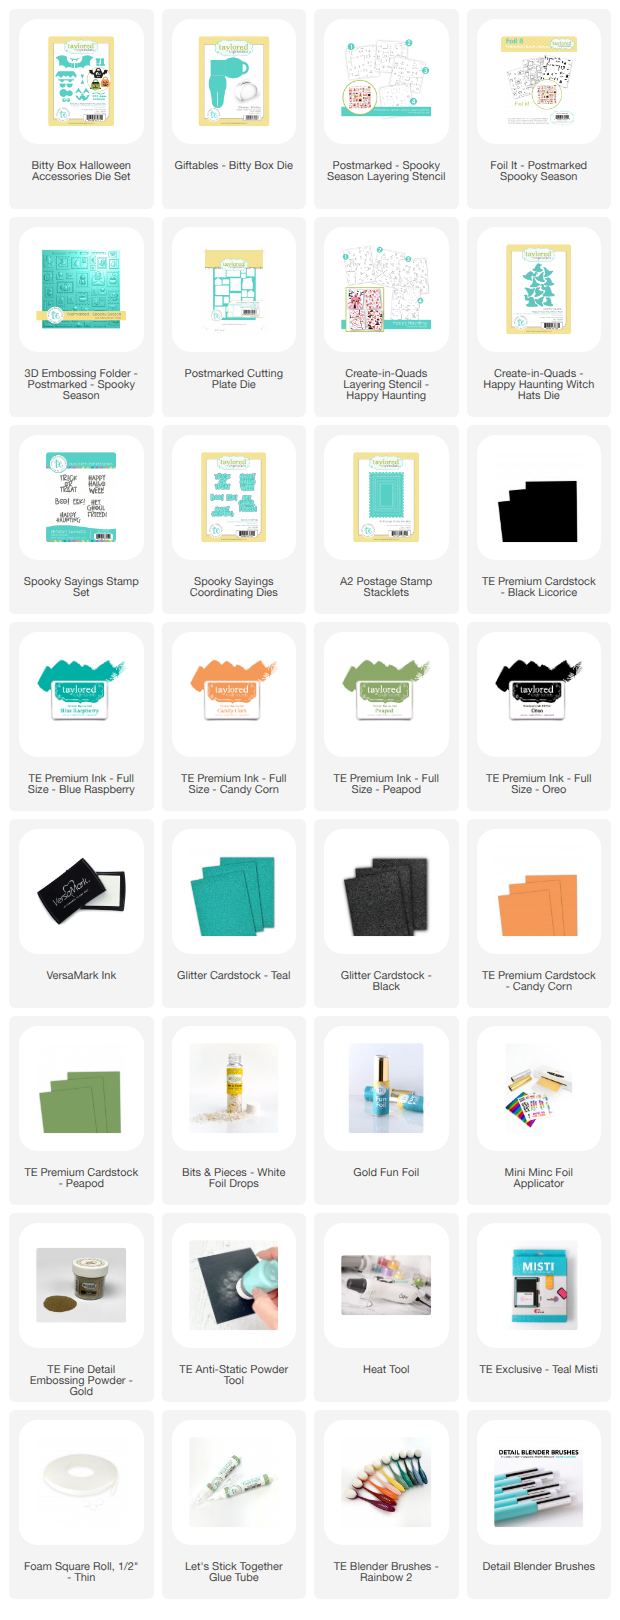
Next up is a look at the Postmarked - Spooky Season Bundle and the Bitty Box Halloween Accessories Dies Set. The Postmarked – Spooky Season brings together layered stencils, a 3D embossing folder, foiled panels, and coordinating stamps and dies—all designed to mix and match into postage-stamp-collage backgrounds filled with pumpkins, ghosts, bats, and candy corn.


I foiled one of the Foil It - Postmarked Spooky Season panels with TE Gold Foil and then stenciled with Blue Raspberry, Candy Corn, Peapod, and Oreo Inks. Then I die cut the panel with the largest die in the A2 Postage Stamp Stacklets Die Set and then embossed with the 3D Embossing Folder - Spooky Season. This sentiment is also from the new Spooky Saying Stamp Set.

I used the Create-in-Quads Layering Stencil - Happy Haunting to the stencil just one witch's hat and die cut with the Happy Haunting Witch Hats Die. 


And who doesn't love a cute treat box for a Halloween treat! Last Easter TE released the Giftables – Bitty Box Die Set along with an Easter Bunny option. The new Bitty Box - Halloween Die Set works with the Giftables – Bitty Box Die Set,  giving you more options, including a pumpkin, bat, and a cute Frankenstein. 

Here is the bat. I used Black Glitter Cardstock for the wings. 


Here is the cute Frankenstein. I love the eyes! 


And here is the pumpkin. I have of couple of granddaughters who will love these! 

Happy crafting! Stop by the TE Blog for all the details on the new products, and more inspiration from the team. 

3/3/26

It's the Easter Release at Taylored Expressions!

Hi Crafters! I am popping in today with projects I have created with the new Easter Release at Taylored Expressions. There is something in this release for everybody. All the new products are available now in the TE Store. 


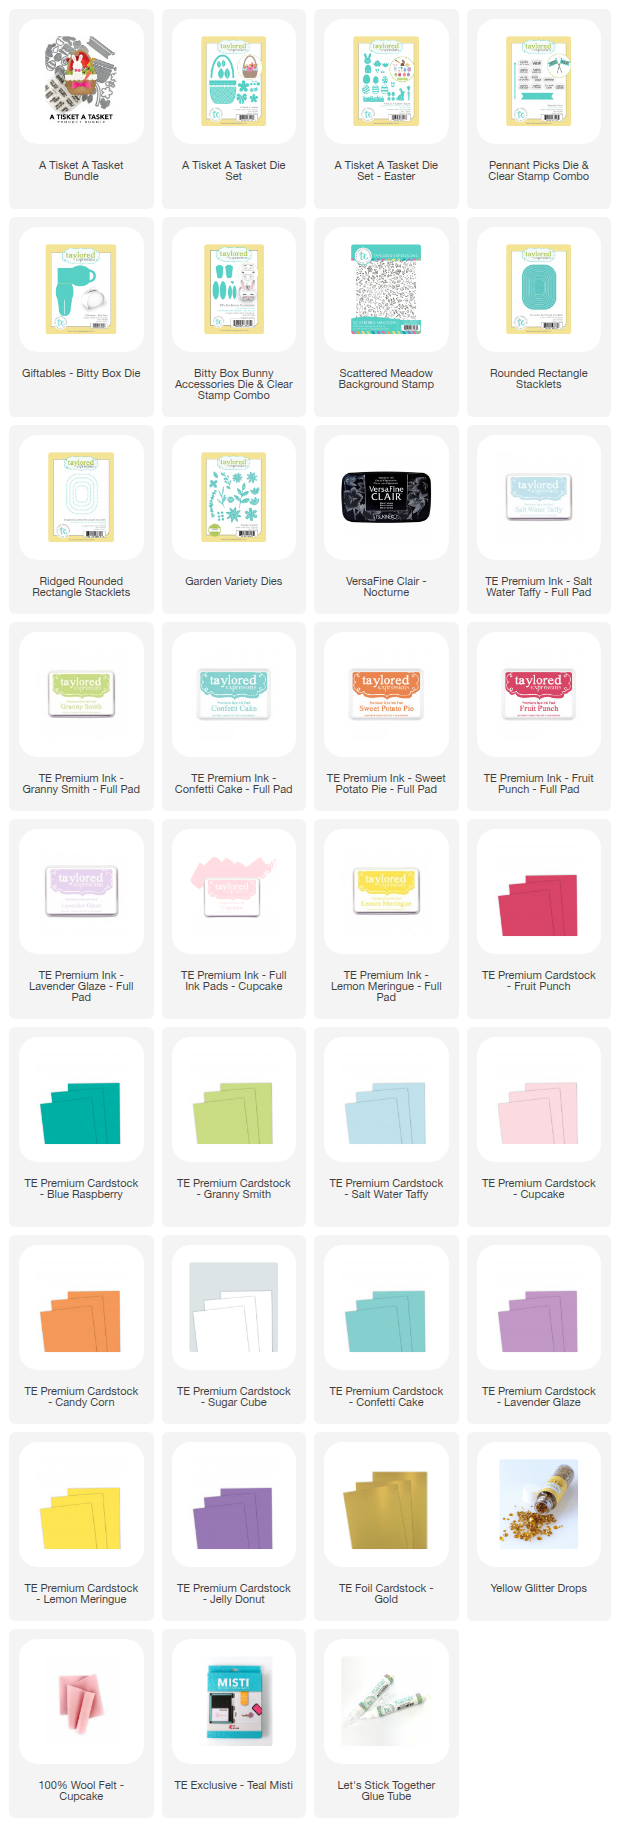
Let's start with a look at the new Tisket A Tasket line of products and the adorable Bitty Box Bunny Accessories and Giftable - Bitty Box. 


I used the A Tisket A Tasket Die Set and A Tisket A Tasket Die Set - Easter to create this sweet Easter Basket. The A Tisket A Tasket Die Set creates the basket and can be used for many other occasions. The set includes the dies to put together the basket, flowers and leaves, and a bow. 

The Tisket A Tasket Die Set - Easter is what I used to create the all the Easter items. I love how the bunny hangs over the basket. 


I added the sentiment with the new Pennant Picks Die and Clear Stamp Combo. The clear stamp set has sentiments for many different occasions. 

The background is stamped with the Scattered Meadow Background Stamp with Confetti Cake Ink on Salt Water Taffy Cardstock. I used the Rounded Rectangle Stacklets Die Set and the Ridged Rounded Rectangle Stacklets Die Set to the cutout in the center of the card. 


And how sweet is this treat box! The Giftables - Bitty Box Die creates a small box and then you use the Bitty Box Bunny Accessories Die and Clear Stamp Combo to added the ears, heart nose, and feet and stamp the sweet face. I used Cupcake Felt inside the ears. 


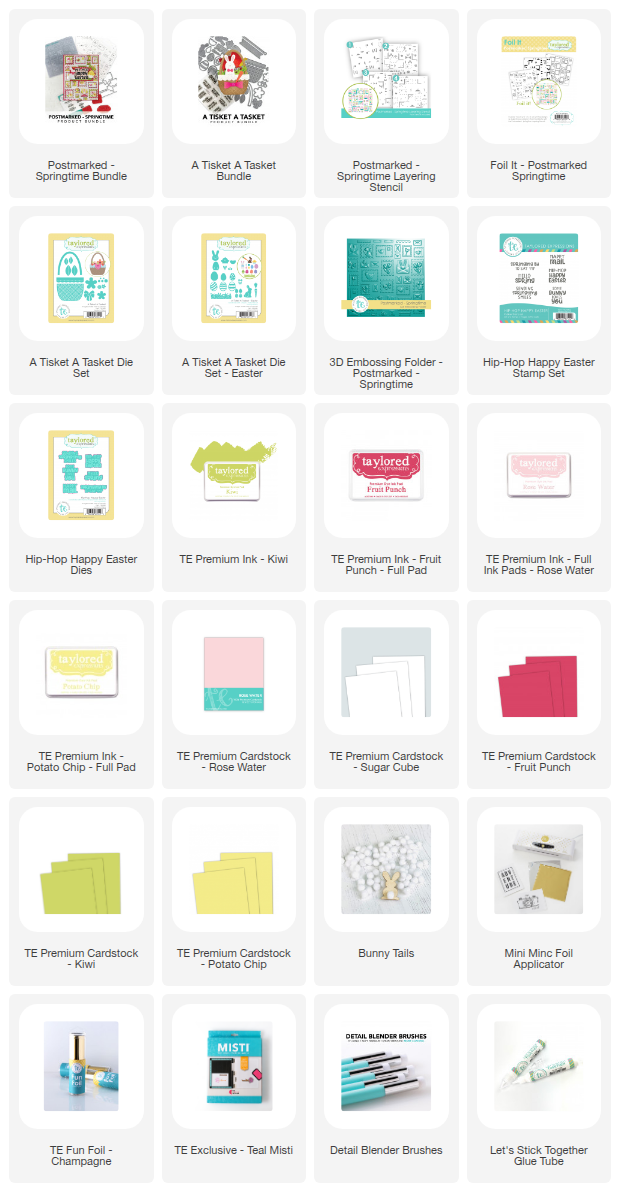
I used Postmarked - Springtime products to create this card.  First I used the Postmarked - Springtime Layering Stencil with a Foil It Postmarked Springtime panel. I used Champagne Foil. I stenciled with Rose Water, Fruit Punch, Kiwi and Potato Chip Inks. 


Next I embossed the card front with the Postmarked - Springtime Embossing Folder. The embossing added such a nice texture to the card. 


The sentiment is stamped with the new Hip-Hop Happy Easter Stamp Set and die cut with the coordinating Dies. 


I used the A Tisket A Tasket Die Set Easter to add the additional embellishments. 


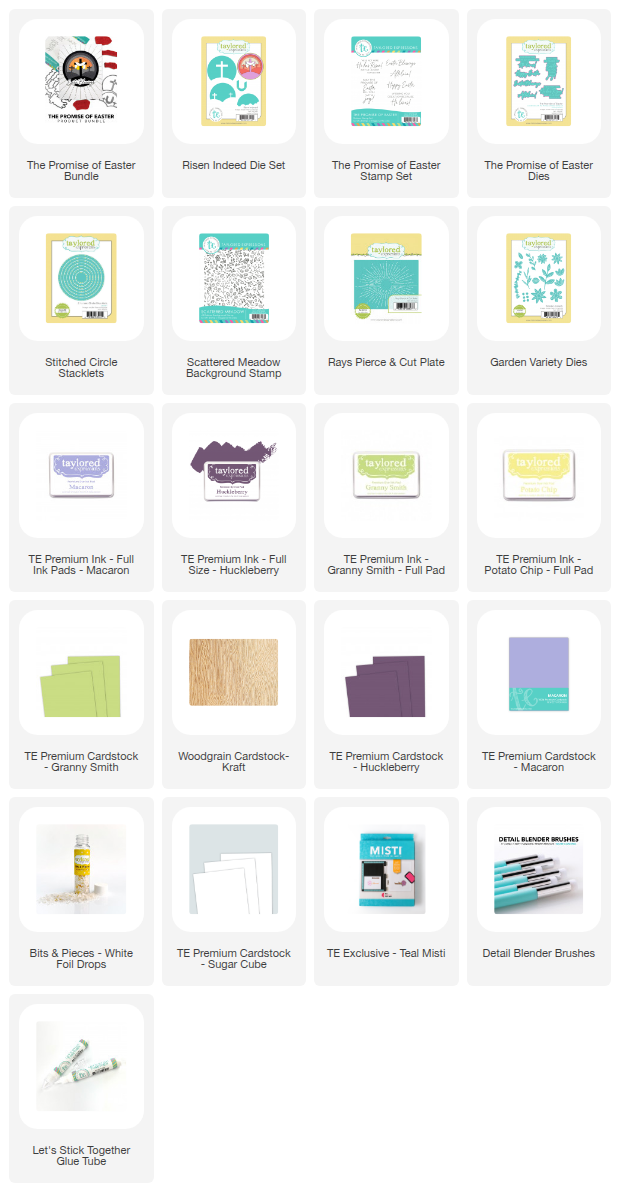
My final project showcases the Risen Indeed Die Set. You can see how the circle dies layer together to create the scene. Behind the cross I added a circle die cut with the Rays Pierce & Cut Plate Die. 


The sentiment is from the new The Promise of Easter Stamp Set and die cut with the coordinating dies. I added the flower with the previously released Garden Variety Dies. 


I stamped the background with the Scatter Meadow Background Stamp using Macaron Ink on Macaron Cardstock. 

https://www.tayloredexpressions.com/whats-new/easter-2026/

We've created three Easter bundles that take the project planning off your plate! We’ve done the pairing so everything works beautifully together, making it simple to create cards and projects you’re excited to share.
Explore the Easter release, choose the products that fit your style, and create with confidence knowing the pieces are designed to work in harmony.

Get a little extra spring sweetness for your projects with one FREE Bits & Pieces – Spring Scatter with the purchase of any Easter Bundle! 

Limit one per order. Valid 9 AM CT Tuesday, March 3rd through 9 AM CT Tuesday, March 10th, 2026.

Happy crafting! Stop by the TE Blog for all the details and more inspiration from the team. 


1/6/26

The Valentine Release from Taylored Expressions

Hi and thanks for stopping by today! I hope you had a wonderful Holiday Season and a Happy New Year. I took a break from crafting over the holidays and am kicking off 2026 with the Valentine's Release from Taylored Expressions. All the new products are available now in the TE Store. 


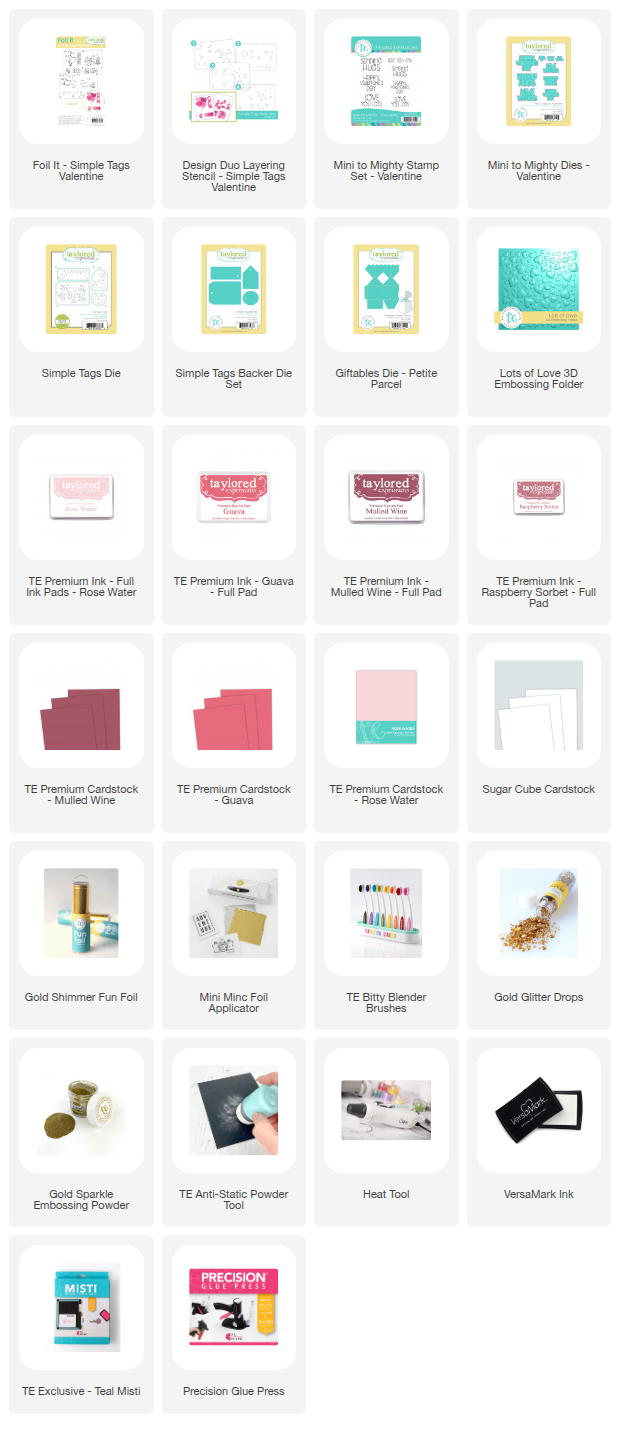
Let's start with some fun Valentine Tags. First I foiled the Foil It - Simple Tags Valentine with TE Gold Shimmer Fun Foil using my Minc Hot Foil Machine. Then I stenciled with the Simple Tags Valentine Design Duo Stencil. I used a combination of Rose Water, Guava, Raspberry Sorbet, and Mulled Wine Inks. 


Next I die cut my stenciled tags with the Simple Tags Dies and backed the tags with the Simple Tags Backer Die. This a such an easy way to mass produce tags. 


I added sentiments to some of my tags with the new Mini to Mighty - Valentine Stamps and die cut with the coordinating dies. There are three different sentiments in three different sizes in the stamp set. I also added a few Gold Glittered Drops. 


TE is also releasing a new treat box die, the Giftables Die - Petite Parcel. You die cut the Petite Parcel Die twice and then assemble the box and use twine or ribbon to tie it close. I used the Sweet Heart Scribble 6 x 6 Rubber Stamp to stamp the pattern on the box on the left. The Sweetheart Scribbles Die is free with the purchase of $200 in product. On the right I embossed the box with the Lots of Love 3D Embossing Folder. 


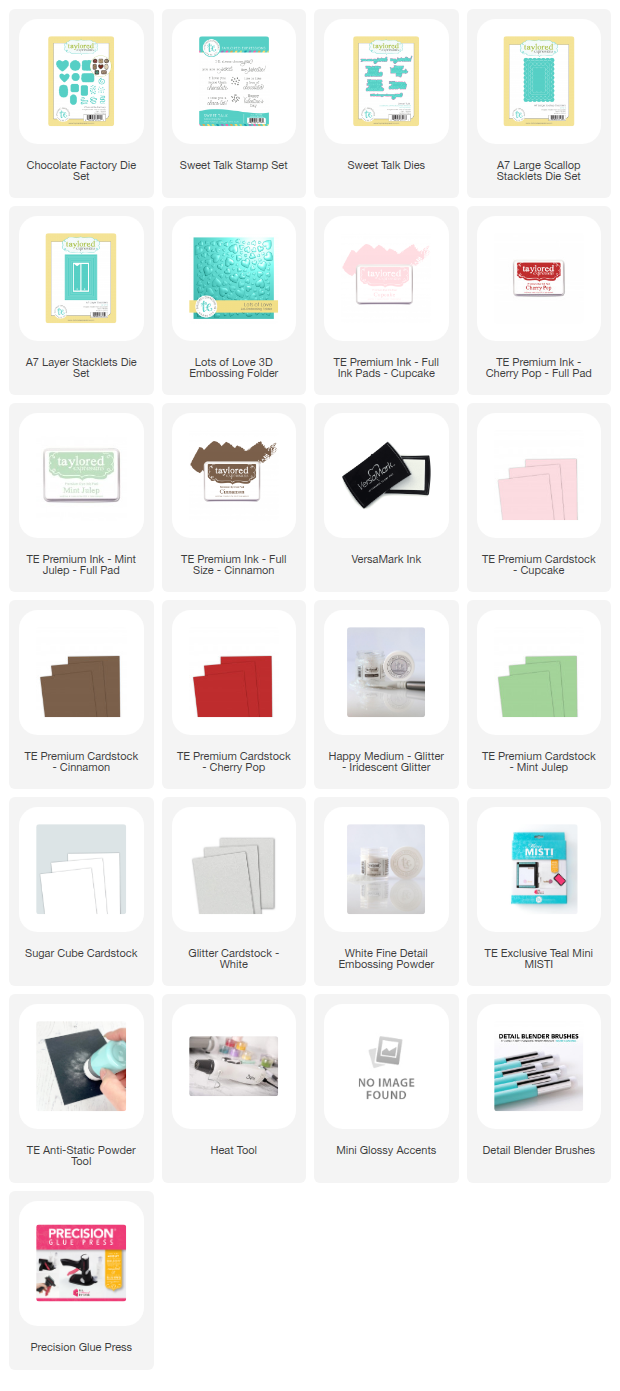
Next I created a 5 x 7 card with the new Chocolate Factory Die Set along with the Full Heart Stacklets and the Petite Scallop Full Heart Stacklets. The Chocolate Factory Die Set creates the cutest chocolate candies. I love all the topping options. 


Here's a closer look. I added glitter and glossy accents to some of the candies. Then I arranged the chocolates on the hearts to look like a box of candy. The background is embossed with the Lots of Love 3D Embossing Folder. 


The card front is matted with the new A7 Large Scallop Stacklets Die Set. I am excited by the larger scallop edges. I think I will get a lot of used out of the die! The sentiment is from the new Sweet Talk Stamp Set. 


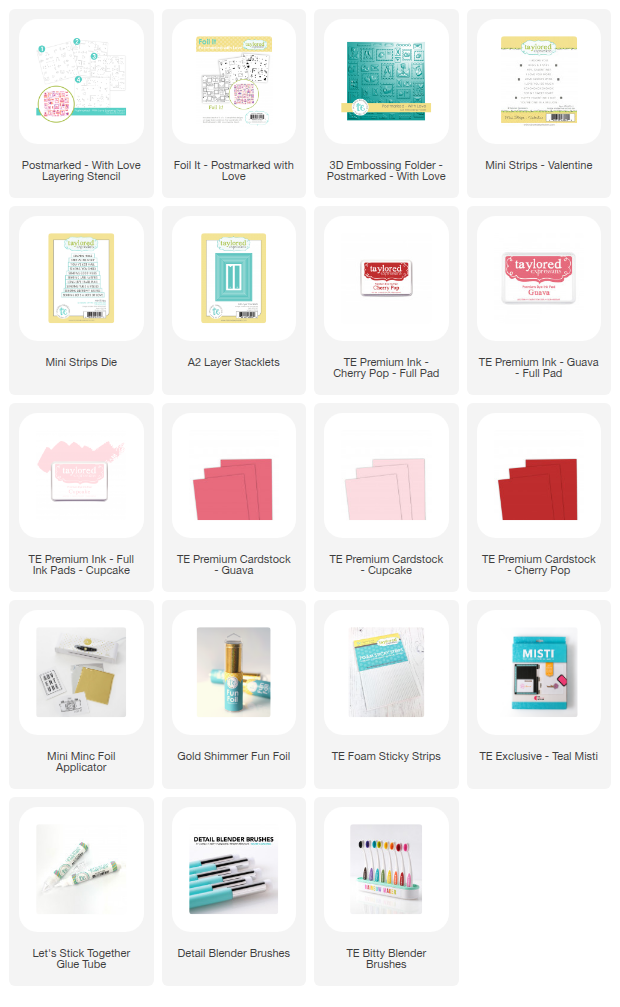
My third card features the Mega Message Die Set - Love, which is free with the purchase of $100 or more.  I created the background of the card with the Postmarked - Love Stencil, the Foil It - Postmarked Love, and the Postmarked - Love Embossing Folder. 


Here's a closer look. First I foiled with TE Gold Shimmer Fun Foil. Next I stenciled with the Postmarked - Love Stencil using Cherry Pop, Cupcake, and Guava Inks. Then I embossed the card front with the Postmarked - Love Embossing Folder. 


I used Cupcake and Cherry Pop Cardstocks for the Love Sentiment. The smaller sentiment is from the previously released Mini Strips - Valentine Stamp Set. 

We have three bundles designed to help you create unique, memorable cards:
  • Heart to Heart Bundle
  • Postmarked – With Love Bundle
  • Sweet Talk Bundle
Plus, a variety of other goodies to mix and match with this release and collections beyond this release. This week only, we also have an exclusive $100 and $200 Gift with Purchase!

Offer valid Tuesday, January, 6, 2025 at 9 AM CT through Tuesday, January 13, 2025 at 8:59 AM CT or while supplies last.

Thanks for stopping by! Stop by the TE Blog for all the details and more inspiration from the team.