Showing posts with label Layering Stencils. Show all posts

8/11/26

It's the Halloween Release at Taylored Expressions

Hi and thanks for stopping by today! I always look forward to creating for holidays and as a card designer you start early! Today Taylored Expressions is releasing new Halloween products and they are so fun to work with! 


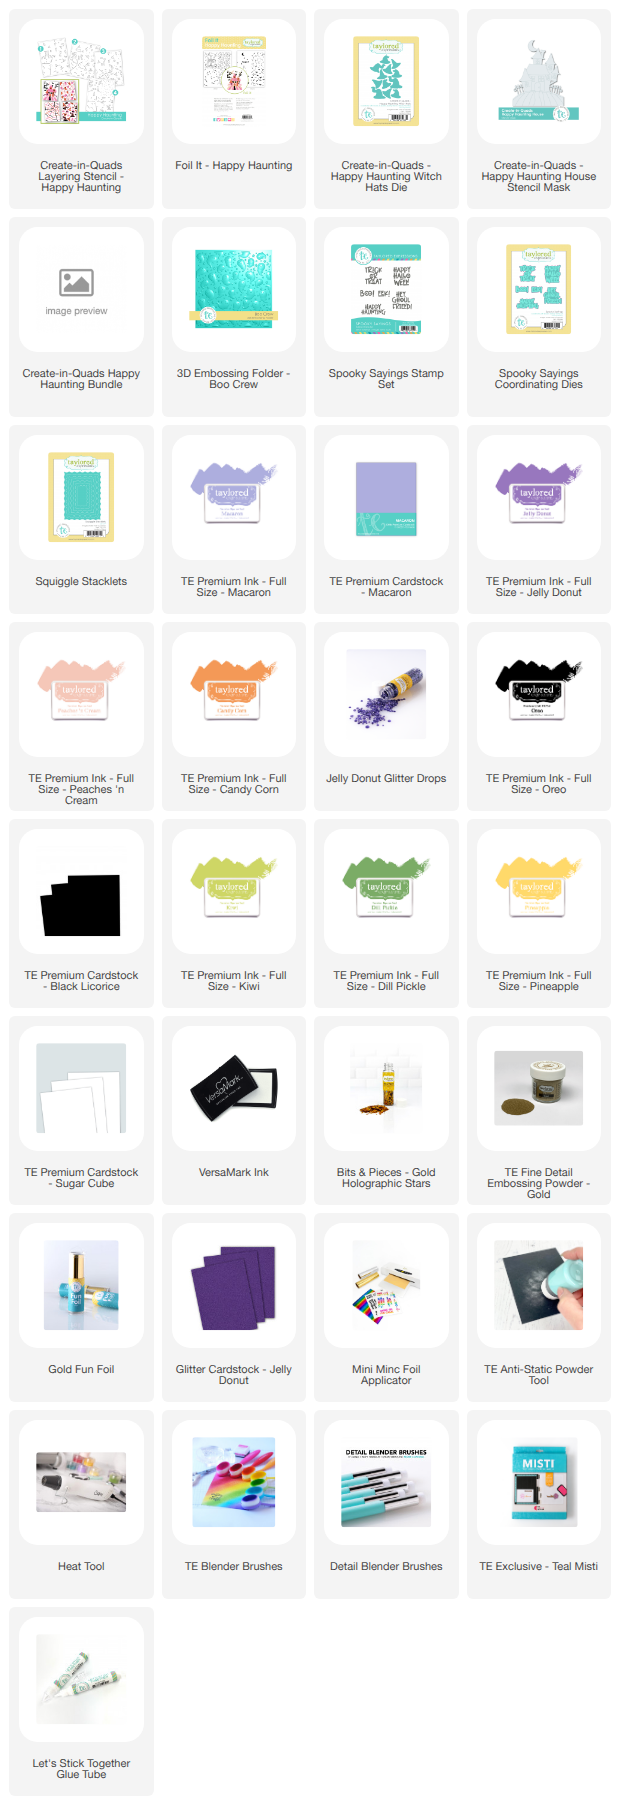
First up is a look at the Create-in-Quads – Happy Haunting product line. The Happy Haunting Stencil  turns one sheet of cardstock into four finished card fronts with a single layering stencil—a haunted house, playful ghosts, a colorful spiderweb, and witch hats. I foiled one of the Foil It-Happy Haunting panels with TE Gold Foil and then stenciled with the inks I have listed below. 


My first card focuses on the Witch's Hats. I stencil all four images and cut the images into four panel. With the hats I used the coordinating Create-in-Quads - Happy Haunting Witch Hats Die to die all the hats at one time. 


Next I cut a piece of Macaron Cardstock with the Squiggle Stacklets for the card front. I stenciled the clouds with the Set the Scene - Clouds Stencil Strips with Jelly Donut Ink. Then I die with the Happy Haunting Witch Hats Die again and inlayed the hats back in to the card front. 


The sentiment is from the new Spooky Saying Stamp Set. 


I created one more card with the four panel but you can get a glimpse at the other two images in the background. 


After I stenciled I used the new coordinating 3D Embossing Folder - Boo Crew. I just love the added dimension and texture. It is even better in person! And the Boo Crew Embossing folder would be great on its own for a Halloween card background. This is another sentiment from the new Spooky Saying Stamp Set. 
Next up is a look at the Postmarked - Spooky Season Bundle and the Bitty Box Halloween Accessories Dies Set. The Postmarked – Spooky Season brings together layered stencils, a 3D embossing folder, foiled panels, and coordinating stamps and dies—all designed to mix and match into postage-stamp-collage backgrounds filled with pumpkins, ghosts, bats, and candy corn.


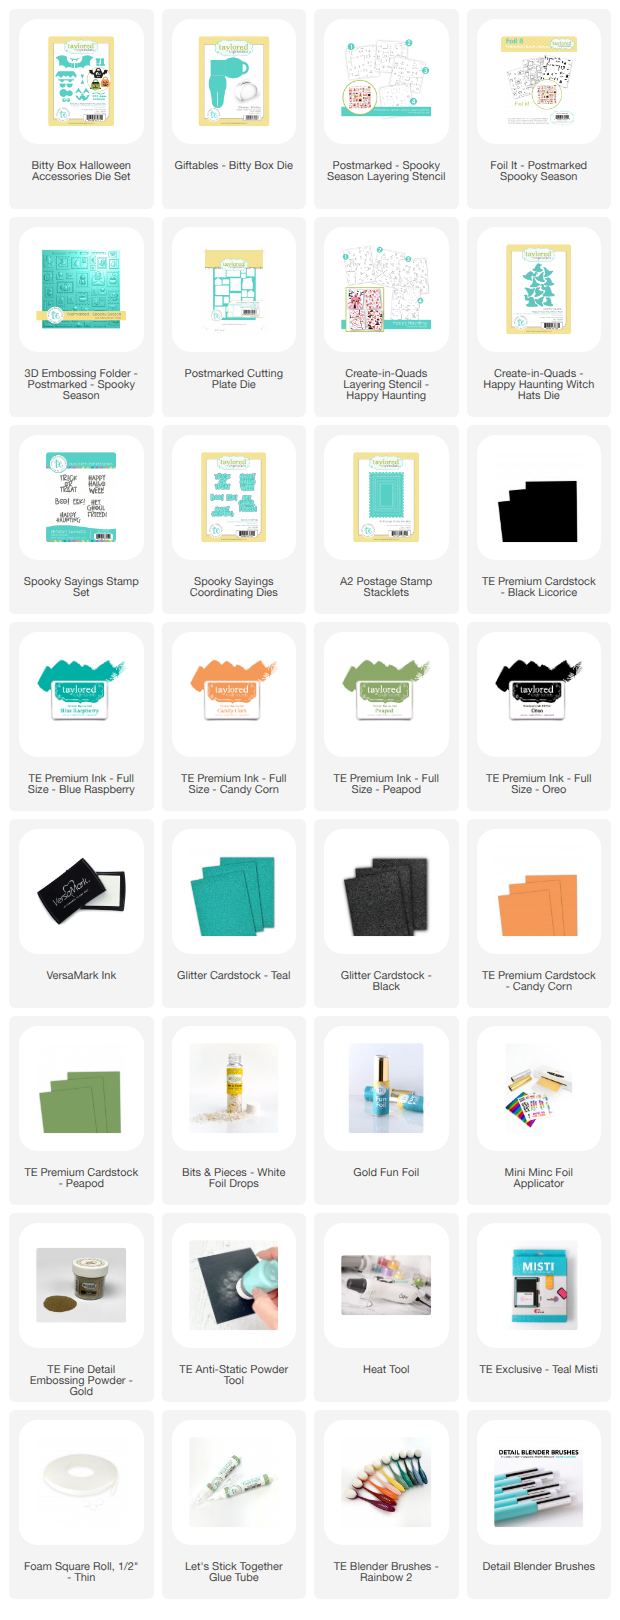
I foiled one of the Foil It - Postmarked Spooky Season panels with TE Gold Foil and then stenciled with Blue Raspberry, Candy Corn, Peapod, and Oreo Inks. Then I die cut the panel with the largest die in the A2 Postage Stamp Stacklets Die Set and then embossed with the 3D Embossing Folder - Spooky Season. This sentiment is also from the new Spooky Saying Stamp Set.

I used the Create-in-Quads Layering Stencil - Happy Haunting to the stencil just one witch's hat and die cut with the Happy Haunting Witch Hats Die. 


And who doesn't love a cute treat box for a Halloween treat! Last Easter TE released the Giftables – Bitty Box Die Set along with an Easter Bunny option. The new Bitty Box - Halloween Die Set works with the Giftables – Bitty Box Die Set,  giving you more options, including a pumpkin, bat, and a cute Frankenstein. 

Here is the bat. I used Black Glitter Cardstock for the wings. 


Here is the cute Frankenstein. I love the eyes! 


And here is the pumpkin. I have of couple of granddaughters who will love these! 
Happy crafting! Stop by the TE Blog for all the details on the new products, and more inspiration from the team. 

4/25/26

It's Day 2 of the Papertrey Ink April Release Countdown!

Hi and welcome to Day 2 of the Papertrey Ink April Release Countdown. I have two more projects that are all about Dad to share with you today. All the new products will be available on April 28th at 12 PM EDT. 


My first card is created is the new Dad Dies, the Build-A-Briefcase Dies, and the Love to Layer: Top Notch Dies. 

I started with the Dad Dies which die cuts the different color strips of cardstock to spell out Dad. I used True Black, Classic Kraft, Gold, Enchanted Evening Cardstock. 


Next I put together the briefcase with the Build-A-Briefcase Dies and added a sentiment from the previously released Father's Day Sentiments Stamp Set. Then I die cut Bitty Big Collection : Dark Indigo Cardstock with the largest die in the new Love to Layer: Top Notch Die and Vintage Cream Cardstock with the smaller die in the set.


The card front is die cut with the Border Bling: Tin Stitch Die. 

Supplies:
Stamps: Father's Day Sentiments
Dies: Dad, Build-A-Briefcase, Love to Layer: Top Notch, Border Bling: Tin Stitch
Ink: True Black, Classic Kraft, Enchanted Evening
Paper: True Black, Classic Kraft, Enchanted Evening, Gold, Vintage Cream
Other: Twine, Gold Enamel Dots, Blending Brush


My next card features the Birch Grove Stencil Collection and the All About Dad Stamp Set and Dies. First I stamped one of the three sentiments in the All About Dad Stamp Set. I stamped in Versamark Ink on Ocean Tides Cardstock and embossed with white embossing powder. 


I stencil the background on Stamper's Select White Cardstock with Mint Julep, Ocean Tides, Aqua Mist, Tropical Teal Inks, and Smokey Shadow Inks. I die cut the center of the stenciled card front with the Love to Layer: Torn Edges Dies. I used foam tape to add the die cut back into the center of the card.


The leaves are die with the Into the Blooms: Spring Basket and I added a few black enamel dots. 

Supplies:
Stamps: All About Dad 
Dies: All About Dad, Love to Layer: Torn Edges, Into the Blooms: Spring Basket
Ink: Mint Julep, Aqua Mist, Versamark, Smokey Shadow, Ocean Tides, Tropical Teal
Paper: Stamper's Select White, Smokey Shadow
Other: Birch Grove Stencil, Blending Brushes, Teal Cardstock, Black Enamel Dots, White Paint, Foam Tape

Stop by the PTI Blog of all the details and more inspiration from the team. I will be back tomorrow with more projects with the new release. 


4/24/26

It's Day 1 of the Papertrey Ink April Release Countdown!

Hi and welcome to Day 1 of the Papertrey Ink April Release Countdown. This month's release will full of pretty flowers, sweet ladybugs and bumble bees, and products to help you create cards when a kind word or encouragement are needed. All the new products will be available on April 28th at 12 PM EDT. 


Let's start with a look at the Wildflower Wreath Stamps and Dies and the Build-A-Bubblebee Die Set. First I stamped the floral wreath in Memento Black Ink and colored the image with OLO Markers. Next I die cut the image with the coordinating Wildflower Wreath Dies. 


The Build-A-Bubblebee Die Set includes dies to create three different size bumblebees. This is the smallest one. I used Vellum for the wings and added a little Diamond Stickles to the wings.

The background is stenciled with the new Brushstokes Stencil Collection. This is a set of four stencils. I love the look of the brushstrokes and see myself reaching for this stencil often. 


The front panel is die cut with the new Love to Layer: Top Notch Dies. The sentiment is included in the Wildflower Wreath Stamp Set. I added texture to the card front with Border Bling: Tin Stitch Die. 

Supplies:

Stamps: Wildflower Wreath
Dies: Wildflower Wreath, Love to Layer: Top Notch, Border Bling: Tin Stitch, Build-A-Bumblebee
Ink: Lemon Tart, Sweet Blush, Mint Julep, Lilac Grace
Paper: Lemon Tart, Lilac Grace, True Black, Stamper's Select White, Bitty Big Collection: True Black, Vellum
Other: Brushstrokes Stencil, Diamond Stickles, Olo Markers, Memento Black Ink, Blending Brushes


Next is a look at the This is Big Sentiments: Strength and coordinating dies. In time of loss or difficult times finding the right words can feel impossible. I appreciate having products to make these card easier and this stamp if full of encouraging sentiments. 

For the focal point of this card I used the Into the Blooms: Wild Wood Die, which included the dies to create the slice of wood and pretty florals. Then I added the ladybug with the new Build-A-Ladybug Dies. Like the bumblebee you can create three different size ladybugs. This is the smallest one. 


I used the Brushstokes Stencil Collections to create the background and lightly splattered gold watercolor paint. 


There are two different fonts to choose from for the larger Strength sentiment. The smaller sentiment is stamped on vellum and embossed with black embossing powder. 

Supplies: 

Stamps: This is Big Sentiments: Strength
Dies: This is Big Sentiments: Strength, Into the Blooms: Wild Woods, Build-A-Ladybug
Ink: Lemon Tart, Melon Berry, Spring Moss, Classic Kraft, Fine Linen, Berry Sorbet, Summer Sunrise, Pinefeather, Versamark
Cardstock: Stamper's Select White, Classic Kraft, Vintage Cream, Spring Moss, True Black, Lemon Tart, Vellum
Other: Brushstrokes Stencil Collection, Blending Brushes, Gold Watercolor Paint, PTI Clear Gems, White Gel Pen, Teal Cardstock

Stop by the PTI Blog of all the details and more inspiration from the team. I will be back tomorrow with more projects with the new release. 


4/14/26

Palette Playbook Volume 2

Today Taylored Expressions is releasing the Palette Playbook Vol. 2. This release will complete the Palette Playbook so that all the TE Inks and cardstock colors is included in the Palette Playbook, offering curated color combinations for 85 of TE’s signature colors! Also TE  is releasing three new Palette Stencils. 


I have a card to share with you that I created with the Balloon Palette Stancil. This a set of four stencils that makes creating this fun birthday card quick and easy. And the stencil also creates a palette swatch that I die cut with the Palette Swatch Coordinating Die. 

I used a combination of Dill Pickle, Poblano Pepper, Banana Cream Pie, and Papaya Inks. I don't know if I ever would have come up with this combination on my own. I used the Palette Playbook - Dill Pickle for inspiration. This is a laminated reference sheet that is a perfect guide for exploring how Dill Pickle coordinates with the TE color collection. It includes six color combination ideas, including Taylor’s favorite combo, plus a shade sequence of coordinating TE colors in the same color family so you can see how the tones work together from light to dark. I love sheets and have purchased many of them. 


After I stenciled the balloons I die cut the card front with the largest die in the Squiggle Stacklets. Then I lightly splattered the card front with gold watercolor paint and added a few Bits & Pieces - Gold Holographic Stars.


The sentiment if from the Birthday Vibes Stamp Set.

Taylored Expressions' colorful new product release is designed to make creating with color easier than ever! The Palette Playbook collection is now complete, offering curated color combinations for 85 of TE’s signature colors! Each sturdy, laminated color inspiration guide comes equipped with six ready-to-use color palettes to inspire your projects.

Plus, you’ll find new designs perfect for bringing those palettes to life, including layering stencils and bold, statement-making sentiments. 

Bonus: Stock up and save on Palette Playbooks and Love to Label Sticker Sheets—add 10+ or 20+ of either product type to your cart to unlock tiered discounts (applied separately).


You can find all the products I used by visiting Taylored Expressions and checking out the “What’s New” category. 

https://www.tayloredexpressions.com/whats-new/palette-playbook-vol-2/

Happy crafting! Stop by the TE Blog for all the details on the three bundles, new products, and more inspiration from the team. 

2/21/26

Papertrey Ink February Release Countdown Day 2

Hi and welcome to Day 2 of Papertrey Ink February Countdown. Today I have two new stamp and die sets to share with you.  All the new products will be available on February 24th at 12 PM EST.  


My first card showcases the new Wrapped in Love Stamps Set and coordinating dies. I love the idea of the stacked packages. On the bottom package I stamped the stripes in Versamark and embossed with white embossing powder on Enchanted Ink Cardstock. 


I added the small flowers and leaves with the previously released Into the Blooms: Spring Nest Die set. The sentiment is included in the Wrapped with Love Stamp Set. 


I added the packages to an oval die cut with the new Love to Layer: Laced Oval. The background is stenciled with Dotted Diamonds Stencil Collection 

Supplies:

Stamps: Wrapped in Love
Dies: Wrapped in Love, Love To Layer: Laced Oval, Into to the Blooms: Spring Nest
Ink: Spring Rain, Blueberry Sky, Enchanted Evening, Lemon Tart, Green Parakeet, Versamark
Paper: Stamper's Select White, Blueberry Sky, Green Parakeet
Other: Dotted Diamonds Stencil Collection, White Embossing Powder, Foam Tape, Yellow Dots


How fun is the new Build-An-Emoji Die Set. There are different expressions and accessories to create the face. I die cut the circle from Lemon Tart Ink and blended Bright Buttercup Ink on the edges. 


The sentiments are from the new This is Big Sentiments: Happy Everything. The background is foiled with the Stargazing Hot Foil Plate with white foil on Hawaiian Shores Cardstock. 


I die cut the front panel with the Rounded Rectangles: Stitched Die and added a strip of Bitty Big Collection: True Black cardstock across the middle of the card.

Supplies:

Stamps: This is Big Sentiments: Happy Everything
Dies: Build-An-Emoji, This is Big Sentiments: Happy Everything, Rounded Rectangles: Stitched Die
Ink: Lemon Tart, Bright Buttercup, True Black, Raspberry Fizz, Pale Peony, Hawaiian Shore
Paper: Stamper's Select White, Hawaiian Shores, True Black, Lemon Tart, Sweet Blush, Green Parakeet, Raspberry Fizz, Bitty Big Collection: True Black
Other: Stargazing Hot Foil Plate, White Foil, PTI Clear Gems, Foam Tape

Thanks for stopping by! I will be back tomorrow with more projects from the new release. Stop by the PTI Blog for all the details and more inspiration from the team. 


2/17/26

Colorfully Coordinated

It's the Colorfully Coordinated Release at Taylored Expressions today! If you love color and love to organize this release if for you! I know my cart is going to full! Keeping my supplies organized is a challenge for me. 


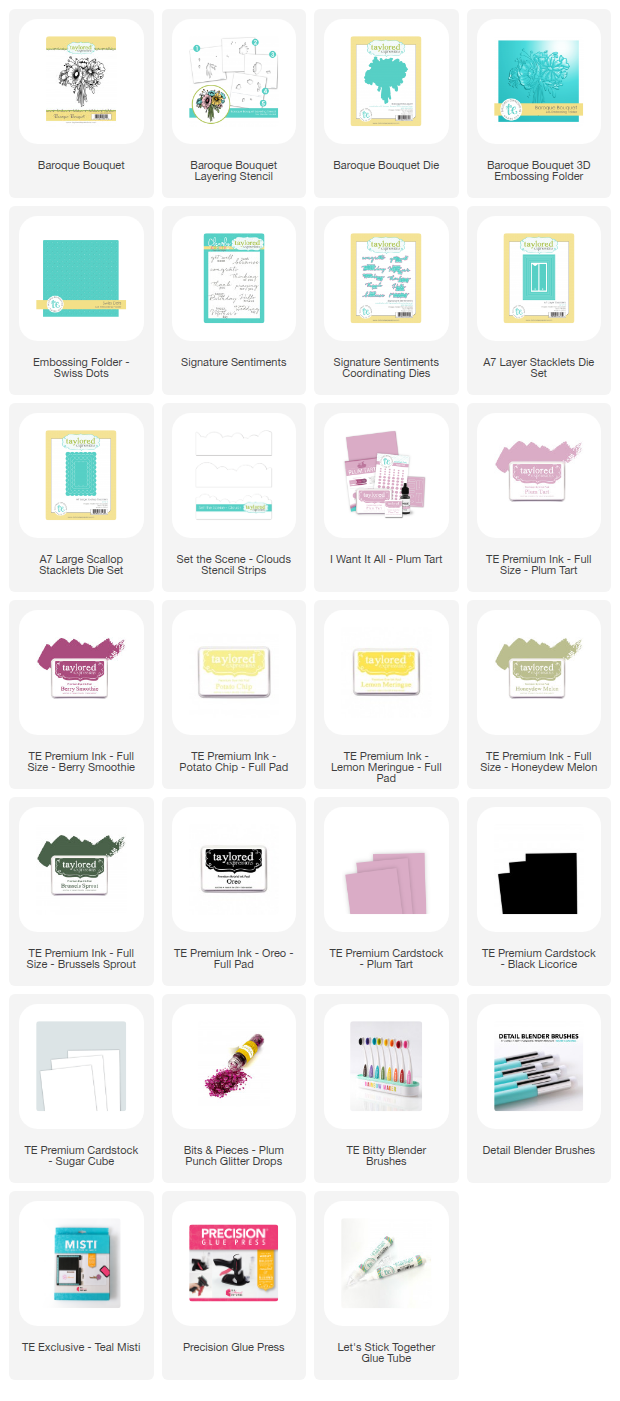
Let's start with a look at the new color of cardstock and ink being release today, Plum Tart. I paired Plum Tart with Berry Smoothie, Potato Chip, and Honeydew Melon and used Lemon Meringue and Brussels Sprouts to add shading. 

I decided on a 5 x 7 card with the beautiful Baroque Bouquet Stamp. I stamped in Oreo Ink and then used the Baroque Bouquet Stamp Stencil to add the color with Blender Brushes. I die cut with the coordinating Baroque Bouquet Die and then added embossing details with the Baroque Bouquet Stamp 3D Embossing Folder.  


Here is a closer look at the embossing detail. I love that TE has added 5 x 7 options to the TE product line.  I used the A7 Layer Stacklets Die Set and the A7 Large Scallop Stacklets Die Set for my card base. 


At the bottom I added a strip of Plum Tart Card embossed the Swiss Dots Embossing Folder. The sentiment is from the Signature Sentiments Clear Stamp Set and die cut with the coordinating dies. I finished off the card with a few Glitter Drops. 

Here are the details on the release: 

Hello all! Our Colorfully Coordinated release is this week and it’s a BIG one! This collection is all about helping choose color combinations with confidence, keeping supplies beautifully organized, and experiencing more joy when creating in full color.

You can view the full release here:
https://www.tayloredexpressions.com/whats-new/colorfully-coordinated/

Palette Playbooks
Palette Playbooks are a visual guide to Taylored Expressions color combinations that work beautifully together, so you can create with confidence! Each laminated reference sheet includes six coordinating color palettes and a light-to-dark shade sequence within the same color family to help take the guesswork out of choosing colors.
Bundles available:


Plum Tart
Plum Tart is officially being released into the TE color catalog!
http://tayloredexpressions.com/filter/by-color/plum-tart/

Simple Storage - Medium Binder + Sleeves
With new color tools and reference guides comes the need for easy storage. The Simple Storage – Medium Binder & Sleeves helps keep supplies visible, protected, and all in one place.
It’s perfectly sized for:
  • Palette Playbooks
  • Happy Half Sheets
  • TE Color Catalog
  • Design Duo Layering Stencils
  • And more


Thanks for stopping by! Stop by the TE Blog for more inspiration from the team. 

2/5/26

Timeless Blooms

It is Throwback Thursday at Taylored Expressions! The Create-in-Quad Layering Stencil – Timeless Blooms is back! The Timeless Bloom Stencil creates four unique but coordinated panels all at once. And there are new products to coordinate! 


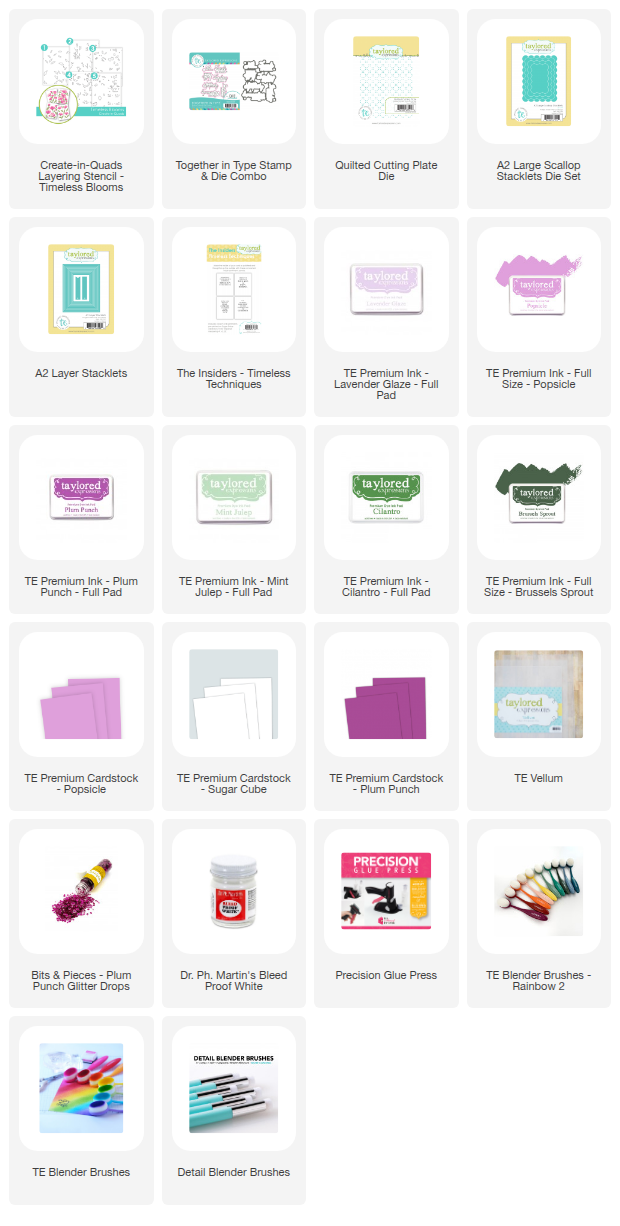
I created a set of four cards with the Timeless Bloom Stencil. I used a combination of Lavender Glaze, Popsicle, Plum Punch, Mint Julep, Cilantro, and Brussels Sprout Inks. 


I added the background texture to each card with the new Quilted Cutting Plate Die. I love the detail of the added texture and am sure I will reach for this Cutting Plate often! 


All the sentiments are from the Together in Type Stamp & Die Combo. Here I added a strip of vellum so that the sentiment stood out from the background. 


Here are the next two cards. I used Bits & Pieces Plum Punch Glitter Drops on all of my cards to add a little sparkle. 


On this card I die cut a small rectangle from the center of the card, framed it with the one of the smaller A2 Large Scallop Stacklets for some added detail. 


This card is framed with the largest die in the A2 Large Scallop Stacklets. The backgrounds of my cards are lightly splattered with  Dr. Ph. Martin's Bleed Proof White Watercolor. 

Thanks for taking a look. Stop by the TE Blog for all the details and more inspiration from the team.