Showing posts with label Stitching. Show all posts

10/20/26

All the Trimmings

It's the annual All the Trimmings Release at Taylored Expressions. This release is full of new products to make the season merry, bright and wonderfully handmade. I have a number of projects to share with you today that will add that extra handmade touch to your gift giving this year. 


Let's start with a look at the adorable Gift Card Mug Die Set. You can create the snowman with a hat or whip cream which can be pulled up to reveal a gift card. 


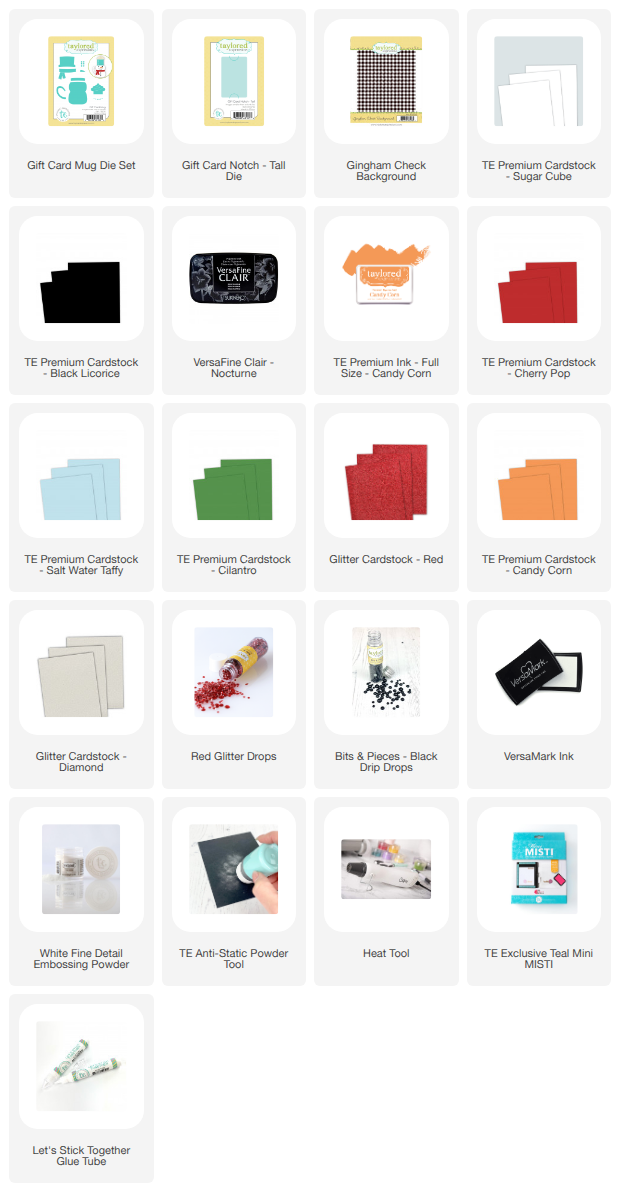
I cut two snowman from Sugar Cube Cardstock, one for the front and one for the back. Then on the front snowman I die cut the mouth, added the nose and eyes, and buttons. I stamped the Gingham Check Background Stamp with Versamark Ink and embossed with TE White Embossing Powder and die cut the scarf. I used TE Regular Foam Sticky Strips to attach the front to the back of the snowman. I found this work best for leaving enough room for the gift card. I used the I'm Interactive Clear Stamp Set to stamp the "PULL" sentiment. 


Here is a look at the snowman with the whip cream. 


You can use the Tall Gift Card Notch Die to add the gift card or just use a glue dot and attach the hat or whip cream directly to the gift card. 

Next up is the Reindeer Cheer Die. There a number of different way to use this die! 


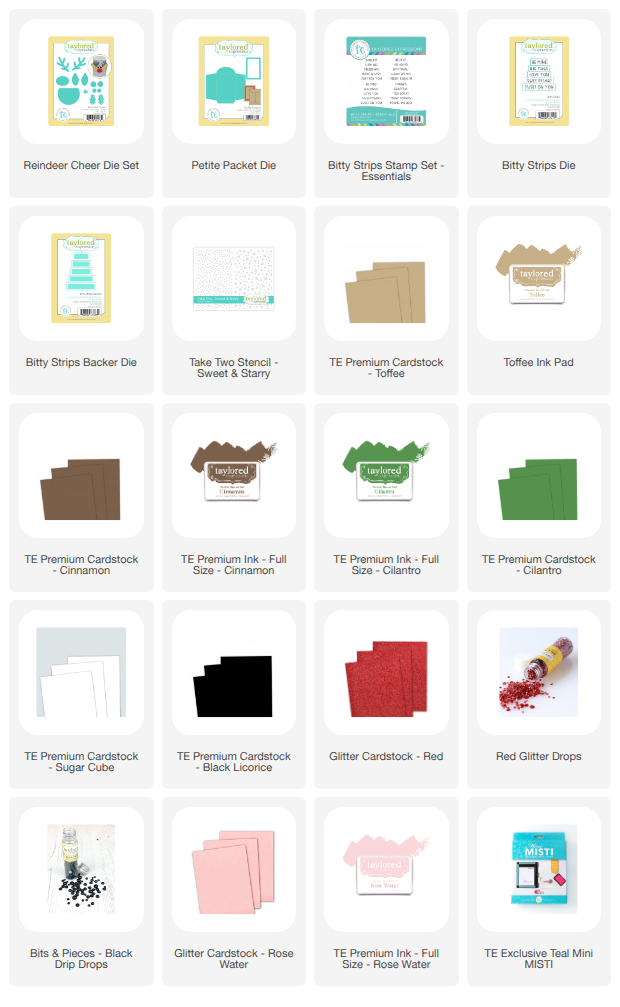
The Reindeer Cheer Die can be used with the previously released Giftables - Bitty Box Die. The box can hold a sweet treat or a small gift. 


I also created a gift card holder using the Petite Packet Die and adding the face of reindeer. I used a circle die for the head. Another idea is to create a band that could around socks or another soft item and then add the reindeer elements to the band. 

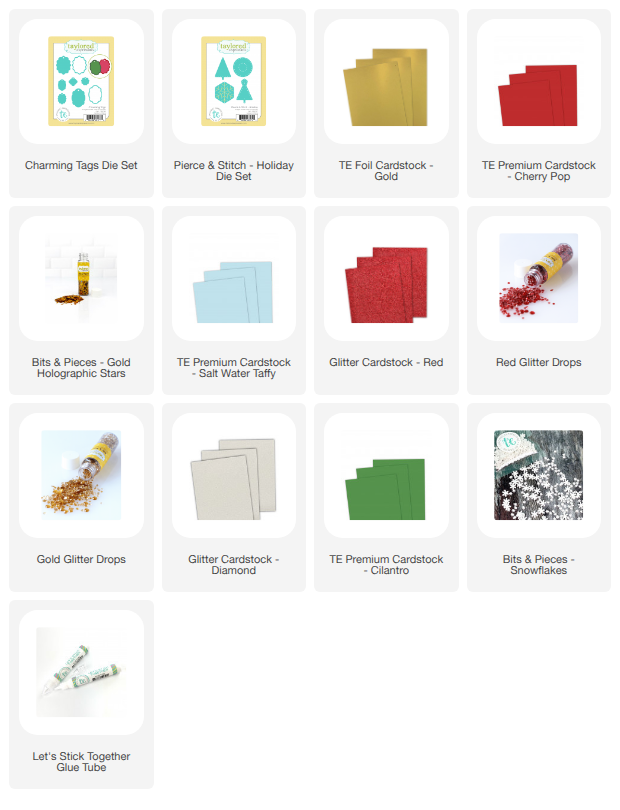
My final project is a set a tags created with the new Charming Tags Die Set and the Pierce & Stitch Holiday Die Set. The Charming Tags Die set creates two different shape tags. 


Once I cut the base of tag I used each of the Pierce & Stitch Dies to die cut directly into the center of the tag. I used two strands of DMC Embroidery Floss for the simple stitching patterns. 


I added a few embellishments to the stitching but that is optional. 


I added twine to the hole at the top of tags. I added white cardstock to the back of each tag so I could write to and from on the back. 
Stop by the TE Blog for all the details on the new products and more inspiration from the team. 


7/24/26

Let the July Papertrey Ink Countdown Begin!

Hi and welcome to Day 1 of the Papertrey Ink July Release Countdown! This release is full of beautiful florals, creative stencils, a new press plate, and another This is Big Sentiment Set. All the new products will be available on July 28th at 12 PM EDT. 


My first card features four new products. To create the background I stenciled the new Leafy Garden Stencil Collection. This is a set of three stencils.


Next I die cut the heart with the new In Stitches: Hearts Die Set. I used Sweet Blush Cardstock and stitched with a red DMC Embroidery Floss. You really don't have to do the stitching but I do like the added texture. 


The flowers and greenery are die cut with the new Build-A-Flower Garden Die Set. I added PTI Pink Gems to the flowers and heart. 


The sentiments are from the new This is Big Sentiments: You Stamp Set and Dies. 

Stamps: This is Big Sentiments: You
Dies: This is Big Sentiments: You, Build-A-Flower Garden, In Stitches: Hearts
Ink: True Black, Raspberry Fizz, Pale Peony, Sweet Blush, Green Parakeet, Pinefeather, Lemon Tart
Paper: Stamper's Select White, Sweet Blush, Green Parakeet, Lemon Tart, Vellum
Other: Leafy Garden Stencil, PTI Pink Gems, DMC Embroider Floss, Blending Brushes


Along with the In Stitches: Heart Die Set we also have a new In Stitches: Tucked In Tags Die Set. There are a number of different dies to create different tags. You can add a gift card to the pocket, like I did on this card, or a special note or even cash. I think I will use this die often as we head into the holiday season. 


I used a color combo of Pure Poppy, Green Parakeet, Tropical Teal, and Coastal Blue. I used the Build-A-Flower Garden Die Set again to add the flowers and greenery. 


I added the gift card pocket to a panel I die cut with the new Lover to Layer: Sweet Scallop Die Set and added the sentiments with the This is Big Sentiments: You Stamp Set and Dies. 

Stamps: This is Big Sentiments: You
Dies: This is Big Sentiments: You, In Stitches: Tucked In Tags, Love to Layer: Sweet Scallops, Build-A-Garden
Ink: Coastal Blue, Green Parakeet, Pure Poppy, Tropical Teal, Lemon Tart, Summer Sunrise
Paper: Stamper's Select White, Coastal Blue, Green Parakeet, Lemon Tart, Pure Poppy, Bitty Big Collection: Green Parakeet and Pure Poppy
Other: DMC Embroidery Floss, Button, Blending Brushes

Thanks for stopping by! I will be back tomorrow with more projects to share with the new release. Stop by the PTI Blog for all the details and more inspiration from the team. 


5/23/26

It's Day 2 of the Papertrey Ink May Release Countdown!

Hi and welcome to the Day 1 of the Papertrey Ink May Release Countdown! Today my cards are all about welcoming new babies in the world.  All the new products will be available on May 26th at 12 PM EDT. 


My first two cards today feature the Quilt-It-Baby Die Set and the This is Big Sentiments: Welcome. I really like the idea of quilt squares. There are two different size options for the quilt squares. This is the smaller one. I have listed the cardstocks and ink colors I used below. 


I created the star pattern and die cut the quilt squares from white cardstock. Then I blended Spring Rain Ink to help highlight the stitching. I used Blueberry Sky Cardstock for the card front and used the previously release Cover Plate: Handmade Quilt Die to add the pattern. 


The sentiments are from the new This is Big Sentiments: Welcome. The hat is die cut with dies in the new Build-A-Bear Dies Set. 

Supplies:

Stamps: Quilt-It-Baby, This is Big Sentiments: Welcome
Dies: Quilt-It-Baby, This is Big Sentiments: Welcome, Cover Plate: Handmade Quilt Die, Build-A-Bear, On the Edge: Scallops Collection Die
Ink: Spring Rain, Blueberry Sky, Enchanted Evening, Lemon Tart, Summer Sunrise, New Leaf, Pinefeather, Versamark
Paper: Stamper's Select White, Blueberry Sky, Enchanted Evening, Spring Rain, Lemon Tart, New Leaf, Pure Poppy, Bitty Big Collection: Blueberry Sky
Other: White Embossing Powder, Blending Brushes, Foam Tape


This is the larger option for the quilt square. I stamped the patterns on colored cardstock, colors listed below. After I stamped the pattern I stamped the stitching. I used the Cover Plate: Handmade Quilt Die to add the pattern to the quilt square. 

I added the clouds with the new In Stitches: Starry Skies. There are dies for clouds and stars in this set. 


I used a mix of the Bitty Big Collection: Pale Peony and the Bitty Big Collection: Spring Moss patterned paper for the card front. These are more sentiments from the This is Big Sentiments: Welcome. 

Supplies: 
Stamps: Quilt-It Baby, This is Big Sentiments: Welcome, 
Dies: Quilt-It Baby, This is Big Sentiments: Welcome, In Stitches: Starry Skies, Cover Plate: Handmade Quilt Die
Ink: Summer Sunrise, Hibiscus Burst, Raspberry Fizz, New Leaf, Berry Sorbet, Pure Black, Sweet Blush
Cardstock: Stamper's Select White, Hibiscus Burst, Bitty Big Collection: Pale Peony, Bitty Big Collection: Spring Moss
Other: Button, Twine, Lace, Blending Brushes, Foam Squares


Next up is a look at the cute new Build-A-Bear Dies Set. There are many options for dressing up your bear including some patriotic options. I am going to a baby shower soon so I went with the baby girl option. 


I die cut the bear from white cardstock and then used Distress Inks in Antique Linen and Brushed Corduroy to add the color. I added the flower and leaves with the Into the Blooms: Pressed Flowers Die. 


The sentiment is from the This is Big Sentiments: Welcome. The card front is die cut with the Cover Plate: Gathering Florals. 

Supplies: 
Stamps: This is Big Sentiments: Welcome
Dies: Build-A-Bear, This is Big Sentiments: Welcome, Cover Plate: Gathering Florals, Into the Blooms: Pressed Flowers
Ink: Sweet Blush, Hibiscus Burst, Raspberry Fizz, Simply Chartreuse
Paper: Stamper's Select White, Sweet Blush, Raspberry Fizz, Simply Chartreuse, Cocoa Bean, True Black, Bitty Big Collection: Raspberry Fizz
Other: Distress Inks in Antique Linen and Brushed Corduroy, Pink Gems, Lace

Thanks for stopping by! I will be back tomorrow with more projects to share with the new release. Stop by the PTI Blog for all the details and more inspiration from the team. 

4/7/26

The For Her Release from Taylored Expressions

Today's Taylored Expressions new release is For Her! The release is full of beautiful sewing and stitching inspired products, and a pretty family tree. All the products are available now in the TE Store. 


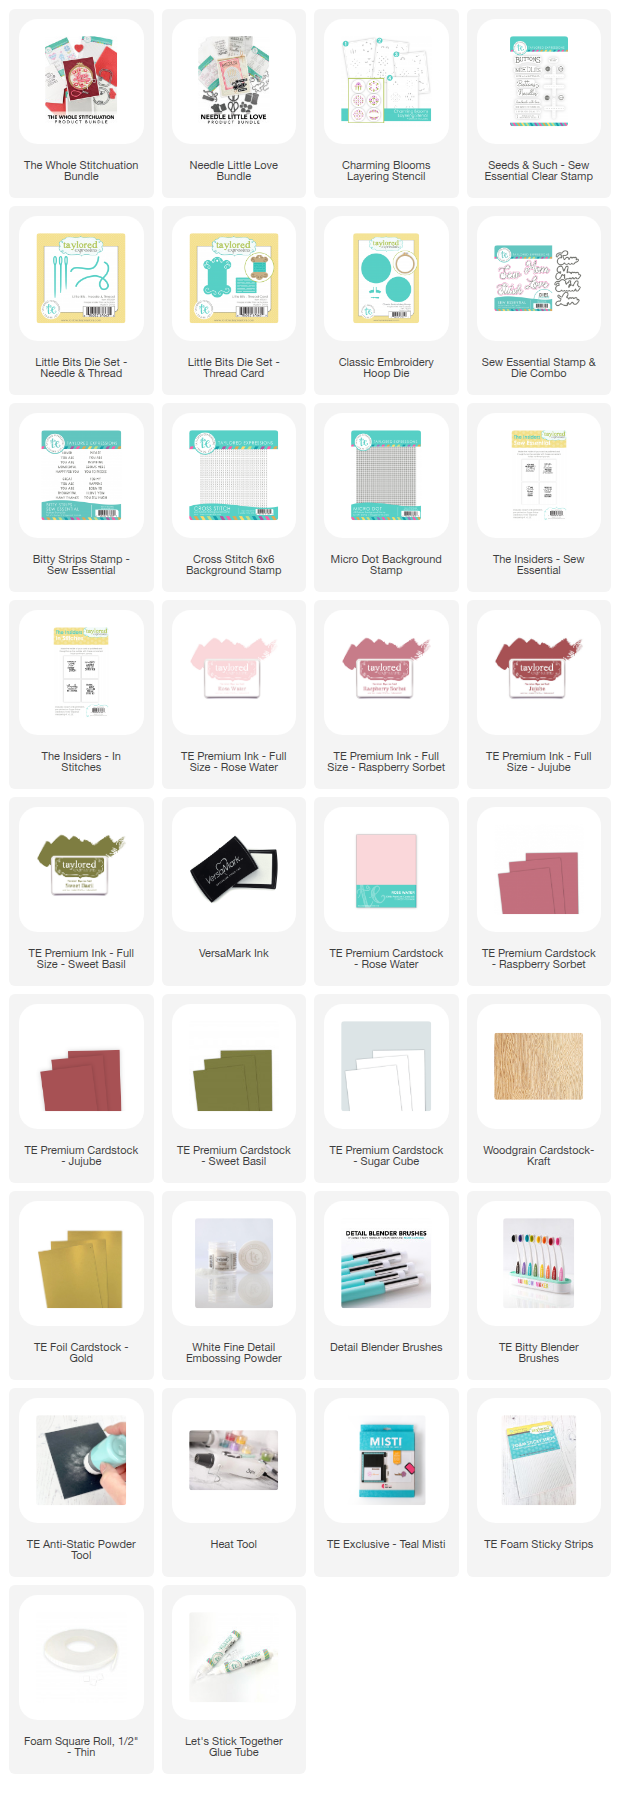
My first two projects feature some of the new stitching and sewing products. I used a color combination of Rose Water, Raspberry Sorbet, Jujube, and Sweet Basil Inks and Cardstock. 

There are two different embroidery hoop dies in this release. I used the Classic Embroidery Hoop Die with the Woodgrain Cardstock - Kraft. I used the new Charming Bloom Layering Stencil for the designs inside the hoops. 


I used the new Micro Dot Background Stamp with Rose Water Ink to add the background behind the stenciling, perfect for the look of counted cross stitch fabric. I used the Little Bits - Needle and Thread and Little Bits - Thread Card to die cut additional embellishments. 


The card front background is stamped with the Cross Stitch 6x6 Background Stamp. 


The larger sentiments are stamped and die cut with the Sew Essential Stamp and Die Combo. I stamped in Versamark Ink and embossed with TE White Embossing Powder. The smaller sentiments are from the new  Bitty Strips - Sew Essential Stamp Set and die cut with the Bitty Strips Die. 


The Embroidery Floss sentiment on the thread card is included in the Seed & Such - Sew Essential Clear Stamp Set. 


I used TE Gold Foil for the needle and embroidery hoop top. 

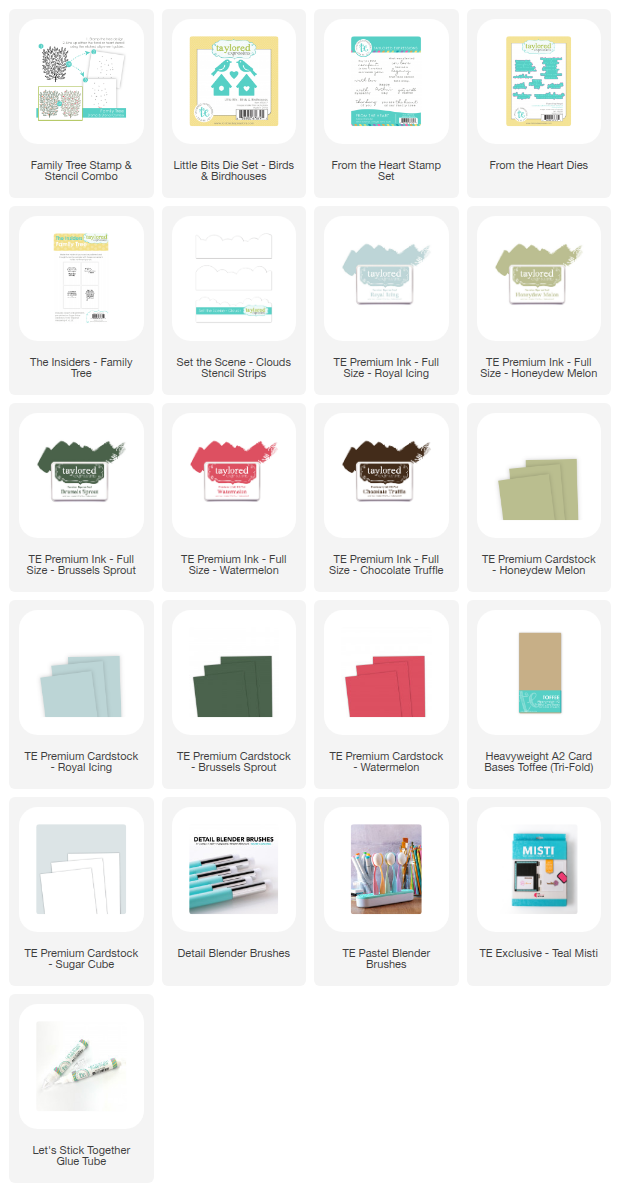
My next card showcased the new Family Tree Stamp and Stencil Combo. You can stencil hearts or flowers. The tree is stamped in Brussels Sprout Ink and I used Watermelon Ink to stencil the hearts. 


I created the background by using the Build-A-Scene - Cloud Stencil Strips with Royal Icing Ink and blending Honeydew Melon Ink at the bottom. 


I added the birds and birdhouses with the Little Bits Die Set - Birds and Birdhouses and the sentiment if from the From the Heart Stamp Set. 

Happy crafting! Stop by the TE Blog for all the details on the three bundles, new products, and more inspiration from the team. 


8/23/24

Thanks for stopping by for a look at the Poshta Design Autumn Release Day 3! Today I have adorable Halloween felt projects to share with you. All the new products will be available on Saturday, August 24th at noon ET time. 


Today's projects are created with the Colorful Calavera Die and the Harvest Pumpkin: Jack-O-Lantern Details II Die. 


The Harvest Pumpkin: Jack-O-Lantern Details II Die adds this spooky face to the Harvest Pumpkin Die. You will need the Harvest Pumpkin Die and then there a number of additional dies like the Jack-O-Lantern Details II Die and the new Harvest Pumpkin: Autumn Floral Details II Die that coordinate to make different pumpkins and jack-o-lanterns. 

The previously released Harvest Pumpkin: Jack-O-Lantern Details Die allows you create a different face on the pumpkin. I think the two options would create a fun banner.

I used Poshta Felt in Daffodil, Squash, and Barley.


Next up is a look at the Colorful Calavera Die. The holiday of Dia De Los Muertos is a celebration of lives well lived and remembrance that often includes sugar skull sweets. The Colorful Calavera Die embraces that tradition and offers a variety of ways to decorate your sugar skulls. Use embroidery, layering, and embellishments to create something unique, beautiful, and truly original. I used a number of colorful embroidery floss colors to add more bright colors. 

Included with this die is an Inspiration Guide that offers several design options for handy reference.The sugar skull measures 3” wide by 3 ¾” tall. I used Lagoon, Weathered Moss, Daffodil, Inkwell, and Rendezvous Felt. I added sequins and seed beads to the eyes and flowers from the new Keeping Cozy Color Story. 

Stop by the Poshta Design Blog for more details and inspiration. Leave a comment on the Poshta blog post for a chance to win a $50 story credit. 


8/21/24

Poshta Design Autumn Release!

Thanks for stopping by today! I am very excited to be Guest Designing for the Poshta Design Autumn Release!! This is my first experience working with the Poshta Design products and I have to say that I am hooked!! Needlework and sewing were my first hobbies as a teenager. I thoroughly enjoyed creating the projects I will be sharing with you over the next few days. All the new products will be available on Saturday, August 24th at noon ET time.


Today I a sharing a peek of the Jumbo Crayon Die and the Just Write Dies. This dies are perfect for Back to School. I added twine to the back of each item thinking they would be cute to tie on a teacher gift or a child's backpack. 


For the pencil I used five different colors of Poshta Felt, Ink, Sunflower, Barley, Lichen, and Lollipop Felt. I learned a lot on my first two project. I found I liked my stitches best when I did a backstitch. I played around with how my batting I liked to add to give dimension. You do not have to add batting. That is a personal choice. I used three strands of DMC Embroidery Floss to stitch with. The fully assembled pencil measures 2” wide by 4 ⅛” tall.


I chose to add seed beads at the top of the pencil. The beads and sequins I used on my projects today are from the new Keeping Cozy Color Story. I will be giving you a closer look at this Color Story in tomorrow's post. To work with the seed beads you need Collapsible Eye Beading Needles. This was new to me but the needles work great. After experimenting I decided I would use two strands of floss for the beading. 


For the Jumbo Crayon Die I used Glacier and Lagoon Felt. The felt rolls are a 5" x 36" roll of wool felt. The felt is beautiful to work with and works great with the dies. For felt I like to run my die through my die cutting machine twice. 


Here is a closer look at how I attached the sequin with a seed bead in the middle using the Collapsible Eye Beading Needles. The fully assembled crayon measures 2” wide by 4 ⅛” tall.

Stop by the Poshta Design Blog for more details and inspiration. I will be back tomorrow with more projects. Think pumpkins, scarecrows, and pies!