Showing posts with label Felt. Show all posts

8/23/24

Thanks for stopping by for a look at the Poshta Design Autumn Release Day 3! Today I have adorable Halloween felt projects to share with you. All the new products will be available on Saturday, August 24th at noon ET time. 


Today's projects are created with the Colorful Calavera Die and the Harvest Pumpkin: Jack-O-Lantern Details II Die. 


The Harvest Pumpkin: Jack-O-Lantern Details II Die adds this spooky face to the Harvest Pumpkin Die. You will need the Harvest Pumpkin Die and then there a number of additional dies like the Jack-O-Lantern Details II Die and the new Harvest Pumpkin: Autumn Floral Details II Die that coordinate to make different pumpkins and jack-o-lanterns. 

The previously released Harvest Pumpkin: Jack-O-Lantern Details Die allows you create a different face on the pumpkin. I think the two options would create a fun banner.

I used Poshta Felt in Daffodil, Squash, and Barley.


Next up is a look at the Colorful Calavera Die. The holiday of Dia De Los Muertos is a celebration of lives well lived and remembrance that often includes sugar skull sweets. The Colorful Calavera Die embraces that tradition and offers a variety of ways to decorate your sugar skulls. Use embroidery, layering, and embellishments to create something unique, beautiful, and truly original. I used a number of colorful embroidery floss colors to add more bright colors. 

Included with this die is an Inspiration Guide that offers several design options for handy reference.The sugar skull measures 3” wide by 3 ¾” tall. I used Lagoon, Weathered Moss, Daffodil, Inkwell, and Rendezvous Felt. I added sequins and seed beads to the eyes and flowers from the new Keeping Cozy Color Story. 

Stop by the Poshta Design Blog for more details and inspiration. Leave a comment on the Poshta blog post for a chance to win a $50 story credit. 


8/22/24

Poshta Design Autumn Release Day 2

Thanks for stopping by for a look at the Poshta DesignAutumn Release Day 2! Today I have adorable fall felt projects to share with you along with the Keeping Cozy Color Story All the new products will be available on Saturday, August 24th at noon ET time.


I am working with the new Keeping Cozy Color Story for my projects today. Each Color Story contains the felt, embroidery floss, and sequins and seed beads in the divided container. The five Poshta Felts in this story are Lagoon, Desert Rose, Russet, Burgundy, and Lichen. 


Today's projects feature the Deep Dish Die, the Smiling Scarecrow Die, and the Harvest Pumpkin: Autumn Floral Details II Die. There is also a Turkey Trot Die that I didn't have time to put together for this post but I will be sharing the turkey die next week, 


I think these cute pies I created with the Deep Dish Die will be so cute displayed in my kitchen this fall. You can use this die throughout the year. How cute would Lemon Meringue be for summer!


On this pie I used Lagoon Felt and the Burgundy sequins and seed beads for the Keeping Cozy Color Story. I also used Barley and Sunlight Felt. 


And I had to add a pumpkin pie! I love the addition of the whip cream. The flower is die cut with a die in the Harvest Pumpkin: Autumn Floral Details II DieIncluded with this die is an Inspiration Guide.


Next is a look at the Smiling Scarecrow Die. I love that stitched smile. Here I used Poshta Felt in Lagoon, Weathered Moss, Barley, Squash, Inkwell, and Sunflower. Included with this die is an Instruction Guide that gives you a helping hand seeing how the designs come together.


I add a sequin and seed bead to the center of the flower and a seed bead to the nose using a Collapsible Eye Beading Needles


This one may be my favorite. I used the Harvest Pumpkin: Autumn Floral Details II Die along with all the felt colors in the Keeping Cozy Color Story. To create the body of the pumpkin you will need the Harvest Pumpkin Die and then there a number of additional dies like the new Harvest Pumpkin: Autumn Floral Details II Die that coordinate to make different pumpkins and jack-o-lanterns. 


Here is a closer look at flower details. I have more pumpkins in the works that I will be sharing for soon.The Inspiration Guide that comes with the die gives you a helping hand seeing how the designs come together.

Stop by the Poshta Design Blog for more details and inspiration. I will be back tomorrow with more projects. 


8/21/24

Poshta Design Autumn Release!

Thanks for stopping by today! I am very excited to be Guest Designing for the Poshta Design Autumn Release!! This is my first experience working with the Poshta Design products and I have to say that I am hooked!! Needlework and sewing were my first hobbies as a teenager. I thoroughly enjoyed creating the projects I will be sharing with you over the next few days. All the new products will be available on Saturday, August 24th at noon ET time.


Today I a sharing a peek of the Jumbo Crayon Die and the Just Write Dies. This dies are perfect for Back to School. I added twine to the back of each item thinking they would be cute to tie on a teacher gift or a child's backpack. 


For the pencil I used five different colors of Poshta Felt, Ink, Sunflower, Barley, Lichen, and Lollipop Felt. I learned a lot on my first two project. I found I liked my stitches best when I did a backstitch. I played around with how my batting I liked to add to give dimension. You do not have to add batting. That is a personal choice. I used three strands of DMC Embroidery Floss to stitch with. The fully assembled pencil measures 2” wide by 4 ⅛” tall.


I chose to add seed beads at the top of the pencil. The beads and sequins I used on my projects today are from the new Keeping Cozy Color Story. I will be giving you a closer look at this Color Story in tomorrow's post. To work with the seed beads you need Collapsible Eye Beading Needles. This was new to me but the needles work great. After experimenting I decided I would use two strands of floss for the beading. 


For the Jumbo Crayon Die I used Glacier and Lagoon Felt. The felt rolls are a 5" x 36" roll of wool felt. The felt is beautiful to work with and works great with the dies. For felt I like to run my die through my die cutting machine twice. 


Here is a closer look at how I attached the sequin with a seed bead in the middle using the Collapsible Eye Beading Needles. The fully assembled crayon measures 2” wide by 4 ⅛” tall.

Stop by the Poshta Design Blog for more details and inspiration. I will be back tomorrow with more projects. Think pumpkins, scarecrows, and pies!

9/6/18

Taylored Expressions 10th Birthday Celebration - Iconic Birthday

Welcome! I have another project to share today celebrating Taylored Expressions 10th Birthday Celebration with the  Iconic Wishes - Birthday Stamp and Die Combo.

All the products from our mini release are available for purchase now here.


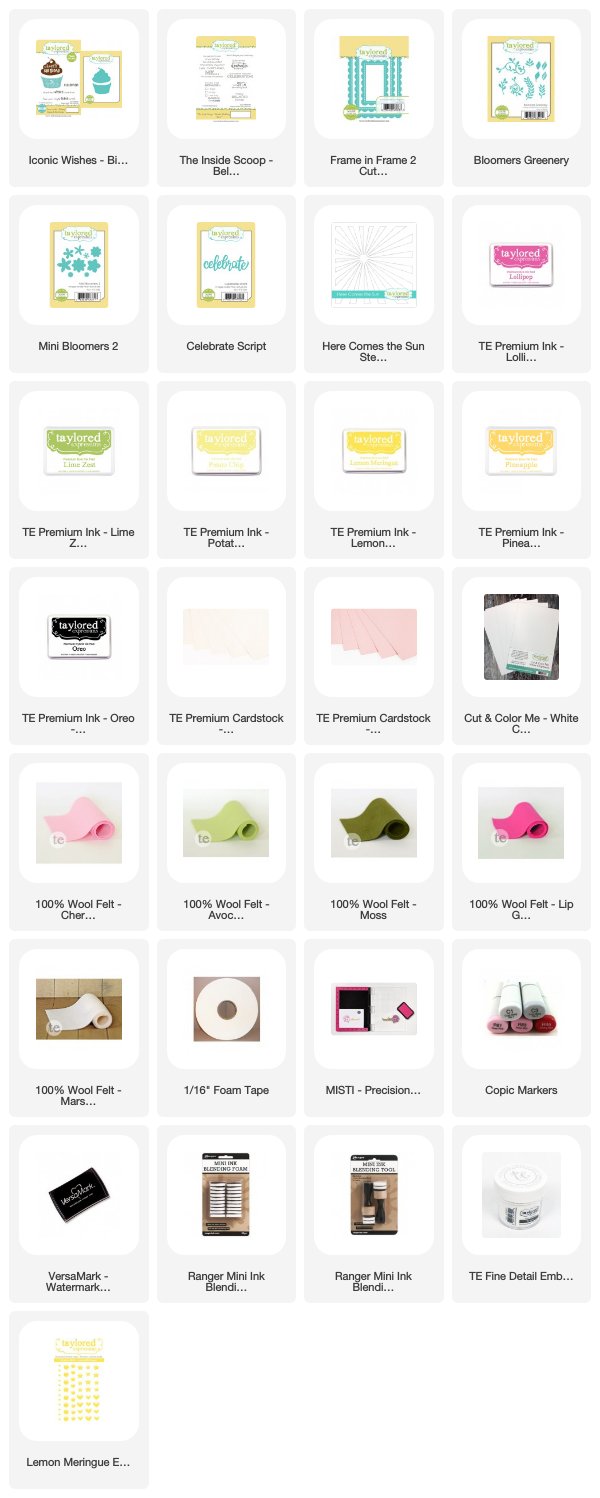
I stamped the cupcake top on Cupcake Cardstock in Versamark Ink and embossed with white embossing powder. The cupcake bottom is stamped with Lime Zest Ink. I accented the cupcake with a few felt flowers and leaves with the Mini Bloomers 2 and Bloomers Greenery Dies. I added Lemon Meringue Enamel Dots to the centers of the flowers.


I added the sun rays behind the cupcake with the Here Comes the Sun Stencil. The sentiment is die cut with the Celebrate Script Die and the frame with the Frame in Frame 2 Cutting Plate. 


On the inside of the card I added a sentiment from The Inside Scoop - Belated Birthday Stamp Set. 


Thanks for taking a look! I will be back tomorrow with another project from the new mini release. 


5/1/18

Introducing a New Glittered Felt from Taylored Expressions

Hi! Taylored Expressions is launching a new product today! Glittered and Foil Felt! It is even more pretty in person. You can stop by the TE Blog for more information on the new felt and more inspiration!

This new glitter and foil felt can be cut with the following cutting options:

With the new black Mixed Media dies and a manual cutting machine (Big Shot, etc). The new glitter felt can not be cut with normal TE dies and a manual cutting machine. But it can be cut with any TE metal dies and an electronic cutting machine (Vagabond, Gemini, etc.) I have a Vagabond and that is the machine I used to create my framed scrapbook page.


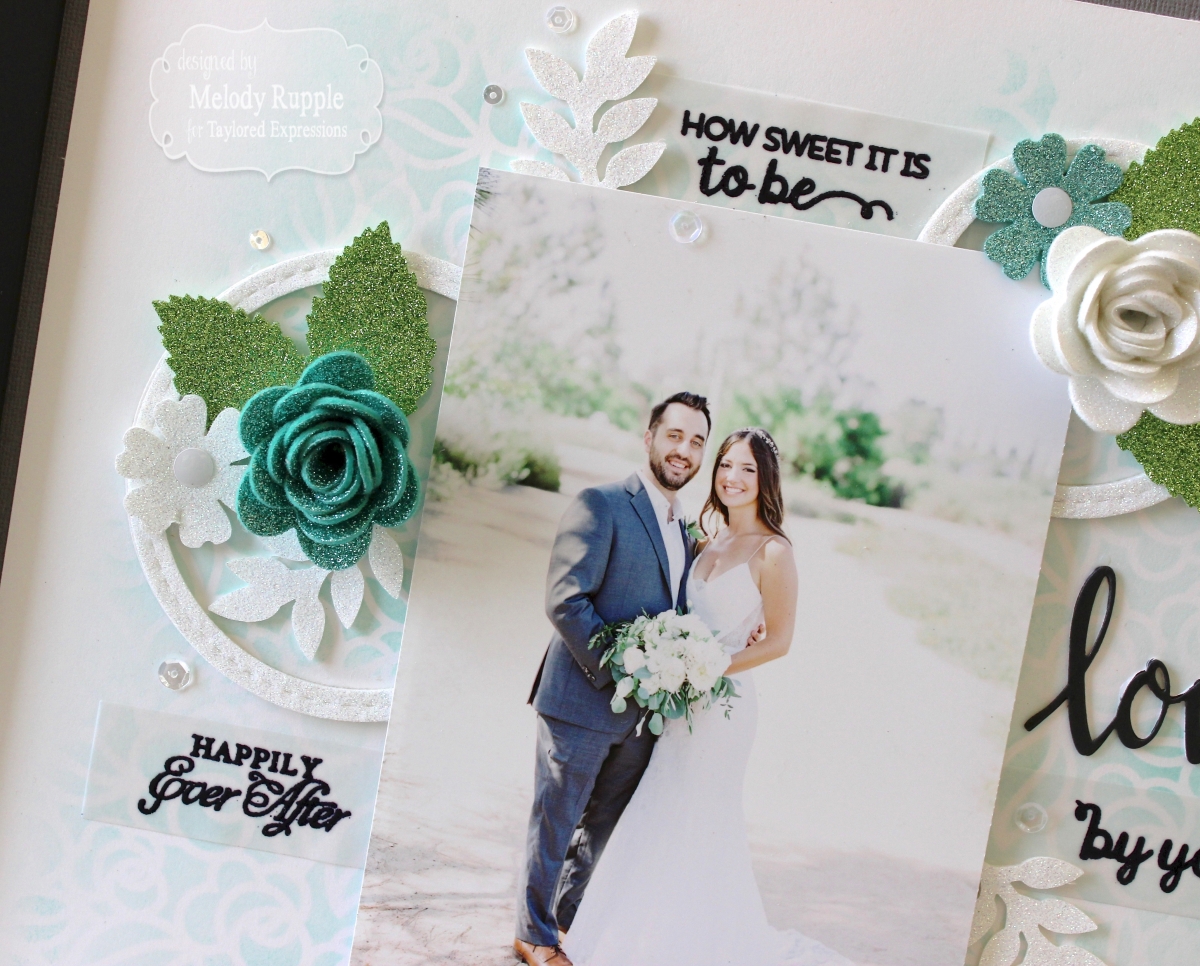
I like to hang framed scrapbook pages in my studio. This photo is from one of daughter's recent wedding. I started with a piece 12 x 12 white scrapbook paper. To create the subtle background I used the Blooming Beautiful Stencil and Confetti Cake Ink. 


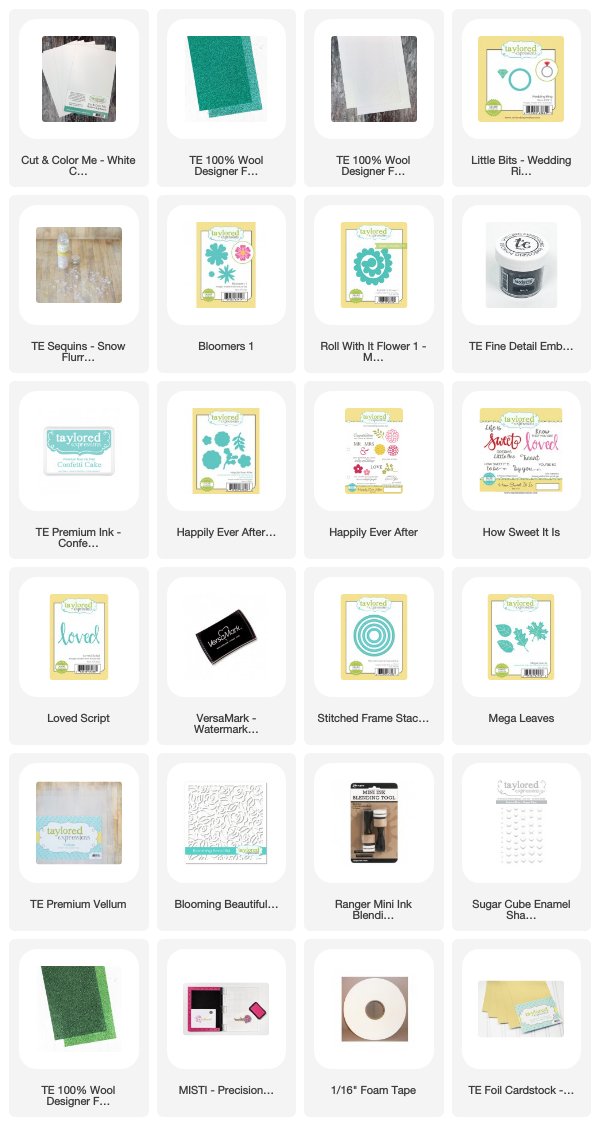
I chose a sentiment from the How Sweet It Is Stamp Set and stamped with Versamark Ink on Vellum and embossed with TE Black Embossing Powder. The word "loved" is die cut with the Love Script Die. I cut the sentiment twice, once from Oreo Cardstock and once from TE Cut and Color Me White Chipboard and adhered the two layers together. The circles are die cut with the Stitched Frames Stacklets 2 from the new Sugar Coated Felt. 


To created the flowers I used the Roll With It Flower 1 Die and the Bloomers 1 Dies. The leafy branches are cut with the Happily Ever After Dies and the Leaves with one of the dies in the Mega Leaves Dies. This sentiment is from the Happily Ever After Stamp Set. I used two additional glittered felt colors, Sweet Mint and Herb Garden. 


I added Sugar Cube Enamel Shapes to the centers of the flowers cut with the Bloomers 1 die. At the bottom I created wedding rings with the Little Bits - Wedding Ring Die with TE Gold Foil and Sugar Coated Felt. I also added a few Snow Flurries Sequins. 

You can find the new felt here


Thanks for stopping by! 

11/1/16

Curtain Call Inspiration Challenge - Felt

Hi Everyone! Thanks for stopping by my blog!  It is time for a new Curtain Call Inspiration Challenge - Felt. I love the texture and warmth felt can give a project! 

I hope you get a chance to play along. The LEAD of this challenge will be invited as a Guest Designer in a future challenge.


Here's my take on the challenge using the felt and stitching for inspiration. 


I started with an embroidery hoop and sponged on distress ink. Next I cut a circle the size of the back of the embroidery hoop from a linen fabric and a second time from card stock and adhered the two layers together and glued them to the back of the hoop. 

At the top I added a metal embellishment from my stash. The metal was silver toned but since I wanted a gold look I covered the metal with Delicate Golden Glitz Ink and gold embossing powder and then used my heat tool to set the layers of ink and powder. I cut the word "joy" with a die from Taylored Expressions, the Joy Script die, from gold glittered card stock. 


I used Taylored Expressions Felt; it is the best felt! The holly leaves are cut with dies from the TE Holiday Florals Dies, and the rose with the Rolled Flower Die from Maya Road. The Small Vintage Paper Flower in White and the Oh Deer Resin Charm in Cream are also from Maya Road. I finished my project off with gold sequins from Pretty Pink Posh

Guest Designer

Jenny, Owl Be Crafty

Felt Designers