Showing posts with label Taylored Expressions Kits. Show all posts

7/22/20

Christmas Tags with the new Frosty Kit from Taylored Expressions

Hi All! I am back today with some Snowmen Tags I created with the cute, new Frosty Kit from Taylored Expressions. I like making tags for the holidays and I love getting an early start!


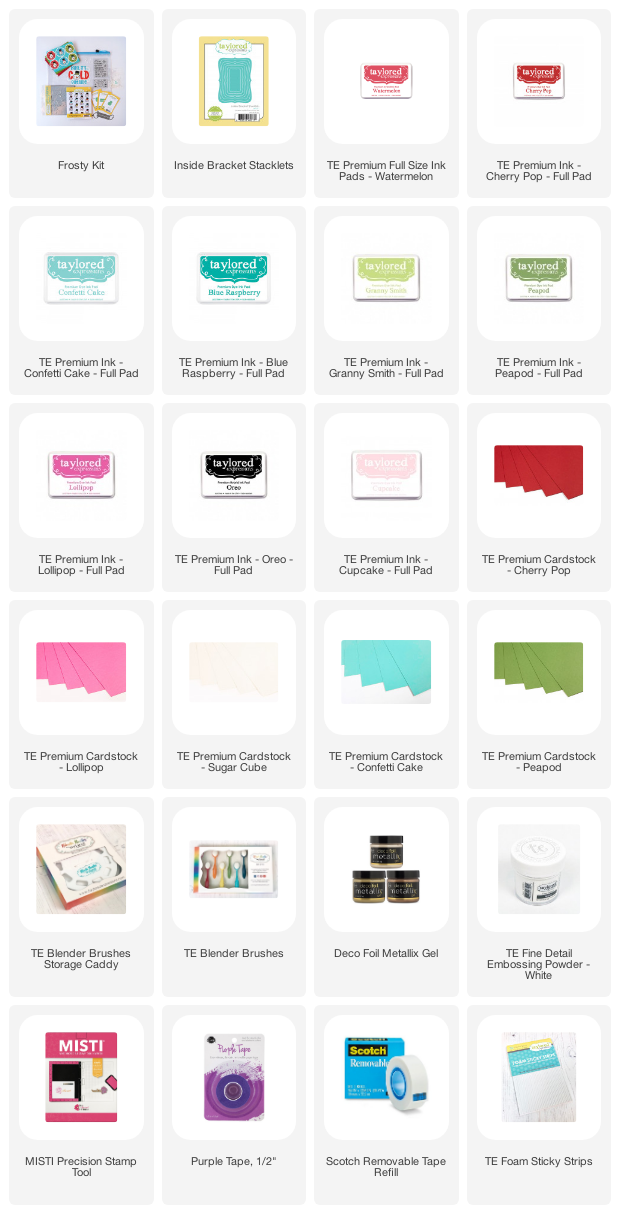
I used the Inside Bracket Stacklets for the base of all four tags. I used my TE Blender Brushes to ink the backgrounds and added an eyelet and a checked ribbon at the top of each tag. 


I used the Frosty Stencil with Deco Foil Metallix Gel in White Pearl to add the snowflakes to the background along with a few Bits and Pieces - White Rhinestones. 


The snowmen are easy and quick to put together and perfect for mass producing! I stamped two of sentiments included in the kit and attached them to the bottom of tag. Looking forward to adding these tags to dress up my packages at the holiday! 


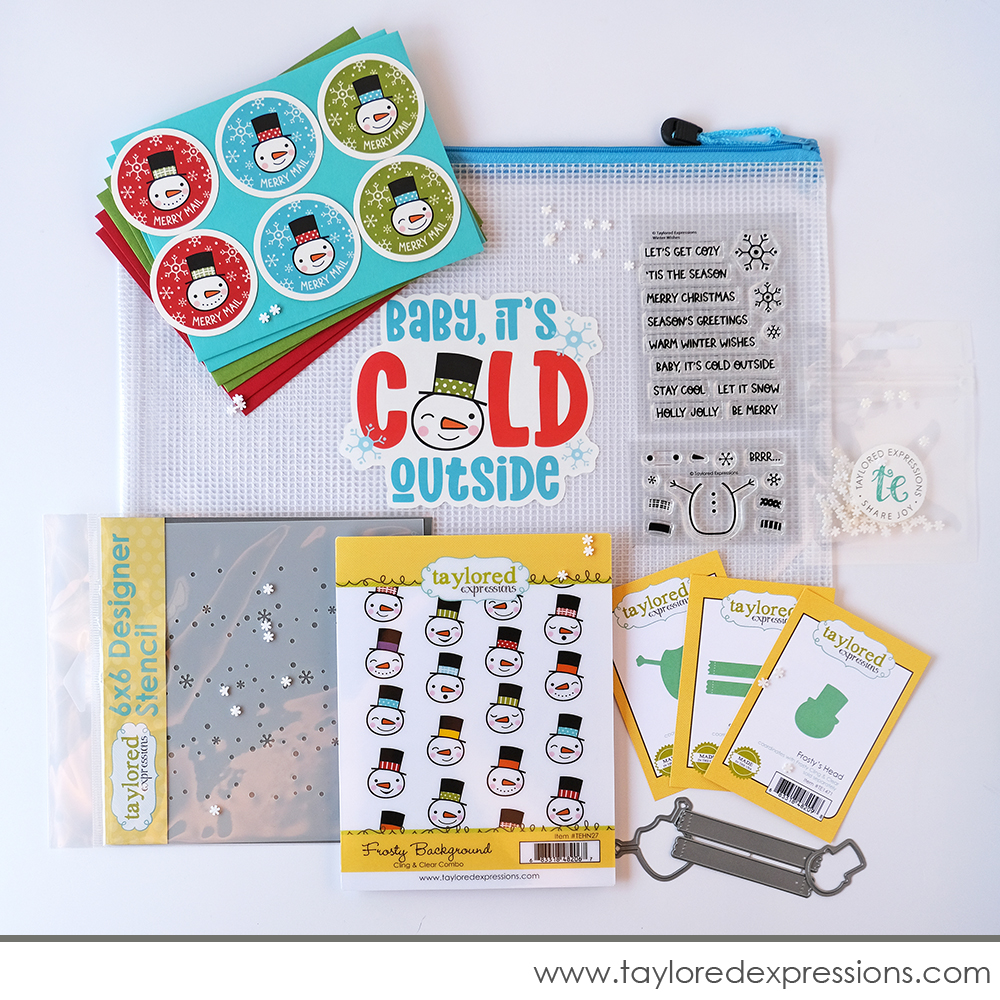
Here is everything included in the Frosty Kit - which retails for $65:
  • Frosty Background Cling & Clear Combo stamp set
  • Frosty's Head die
  • Frosty's Body die
  • Frosty stencil
  • Winter Wishes Clearly Crafty stamp set
  • Sentiment Strip Duo die collection
  • Bits & Pieces - Snowflakes
  • 6 Custom Envelope Seals
  • 6 Colored Envelopes
  • Packaged in a zippered pouch with a custom kit label

Stop by the TE blog for all the details on the kit and more inspiration.  Also you can find me on Instagram here


7/21/20

Let's Celebrate Christmas in July!

Taylored Expressions is celebrating Christmas in July with the release of a new TE Kit, the Frosty Kit. The kit is available NOW in the TE Store.


Here is everything included in the Frosty Kit - which retails for $65:
  • Frosty Background Cling & Clear Combo stamp set
  • Frosty's Head die
  • Frosty's Body die
  • Frosty stencil
  • Winter Wishes Clearly Crafty stamp set
  • Sentiment Strip Duo die collection
  • Bits & Pieces - Snowflakes
  • 6 Custom Envelope Seals
  • 6 Colored Envelopes
  • Packaged in a zippered pouch with a custom kit label

I have two projects to share today the I have created with the Frosty Kit.


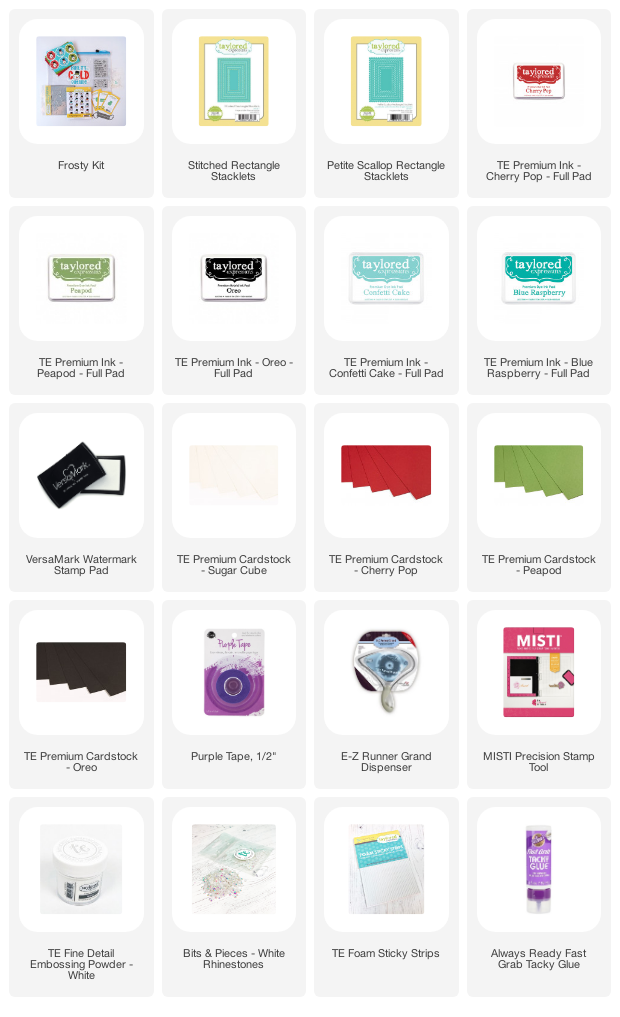
My first card features the Frosty Background Cling & Clear Combo Stamp Set. I stamped in Oreo Ink on Sugar Cube Cardstock. Then using the clear stamps in the set to added the details.  I stamped the cheeks in Cupcake Ink, the nose in Candy Corn Ink, and the bands on the hats in Peapod, Cherry Pop, Confetti Cake, and Blue Raspberry Ink.  Then I stenciled the snowflakes with the Frosty Stencil and Confetti Ink. You can see how the stencil fits perfectly around the snowmen. 

I die cut the panel with the Stitched Rectangle Stacklets and matted with the Petite Scallop Rectangle Stacklets. 


The kit come with a die to cut out the snowmen's heads. I stamped the background stamp again, picked two snowmen, stamped the details, and die the heads. I saved my stamped sheet of snowmen faces to use on the next project. 


I die cut two sentiment strips with the die included in the kit from Cherry Pop and Peapod Cardstock. Then I stamped two of the sentiments from the sentiment stamp set in Versamark Ink, embossed with TE White Embossing, and added the strips to the card front. I used foam tape to attached the two snowmen heads and finished off with two White Rhinestones. 


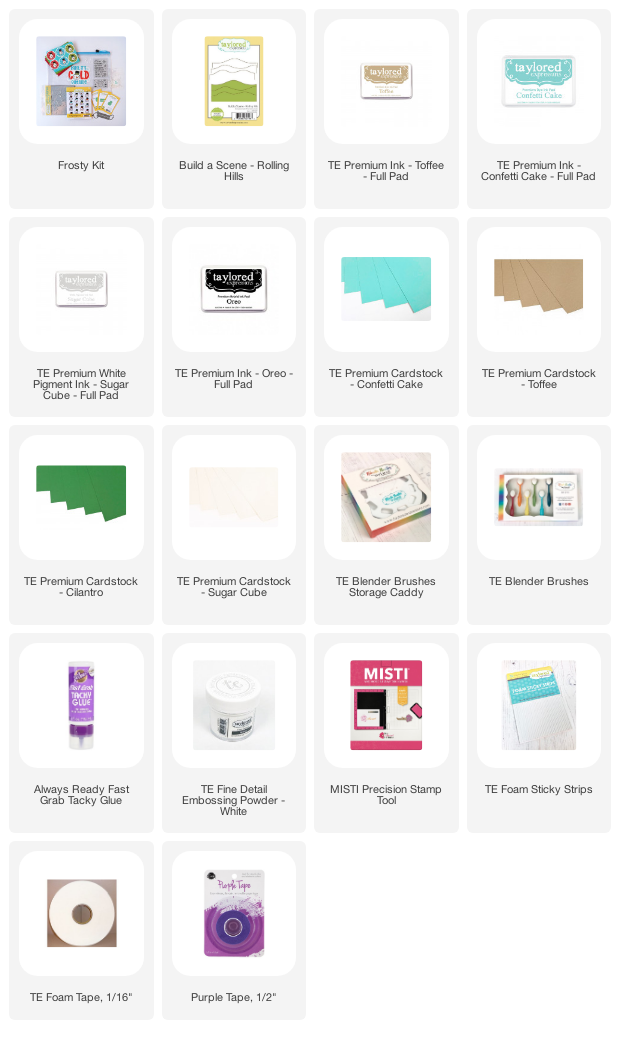
On my second card I stamped the Frosty Background Stamp on Toffee Card Stock in Sugar Cube Ink and embossed with TE White Embossing Powder. Then I stenciled the snowflakes with the Frosty Stencil, my TE Blender Brushes, and Confetti Cake Ink. 


Then I created the three snowmen and added them to a circle stenciled with the Frosty Stencil and I added a hill of snow with the Build A Scene - Rolling Hills Die. 


I added sentiment at the bottom. And the card is ready to go with a pretty coordinating envelope and seal! 

Stop by the TE blog for all the details on the kit and more inspiration. I will be back tomorrow with another project with the kit! Also you can find me on Instagram here

6/30/20

The New Farm Fresh Kit from Taylored Expressions!

Hi All! Today I have a brand new Farm Fresh Kit to share with you from Taylored Expressions! It is available NOW in the TE Shop.


The Farm Fresh Kit includes everything that you need to create cute farm themed projects that include the cutest bobble head farm critters! The kit retails for $89 and includes the following supplies:
  • Gingham Check Background stamp
  • Farm Fresh stamp set
  • Farm Fresh Critters stamp set
  • Farm Fresh Critters die collection
  • Set the Scene - Grass Stencil Strips set
  • 6 Mini Wobble Springs
  • 6 Custom Envelope Seals
  • 6 Colored Envelopes
  • Packaged in a zippered pouch (the zipper color will vary) with a custom kit label


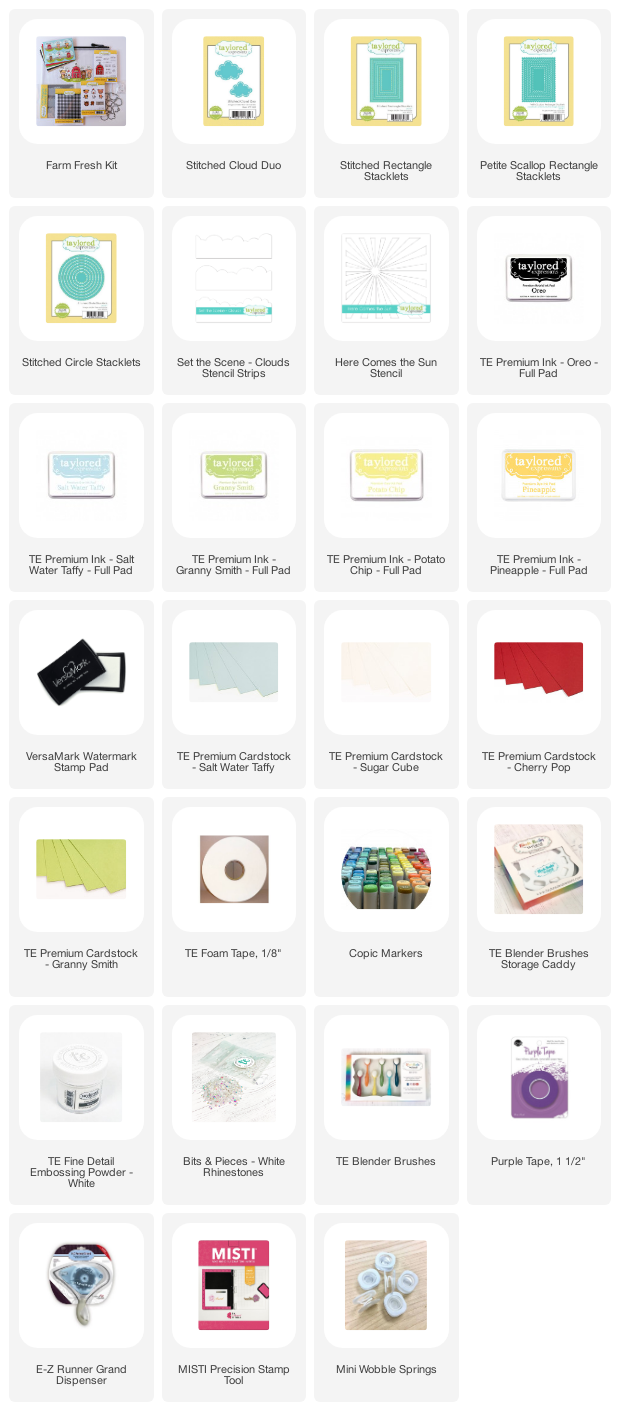
Let's start with the background and the Gingham Check Background Stamp. I am so excited to have a small checked background stamp. I know it is one of those stamps I will use throughout the year! I stamped in Versamark Ink and embossed with TE White Embossing Powder. 


Next I used the Stitched Circle Stacklets and cut a circle directly into the card front. To create the scene behind the circle I stamped the barn in Oreo Ink, colored with Copic Markers and then masked off the barn. I added the grass with the Set the Scene - Grass Stencil Strips set that is included in the kit. I also used two TE products that are not included in the kit, the Stitched Cloud Duo and the Set the Scene - Clouds Stencil. 


On the card front I added the cow, the fence, and the two sentiments, all included in the kit. 


The kit included 6 Custom Envelope Seals and 6 different colored Envelopes. I just love the Custom Seals, such a nice touch when you send the card! 


I used the same basic method as the first card to create this background. I stamped the barn, colored, and masked off the barn. Then I stenciled the grass with the stencil in the kit and pulled out the Here Comes the Sun Stencil from my stash to stencil the sun rays. 


I attached the head of the chicken to a Mini Wobble Spring so the head bounces around! So cute! Behind the chicken I added the fence then stamped the sentiments. 

Stop over at the TE Blog for all the details on the Farm Fresh Kit and more inspirations with the new products. 

5/12/20

Somewhere Over the Rainbow Kit from Taylored Expressions!

Hi Everyone! I am so excited to share the new Somewhere Over the Rainbow Kit from the Taylored Expressions. The kit is so fun and happy! There will be no subscription required with the TE Kit, but quantities are limited.


Here a look at what is included in the kit. I love the variety of products! The kit includes a 6 x 6 Designer Masking Rainbow Stencil, a rainbow die, a cloud die, two clear stamp sets, 6 envelopes with rainbow seals and it all comes packaged in a cute zippered pouch with a coordinating vinyl sticker on the front. Pouches can be used to store all kit pieces together and reused for lots of crafty or household projects. 


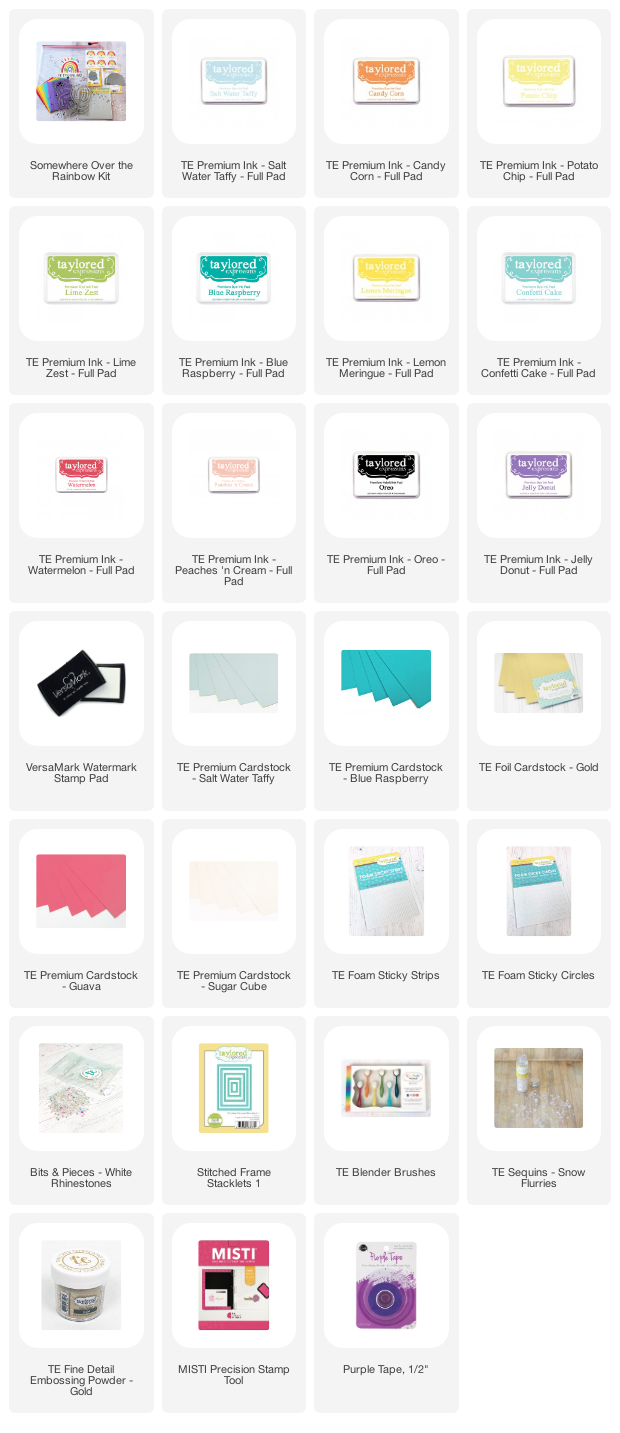
I have three cards I created with the kit to share with you for inspiration. For my first card I cut a piece of Sugar Cube Cardstock for the card front and blended Confetti Cake on the background. Next I stamped the hearts with Blue Raspberry, Watermelon, Lemon Meringue, and Lime Zest Ink. 


I die cut the rainbow directly into the card front. I added foam tape to the back of rainbows and inlayed them back into the card front. I die cut two of the stitched clouds and stamped a sentiment and a heart. 


You can used other item in our stash in combination with the supplies in the kit. I used the Stitched Frame Stacklets 1 to frame the card and and added a few rhinestones from the Bits and Pieces - White Rhinestone. 


On my second card I used a more pastel color scheme of Guava, Potato Chip, Peaches n' Cream, and Candy Corn Ink. I love the fun detail stamps you can add to the rainbows. I stamped in Versamark Ink and embossed with gold embossing powder. I added gold stars to clouds. 


The sentiments are both included in the kit and I used a foam dot to attached the heart to the center of rainbow. 


My third card is created with the stencil that is included in the kit. I cut a piece of Salt Water Taffy Cardstock for the card front and used Watermelon, Lemon Meringue, Lime Zest and Jelly Donut Ink. 


I love the rainbow shaped sentiments. I finished off the card with a few Snow Flurries Sequins. 

Stop by the TE blog for all the details and more inspiration with the Somewhere Over the Rainbow Kit