Here is everything included in the Frosty Kit - which retails for $65:
- Frosty Background Cling & Clear Combo stamp set
- Frosty's Head die
- Frosty's Body die
- Frosty stencil
- Winter Wishes Clearly Crafty stamp set
- Sentiment Strip Duo die collection
- Bits & Pieces - Snowflakes
- 6 Custom Envelope Seals
- 6 Colored Envelopes
- Packaged in a zippered pouch with a custom kit label
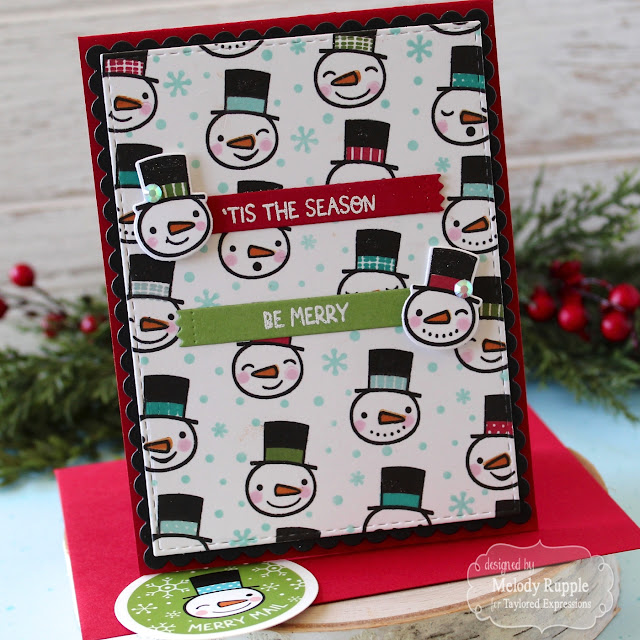
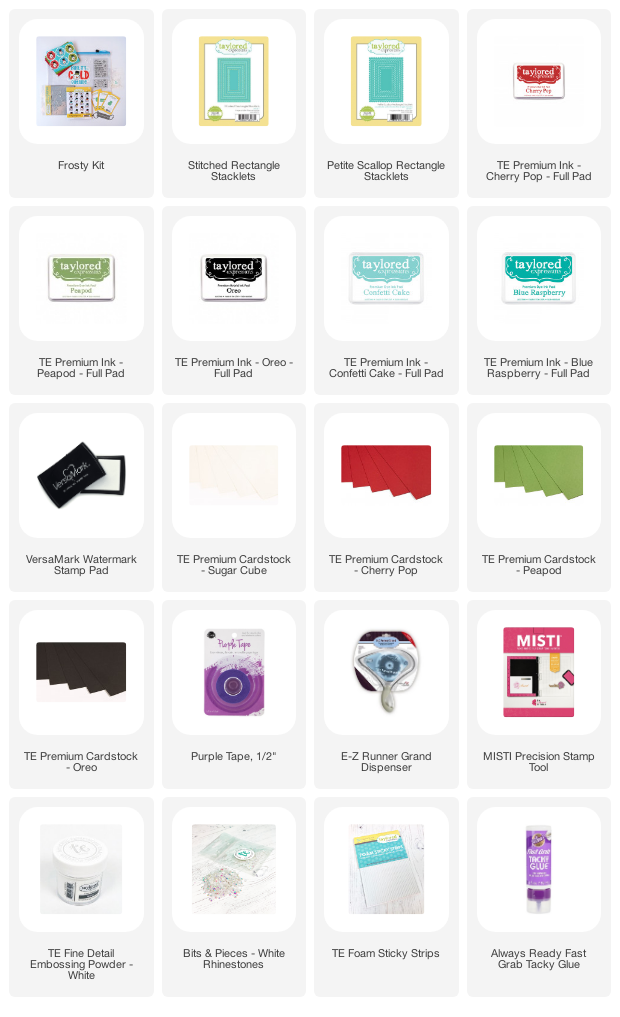
My first card features the Frosty Background Cling & Clear Combo Stamp Set. I stamped in Oreo Ink on Sugar Cube Cardstock. Then using the clear stamps in the set to added the details. I stamped the cheeks in Cupcake Ink, the nose in Candy Corn Ink, and the bands on the hats in Peapod, Cherry Pop, Confetti Cake, and Blue Raspberry Ink. Then I stenciled the snowflakes with the Frosty Stencil and Confetti Ink. You can see how the stencil fits perfectly around the snowmen.
I die cut the panel with the Stitched Rectangle Stacklets and matted with the Petite Scallop Rectangle Stacklets.
The kit come with a die to cut out the snowmen's heads. I stamped the background stamp again, picked two snowmen, stamped the details, and die the heads. I saved my stamped sheet of snowmen faces to use on the next project.
I die cut two sentiment strips with the die included in the kit from Cherry Pop and Peapod Cardstock. Then I stamped two of the sentiments from the sentiment stamp set in Versamark Ink, embossed with TE White Embossing, and added the strips to the card front. I used foam tape to attached the two snowmen heads and finished off with two White Rhinestones.
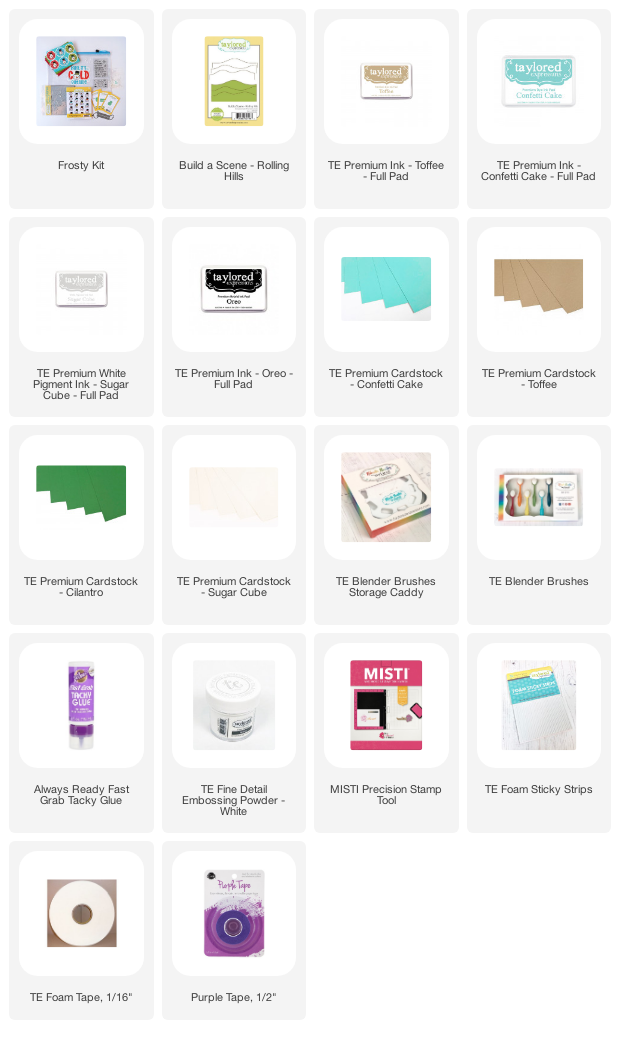
On my second card I stamped the Frosty Background Stamp on Toffee Card Stock in Sugar Cube Ink and embossed with TE White Embossing Powder. Then I stenciled the snowflakes with the Frosty Stencil, my TE Blender Brushes, and Confetti Cake Ink.
Then I created the three snowmen and added them to a circle stenciled with the Frosty Stencil and I added a hill of snow with the Build A Scene - Rolling Hills Die.
I added sentiment at the bottom. And the card is ready to go with a pretty coordinating envelope and seal!


No comments:
Post a Comment