Showing posts with label Glimmer Hot Foil. Show all posts

5/12/25

Take Note

Hi All! I am kicking off the week with cards I created with the new Take Note Collections from Spellbinders


I have three cards to share with you with a mix of the new products that you will find linked below. 


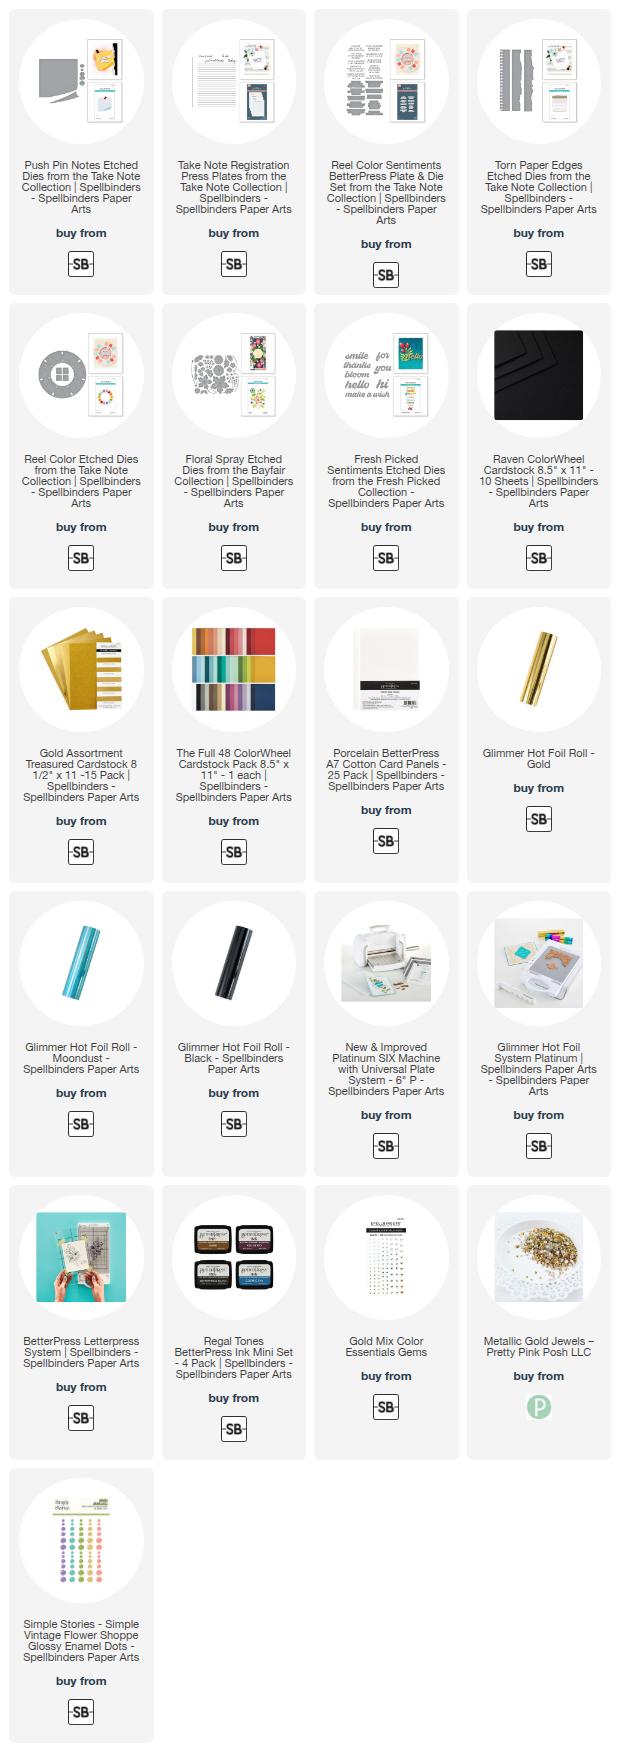
My first card is centered around the new Reel Color Etched Dies. I think this die is so fun and different from anything else I own. I dic cut the wheel from white cardstock  and then added the different colored cardstock in the imprinted stop on the wheel. 


The Reel Color Sentiments BetterPress Plate & Die Set has the perfect sentiments to go with the collection. I love that the BetterPress Plates can be used with the BetterPress System or the Glimmer Hot Foil System. Here I foiled the sentiment with gold foil on Raven Cardstock. 


I used the Take Note Registration BetterPress Plates with Mooniest Foil to created the striped background. The flower is die cut with the Floral Spray Etched Dies.


I used the Reel Color Etched Dies on my second card too and added another sentiment from the Reel Color Sentiments BetterPress Plate & Die Set.


I used the Take Note Registration BetterPress Plates with black ink for the background and the sentiment at the top of the lined paper. I used gold foil for the gold line down the side. I used the Torn Paper Edges Etched Dies to die cut the torn edges of the notebook paper. 


The Wish sentiment is from the previously release Fresh Picked Sentiments Etched Dies. I finished off the card with different color enamel dots. 


My final project features the Push Pin Notes Etched Dies which creates the notebook paper with the turned up paper edge and the cute pushpins. 


For the background I created another sheet of notebook paper with the Take Note Registration BetterPress Plate and used the Torn Paper Edges Etched Dies to add details to each side of the notebook paper. 


I used the Floral Spray Etched Dies to add the flowers and leaves. 
Thanks for stopping by! You can find all the new products HERE

6/17/24

Floral For You

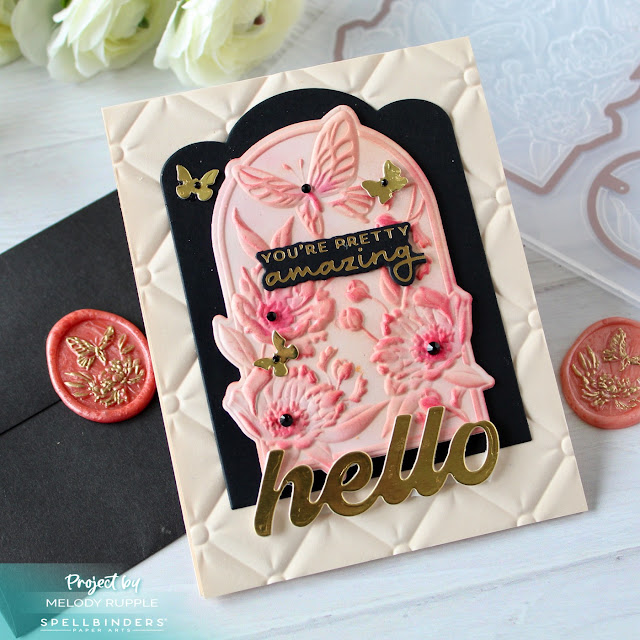
I am starting off the week with projects I created with the Floral For You 3D Emboss & Cut Folder from Spellbinders. With this 3D Embossing Folder you can emboss and cut all in one step. 


The Floral For You 3D Emboss & Cut Folder cuts and embosses these three oval shape in one step. I used white cardstock and misted the cardstock with water before embossing. 


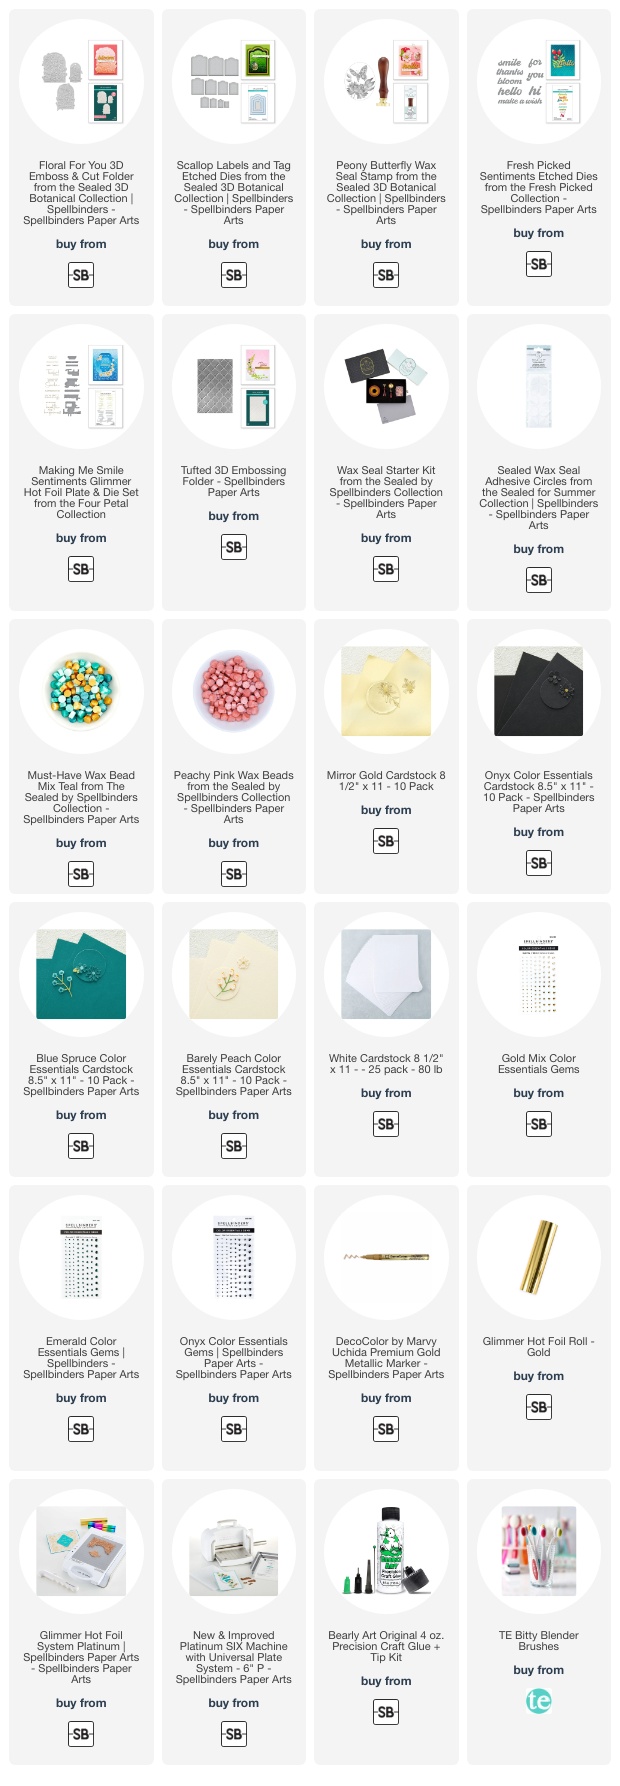
This is the largest oval. I love the detail of the embossing and simply blended three shades of teal ink over the white cardstock. I used Blue Spruce Cardstock for the base of the card. The larger sentiments is die cut with the Fresh Picked Sentiments Etched Dies from Mirror Gold Cardstock. 


I created the wax seal with the new Peony Butterfly Wax Seal Stamp, linked below. I finished off with gold twine and a few gold gems. 


This is the middle sized oval shape. Behind the embossing I added Onyx Cardstock die cut with the new Scallop Labels and Tag Etched Dies. 


The background is embossed is one of favorite embossing folders, the Tufted 3D Embossing Folder. 


The smallest die cut with the Floral For You 3D Emboss & Cut Folder is perfect for an easy to create tag. 

Thanks for stopping by! 

12/23/23

Papertrey Ink December Release Countdown Day 2

Welcome to Day 2 of the Papertrey Ink December Release Countdown. This release is all about love, weddings, anniversaries, and just telling all the special people in your life how special they are to you. All the new products will be available December 28th at 10 PM ET. 


So let's get started! My first two cards are are created with the new You Are Loved Stamp Set and the You Are Love Dies. The pretty wreath and flowers can be used throughout the year and the colors can be changed to reflect the season. 


The flowers are stamped in Sweet Blush, Autumn Rose, and Scarlet Jewel Inks. I used Simply Chartreuse and Ripe Avocado Inks for the leaves. 


I die cut a circle from Stamper's Select White Cardstock with the Love to Layer: Circles and stenciled with the new Open Your Heart Stencils. I stamped a sentiment from the You Are Loved Stamp Set on Vellem and die cut with the smallest die in the Love to Layer: Circles. 

I laced twine through the lace and added the lace across the center of the card. 


The background is foiled with the previously released Ornate Swirls Hot Foil Plate with white foil and the Spellbinders Glimmer Hot Foil System. 


My next card was created for a wedding. The heart is die with the new Love to Layer: Rounded Hearts 1. The flowers are stamped in Spring Rain, Blueberry Sky, Enchanted Evening, and Indigo Ink. I used Mint Julep and Ocean Tides for the leaves. 


I used the new new Fanciful Flourishes Stamp Set and coordinating Dies to add the swirls around the flowers. At the bottom of the card I used the Cornered: Floral Swirls Dies to add the detailed die cuts. 


I used the new Open Your Hearts Stencils to add the subtle background pattern using Indigo Ink. 


Next up is the newest addition to the Psalm Reflections Collection. This month Psalm Reflections: December Stamp Set has a coordinating hot foil plate and die. I stamped the sentiment in Versamark Ink on True Black Cardstock and embossed with gold embossing powder. I used gold foil for the frame and die cut with the coordinating die. 


The flowers are stamped with the You Are Loved Stamp Set again. At the bottom I die cut with the Elegant Edges: Floral Swirls Dies and added gold cardstock behind the die cuts. 

Thanks for stopping by! I will be back tomorrow with more projects from the December Release. Stop by the PTI Blog for all the details and more inspiration. 

8/10/23

Holiday Cheers

Thanks for stopping by today! I hope you are having a wonderful week so far! It is hard to believe it is mid August, we are getting kids ready to go back to school and starting to make holiday cards already! Today Spellbinders is releasing their new products for August, celebrating Halloween, Fall, and Christmas! 


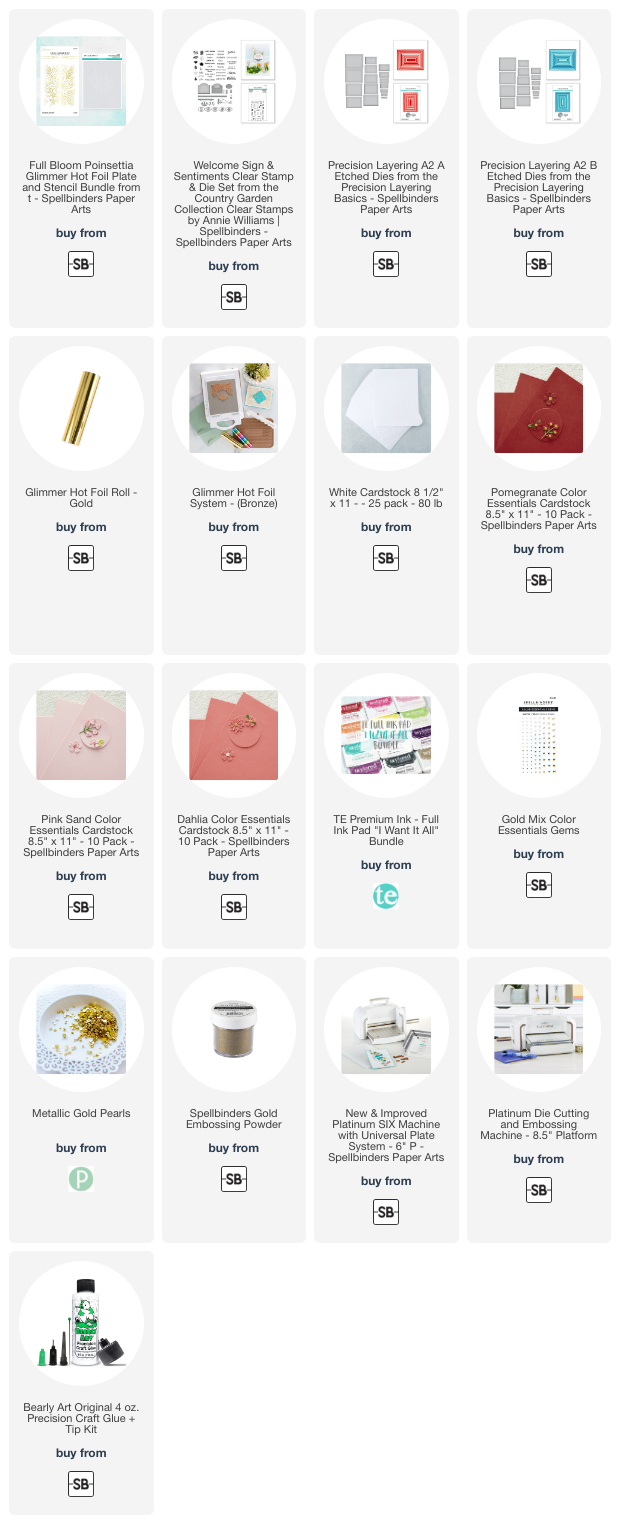
I have two cards to share with you today that I created with the Full Bloom Poinsettia Hot Foil Plate and Stencil Bundle. The combination of the Hot Foil Plate and the Stencil makes this card easy to create with stunning results. 

I starting by using the Full Bloom Poinsettia Hot Foil Plate with Gold Foil on white cardstock using the Glimmer Hot Foil System. There are 5 stencils in the Layered Full Bloom Poinsettia Stencil. I used Taylored Expressions Inks with the stencil in Fruit Punch, Watermelon, Cherry Pop, Mulled Wine, Cilantro, Sweet Basil. 


When I completed the stenciling I light splattered gold paint on the card front. I decided I wanted to frame the card. I used the Precision Layering A2 A Etched Dies to create the frame, die cutting a small die inside the large die. 


I created the same card again using a different color scheme. Here I used TE Inks in Rose Water, Cupcake, Guava, Fruit Punch, Mint Julep, and Cilantro. This combination give the card a whole different look. I added Pretty Pink Posh Metallic Gold Jewels to the center of the flower. 


I decided I wanted a small sentiment since I wanted to keep the pretty poinsettia the focal point. This sentiment is from the Welcome Sign & SentimentsClear Stamp & Die Set

Thanks for stopping by today! Stop by Spellbinders to take a look at all the new products. 

6/15/23

Stylish Ovals with Spellbinders

Hi All! I am popping in today with two cards I created with the products from the Stylish Oval Collection at Spellbinders.  


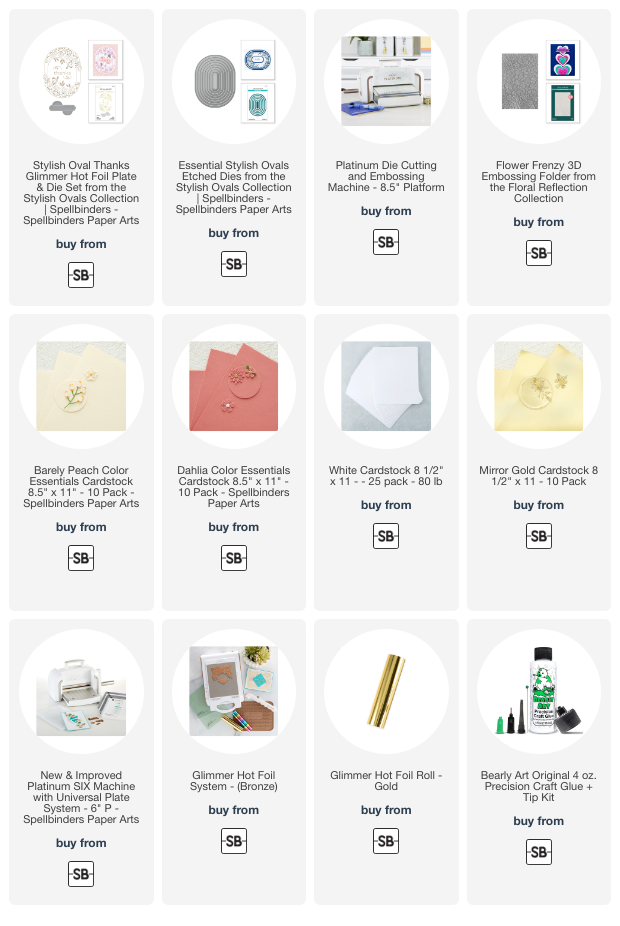
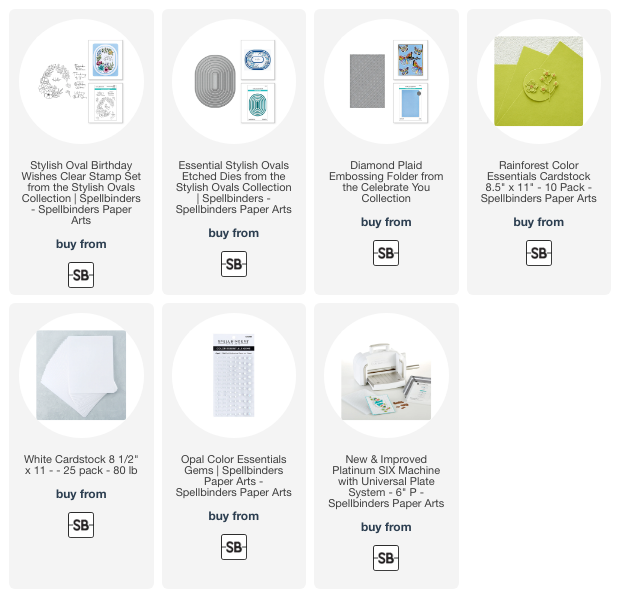
My first project is a thank you card I created with the Stylish Oval Thanks Glimmer Hot Foil Plate & Die Set. I used gold foil on Barely Peach Cardstock and I added some light coloring to the smaller images with Copic Markers. Then I die cut and matted the image with the Essential Stylish Oval Etched Dies. 


I foiled the thanks sentiment with gold foil on white cardstock and die cut with die in the Stylish Oval Thanks Glimmer Hot Foil Plate & Die. I added a piece of lace across the center of the to add a little more texture. 


The background is embossed with the Flower Frenzy 3D Embossing Folder. 


,
My next card features the Stylish Oval Birthday Wishes Clear Stamp Set. This is a set of eight clear stamps. The largest stamp is a beautiful floral swag and there are two floral accents and four sentiments. I stamped the image in a Copic friendly ink and colored with my Copic Markers. I stamped the birthday sentiment in the center and die cut with the Essential Stylish Oval Etched Die. 


The background is embossed with the Diamond Plaid Embossing Folder. I finished off the card with a few Opal Color Essentials Gems. 

Thanks for stopping by today! 

4/13/23

Seahorse Kisses with Spellbinders

Hi All! Today I have three projects to share with you that I created with the new Seahorse Kisses Collection by Dawn from Spellbinders. This collection is inspired by the ocean and its inhabitants, which I am always partial to! 


The collection includes a variety of adorable seahorse images, as well as other ocean-themed designs such as shells, waves, and bubbles.


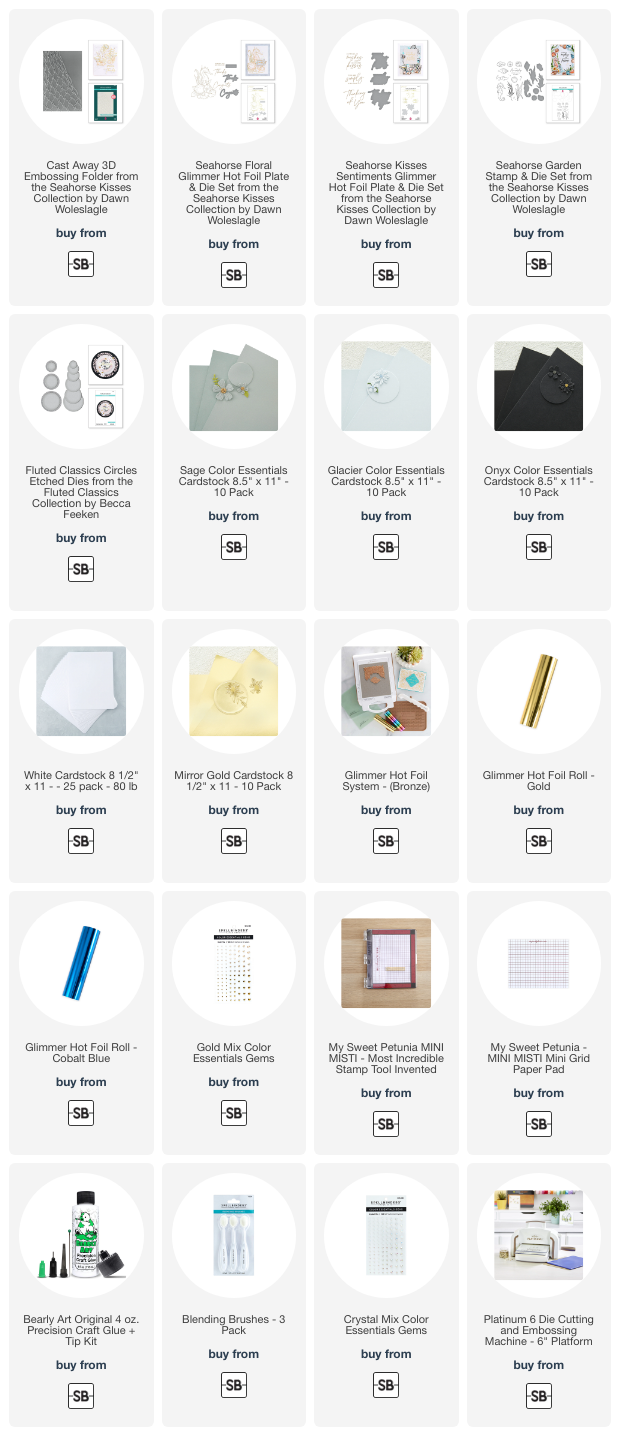
Let's start by taking a look at the embossing folder I used for all the backgrounds, the Cast Away 3D Embossing Folder. On this card I used the embossing folder with SB Sage Cardstock. Spellbinders recommends spritzing your paper with water before embossing. It definitely makes a difference and is worth the extra step. I also blended sage ink on top of the embossing. 

I cut a circle directly into the card front with the Fluted Classic Circles Etched Dies and used the die again to add added the pale blue circle behind the frame. 


Next I stamped a number of the images from the Seahorse Garden Stamp & Die Set in black ink and colored with Copic Markers. This set has 13 clear stamps that have two sentiments, air bubbles, shells, florals, plants, and a seahorse and coordinating dies. I arranged the stamped image in and around the circle. 

The sentiment is is from the new Seahorse Kisses Sentiments Glimmer Hot Foil Plate & Die Set, a set of three hot foil plates and matching dies to cut.


Next up is a look at the Seahorse Floral Glimmer Hot Foil Plate & Die Set. The largest hot foil plate is a beautiful seahorse perched in a bed of floral and seashells. There are three sentiment plates, and all have coordinating thin metal cutting dies.I foiled the Seahorse with gold foil and colored with Copic Markers. I lightly splattered gold paint on the background. 


I used sentiments included in the Seahorse Floral Glimmer Hot Foil Plate & Die Set. 


I used the Seahorse Floral Glimmer Hot Foil Plate & Die Set again for this card but I kept it simple and easy to create. I used Glacier Cardstock with Cobalt Blue Foil and then used a Copic Marker in B91 to simply add a few highlights. 

I used the Seahorse Garden Stamp & Die Set to add the flowers and greenery and the sentiment is one of the three in the Seahorse Kisses Sentiments Glimmer Hot Foil Plate & Die Set.

Thanks for stopping by!