11/25/21

Black Friday Exclusives at Taylored Expressions

It is time for the Black Friday Sale at Taylored Expressions!! The sale start at 6pm on Thursday and goes through Sunday at 11:59pm CST. 

--- 20% off sitewide (some exclusions apply)

--- Double crafty points for insiders and super fans

--- $10 off Stamp Joy Spring Virtual coupon included in every order 

--- Plus exclusive freebies for orders of $100, $200, and $300 or more


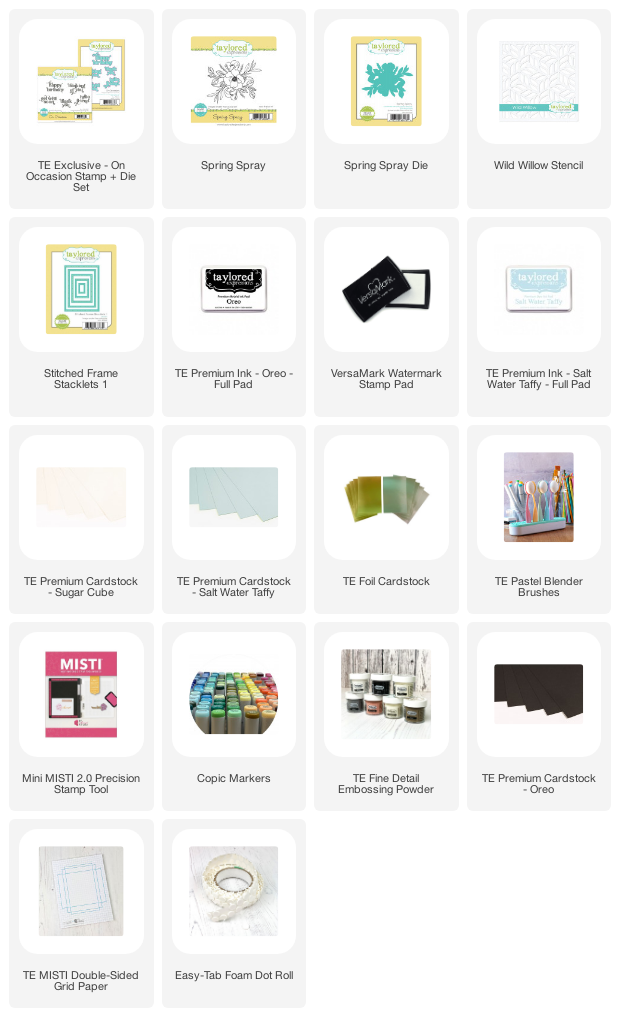
I have two cards to share with you that feature the On Occasion Stamp & Die and coordinating die,  free with purchases over $300. 


I stamped one of the sentiments from the stamp set in Versamark Ink on Oreo Cardstock and embossed. with TE Gold Embossing Powder. I combined the sentiment with the pretty Spring Spray Stamp Set and Die. I used Copic Markers to color the image. 


To create the background I used the Wild Willow Stencil with Salt Water Taffy Cardstock and Ink. the card is framed with the Stitched Frame Stacklets 1. 


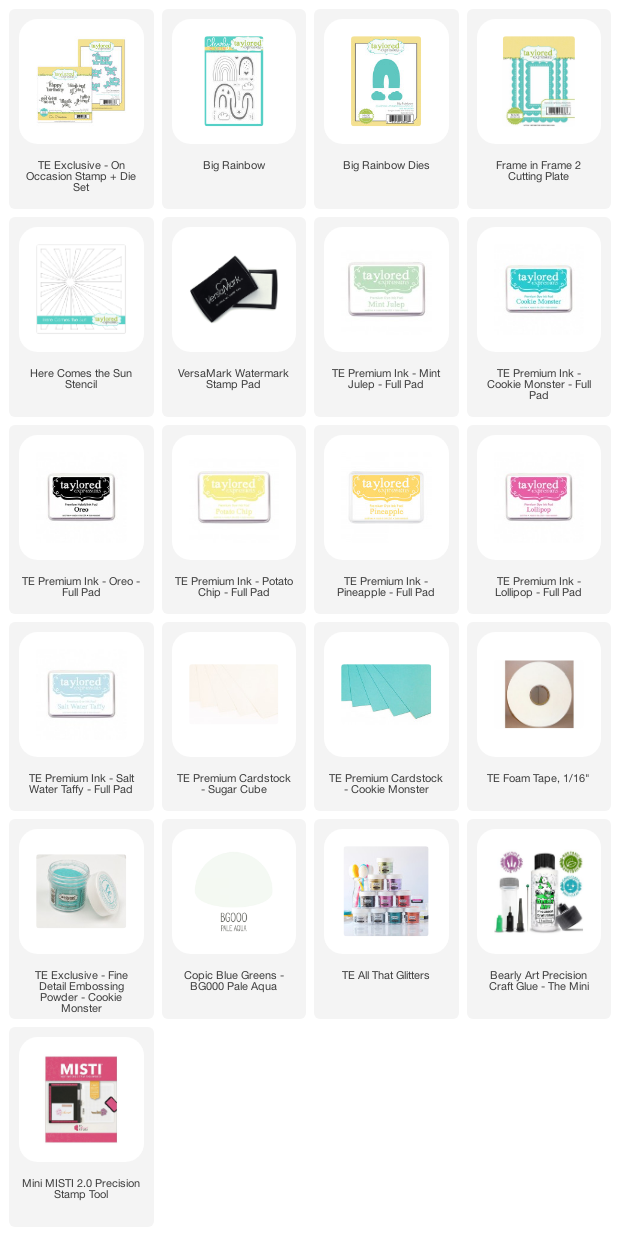
On my second card I used another sentiment from the On Occasion Stamp set, stamping in Versamark Ink on Sugar Cube Cardstock and embossing with TE Cookie Monster Embossing Powder, which is free with a $100 purchase. The rainbow is created with the Big Rainbow Stamp and Dies. 


The background is stenciled with the Here Comes the Sun Stencil with Potato Chip and Pineapple Ink. I added Sugar Cube Glitter to the Rainbow and the bottom of the clouds. 


Thank you so much for visiting my blog! You can stop by the TE Blog for all the sale details and more inspiration. 

11/23/21

Season of Crafting - Designer Dangles

Hi! It is another day of savings for Taylored Expressions Season of Crafting sale! Today's sale is on the Designer Dangles Products. I have a couple of examples to share with you. Designer Dangles are perfect for gift giving throughout the year. 


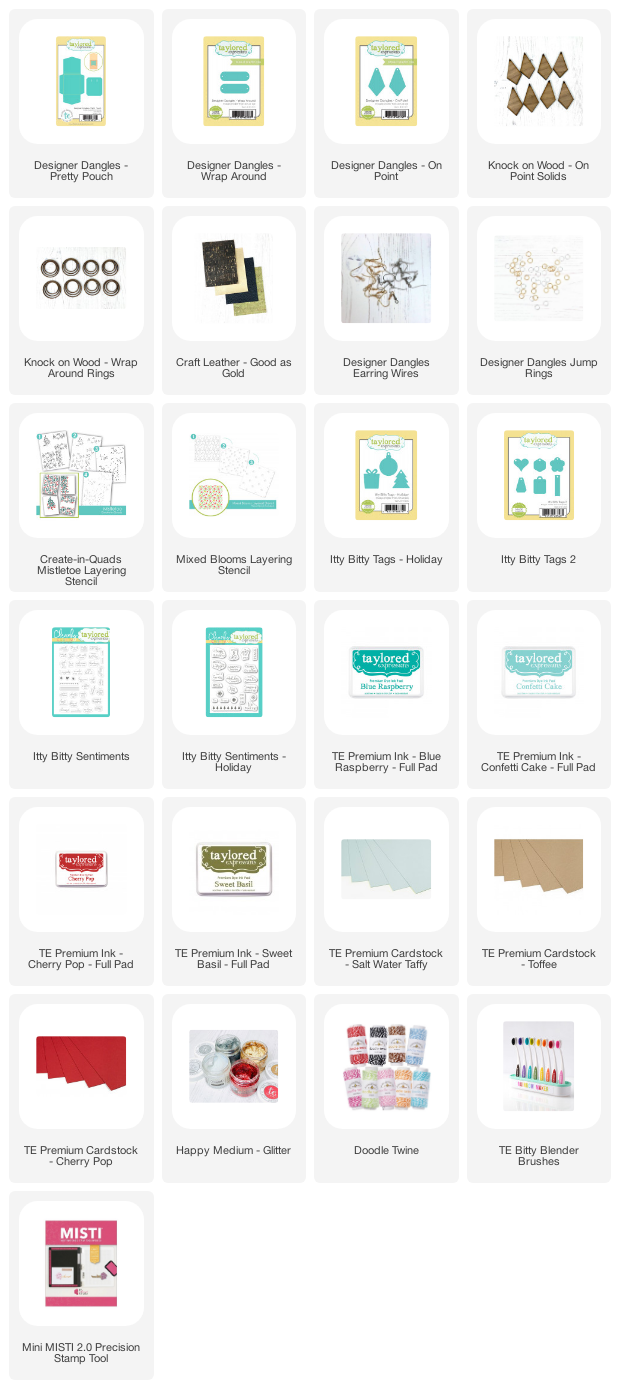
My first step was to create these pretty pouches to hold the earrings I created. I used the Designer Dangles - Pretty Pouch Die to created the packaging and added the pattern with the Mixed Bloom Layering Stencil and the Create In Quads - Mistletoe Layering Stencil. 


I die cut the tag with the Itty Bitty Tags 2 Die and stamped a sentiment for the Itty Bitty Sentiments Stamp Set. 


For this pair of earrings I used the Designer Dangles - On Point Die, Knock on Wood - On Point Solids, and Craft Leather - Good as Gold. 


I packaged these earrings with a Christmas theme. I cut a tag from the Itty Bitty Tags - Holiday die set and stamped a sentiment from the  Itty Bitty Sentiments - Holiday Stamp Set. 


I used a different color of leather from the Craft Leather - Good as Gold for these earring and the Knock on Wood - Wrap Around Rings. 
Thanks for stopping by! Stop by the TE Blog of all the details! 


11/22/21

Season of Crafting - Cover Plates

The Season of Crafting continues at Taylored Expressions!  Until Thanksgiving TE has put together crafty savings each day just for you! Whether you need to stock up on holiday crafting supplies or have friends and family who would love a crafty Christmas Gift now is a perfect time to shop.  TE’s high-quality products are in stock, on sale and ready to ship so you will receive them in plenty of time to make and gift your projects or wrap your gifts! 

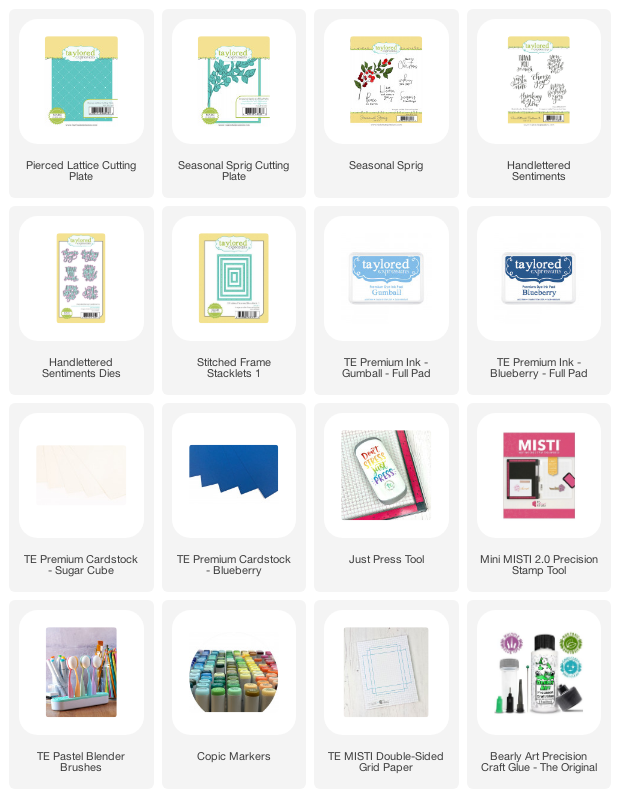
Today sale is on Cutting Plates. I use two different cutting plates on my card, the Seasonal Sprig Cutting Plate and the Pierced Lattice Cutting Plate


The Seasonal Sprig Cutting Plate coordinations with the Seasonal Sprig Stamp. I stamped the image on Sugar Cube Cardstock in Oreo Ink and colored with Copic Markers. Then I die cut the stamped image with the Seasonal Sprig Cutting Plate which creates the white frame. Next I die cut the Pierced Lattice Cutting Plate from Sugar Cube Cardstock and blended Gumball Ink over the die cut. Behind the pierced background I added a panel of Blueberry Cardstock. 


Here is closer look at the stamped image. 


The sentiment is stamped with the Handlettered Sentiments in Blueberry Ink and die cut with the coordinating Handlettered Dies. 


Thanks for stopping by! Stop by the TE Blog of all the details! 


Papertrey Ink November Release Sneak Peeks Day 2

I have one more card to share with you today showcasing the Adorning Trees Stamp Set and Dies for the November Release at Papertrey Ink. Everything will be available for purchase beginning at 10 PM EDT on November 23th!  


The Adorning Trees Stamp Set and Die are a modern take on the Christmas Tree. There are three different size and shaped trees in the set. I stamped the outline of the tree in Versamark Ink on Ripe Avocado Cardstock and embossed with gold embossing powder. I die cut the zig zag center piece from a gold foil and added vellum behind the tree outline. Behind the vellum I dropped in a few gold sequins and covered the back with a white tree die cut. 


At the bottom I stamped a sentiment from the new Just Sentiments: Heaven & Nature Sing Stamp Set. The background is cut from Blueberry Sky cardstock and stencil with cloud with Blueberry Ink. 


Here is a look at the inside. I stamped a sentiment from the new Inside Greetings: Heaven and Nature Sing.

Supplies: 

Stamps: Adorning Trees, Just Sentiments: Heaven & Nature Sing, Inside Greetings: Heaven and Nature Sing
Dies: Adorning Trees
Ink: Blueberry Sky, Mocha, Versamark
Paper: Stamper's Select White, Ripe Avocado, Spring Rain, Classic Kraft, Vellum, Gold Foil
Other: Gold Embossing Powder, Foam Tape, Gold Sequins, White Paint

Thanks for taking a look! You can stop by the PTI Blog from all the details and more inspiration. 


11/21/21

Papertrey Ink November Release Sneak Peek

I have four cards to share with you today that I created with products from the new November Release at Papertrey Ink. There is a cute Snowman, pretty florals, and the cutest set of dies to create tags. There was a delay on dies this month so we are squeezing the sneak peeks into two days. So this ia a long post! 


First up is a look at the new Joyful Snowman Stamp Set and Dies. Isn't he cute! I stamped Soft Stone Ink just on the edges of the stamp of the snowman body and then die cut. Then I stamped and die cut the rest of the pieces to create the scene. I stamped the snowflakes in Versamark Ink on Aqua Mist Cardstock, embossed with white embossing powder, and blended Dark Indigo Ink on the edges. 


To create the background I cut a piece of Aqua Mist cardstock to fit the card front and then blended Dark Indigo Ink on the edges. Then I splattered the background with white paint. 


I finished of the inside with a sentiment from the Inside Greetings: Season's Greetings Mini Stamp Set

Supplies: 

Card 1
Stamps: Joyful Snowman
Dies:  Joyful Snowman
Ink: Aqua Mist, Ocean Tides, Dark Indigo, True Black, Classic Kraft, Versamark, Pine Feather
Paper: Stamper's Select White, Classic Kraft, Dark Indigo, Orange Zest
Other: Silver Glitter Paper, Silver Jewels, White Embossing Powder, Black Gel Pen, White Gel Pen, Foam Tape


On my second card I incorporated the Joyful Snowman with the new Corner It: Festive Holiday Stamp Set and Dies. First I cut a panel of Bitty Big: Pure Poppy Color Collection to fit the card front. Next I die cut a circle directly into the front of the card. Inside the circle I added the snowman, a few snowflakes from the Joyful Snowman Stamp Set, and used a white gel pen to add the snow. 


In the corner I add the images from the Corner It: Festive Holiday Stamp Set and Dies. I added a little sparkle to the greenery with Stickles™ Glitter Glue Star Dust. 


The sentiment on the inside is also from the Season's Greetings Mini Stamp Set

Supplies:

Stamps: Joyful Snowman, Corner It: Festive Holiday
Dies:  Joyful Snowman, Corner It: Festive Holiday
Ink: Aqua Mist, Ripe Avocado, True Black, Classic Kraft, Pine Feather, Pure Poppy, Scarlet, True Black, Jewel, Lemon Tart, Saffron Spice, Versamark
Paper: Stamper's Select White, Orange Zest, Vellum, Bitty Big: Pure Poppy Color Collection 
Other: Black Jewels, Black Embossing Powder, White Gel Pen, Foam Tape, Red Glitter Cardstock, Stickles, Foam Tape


This card features the new Joyful Florals Stamp Set and Dies. The sentiment and all the florals and greenery are included in the set. I stamped the sentiment in Versamark Ink on Scarlet Jewel cardstock and embossed with Gold Embossing Powder. I die cut sentiment three times and adhered the cuts one on top of the other to add dimension. I mounted the sentiment on a circle die cut the Love to Layer: Scallop Circle Dies. 


The card is framed with the Border Bling: Skinny Stitched Frames Die. Behind the frame I added a panel of the Bitty Big: Sweet Blush Color Collection.

Supplies: 
Stamps:  Joyful Florals
Ink: Scarlet Jewel, Sweet Blush, Ripe Avocado, Simply Chartreuse, Olive Twist, Autumn Rose, Versamark
Paper: Stamper's Select White, Bitty Big: Sweet Blush Color Collection, Scarlet Jewel
Dies: Love to Layer: Scallop Circles, Joyful Florals, Scalloped Circle Die, Border Bling: Skinny Stitched Frames Die 
Other: Gold Glitter Paper, Gold Jewels, Gold Embossing Powder


Next up is a look at the Holiday Cheer Gift Tags Dies, the Holiday Cheer Overlay dies, and the Just Sentiments: Holiday Tags Stamp Set. 


There are a number of different ways you can attach your tags. On the bow tag I used the die that cuts a slit at the end of each side of the bow and strung enough ribbon through the holes in the tag that I could wrap the ribbon around a package. 


For the tree and the star I die from white cardstock along with the colored cardstock so that the tag could be opened. There is a die in the set to cut the hole at the top of the tag. 


Inside I stamped a sentiment from the  Just Sentiments: Holiday Tags Stamp Set. 


Here is closer look at the last two tags. I think thisis  the best set to create quick and easy tags. 

Stamps: Just Sentiments: Holiday Tags, Corner It: Festive Holiday
Dies: Holiday Cheer Gift Tags, Charming Tags 1, Corner It: Festive Holiday
Ink: Pine Feather, Pure Poppy, Aqua Mist, Classic Kraft, Mocha, Ripe Avocado, Hibiscus Burst, Scarlet Jewel
Paper: Stamper's Select White, Aqua Mist, Bitty Big: Aqua Mist Color Collection, Pine Feather, Pure Poppy, Dark Indigo, Sweet Blush
Other: Stickles, Gold Drops, Gold Glitter Paper


Last up is a look at the Into the Blooms: Peonies Dies, one of my very favorites of this release! I die cut all the pieces to create the flowers from Sweet Blush Cardstock and blended with Pure Poppy, Scarlet Jewel, and a little Lemon Tart Inks. I used a black glittered cardstock to die cut the center of the flowers. The leaves are die cut from Simple Chartreuse Cardstock and blended with Ripe Avocado Ink. 

The sentiment is from the new Just Sentiments: Heaven & Nature Sing Die that I added the sentiment  to a tag die cut with the Tagged & Labeled Die. 


I used the  Seeing Stars Stencil Collection to add the stars to the Sweet Blush background. I added the snowflakes with leftover snowflakes I had from die cutting the Border Bling Snowflake Die. 

Supplies: 

Stamps: Just Sentiments: Heaven & Nature Sing
Dies: Into the Blooms: Peonies, Tagged & Labeled Die, Border Bling Snowflakes
Ink: Pure Poppy, Lemon Tart, Scarlet Jewel, Ripe Avocado
Paper: Pure Black, Stamper's Select White, Sweet Blush, Simply Chartreuse, Black Glittered, White Glittered
Other: Seeing Stars Stencil Collection, Foam Tape, Twine, Glue

Thanks for stopping by! I will back tomorrow with more sneak peeks. You can stop by the PTI Blog from all the details and more inspiration. 


11/18/21

Season of Crafting - Background Stamps

It is the Season of Crafting at Taylored Expressions!  Until Thanksgiving TE  has put together crafty savings each day just for you! Whether you need to stock up on holiday crafting supplies or have friends and family who would love a crafty Christmas Gift now is a perfect time to shop.  TE’s high-quality products are in stock, on sale and ready to ship so you will receive them in plenty of time to make and gift your projects or wrap your gifts! 
Today's sale is on Background Stamps. 


t

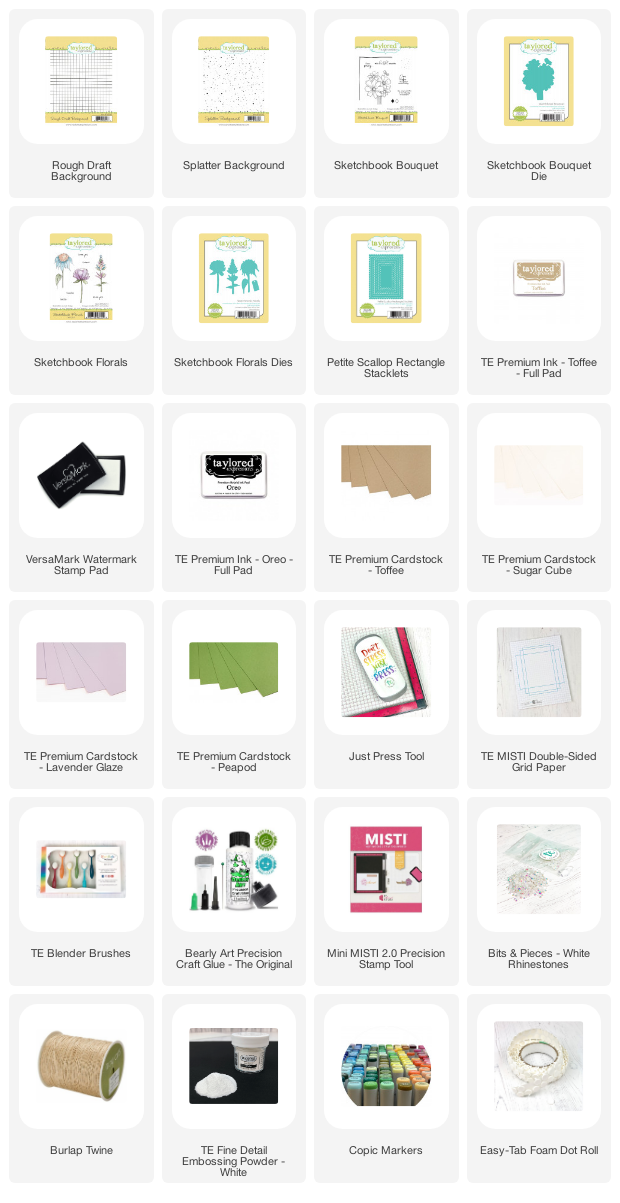
Here is my  card I created for the sale. I actually used two Background Stamps on the card.  First I stamped the Rough Draft Background Stamp on Toffee Cardstock in Toffee Ink. Next I stamped the Splatter Background in Versamark Ink and embossed with TE White Embossing Powder. I die cut the panel with the Petite Scallop Rectangle Stacklets to fit the card front,  and then blended Toffee Ink on the edges with a TE Blender Brush. (See link below)


I stamped the floral image with the stamp in the Sketchbook. Bouquet, colored with Copic Markers, and die cut with the Sketchbook Bouquet Die. I added the sentiment with the products that are included in the Sketchbook Florals Stamp Set and Dies. 

Thanks for stopping by! Stop by the TE Blog of all the details! 

11/15/21

Spellbinders November 15th Clubs Blog Hop

Welcome to the Spellbinders November 15th Clubs Blog Hop! You should. have come to my blog from Hussena Calcuttawala's Blog. You can find the full list designers at the bottom of the post. 

Giveaway:

To celebrate this release, we are giving away a $25 gift certificate to 3 lucky blog readers – selected from the comments on our blog. Giveaway closes on Sunday, November 21st, 11:59 pm MST. The winner will be announced in the blog hop post the following Wednesday. The winner is responsible for shipping costs, duties, and taxes.

Please note, store credit (gift certificate) cannot be applied to Club Subscriptions. Store credit can be applied to shop past Club products, Club extras and regular releases.


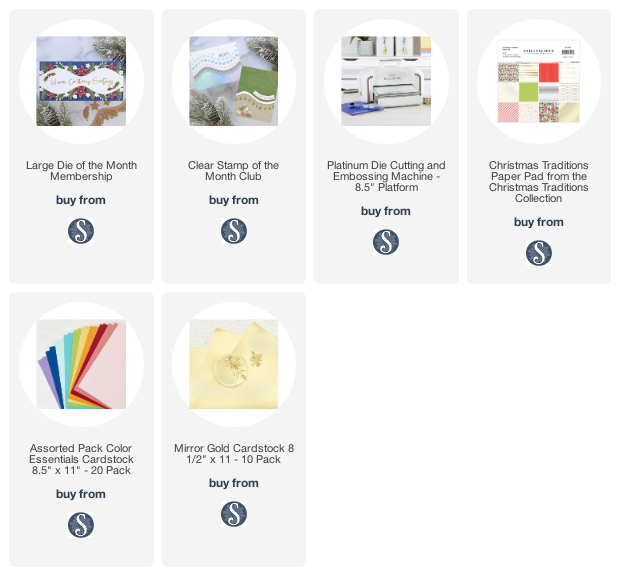
I have two card to share that are created with the Spellbinders Large Die Club, Christmas Foliage Strip & Borders. The die is die set is perfect for making slimline and A2 size cards and the borders can be used throughout the year! I cut the borders from Mirror Gold Cardstock, a pink cardstock and patterned paper from the Christmas Traditions Paper Pad. 


The sentiment is from this month's Clear Stamp of the Month, Around The Holidays.


Here is second card with the same die and stamps. The snowflake border is from the Clear Stamp of the Month, Around The Holidays, along with the sentiment. 


Here is a closer look at all the details the dies create. I added silver jewels to the flower. 


Here is the full list of blog hop participants:

Spellbinders Blog
Tina Smith
Bibi Cameron
Yasmin Diaz
Jill Hilliard
Jennifer Kotas
Virginia Lu
Sandra Nagel
Kathy Clement
Jean Manis
Marie Heiderscheit
Emily Leiphart
Jessica Vasher
Hussena Calcuttawala
Melody Rupple (You are here)
Jennifer Snyder
Natasha Vacca
Alanna Moses
Martha Lucia Gomez
Tiffany Pryce Russom

Thanks for hopping by! The next stop on the hop is Jennifer Snyder

11/3/21

Village Stamp Set with Pretty Pink Posh

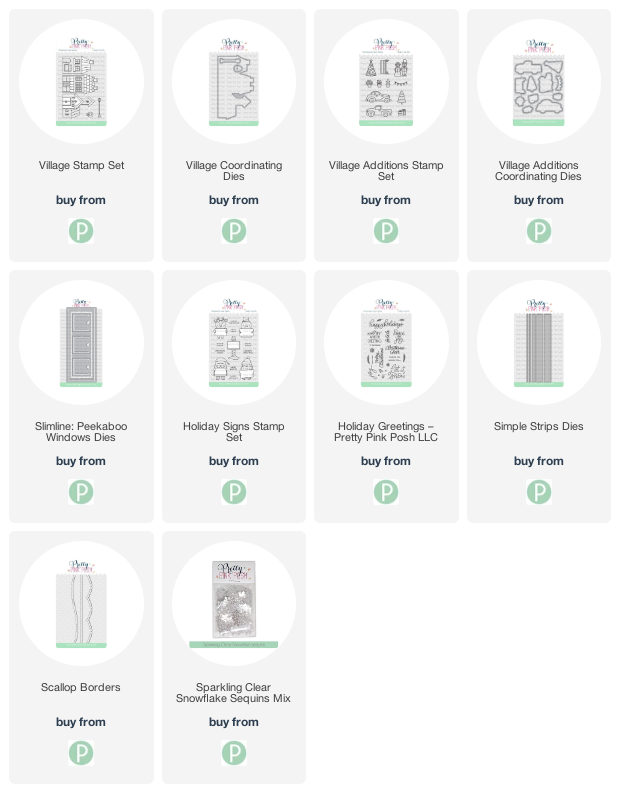
I have a couple of cards to share today that I created with the new Village Stamp Set from Pretty Pink Posh. I love little houses, especially at Christmas. The Village Additions Stamp Set comes with lots of accessories to add to your buildings. 


I cut a piece white Cardstock to fit the card front and then I stenciled clouds for the background. I colored the images with Copic Markers. I centered the buildings on the card and then added the accessories to create the scene. 


Once I had the scene in place I lightly splattered white paint to give the feel of snow. 


I finished off the scene with a few snowflakes from the Sparkling Clear Snowflake Sequins Mix. The sentiment is from the Holiday Signs Stamp Set, stamped in Versamark Ink and embossed in white embossing powder. 

On my second card I die cut the houses with the large die in the Village Coordinating Dies and then hand cut houses to detach them from each other. I nestled the houses in hills of snow die cut with the Scallop Border Dies. 

I blended Tumbled Glass Distress Ink on the scalloped edges, added glue and sprinkled on glitter. The sentiment is from the Holiday Greetings Stamp Set. 

Thanks for taking a look!