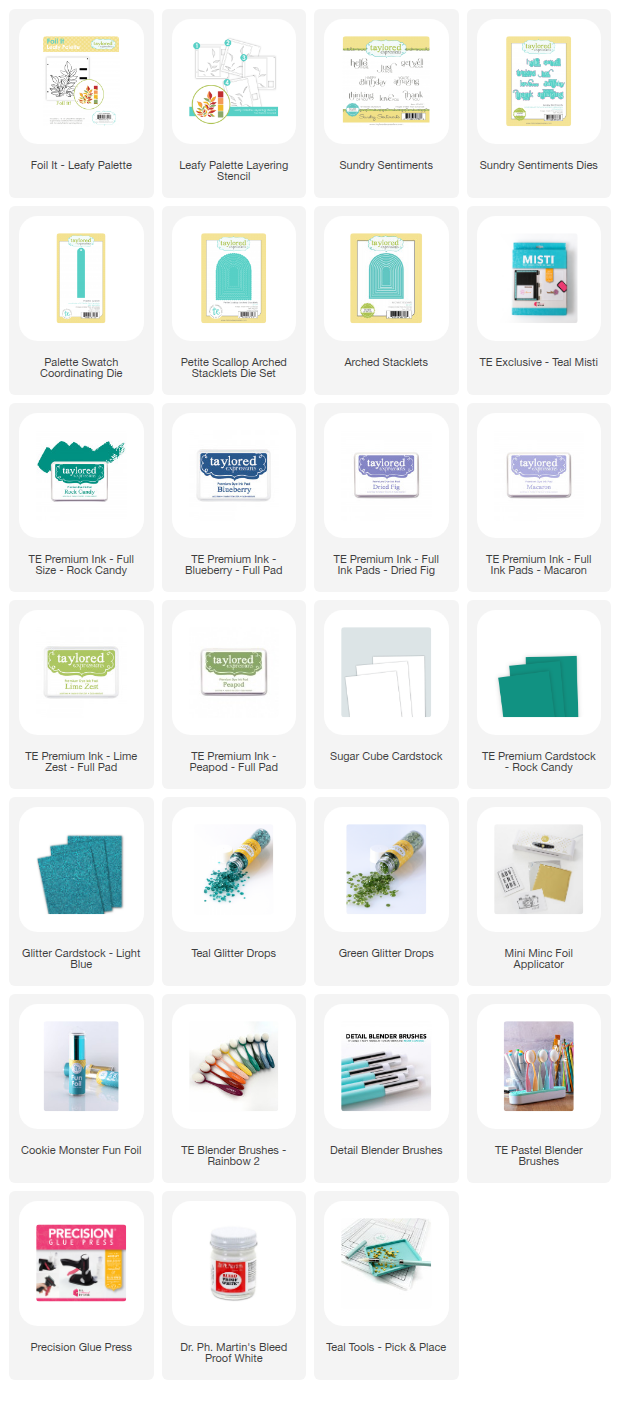
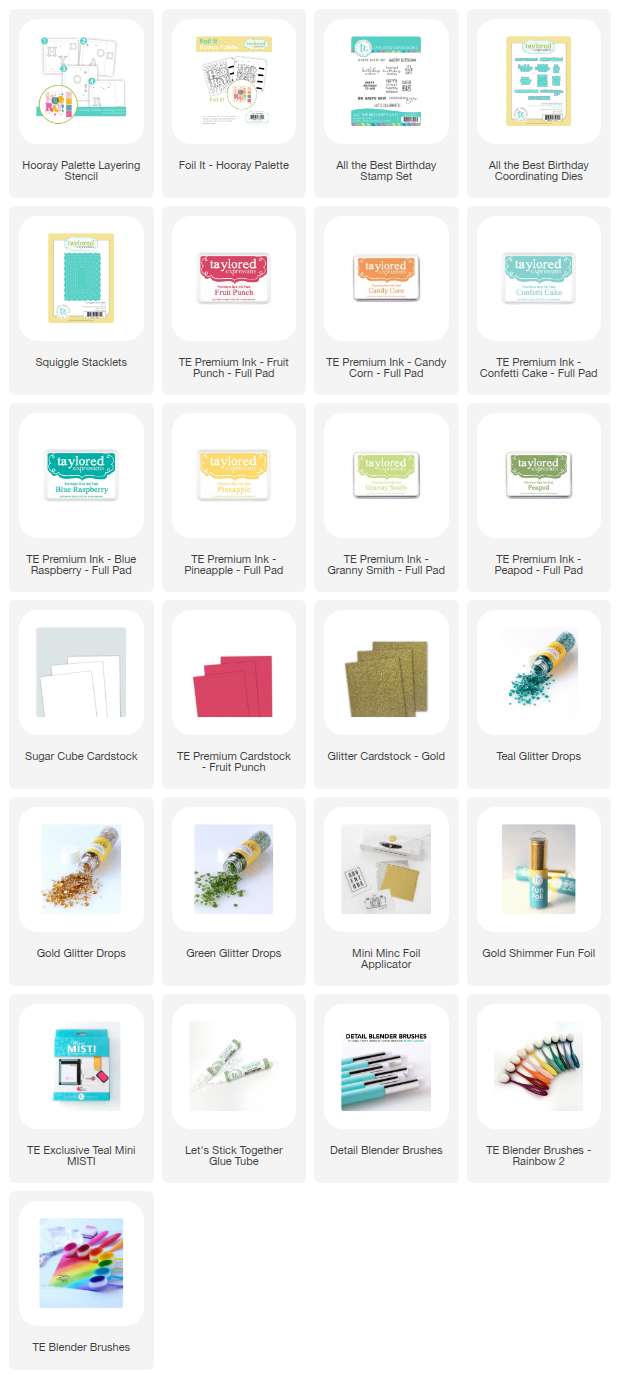
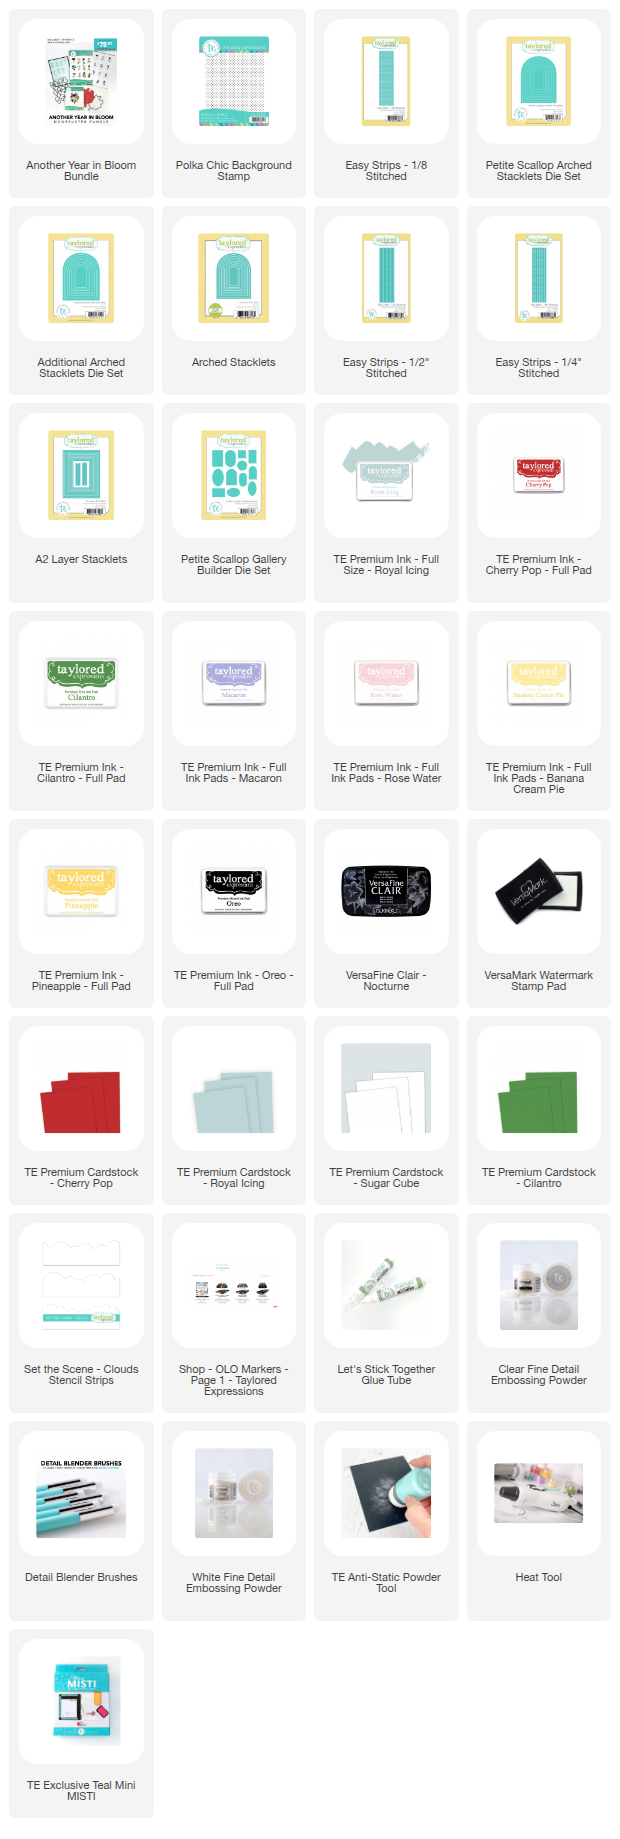
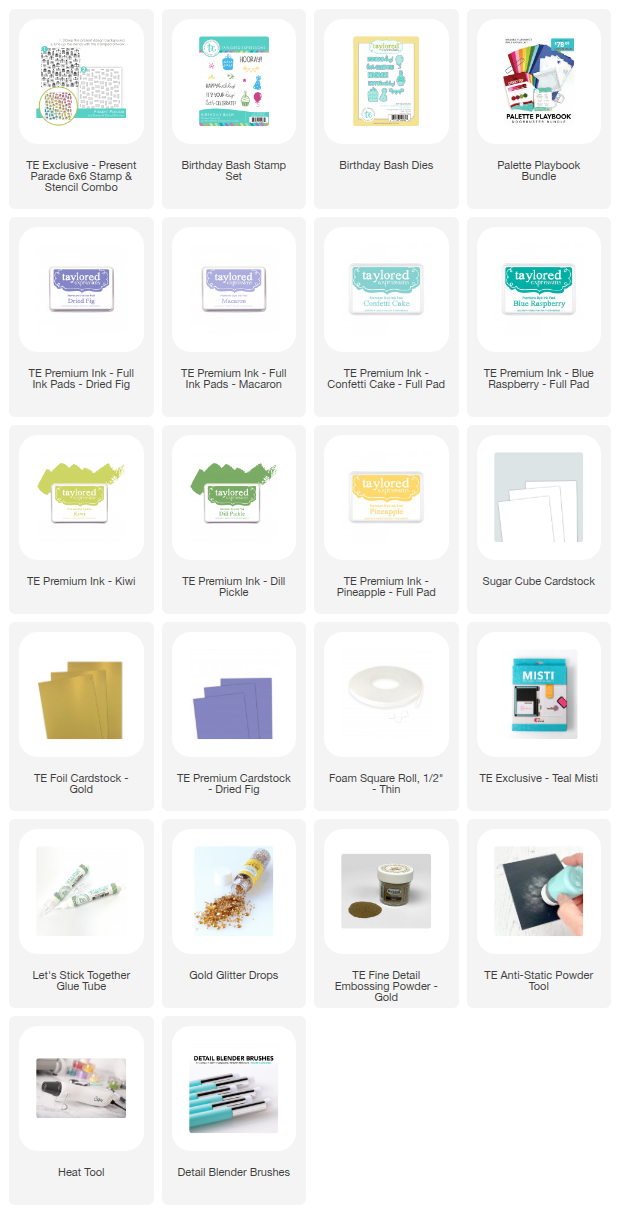
Hi and thanks for stopping by today! I hope you had a wonderful Holiday Season and a Happy New Year. I took a break from crafting over the holidays and am kicking off 2026 with the Valentine's Release from Taylored Expressions. All the new products are available now in the TE Store.

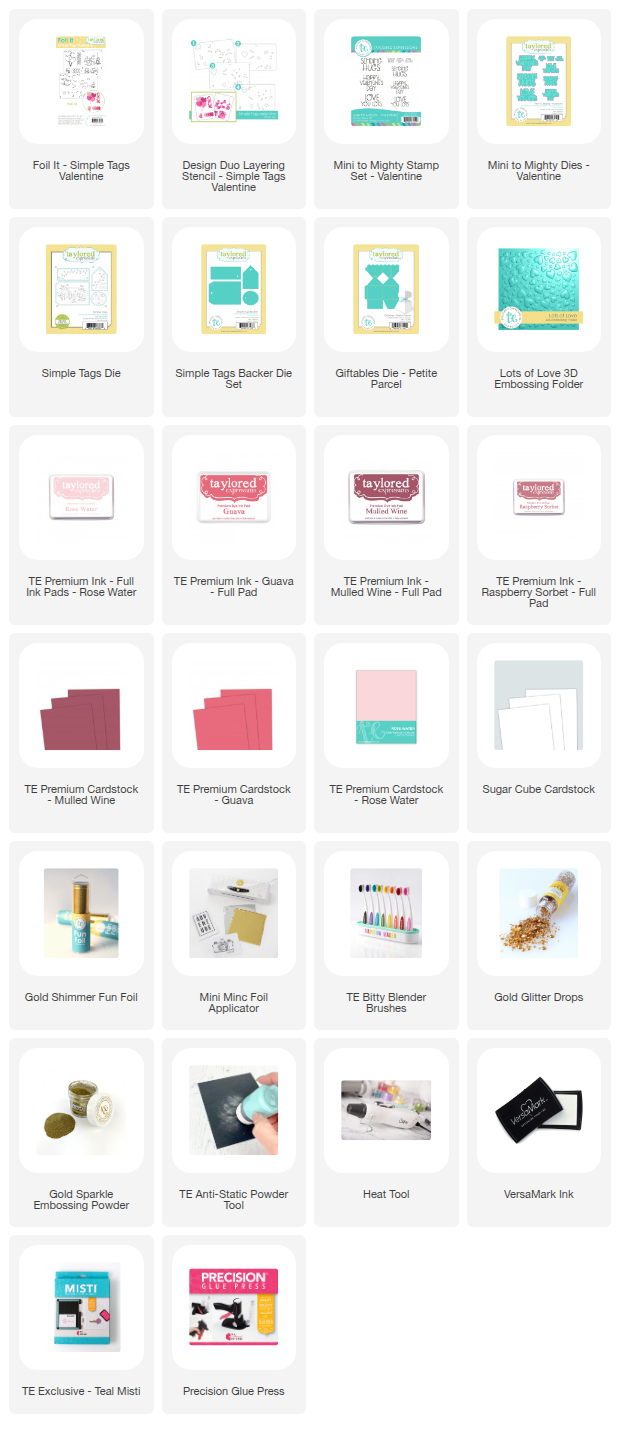
Let's start with some fun Valentine Tags. First I foiled the Foil It - Simple Tags Valentine with TE Gold Shimmer Fun Foil using my Minc Hot Foil Machine. Then I stenciled with the Simple Tags Valentine Design Duo Stencil. I used a combination of Rose Water, Guava, Raspberry Sorbet, and Mulled Wine Inks.

Next I die cut my stenciled tags with the Simple Tags Dies and backed the tags with the Simple Tags Backer Die. This a such an easy way to mass produce tags.

I added sentiments to some of my tags with the new Mini to Mighty - Valentine Stamps and die cut with the coordinating dies. There are three different sentiments in three different sizes in the stamp set. I also added a few Gold Glittered Drops.

TE is also releasing a new treat box die, the Giftables Die - Petite Parcel. You die cut the Petite Parcel Die twice and then assemble the box and use twine or ribbon to tie it close. I used the Sweet Heart Scribble 6 x 6 Rubber Stamp to stamp the pattern on the box on the left. The Sweetheart Scribbles Die is free with the purchase of $200 in product. On the right I embossed the box with the Lots of Love 3D Embossing Folder.

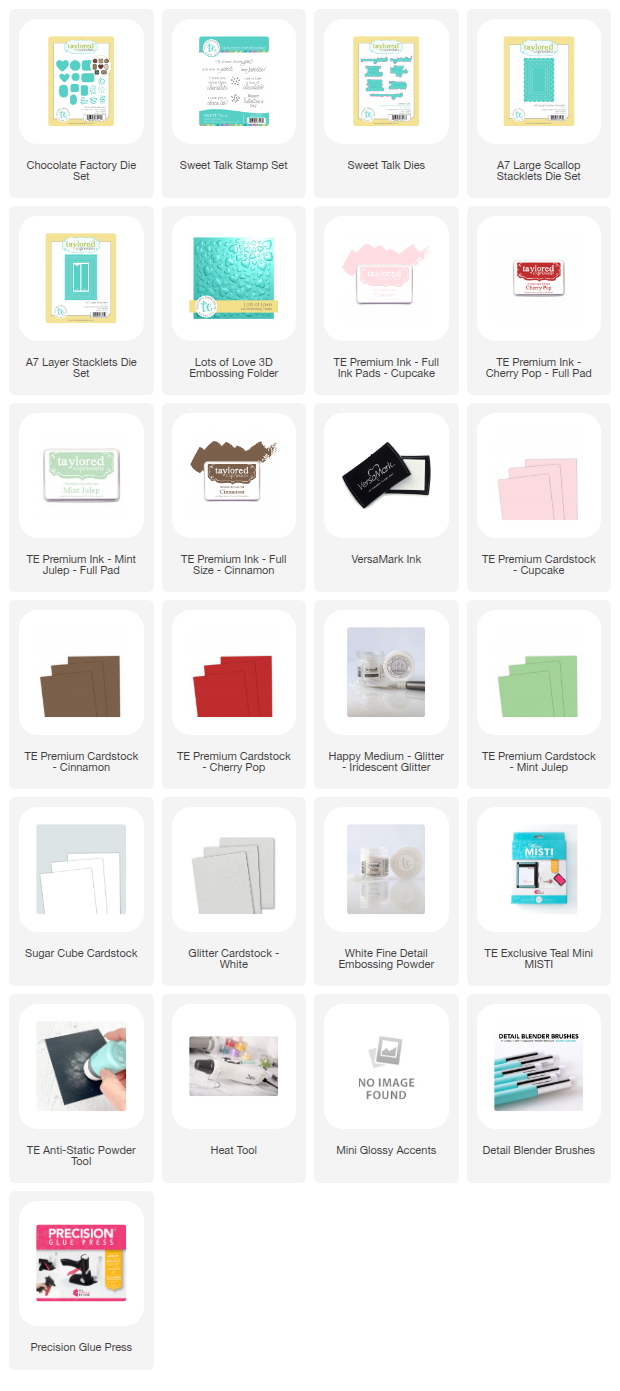
Next I created a 5 x 7 card with the new Chocolate Factory Die Set along with the Full Heart Stacklets and the Petite Scallop Full Heart Stacklets. The Chocolate Factory Die Set creates the cutest chocolate candies. I love all the topping options.

Here's a closer look. I added glitter and glossy accents to some of the candies. Then I arranged the chocolates on the hearts to look like a box of candy. The background is embossed with the Lots of Love 3D Embossing Folder.

The card front is matted with the new A7 Large Scallop Stacklets Die Set. I am excited by the larger scallop edges. I think I will get a lot of used out of the die! The sentiment is from the new Sweet Talk Stamp Set.

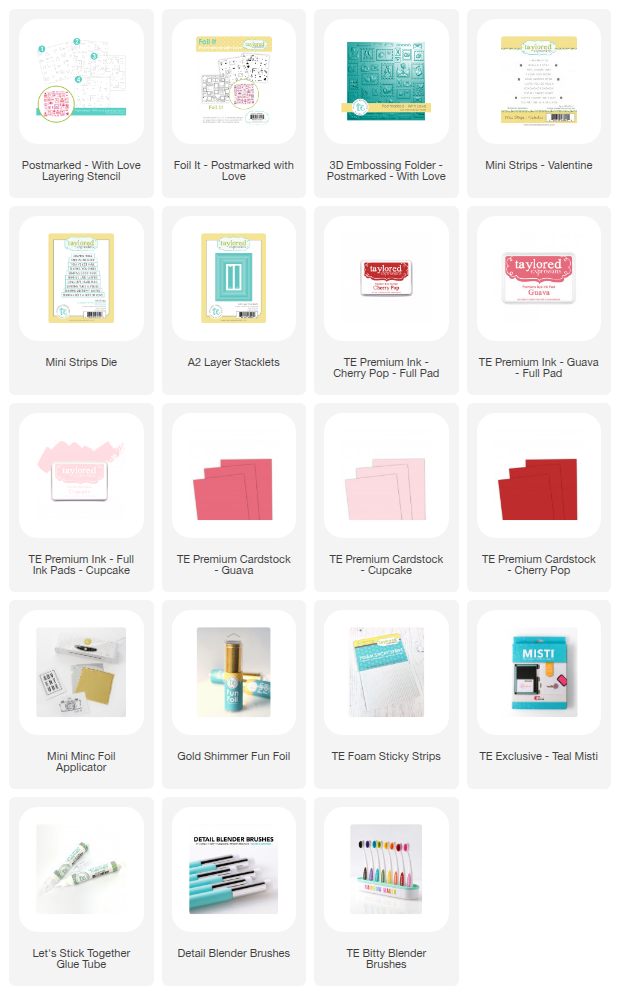
My third card features the Mega Message Die Set - Love, which is free with the purchase of $100 or more. I created the background of the card with the Postmarked - Love Stencil, the Foil It - Postmarked Love, and the Postmarked - Love Embossing Folder.


I used Cupcake and Cherry Pop Cardstocks for the Love Sentiment. The smaller sentiment is from the previously released Mini Strips - Valentine Stamp Set.

We have three bundles designed to help you create unique, memorable cards:
- Heart to Heart Bundle
- Postmarked – With Love Bundle
- Sweet Talk Bundle
Plus, a variety of other goodies to mix and match with this release and collections beyond this release. This week only, we also have an exclusive $100 and $200 Gift with Purchase!
Offer valid Tuesday, January, 6, 2025 at 9 AM CT through Tuesday, January 13, 2025 at 8:59 AM CT or while supplies last.
Offer valid Tuesday, January, 6, 2025 at 9 AM CT through Tuesday, January 13, 2025 at 8:59 AM CT or while supplies last.
Thanks for stopping by! Stop by the TE Blog for all the details and more inspiration from the team.