1/30/21

Valentine's Theme Week at Pretty Pink Posh

Hi Friends! Welcome to Day 6 of the Pretty Pink Posh Valentine Theme Week! I am up on the Pretty Pink Posh Blog today with a valentine card that if perfect for any age. Save 15% off items in the Valentine section during our Valentine Theme Week!


I used a combination of stamp sets and dies to create my card, some new sets and some from previous releases. I love how the sets coordinate so well together. I started by cutting the background with the Heart Vines Die from white cardstock. This beautiful die is perfect for Valentine's Day but I am planning to also use the die to create weddings and anniversaries cards! 


The center heart is stamped with one of the hearts in the All My Love Stamp Set and die cut with the All My Love Coordinating DiesI stamped in Versamark Ink and then embossed with white embossing powder. Then I blended a red ink over the white embossing. I used a combination of two stamp sets and dies to create the embellishments around the heart, the Valentine Hearts Stamp Set and Dies, and the Love Stamp Set and Dies


The stamped images are colored with Copic Markers. The Love sentiment is part of the Valentine Hearts Stamp Set and the bottom sentiment is included in the Love Stamp Set and die cut with the Simple Strips Dies


My final touch is a little sparkle with the Pink Blush Jewels


Thanks for joining us this week! Hope we have given you some ideas and inspiration for your Valentines! 


1/26/21

Mini Slim Essentials Release!

Hi! I just love the Mini Slim sized cards from Taylored Expressions and today TE is launching additional products to the Mini Slim collection! We'll be introducing 7 new colors of mini slim envelopes, pre-folded card bases in both top & side fold, mini slim sized Share Joy sticky notes, along with several new dies and stamps designed specifically for this size.


I have three cards to share today! 


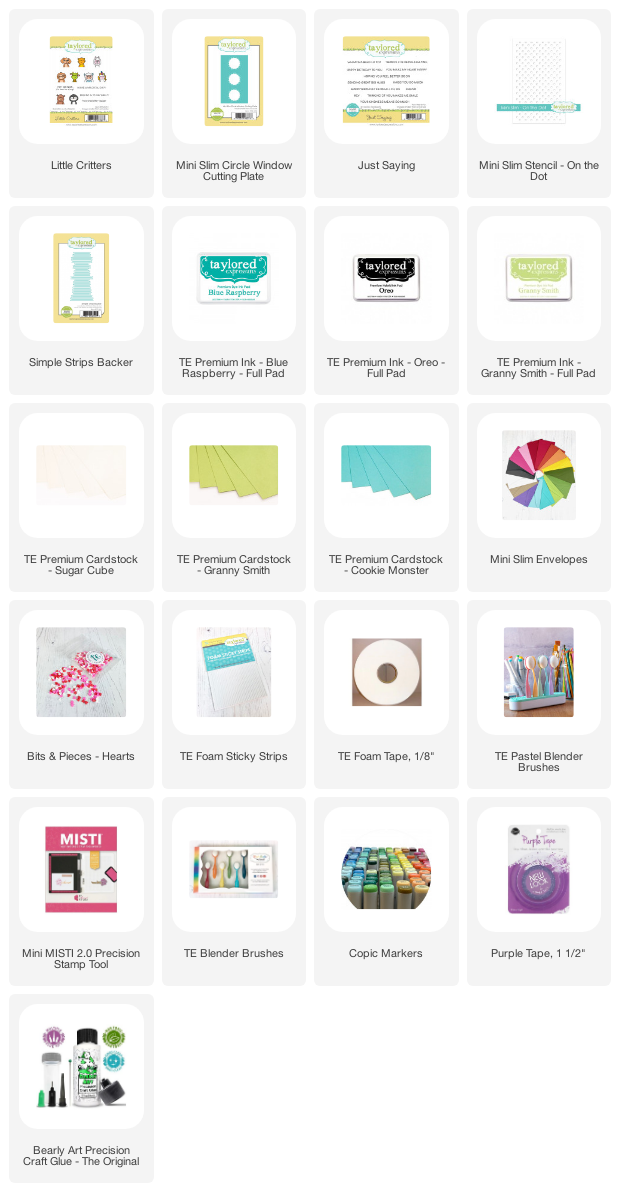
First up is a look at the Mini Slim Circle Window Cutting Plate and the Little Critters Stamp Set. I cut the card front from Cookie Monster Cardstock with the Mini Slim Circle Window Cutting Plate and then I stenciled with Blue Raspberry Ink and the Mini Slim - On the Dot Stencil. 


I stamped the critters with the Little Critters Stamp Set, colored with Copic Markers and added the Critters behind the windows. I added the little hearts with the Bits & Pieces - Hearts. The top sentiment is from the new Just Saying Stamp Set and the bottom sentiment is included in the Little Critters Stamp Set. The sentiments are die cut with there Simple Strips Backer Die. 


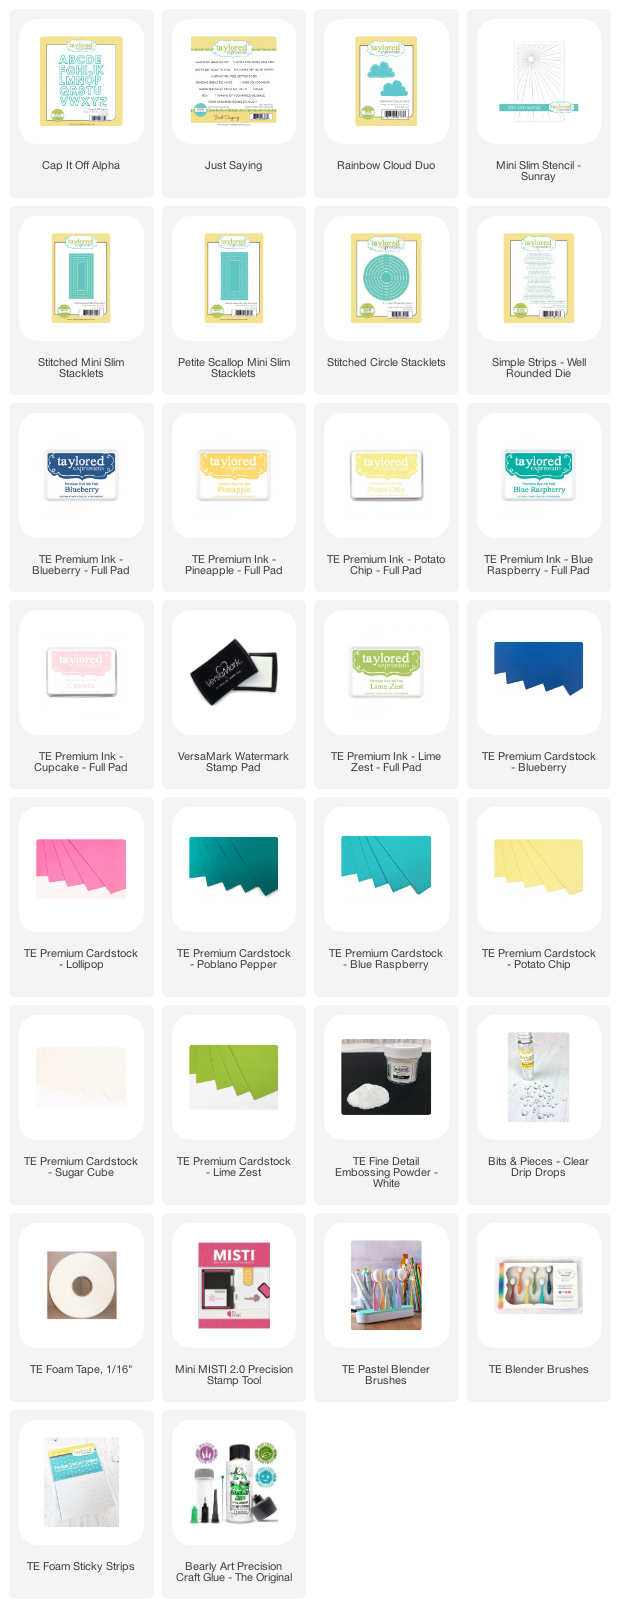
My second card features the new Cap It Off Dies, a set of alphabet dies that cuts the letter with an outline. I cut all the letters from Sugar Cube Cardstock and then blended ink on each letter in one of the different colors linked below. The sentiment is from the new Just Saying Stamp Set, but I masked of the word smile before I stamped in Versamark Ink, and then embossing with TE White Embossing Powder. 


The card front is die cut with Stitched Mini Slim Stacklets and matted with the Petite Scallop Mini Slim Stacklets. The card front is stenciled with the Mini Slim Stencil - Sunray with Potato Chip and Pineapple Ink. I used the Stitched Circle Stacklets for the sun and added the clouds with the Rainbow Cloud Duo. 


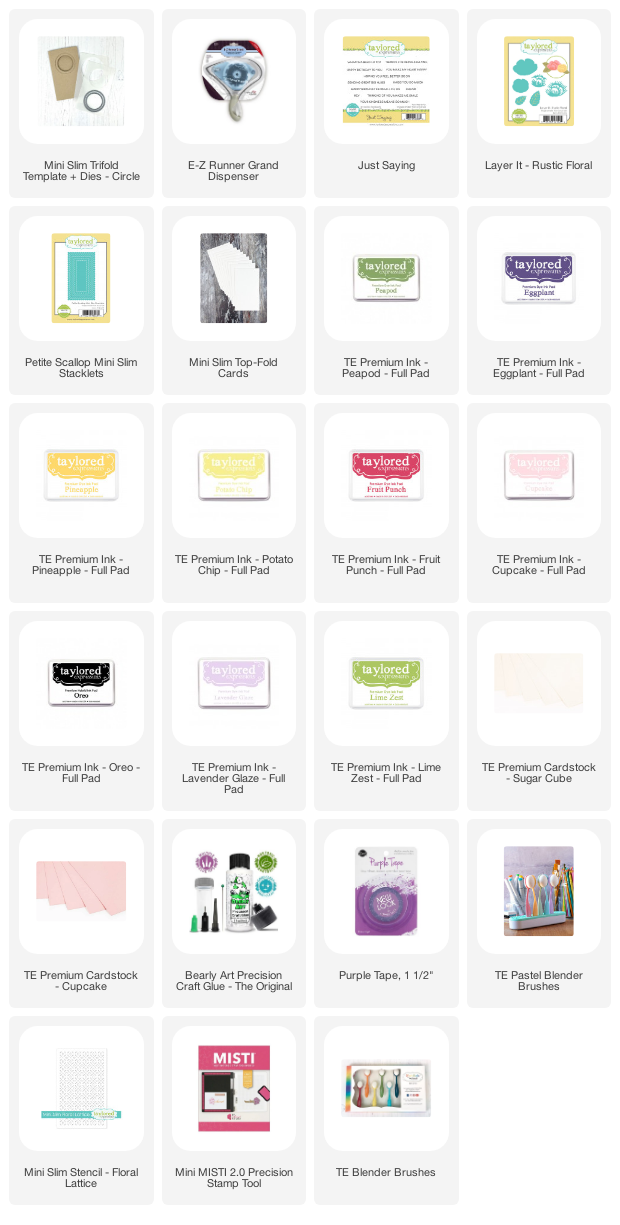
My last card is created with the new Mini Slim Triflold Template + Dies - Circles. The set includes the dies to cut the circles plus a template to help you position each circle correctly. You can also purchase precut Trifold Cards. 


I die cut the card front with the Petite Scallop Mini Slim Stacklets and stenciled with the Mini Slim Stencil-Floral Lattice. I created the flowers and leaves with the Layer It - Rustic Florals Dies. I die cut from Sugar Cube Cardstock and then blended ink in the colors linked below. My sentiments are all from the versatile Just Saying Stamp Set. 


I also stenciled the inside of the second layer using Cupcake Ink, and added an addition flower, and sentiment. 


Here is a look at the card completely open. I stenciled the circle with Potato Chip Ink with the template in the Mini Slim Triflold Template + Dies - Circles. Then I added one more flower and another sentiment. 


This is such a fun release! You can stop by the TE Blog for all the details, videos, and more inspiration! 

1/19/21

New Mini Strips from Taylored Expressions

Hi All! Today Taylored Expressions is releasing a small collection of Mini & Simple Strips products along with Mini Strips storage stickers for the TE Simple Strips storage solution. Here's a look at the two new stamp sets. 


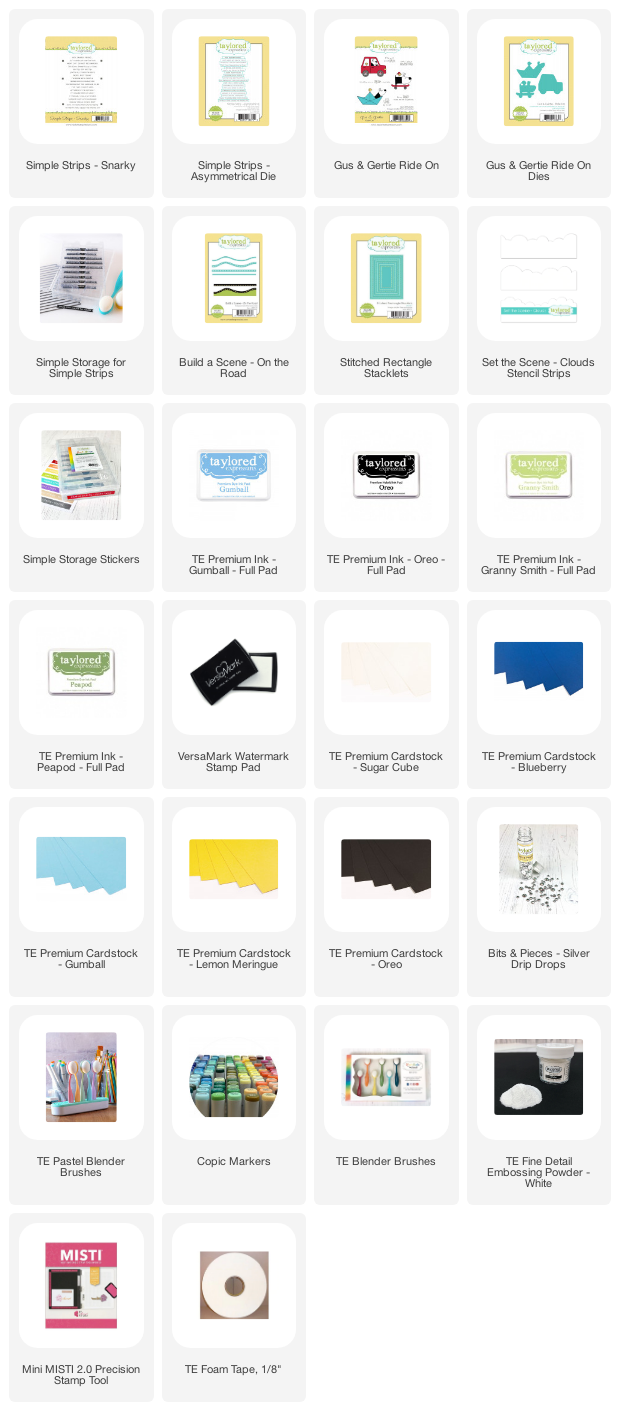
My first Simple Strips sentiment is part of the Simple Strips - Snarky Stamp Set. (See links below) The sentiment is die cut with the new Simple Strips - Asymmetrical Dies. The sentiment I chose to work with seemed to go perfectly with the Gus & Gertie Ride On Stamps and Dies. The image is colored with Copic Markers. I added Silver Drip Dots to the wheels. The road is die cut with the Build A Scene - On the road. 

To create the background I cut a piece of Sugar Cardstock for the card front and stenciled clouds with the Set the Scene - Cloud Stencil Strips with Gumball Ink and the grass with Granny Smith and Peapod Ink. Then I used the Stitched Rectangle Stackets to cut a rectangle in the center of the card. On the outer frame I used foam tape to add dimension. 


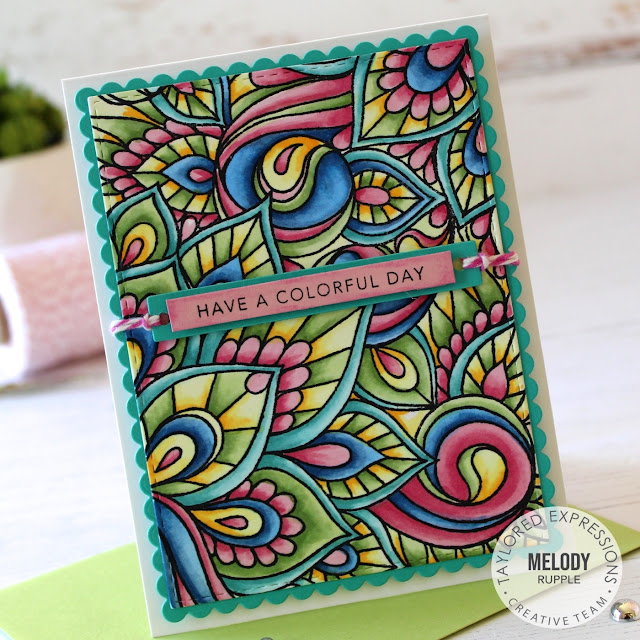
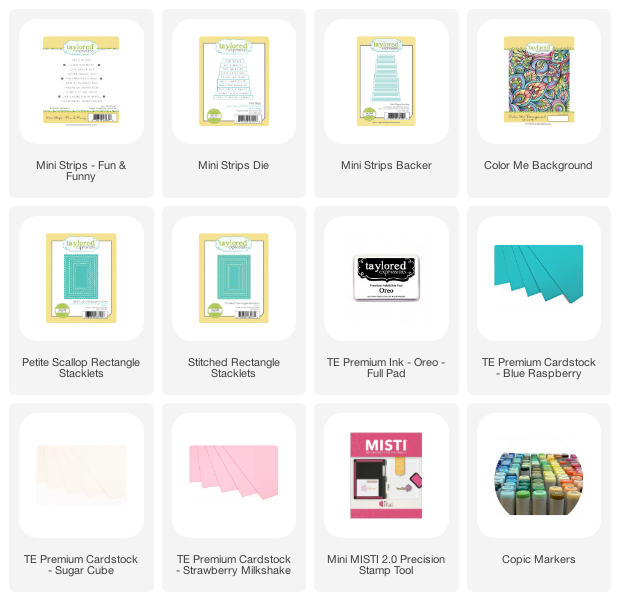
My next card features a sentiment from the new Mini Strips - Fun & Funny Stamp Set. I thought the sentiment went perfectly with the Color Me Background, that is always fun to color! I die cut the background with the Stitched Rectangle Stacklets and matted with the Petite Scallp Rectangle Stacklets. 


I stamped the sentiment in Oreo Ink, die cut with the Mini Strips Die, and backed with the Mini Strips Backer Die. 

Thanks for stopping by! Stop by TE Blog for all the details and more inspiration for the Design Team. 

It's Day 4 of the Ink to Paper January Release Sneak Peeks!

Hi Everyone! Today is the final day of the Ink to Paper January Release Sneak Peeks. I have two more cards to share with you. Everything will be available for purchase beginning at 10 PM EDT tomorrow,  January 20th! 


Today's cards feature additions to the Feathered Friends product line.My first card showcases the new Feathered Friends 7 Dies. I die cut all the pieces from Stamper's Select White Cardstock and blended Distress Inks in Chipped Sapphire, Blueprint Sketch, Twisted Citron, Mowed Grass, and Mermaid Lagoon. I added a black rhinestone for the eye. 


The frame is stamped and die cut with the new Antique Wishes Stamp Set and Dies. I used Enchanted Evening Cardstock and Dark Indigo Ink. 


I added the leaves and the sentiment with the Antique Wishes Stamp Set and Coordinating Dies. 


On second card is created with the Feathered Friends Mini 7 Stamp Set and Dies. I stamped and die cut the hummingbird and attached the bird to a circle of Spring Rain Cardstock and a pretty doily from the new Delicate Doilies Dies


The background is created with the Vintage Flair Pint Stamp Set. I stamped very lightly in True Black Ink, then Versamark Ink, embossed with white embossing powder, and then blended Spring Rain and Blueberry Sky Inks. The sentiment is included in the Feathered Friends Mini 7 Stamp Set.

Thanks for taking a look!  Stop by the Papertrey Blog for more more inspiration with the new products Everything will be available for purchase beginning at 10 PM EDT tomorrow.


1/18/21

Ink to Paper January Release Sneak Peeks Day 3

I am back for Day 3 of the Ink to Paper January Release Sneak Peeks. Today I have two more cards to share with you. Everything will be available for purchase beginning at 10 PM EDT on January 20th!


The new Numbers Dies are perfect for birthdays, anniversaries, and other life milestones. I cut the numbers from gold glitter cardstock. I mounted the numbers on a circle of Spring Moss cardstock on the medium sized doily in the new Delicate Doilies Dies. The "th"  sentiment is part of the new Just Sentiments: Milestones Stamp Set  and the sentiment at the bottom is from the new Just Sentiments: Established Stamp Set. These two sentiments sets work really well together. 


I created the embellishments with the small stamps included in the new Big Balloons Stamp Set and Dies and accented with gold dots. 


The background is die cut with the Cover Plate: Ornate Die from Lilac Grace Cardstock. 


On my second card I wanted a more masculine feel. I cut my numbers from True Black Cardstock. The sentiments are a combination  of the Just Sentiments: Milestones Stamp Set and the Just Sentiments: Established Stamp Set, perfect for an anniversary. The circle is die cut with the Love to Layer: Scalloped Circle Die, and then matted with a circle of True Black cardstock. 


The background is created with the Woodwork Die. I used Stampers Select White Cardstock and then blended on Classic Kraft Ink.

Thanks for taking a look! I will be back tomorrow for Day 3 of sneak peeks. Stop by the Papertrey Blog for more more inspiration with the new products.

1/17/21

Ink to Paper January Sneak Peeks Day 2

I am back for Day 2 of the Ink to Paper January Release Sneak Peeks. Today I have some ideas to share for birthday cards. Everything will be available for purchase beginning at 10 PM EDT on January 20th


My first card is created with the new Vintage Flair Stamp Set and Dies. The stamp set had that vintage, antique feel. I stamped the cage in Versamark Ink and embossed with gold embossing powder, and die cut with the coordinating die. Then I stamped the bouquet of flowers and just lightly added color with Copic Markers. I also stamped and die cut the bottom of the cage and then layered Vellum, the vase, and then the cage. 


The card front is die cut with the Border Bing: Tin Stitch Die and then I embossed the gold butterflies with one of the stamps in the Vintage Flair Stamp Set and Dies. With the additional stamps in the set I created the flowers, leaves, and flourishes. The sentiment is also included. 


Next is a look at the Big Balloons Cover Plate and Big Balloon Stencils. I die cut the cover plate from Stampers Select White Cardstock and then I used the cover plate again to cut a variety of colored balloons, and balloon strings. I stenciled three of the balloons with the new stencils. There are three patterns, stars, dots, and hearts. I used white pigment ink to stencil the stars and the dots and embossed with white embossing powder. 


I inlaid the balloons and strings back into the card front. Two of the balloons die cut with a line of holes. You could added colored cardstock on the back of the card, but on those two I used three strings of embroidery floss. The sentiment is from the new Big Balloons Sentiments. The bow is a stamp and die from the new Big Balloon Stamp Set and Dies

Thanks for taking a look! I will be back tomorrow for Day 3 of sneak peeks. Stop by the Papertrey Blog for more more inspiration with the new products.

1/16/21

Ink to Paper January Release Sneak Peeks Day 1

Hi Everyone! Thanks for stopping by! Today is Day 1 of the Ink to Paper January Release Sneak Peeks. January's Release is all about birthdays, milestone, and vintage flair! Everything will be available for purchase beginning at 10 PM EDT on January 20th!

Today I  am giving a peek at the Sprigs & Sprays Stamp Set, the Antique Wishes Stamps and Dies, and the Cake Please Stamp Set and Dies.


The Sprigs & Sprays Stamp Set is full of beautiful branches, greenery, and flowers, perfect to fill the pitcher from the previously released Abundant Blooms. I stamped the pitcher in Aqua Mist and Ocean Tides Ink. 


I framed the bouquet of flowers with the new Antique Wishes and Coordinating Dies. I stamped the pattern on Stampers Select White Cardstock in Versamark Ink and embossed with white embossing powder. Then I blended Sweet Blush Ink. Then I die cut with Antique Wishes Coordinating Dies. I stamped a sentiment from the Abundant Blooms Stamp Set on Vellum and added it the center of the card. 


On my second card I filled the pot from the previously released Branches of Love Stamp Set. I used a different combination of stamps from the Sprigs and Sprays Stamp Set. I hope this give you an ideas of all the options to build a bouquet! 


On this frame I stamped Classic Kraft Ink on Fine Linen Cardstock and then die cut. Behind the floral arrangement I added a circle die cut with the Delicate Doilies Dies. I love the doilies and know I will use them all the time! The sentiment is included in the new Inside Greetings: Established


This card is created with the Cake Please Stamp Set and Dies that create a beautiful birthday cake. I stamped the cake filling and then heat embossed the white swirls with white embossing powder and then lightly blended Lemon Tart Ink on the cake. 


Here is closer look at the flowers and greenery. I added a Delicate Doily Die behind the cake and framed the card with the Border Bling: Skinny Diagonals Frame Die

Thanks for taking a look! I will be back tomorrow for Day 2 of sneak peeks. Stop by the Papertrey Blog for more more inspiration with the new products.

1/13/21

Spellbinders January Clubs Blog Hop

Hi and welcome to the Spellbinder Blog Hop. To celebrate this release, we are giving away a $50 gift certificate to 3 lucky blog readers – selected from the comments on the blog. Giveaway closes on Sunday, January 17th, 11:59 pm MST. The winner will be announced in this blog hop post the following Tuesday. The winner is responsible for shipping cost, duties and taxes.

Please note, store credit (gift certificate) cannot be applied to Club Subscriptions. Store credit can be applied to shop past Club products, Club extras and regular releases.

You should have to my blog from Betty Wright's Blog. If you missed any of the hop you can start at the beginning at the Spellbinders Blog.


My card is created with the Spellbinders Large Die of the Month for January, This month's Slimline Kaleidoscope Large Die Set is perfect for making cards, decor, and more. All the dies I used to create my card is included in the Die Set. 

Membership Includes:

Exclusive Larger Set of Versatile Dies that cut, emboss, deboss and stencil. Double the size of the Small Die Set! $40 Value!

Project Inspiration: Each kit will feature project ideas with at least one detailed how-to instruction tutorial each month.

Member Benefits & Savings: Receive exclusive member pricing in the Spellbinders store. Plus receive access to deals, savings, and gifts - only available to members.


I starting by creating a card base from white cardstock, 3.5″ x 8.5″. Next I cut a piece of white cardstock to fix under the frame and blended Picked Raspberry, Worn Lipstick, and Spun Sugar Distress Inks. 


There are three Heart dies in the set that you layer to create these beautiful hearts. I used gold foil, then a pale pink, with a brighter pink on top. 


The Slimline Kaleidoscope Large Die Set included the dies to cut the flowers and the leaves. I added a simple sentiment and a gold jewel to the top of each heart. I really enjoy working with the long slimline card base and love the elegance of the card. 

The next stop on the hop is Jenny Colacicco! You can find a complete list below. 

Spellbinders Blog
Tina Smith
Becky Roberts
Desiree Kuemmerle
Carrie Rhoades
Bibi Cameron
Laurie Willison
Jill Hilliard
Marie Heiderscheit
Jennifer Snyder
Jean Manis
Henriƫtte van Mierlo
Annie Williams
Yasmin Diaz
Brenda Noelke
Betty Wright
Melody Rupple - You are here
Jenny Colacicco
Dilay Nacar
Hussena Calcuttawala
Mindy Eggen
Virginia Lu
Emily Leiphart

Thanks for hopping along! 


1/12/21

Happy Hex Cardmaking Kit from Taylored Expressions

Hi all! Today Taylored Expressions is releasing a new card making kit, Happy Hex! It's fun, full of bright, happy colors, and is cardmaking made easy! The Kit comes with a Mini Slim Clear Card Box for gift giving! 


Here’s everything included the Happy Hex Monogram Kit – which retails for $48:


Happy Hex Mini Slim Background stamp
Happy Hex die collection
Clearly Crafty Happy Hex Add-ons stamp set
Clearly Crafty Typewriter Alpha stamp set
Happy Hex Mini Slim stencil
6 Sugar Cube Top Fold Mini Slim Card Bases
6 Custom Envelope Seals
6 Colored Mini Slim Envelopes
1 Mini Slim Clear Card Box
Packaged in a zippered pouch with a custom kit label


The Sugar Cube Top Fold Mini Slim Card Bases and the 6 Mini Slim Envelopes are included in the kit. The kit also includes the Clearly Crafty Typewriter Alpha stamp set to create monogrammed cards. 


The Clearly Crafty Happy Hex Add-ons stamp set included sentiments that fit the larger hexagon and stamps to add pattern to the smaller hexagons. The Happy Hex die collection cuts the two sizes of hexagons. 


Here is a closer look at a couple of the cards. On this card I stamped the Happy Hex Mini Slim Background stamp in Blue Raspberry Ink on the Sugar Cube card base. Next I cut the smaller hexagons in a variety of colors, Blue Raspberry, Cherry Pop, Granny Smith, Strawberry Milkshake, Candy Corn, and Cilantro. I glued the hexagons to the card front and then stamped a heart on each one with the coordinating ink color. The sentiment is stamped in Versamark Ink and embossed with TE White Embossing Powder. 


On this card I used the Happy Hex Mini Slim stencil to add all the smaller hexagons and then stamped the black outline. I love the combination of the bright colors of the inks, envelopes, and envelope seals. 


The kit comes with a Mini Slim Clear Card Box and easily holds all six of my cards, envelopes and envelope seals. I created a coordinating tag with the Tag Stackles 2 die, that can be purchased separately.


Stop by the TE Blog for all the information about the kit and more inspiration! You can find the kit in the TE Store HERE