8/31/18

Giving Thanks with Pretty Pink Posh

Hi and thanks for stopping by! I have a Fall inspired card to share with you today. I used some pretty fall colors and the Stitched Foliage Dies from Pretty Pink Posh.


I created the background by randomly stamping the leaves from the Giving Thanks Stamp Set in Toffee Ink on Kraft Cardstock. Then I used the larger die in the Stitched Hexagon Dies directly into the card front and added vellum behind the die cut. On the vellum I stamped a sentiment from the Giving Thanks Stamp Set in Versamark Ink and embossed with gold embossing powder. 


I die cut the pumpkin and leaves with the Stitched Foliage Dies from watercolor paper. I used Distress Inks in Scattered Straw, Spiced Marmalade, Carved Pumpkin, Crushed Olive, and Peeled Paint. Then I splattered the die cuts with gold paint. I finished off by adding a few Metallic Gold Jewels. 


Thanks for taking a look! Stayed tuned next week for the September Pretty Pink Posh Release. 

8/30/18

Halloween Kitchen Decor

Hi Everyone! I am enjoying the start to my Fall and Holiday creating season! Today I have a piece Halloween Decor I created for my kitchen. I used one of the Frame-Worthy Halloween Home Decor Coloring Pages from Taylored Expressions.


I used Copic Markers to color the print. The Copics  blend really nicely on the paper. 


At the top I added two spider web Skinny Mini Halloween Borders. I die cut the Little Bits - Witches Hat and attached the hat to the corner of the E. I added a few sequins that add a touch of sparkle. 


I framed the piece with a simple black frame from my local craft store. I look forward to adding my project to my kitchen counter this Halloween Season! 


Thanks for stopping by, 

Melody

8/27/18

Halloween Treat Bags with Pretty Pink Posh

Hi Everyone! With kids heading back to school it will be time to start creating for fall before we know it! Today I have a couple of Halloween inspired tags for treat bags with the Trick or Treat Friends Stamp Set and coordinating Dies from Pretty Pink Posh.


I picked up the Kraft window bags and small clothes pins at my local craft store. Clothes pins are a quick and easy way to attach tags and you can use your ink to add color to the wood. 


I stamped in black ink and colored with Copic Markers and then die the images with the Trick or Treat Friends Coordinating Dies. For the the base of the tags I used the larger die in the Scallop Square Tags Dies. I die cut from watercolor paper, added Distress Ink in Chipped Sapphire and Black Soot. Then I splattered gold paint. 

I added a few Gold Star Sequins to the background, filled my bags with M & M's and attached the tags. 


Thanks for stopping by! Have a great week! 


8/24/18

Handmade Tags with Spellbinders

Hi and thanks for stopping by my blog! I love making tags and today I have some cute handmade tags made for handmade gifts with the Sew Tiny Sentiments Stamp Set for the Sew Sweet Collection by Tammy Tutterow.


To make the base for the tags I cut a rectangle and then cut the corners at a diagonal. I punched a hole at the top of each tag and threaded ribbon through the hole making the tags ready to go and easy to tie on a package. 


I used a black ink to stamp the sentiments and images and Copic Markers to add color. On this tag I poked a hole at the end of the stamped needle, and lace embroidery floss through the hole and around the card. 


I added extra details with a black gel pen and enamel dots. 


I cut the center panel on this tag from canvas with the Spellbinders Platinum Pack 1 - 6 x 6 Burlap and Canvas Sheets. I stamped on the canvas and added a row of hand stitching at the bottom. 

Thanks for taking a look! I hope I have inspired you to make some tags! 


8/22/18

A Cherry Blossoms Thank You

Hi Everyone! I hope your week is going well. I am popping in today with a thank you card that I created with the Pretty Pink Posh Cherry Blossoms Stamp Set and Coordinating Dies. I am experiment with a new color combo, pink, gray, and aqua.


The card front is cut from a pale gray and embossed. I used the smaller die in the Scallop Circle Die Set and cut a circle directly into the card front and again from cardstock. I inlayed the Scallop Circle Die cut in the card front and then added clear acetate behind the window and foam tape to create the shaker. The sentiment in the window is from the Everyday Greeting Stamp Set. 


The beautiful flowers and leaves are stamped with the Cherry Blossoms Stamp Set and die cut with the Cherry Blossoms Coordinating Dies. The clear sequins are from the Sparkling Clear Confetti Mix. 


Thanks for taking a look!


8/17/18

Pretty Petunias Happy Birthday

Hi and Happy Friday! I am working on replenishing my birthday card stash and created this pretty flower themed card with the Pretty Petunias Stamp Set and coordinating dies from Pretty Pink Posh. I created the card with my girlfriends in mind.


I decided to go with a soft background and make the flowers the vocal point. I cut a piece of Bristol Smooth Card Stock and used a stencil brush to create the soft yellow background. Then I splattered the paper with white paint. 

The flowers are colored with Copic Markers and I highlighted the centers with a white gel pen. The flowers and leaves are die cut with the Pretty Petunias Coordinating Dies. 

The sign poking out of the top of the flowers is stamped and die cut with the Fox Friends Stamp Set and Coordinating Dies. The final touch are a few Droplets and Sparking Clear Sequins. 


Thanks for stopping by! Have a great weekend!


8/14/18

Sending You Happy Mail

Hi Everyone and thanks for stopping by! I have a card to share that I created using the Happy Mail Stamp Set and coordinating dies from Pretty Pink Posh. I like having cards in my stash that I can use for a number of different occasions and this stamp set is perfect for these types of cards.

My stamped images are all from the Happy Mail Stamp Set. I colored the images with Copic Markers and die cut with the Happy Mail Coordinating Dies. I stenciled a few clouds in the background and then used the Scallop Borders 2 Dies to cut the hill of grass. I stamped the sentiment from the Happy Mail Stamp Set in Versamark Ink and embossed with a white embossing powder. 


The frame is die cut with Scallop Frames Dies  and the clouds with the Rainy Days Coordinating Dies. I added a few Sparking Clear Jewels to finish off the card.

Thanks for taking a look!


8/12/18

Cute As a Button With Spellbinders

Hi Everyone! I needed a card for a baby girl and used the Spellbinders Cute As A Button Stamp Set from the Sew Sweet Collection By Tammy Tutterow. The stamp is a great focal point for a card and would be great for scrapbooking too.


I started by stamping in Versamark Ink and embossing a in gold embossing powder. I used a stencil brush and added pale yellow ink to white cardstock. Then I colored the words with Copic Markers. I cut panel to fit the card front and matted with a bright pink cardstock. 


I added a strip of gold foil from the Spellbinders Platinum Pack 3 which includes Metallic Gold, Metallic Silver, and White 6 x 6 Poster Board Sheets.  I add a piece of lace at the bottom and added a button threaded with embroidery floss. 

Thanks for stopping by! Have a great week! 


8/2/18

It's Release Day at Taylored Expressions - It is the start of Holiday Creating Season!

Hi and thanks for stopping by! It's August Release Day at Taylored ExpressionsAll the new products are available at the TE web store NOW.  You can check out the 30 new stamps & dies, 2 new cardstocks and ink colors, 5 new stencil designs, and some fabulous new foiling products.

Today I have two cards to share with you created with a number of new products from the new release. 


The create the background for this card I cut a piece to Sugar Cube cardstock for the card front. Using Clarity Stencil Brushes I layered Eggplant, Jelly Donut, Sweet Potato Pie, Candy Corn, and Lemon Meringue Inks. Then I stamped the new Bare Tree Background in Versamark Ink right over the layers of color. I used TE Black Embossing over the Versamark, shook off the excess, and sprinkle a little TE Gold Embossing Powder to add the sparkle, and then heat set with my embossing gun. 


I created the tombstones with the Tomb Sweet Tomb Stamp Set and the Tombstone Trio Dies using Sugar Cube Cardstock and sponging on Earl Grey Ink. The sentiment is from the Simply Said - Halloween Stamp Set. I used the Haunted Accessories Dies to add the ghosts and the bats. 


I LOVE the new On the Hinge - Wicked Stamp Set and coordinating dies! The On The Hinge Die allows the legs to swing side to side when you move the card. First I stamped the skirt and legs with Oreo Ink and colored with Copic Markers. The skirt is paper pieced with patterned paper from the Playful Patterns - Haunted. There are two options for the legs in the stamp set. I die cut the skirt and the legs and the hinge needed to swing the legs. 


I matted the images on a panel cut with Frayed Edge Stacklets, stenciled with the new Spiderweb Stencil, and a panel of Granny Smith Cardstock cut with the Stitched Rectangle Stacklets. 


Here is a look at the back of the image. You can watch Taylor's Video on how to assemble the witch HERE


Thanks for visiting! If you'd like to see more projects and new product information, please head over to the TE Blog for a complete list of our participating designers!

8/1/18

Taylored Expressions August Sneak Peek Day 3 - So Very Blessed

It Day 3 of  Taylored Expressions August Release Sneak Peeks! All the new products will be available starting at 9am CDT on tomorrow. I hope we have inspired you to get an early start on Fall projects this year! 

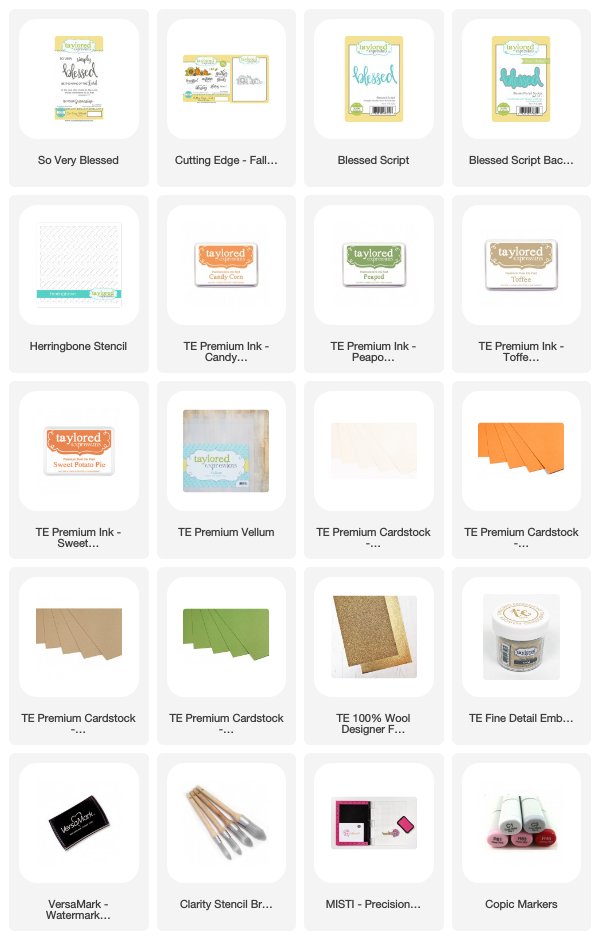
My first card features the the Blessed Script Backer which compliments the previously released Blessed Script Die, the new So Very Blessed Stamp Set and the new Cutting Edge - Fall Stamp & Die Combo


Let's start with the background. Used the new Herringbone Stencil. To achieve the soft look I use a Clarity Stencil Brush with Candy Corn and Sweet Potato Pie Ink. On the vellum panel I stamped a sentiment from the new So Very Blessed Stamp Set


Next I stamped the Cutting Edge - Fall Stamp & Die Combo in Versamark Ink and embossed with gold embossing powder on Toffee Cardstock. I colored with Copic Markers. I love the look of Copics on Toffee Cardstock. I used the die in the set to cut and mat around the stamped image and add the additional leaves. I used the TE 100% Wool Designer Felt in Caramel Drizzle with the Blessed Script Backer Die to mat the sentiment at the bottom.


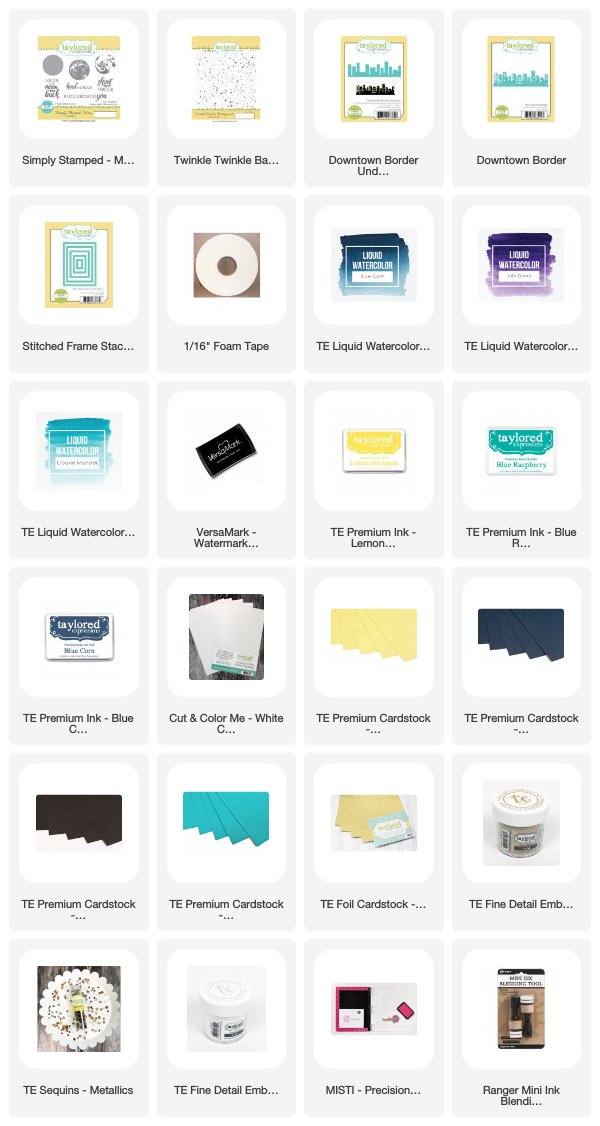
My second card showcases the new Simply Stamped - Moon Stamp Set. This is one of favorite projects for the release! I am saving this card to give to my hubby! 

The look of the moon is achieved with three levels of stamping. I used Potato Chip Ink, Lemon Meringue Ink, and Versamark Ink with white embossing powder. To create the background I cut a piece of watercolor paper, wet the paper, and used TE Liquid Watercolors in Cookie Monster, Grape Jelly, and Blue Corn. I let the paper dry completely, added a good coat of embossing powder, and then stamped the Twinkle, Twinkle Background Stamp in Versamark Ink and embossed with Gold Embossing Powder. 


I used the Downtown Border and Downtown Border Underlay Dies to add the cityscape. The sentiment is from the Simply Stamped - Moon Stamp Set. I cut the frame from Blue Raspberry Cardstock and again from chipboard and adhered the layered together. Then I sponged Blue Raspberry and Blue Corn Ink along the edges. 


Taylored Expressions is celebrating Release Week with a giveaway during each day of sneak peeks! Visit the TE Blog to answer Taylor’s Question of the Day for a chance to win one of the latest products before you can buy it!

Thanks for stopping by! I will be back tomorrow with my Release Day Projects!