1/31/19

Note Card Sets with Taylored Expressions

This week on the Taylored Expressions Blog we are sharing ideas for creating simple note card sets to encourage everyone to send out more more cards this year! Stop by the blog for more inspiration!


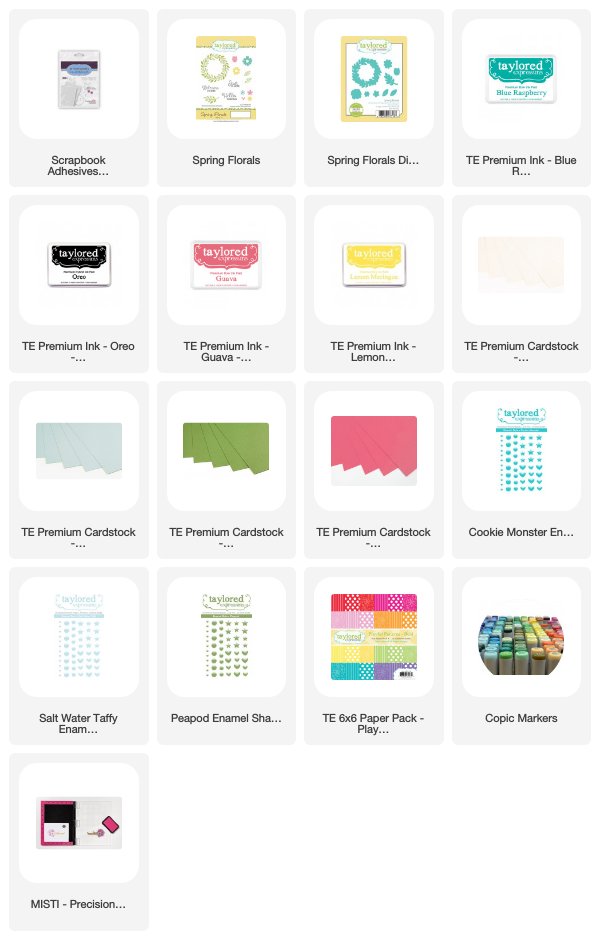
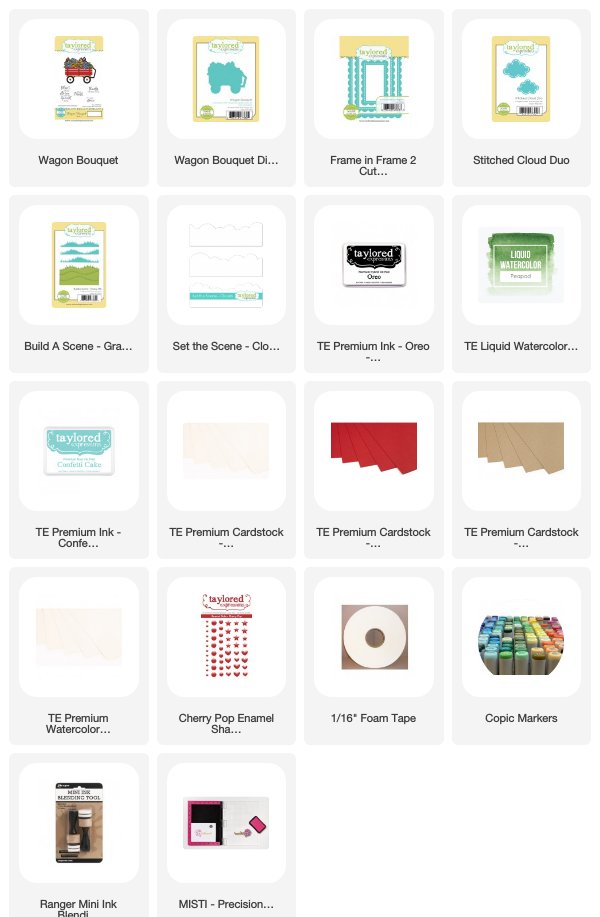
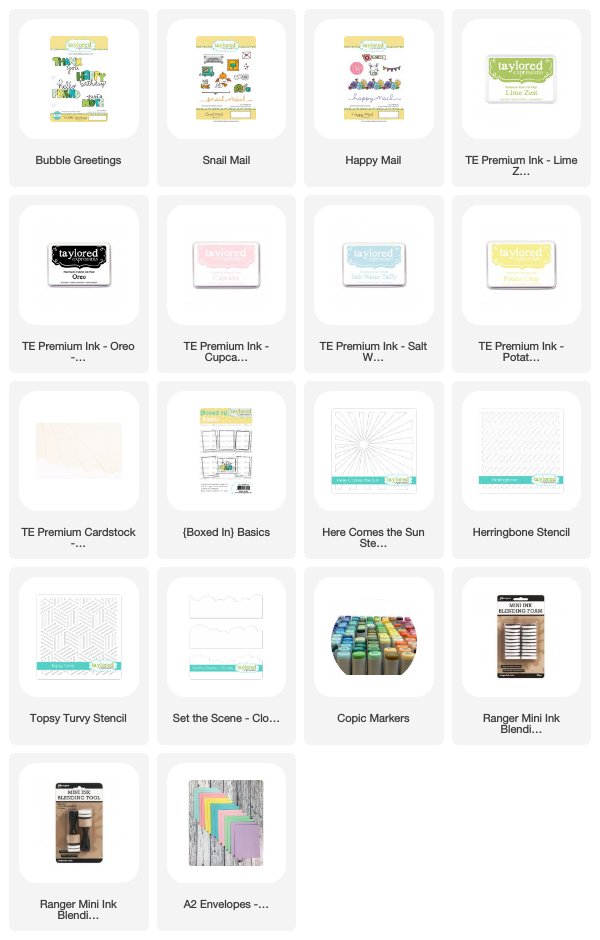
I used the Bubbles Greetings Stamp Set, the Box in Basics Note Cards,  and a variety of stencils to create my cards. (products are linked below) I also created a coordinating envelope to go with each card. 


For each card I used a note card from the Boxed in Basic Set. Each note has a preprinted border and is Copic friendly. Then I chose a stencil to added a subtle pattern to the background. Here I used the Set the Scene - Clouds Stencil. I also used the stencil to create the coordinating envelope . I stamped a different sentiment from the Bubbles Greeting Stamp Set in the center of the card. 


Here I used the Herringbone Stencil to add the pattern. First I used a stencil brush to add a little bit of color to the background and the used a blending tool with the stencil. I added additional details to the envelopes with the Mail It line of stamps. I love having the Mail It Stamp Sets in my stash. I use them all the time! 


This card uses the Topsy Turvy Stencil and the flower border add such a nice touch to the envelope.


The card in the set features the Here Comes the Stencil, one of my favorites! 


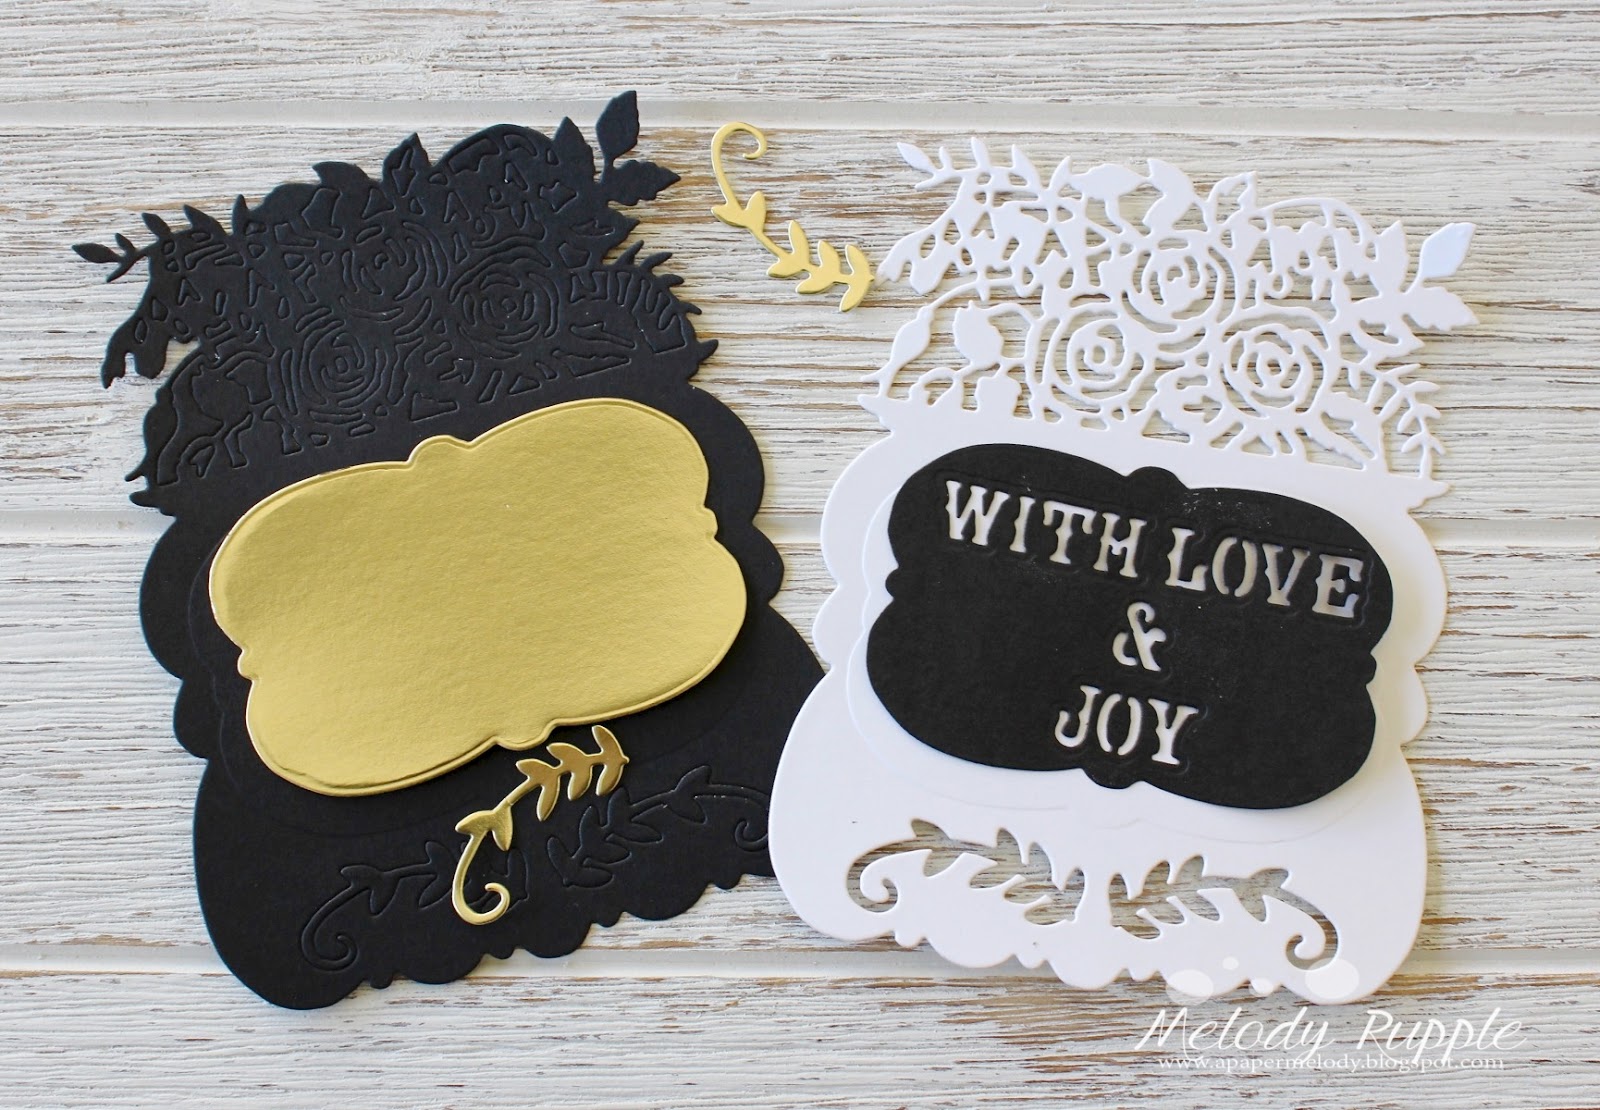
And here is a look at the back of my card! My new personalized stamp just make me smile. You can get your own personalized stamp through this Sunday, February 3rd at the Personalized Pop-Up Shop in the Taylored Expressions webstore.


Thanks for stopping by!

1/29/19

Just A Note

Hi Friends! I am popping in this morning with a card with lots of spring colors using products from Taylored Expressions. "Just a Note" is great kind of card to have in your stash. You can use it for so many occasions!


My card is created with the Spring Florals Stamp Set and coordinating Spring Florals Dies. I stamped the wreath in Lime Zest Ink and then added highlights to the leaves with a Copic Marker. I stamped additional flowers and foliage with the stamps in the stamp set and die cut all the pieces. 


I stamped the sentiment in the center of the card and used foam tape to attached all the elements to the card front. I added TE Enamel Shapes to the center of the flowers and here and there on the card. The patterned papers are from the Playful Patterns - Bold Paper Pack. I added a little strip of lace for texture and the added a bow to the top of the wreath with the Little Bits - Bow Die


Thanks for stopping by! 

1/28/19

Love You

Hi All! I hope your week is off to a good start. I have a Valentine card to share created with new products from Pretty Pink Posh. I created this Valentine for one of my daughters. This is the second Valentine I created with older children in mind. You can find my first example here.


First I stamped the two hearts in the Floral Hearts Stamp Set in Versamark Ink on Kraft Cardstock and embossed in gold embossing powder. I colored the images in Copic Markers and then die cut the hearts with the Floral Hearts Coordinating Dies. Then I layered the small heart over the larger heart with foam tape. 


I created the background by blending Oxide Distress Inks in Peacock Feathers, Broken China, and Tumbled Glass. I splattered the background with watered down gold paint. Then I  used the Scallop Hearts Dies to die cut the heart in the center of the card. The sentiment is created with the Love You Script Die.


Thanks for stopping by!!


1/25/19

Pretty Pink Posh Valentine Theme Week


Hi Everyone! Welcome to another day of Valentine Theme Week! You can stop by the Pretty Pink Posh Blog for all the details. I have a Valentine card to share with you that would be perfect for your older daughters or girlfriends. I still enjoy sending Valentines to my daughters even though they are young adults now. 

started by cutting the With Love Shaker Die from white cardstock and adding color with Copic Markers. You could use a number of options to add the color, colored pencil, inks, and watercolors.  I cut a square of white cardstock and cut the With Love Shaker Die directly in the center of the square. I inlayed the colored heart in the white square. On the backside I added clear acetate and foam tape to form the shaker. 

Here are the other pieces I created to add to my card. I cut another square of white cardstock, brushed on Distress Ink in Squeezed Lemonade. This square covers the back of the shaker after the sequins are dropped in. Next I cut a strip of pink cardstock and stamped a sentiment from the Floral Hearts Stamp Set across the strip. I cut three scalloped borders with the Stacked Edges 1 Dies and sponged on Worn Lipstick, Squeezed Lemonade, and Twisted Citron Distress Inks. 


I used the Sparkling Clear Confetti Mix for the shaker. Since I used a lot of different colors and patterns on my card I decided the clear confetti would look the best.


Here's a look at the finished card with all the elements put together. 


Thanks for stopping by today. I hope we have inspired you to starting creating your Valentines! You can find the Valentine Category HERE


1/21/19

Hello Friend

Hi everyone and thank for stopping by! I am sharing a "Friend" card today. I like creating this type of general card because you can give the card for a number of occasions, birthday, thinking you, just an note, to name a few. My card is created with the Wagon Bouquet Stamp Set from Taylored Expressions.


I created the background with the Scene It - Cloud Stencil Strips, using a blending tool and Confetti Cake Ink. The grass is cut from watercolor paper with the Build A Scene - Grassy Hills Dies. I watercolored the hills with TE Liquid Watercolor in Peapod. The clouds are die cute with the Stitched  Cloud Duo. I cut one of the cloud directly into the card front and stamped the sentiment. 


The image is colored with Copic Markers and die cut with the Wagon Bouquet Die. I added Cherry Pop Enamel Shapes to the wheels. Then I framed the scene with the largest die in the Frame in Frame 2 Die Set, definitely one of my most used dies! Love it! 


Thanks for taking a look! Have a good week!

1/10/19

Pretty Pink Posh January Release Blog Hop - Day 2

Hi and welcome to Day 2 of the Pretty Pink Posh January Release Blog Hop and Birthday Celebration!! I have two cards to share with you today featuring products from the January Release. Be sure to leave a comment for a chance to win a prize!

If you’ve been hopping along, you should be arriving from the talented Eloise Blue


My first card features the new Crocus Flowers Stamp Set and the Crocus Flowers Coordinating Dies. I colored the flowers and leaves with Copic Markers and then die cut the images. After playing around with the layout I decided to created a soft background with Oxide Distress Inks, Mowed Lawn and Squeezed Lemonade. 


I die cut the sentiment with the new Happy Birthday Script Die. I die cut the sentiment twice, once from a light weight chipboard and once from purple cardstock and then adhered the layer together. I like the way the layers add more depth to the words. I finished off the card with a few jewels from the new Sugar Plum Jewels Mix. 


To create the second card I used the pretty Floral Hearts Stamp Set and the Floral Hearts Coordinating Dies. My stamped images are colored with Copic Markers. The additional flowers and leaves are stamped with the Build A Bloom Stamp Set and die cut with the Build A Bloom Coordinating Dies. This is a previously release stamp set that is prefect for adding a little extra detail. 

To create the interlocking hearts, I cut out each heart with the Floral Hearts Coordinating Dies. Then I cut the hearts again directly in the card front. Then I inlayed the two stamped hearts into the card front and used tape on the back side to hold the hearts in place. I finished off the card with a few different sizes and colors of jewels from the new Party Jewels Mix. 


Leave comments along the way on each blog hop for your chance to win prizes. Pretty Pink Posh is giving away NINE $25 gift certificates to people who comment during the blog hop. Spend $100 and receive a not-yet-released stamp set!

Next up on the hop is Nicky Meek.


1/7/19

Pretty Pink Posh January Release is Available!

Hi Everyone! The Pretty Pink Posh January Release is now available! Pretty Pink Posh is celebrating turning five years old! You can check out all the new products here.


Here's a look at the new Pinata Party Stamp Set and Pinata Party Coordinating Dies. 


I started by creating my background. I cut a piece of watercolor paper to fit the card front and sponged on three colors of Oxide Distress Inks and then spritzed  with water. I let paper dry and then stamped the sentiment from the Pinata Party Stamp Set in Versamark Ink and embossed with white embossing powder. I colored the piñata with Copic Markers and used a glitter pen to add a coat of glitter to the horn, mane, and tail.Using foam tape I attached twine to the piñata.  I used five different colors of inks to stamp the banners. 


Using the Misti Stamping Tool I randomly stamped confetti and streamers in different colors on the card front. So fun and festive! I finished off the card with jewels from the new Party Jewels Mix. 


Thanks for stopping by! Stop by the PPP Blog of all the release details. 


1/3/19

Spellbinders With Love Etched Die

Hi Everyone! I hope your New Year is off to a good start! I have been battling a cold that is slowly me down a bit. I still need to pack up my Christmas decor! Today I am popping in with a wedding card created with the Spellbinders With Love Etched Die


I love the beautiful details and elegance of this silhouette. The set of three dies includes a floral frame with an insert rim to cut out the center, and a With Love sentiment. I decided I wanted to make a card for an upcoming wedding and went with a classic black, white, and gold theme. 


I cut the With Love Die twice, once from white cardstock and once again from black card stock. On the black die cut I did not punch out any of the detailed die cuts. 


Next I die cut the insert rim from black cardstock and then die cut the sentiment directly into the center of the panel. I cut the rim die a second time from gold foil and layered it behind the sentiment. Then I inlayed the gold vines into the card front. 


I rounded the corners of the card front and the layered the black and white die cuts on the card front. I attached the sentiment with form tape to add dimension and finished off the card with a few gold jewels.

Thanks for stopping by! 

1/1/19

Celebrate!

Hi and Happy New Year! I am kicking off the New Year with a pretty card created with products from Pretty Pink Posh and celebrating another term on the Pretty Pink Posh Design Team! Paulina is amazing to work with and love working with her products. One of my crafting resolutions is to make more birthday cards! I never seem to have enough and now all my friends and family expect a handmade card!


My card is created with the Wild Rose Stamp Set and Wild Rose Coordinating Dies. This is one of my very favorite flower stamp set.  I love the contemporary, modern  feel of the flowers. I colored the flowers and leaves with Copic Markers and added Lemon Drop Jewels to the center of the flowers. 


To create the background I cut a piece of black cardstock to fit the card front. I splattered on white paint and then sponged the edges with white pigment ink. The sentiment is from the Everyday Greetings Stamp Set. 


Have a great first day of a New Year! It always feels like a fresh start!