Showing posts with label Mini Slim. Show all posts

8/18/26

Twice a year Taylored Expressions asks our customers which products you’d like to see expanded. Maybe there’s a stamp set that would be even more versatile with coordinating dies. Perhaps a favorite floral design is waiting for a coloring stencil. The Pick Your Pairing Release is filled with new products designed to coordinate with TE favorites you may already own!


On my first card I used three of the new products. The Just Because Coloring Stencil coordinates with the previously released Just Because Stamp Set and Dies. I am excited about the Mini Slim Arched Stacklets. I love the arch shape and am happy to have it for Mini Slim Cards. TE has also added butterflies to the Little Bit Collection. 


I used Macaron, Dried Fig, and Concord Grape Inks for the flowers and Pear and Sweet Basil for the leaves with the new Just Because Blooms Coloring Stencil. Then I die cut the image and added it the center of the arch with foam tape. 


I added clouds to the center of the arch with the Set the Scene - Cloud Strip Stencil. I added the butterflies with the new Little Bits - Butterfly. The sentiment is included in the Just Because Stamp Set. 


My next card features the new Spooky Scribbles 6x6 Background Stamp. I stamped in VersaFine Clair - Nocturne Ink and then embossed with TE Clear Embossing Powder. The embossing helps keep my background pattern bold when I do the ink blending. I blended Potato Chip, Pineapple, Candy Corn, Guava, and Rose Water Inks. 


I added the ghosts with the Haunted Boo-levard Dies and added Bits & Pieces - Black Rhinestones to the eyes. 


The large sentiment is die cut with the new C'mon It's Halloween Die Set for TE Black Glitter Cardstock. 

I love the Triple Slim Layering Stencil - Holly Holiday that was previously released. Now we have the Triple Slim - Holly Holiday Coordinating Dies. This set is perfect for mass producing Christmas cards! 


I used a color palette of Salt Water Taffy, Sour Gummy, Watermelon, Cherry Pop, and Sweet Basil Inks. 


I used the new Mini Slim - Arched Stacklets again to cut the arch shape the for the center of the card. 


I used the Little Bits - Star Dies to add the star to the top of the tree. 


After I stenciled I lightly splattered the background with gold paint from the TE Watercolor Set - Metallic.


I used different colors of cardstock for the inside of the arch and embossed with the Embossing Folder - Tiny Twinkles. 


The sentiments are from the Mini to Mighty Stamp Set - Christmas and die cut with the coordinating dies. I stamped in Versamark Ink on Cherry Pop Cardstock and embossed with TE Embossing Powder in Gold Sparkle.
Happy crafting! Stop by the TE Blog for all the details on the new products, and more inspiration from the team.

9/30/25

It's the Christmas Release at Taylored Expressions

Today is one of my favorite releases of the. year! It is the Christmas Release at Taylored Expressions. We have bundles of products with different themes to get you starting on your Christmas Cards this year. All the new products are available now in the TE Store. I have three different projects to share with you, so let's get started!


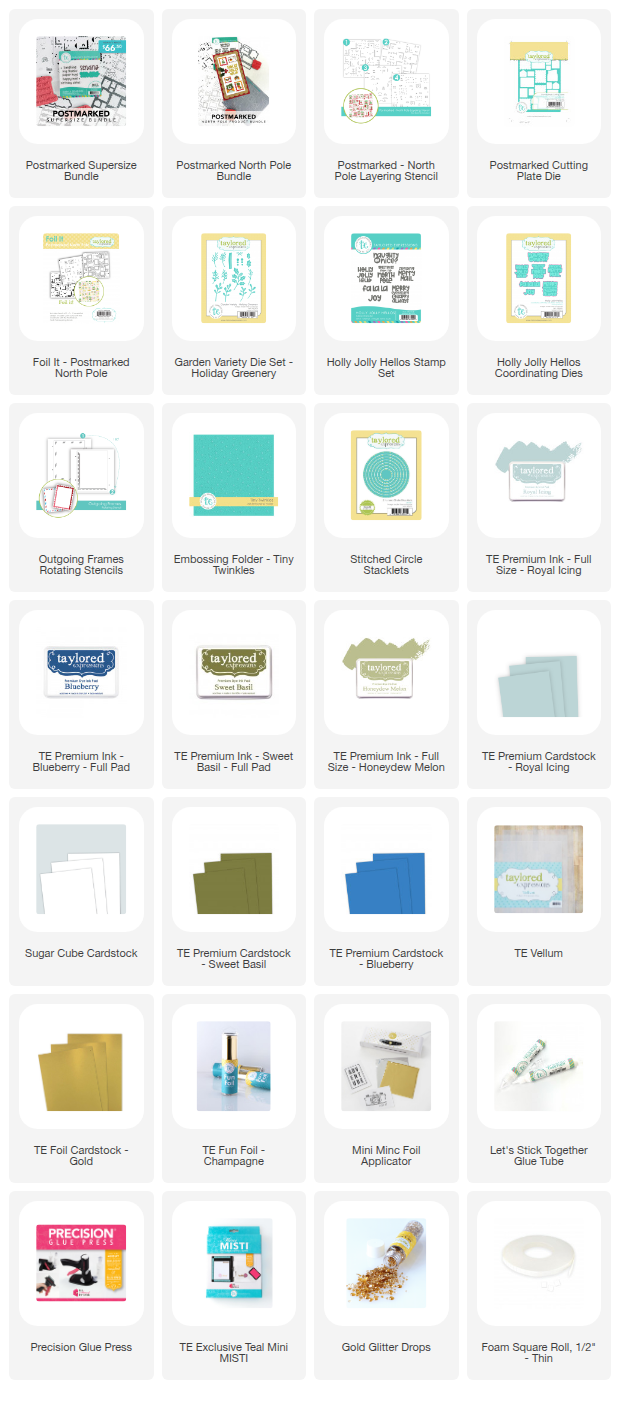
First up is a look at the Postmarked North Pole Products. The products can be purchased as a bundle or separately. All the available bundles are listed below. 


I foiled two of the Foil It - Postmarked North Pole panels with TE Fun Foil in Champagne using my Minc. I foiled two panels because I wanted to use one panel as a card front and the second one so that I could die cut the images with the coordinating Postmarked Cutting Plate.


I used a combination of Blueberry, Royal Icing Sweet Basil, and Honeydew Melon with the Postmarked - North Pole Layering Stencil. In the center of the card I added a circle cut from vellum and a sentiment from the new Holly Jolly Hellos, and holly leaves die cut with the new Garden Variety - Holiday Greenery. 


On the second card I used the individually die cut images to create the card front. I added another sentiment from the Holly Jolly Hellos and more holly leaves with the Garden Variety - Christmas Greenery. 


For the center panel I embossed Royal Icing Cardstock with  the Tiny Twinkles Embossing Folder. I used the Outgoing Frames Rotating Stencils to add the border.  I finished off with a few TE Gold Glitter Drops. 


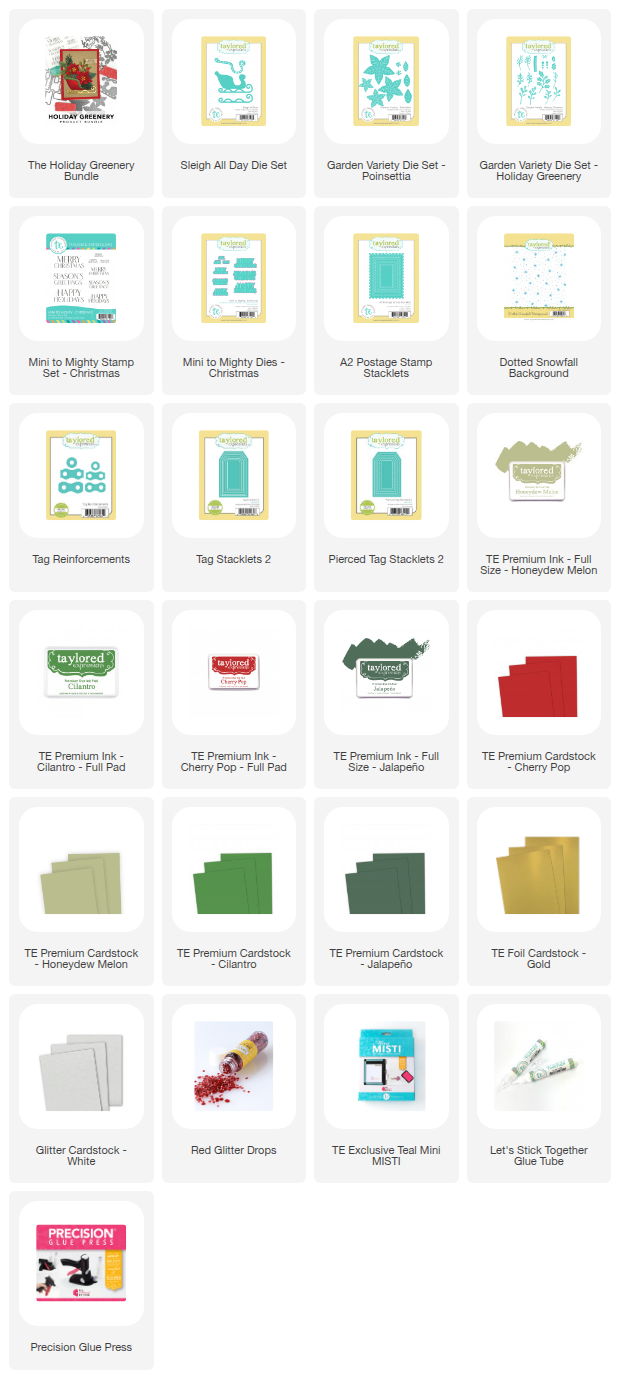
Next is a look at the Holiday Greenery Collection. There is the Sleigh All Day Die, the Garden Variety - Holiday Greenery Dies, and the beautiful Garden Variety - Poinsettia. You can create several sizes of Poinsettias. I used the largest one on the tag. 


I used the Sleigh All Day Die with TE White Glittered Cardstock and TE Gold Foil Cardstock. I knew wanted an elegant feel to this card so I went with the white sleigh. I attached the sleigh with foam dots to the front of the card and then filled the sleigh with the poinsettias and greenery. 


To create the card front I stamped the Dotted Snowflakes Background Stamp on Honeydew Melon Cardstock with Honeydew Melon Ink and then die cut with the A2 Postage Stamp Stacklets. 


The sentiment is from the new Mini to Mighty - Christmas Stamp Set. There are three different sentiments in the stamp set and three different sizes of each sentiment. I love this idea!


I also created a coordinating tag using the Tag Stacklets 2 and the Pierced Tag Stacklets 2. 

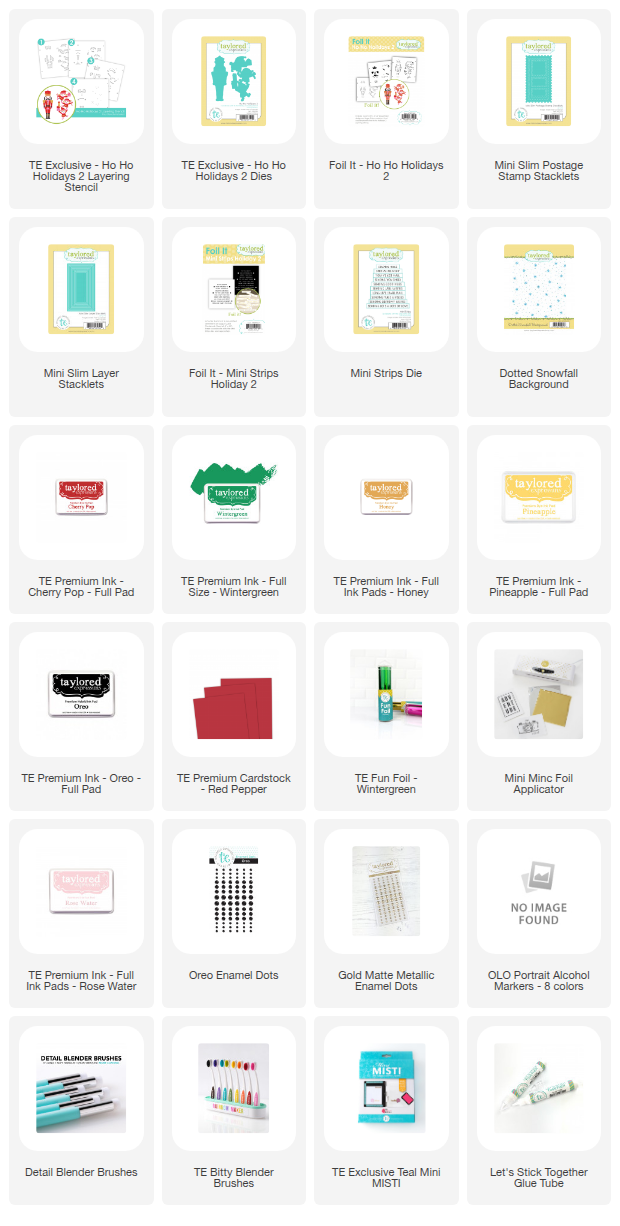
The cards are created with the Ho Ho Holidays 2 Layering Stencil and the coordinating Ho Ho 2 Dies, both of which are a gift with purchase. 

Get the FREE Ho Ho Holidays 2 Layering Stencil with any purchase of $100+ and Ho Ho Holidays 2 Die with any purchase of $200+ sitewide! Offer valid 9/30 at 9 am CT through 10/7 at 9 am CT or while supplies last.  


How sweet are these elves! I used the Foil It - Ho Ho 2 with the new Wintergreen Foil  and then stenciled with the Ho Ho Holidays 2 Stencil. I have listed the colors I used below. Then I die cut with the coordinating Ho Ho Holidays 2 Dies. 


I created Mini Slim Cards with the Mini Slim Layer Stacklets and the Mini Slim Postage Stamp Stacklets. 


The backgrounds are stamped with the Dotted Snowfall Background Stamp. 


To add the sentiments I used the new Foil It - Mini Strips Holidays 2 panel foiling with Wintergreen Foil. 


https://www.tayloredexpressions.com/whats-new/christmas-2025/

It’s the time of year when crafters start dreaming of festive stamps and stacks of handmade holiday cards. This week’s Christmas Release is here to spark fresh ideas and fill your stash with seasonal goodies!

We have three different collections that are also available in bundles:


We also have the Ready-to-Make Card Kit - Christmas and Ready-to-Make Card Refill - Christmas.
This kit takes the guesswork out of designing by giving you the stamps, stencils, inks, cardstock, card bases, envelopes and tools you need to craft 20 beautiful holiday cards. It includes a code to access step-by-step instructional video.

The refill provides just the pre-measured and cut cardstock, envelopes, and extras you need to assemble a set of 20 holiday 


Plus, get a FREE Ho Ho Holidays 2 Layering Stencil with any purchase of $100+ and Ho Ho Holidays 2 Die with any purchase of $200+ sitewide! Offer valid 9/30 at 9 am CT through 10/7 at 9 am CT or while supplies last.  


I hope I have inspired you to start your holiday crafting! Stop by the TE Blog for all the details and more inspiration from the team.


9/16/25

Bonjour!

There is a new release at Taylored Expressions today that adds new products and some fun options to the Mini Slim Product Line. All the new products are available now in the TE Store. 


I have two cards to share with you that feature the new Mini Slim Frame in Frame Cutting Plate, the cute Post Cards from Paris Stencil and Post Cards from Paris Dies, and the Mon Ami Sentiment Set and coordinating dies.


The Post Cards From Paris Stencil is a set of five stencils. I have listed the colors of ink I used for the stenciling below. The Mini Slim Frame in Frame Cutting Plate is a set of two frames and three small squares. I used the middle sized frame on the card. 


Behind the frame I added a panel of white cardstock blended with Banana Cream Ink. The sentiment is from the Mon Ami Stamp Set. 


The set of stencil creates three images. There is also the image of the Eiffel Tower that I have not used yet. I used the largest die in the Mini Slim Frame in Frame Cutting Plate on this card. 


I added a little sparkle to my card with the TE Happy Medium - Iridescent Glitter with the stencil on the Macaron ink blended parts of the images. 

We have more Mini Slim goodies to add to your crafty stash! You'll find brand-new Mini Slim Dies to frame and finish your designs, plus a Triple Slim Stencil collection that takes you on a crafty trip to Paris!

This week only, buy 1 Triple Slim Stencil and get 1 FREE with code DOUBLETRIPLE 
Offer valid 9/16 at 9 am CT through 9/23 at 9 am CT. Free Triple Slim Stencil must be of equal or lesser value.

Thanks for stopping by! Stop by the TE Blog for all the details and more inspiration from the team and wish TE a Happy Birthday!


2/25/25

Talking In Circles

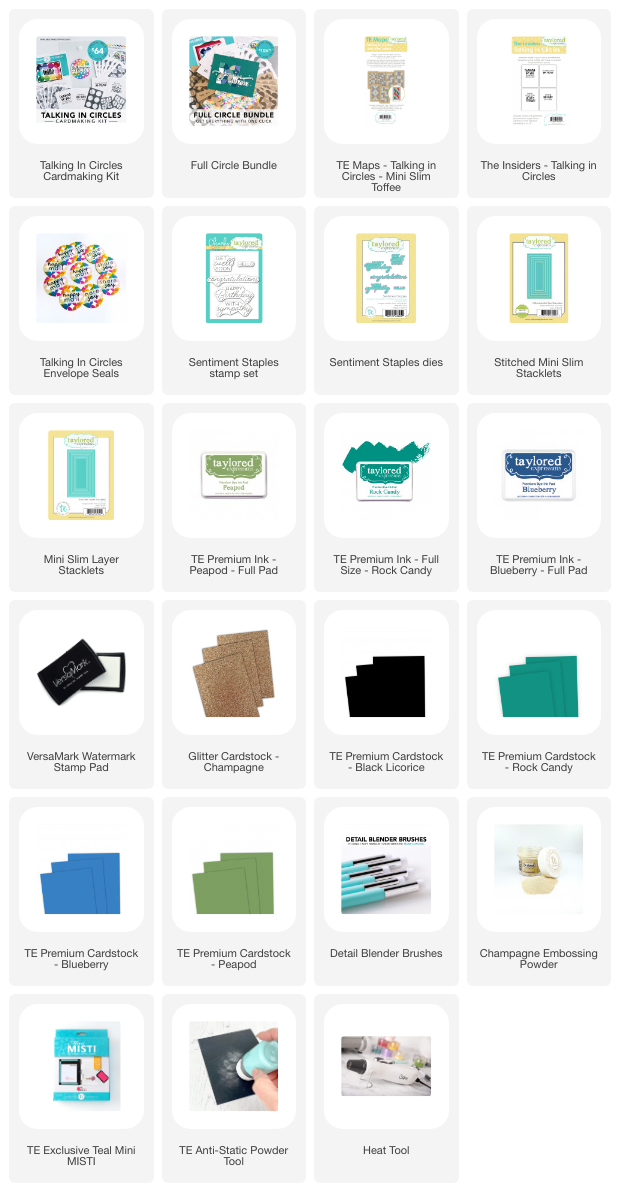
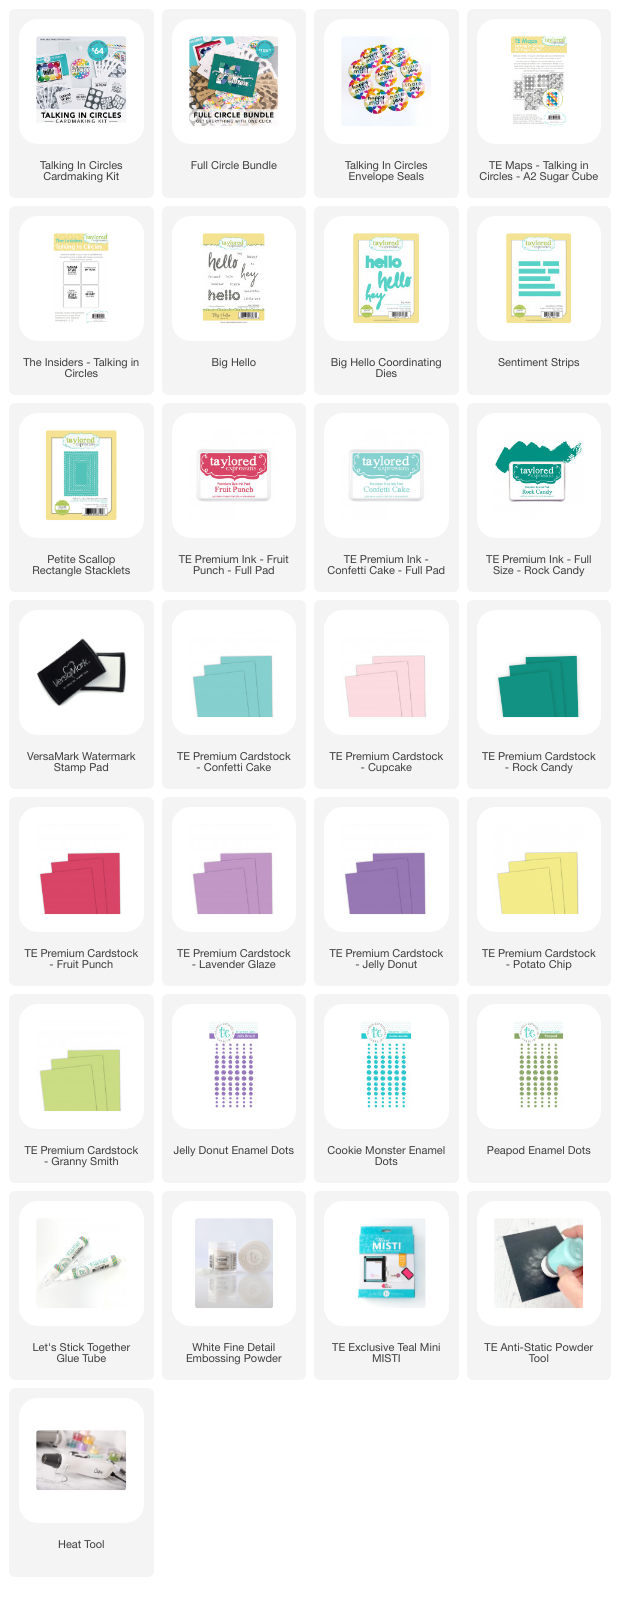
 Hi! I have such a fun new cardmaking kit from Taylored Expressions to share with you today. Meet Talking In Circles! The kit features dies and page maps to create cards in unique circular patterns. The Talking In Circles Cardmakin Kit is available now in the TE Store. 


My first card features one of the Talking in Circles - Mini Slim Toffee Page Maps. I wanted to give the card a more masculine take. I never have enough masculine birthday cards in my stash and I think this kit perfect for male cards. 


I used the Talking in Circles Die - Half and the Talking in Circles Die - Quarter Dies, that are included in the kit, to die cut my pieces from Rock Candy, Peapod, Blueberry, Licorice, and Champagne Glittered Cardstock. Then I just glued the die cut pieces to the pattern printed on the Toffee Cardstock. 


I added the sentiment with the Sentiment Staples Stamp Set and coordinating dies. I stamped the sentiment in Versamark Ink and embossed with Champagne Embossing Powder. 


I die cut the Toffee Mini Slim Map with the Stitched Mini Slim Stacks and matted with panel with Rock Candy Cardstock. 


On my second card  I used one of the Talking in Circles - A2 Sugar Cube Maps. I used the Talking in Circles Die - Quarter to cut all the pieces. I chose to work with Cupcake, Fruit Punch, Lavender Glaze, Jelly Donut, Confetti Cake, Blue Raspberry, Granny Smith, and Potato Chip Cardstock. 


Once you die cut the pieces you simply glue them to the pattern. There are whole, half, and quarter circle dies in the kit. 


The sentiments are from the Big Hello Stamp Set and die cut the the Big Hello Dies. I used Blue Raspberry and Confetti Cake Inks to stamp Hey. I added a few enamel dots in Jelly Donut, Cookie Monster, Peapod. 


I die cut the Page Map with the Petite Scallop Rectangle Stacklets. 

  • Talking in Circles Die - Whole
  • Talking in Circles Die - Half
  • Talking in Circles Die - Quarter
  • TE Maps - Talking in Circles - A2 Sugar Cube
  • TE Maps - Talking in Circles - Mini Slim Sugar Cube
  • The Insiders - Talking in Circles
  • Taylored Tutorial
Kits go fast and most items are not available to purchase outside the kit. New to the kits this year, we’re including a Taylored Tutorial instruction sheet, which provides a step-by-step guide for creating a special project using the kit's contents.

Available outside the kit includes:


We also have our Full Circle Bundle which includes the kit along with each of the additional coordinating products for one of everything.

Thanks for stopping by! Stop by the TE Blog for all the details and more inspiration.