Showing posts with label Card Kit. Show all posts

6/24/25

Seeds & Such Cardmaking Kit

It is the last Tuesday of month and time for a new cardmaking kit from Taylored Expressions! The new Seeds & Such Cardmaking Kit is a fun one! 
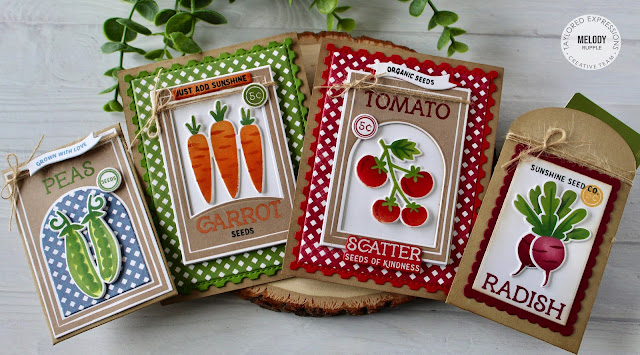

I created four projects to share with you today, two card and two seed packets.  

There are four vegetable images in the kit that can be stenciled and die cut. The Seeds & Such - Vegetable Garden Dies are available for purchase separately for the kit. I stamped the Seeds & Such Background Stamp and then die cut with the Seeds & Such Dies and added the tomatoes to the center of the background. 


I used the Seeds & Such - Vegetables Clear Stamp to stamp all the sentiments and die cut the sentiments with the Seeds & Such - Vegetables Dies. The bottom sentiment is stamped in Versamark Ink and embossed with TE White Embossing Powder. 


I used the Checking In Background Stamp for the checked background and matted the card front with the largest die in the A2 Postage Stamp Stacklets Die Set.


Here is another version of the card with the carrots and Peapod cardstock and ink. 


There are many options for sentiments in the set. I added twine to the top of each card. 


I also created two seed packets with the Petite Packet Die. The die creates this cute packet and a gift card fits perfectly inside, or you could add seeds or other small items. 
  • Seeds & Such Background Stamp
  • Seeds & Such Dies
  • Vegetable Garden Layering Stencil
  • Seeds & Such - Vegetables Clear Stamp
  • The Insiders - Seeds & Such
  • Taylored Tutorial
Kits go fast and most items are not available to purchase outside the kit. Plus, each cardmaking kit includes a Taylored Tutorial! This detailed instruction sheet helps kickstart your creative journey with step-by-step instructions.

https://www.tayloredexpressions.com/whats-new/seeds-such-cardmaking-kit/

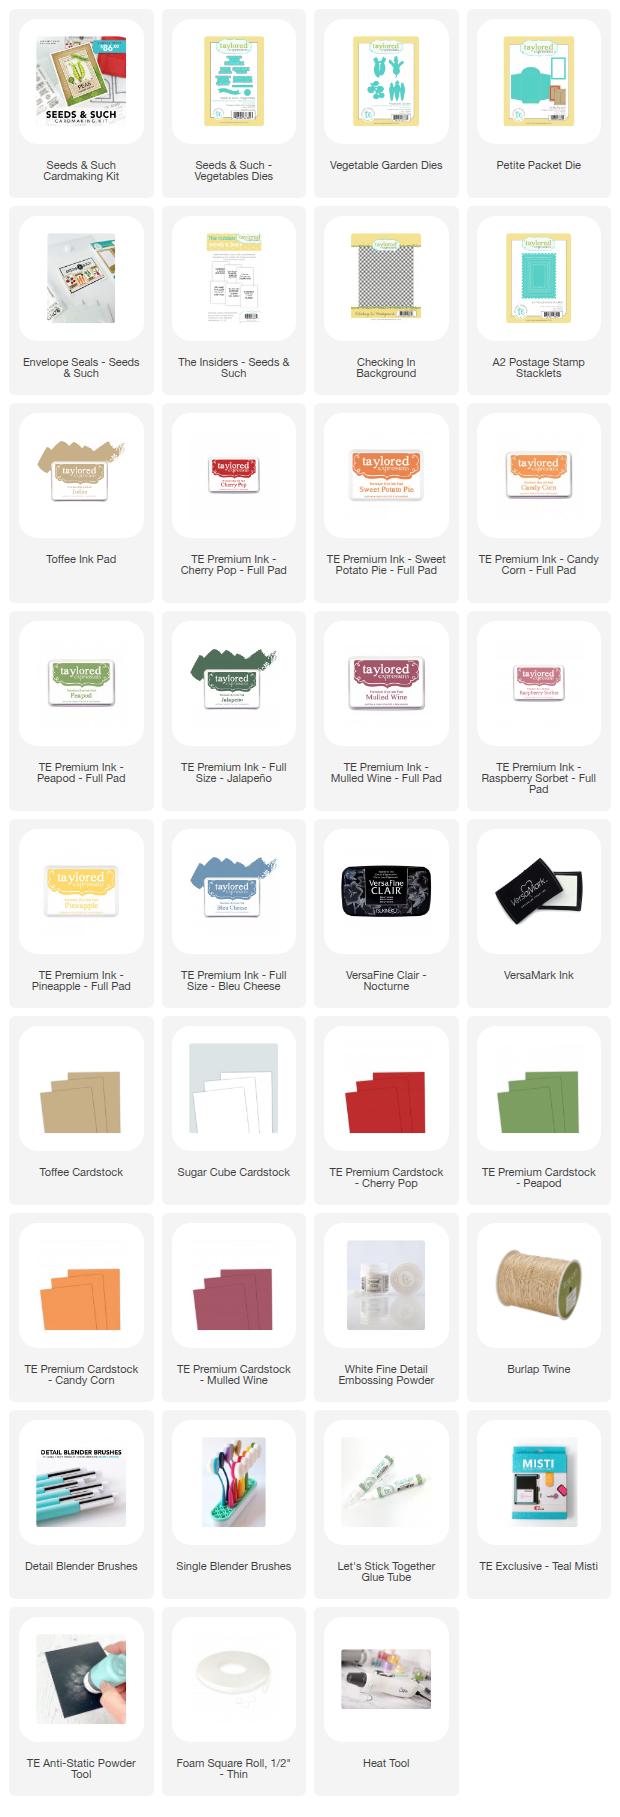
Pair your kit with these coordinating products to take your projects even further:
Want it all? We totally understand and have made it easy for you to get everything in one click! Get the Sow Much Fun Bundle that includes the kit along with each of the additional coordinating products ensuring you have one of everything.


Plus, for a limited time save $10 on the Seeds & Such Cardmaking Kit & $15 on the Sow Much Fun Bundle! Offer valid 6/24 at 9 am CT through 7/01 at 9 am CT or while supplies last.

Thanks for stopping by! Stop by the TE Blog for all the details and more inspiration from the team. 


5/27/25

Snailed It!

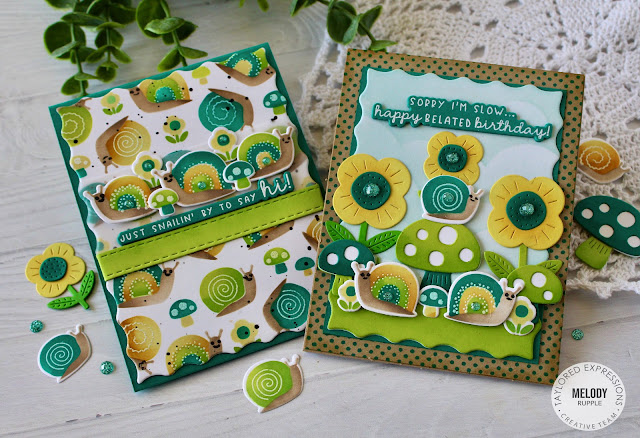
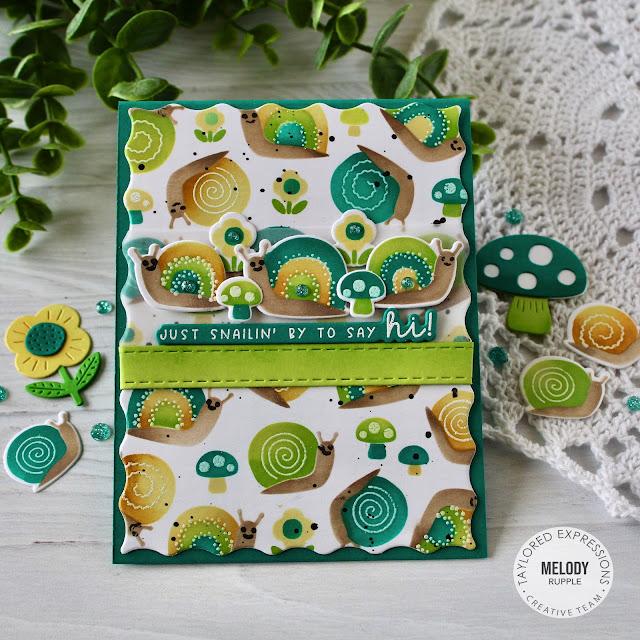
There is a new cardmaking kit at Taylored Expressions today! Who ever thought snails could be so cute! The new Snailed It Cardmaking Kit is available now in the TE Store. 


  • Snailed It Stamp, Stencil, & Clear Combo
  • Snailed It Cutting Plate Die
  • The Insiders - Snailed It
  • Taylored Tutorial instruction sheet
There are also coordinating products available for purchase separately. 


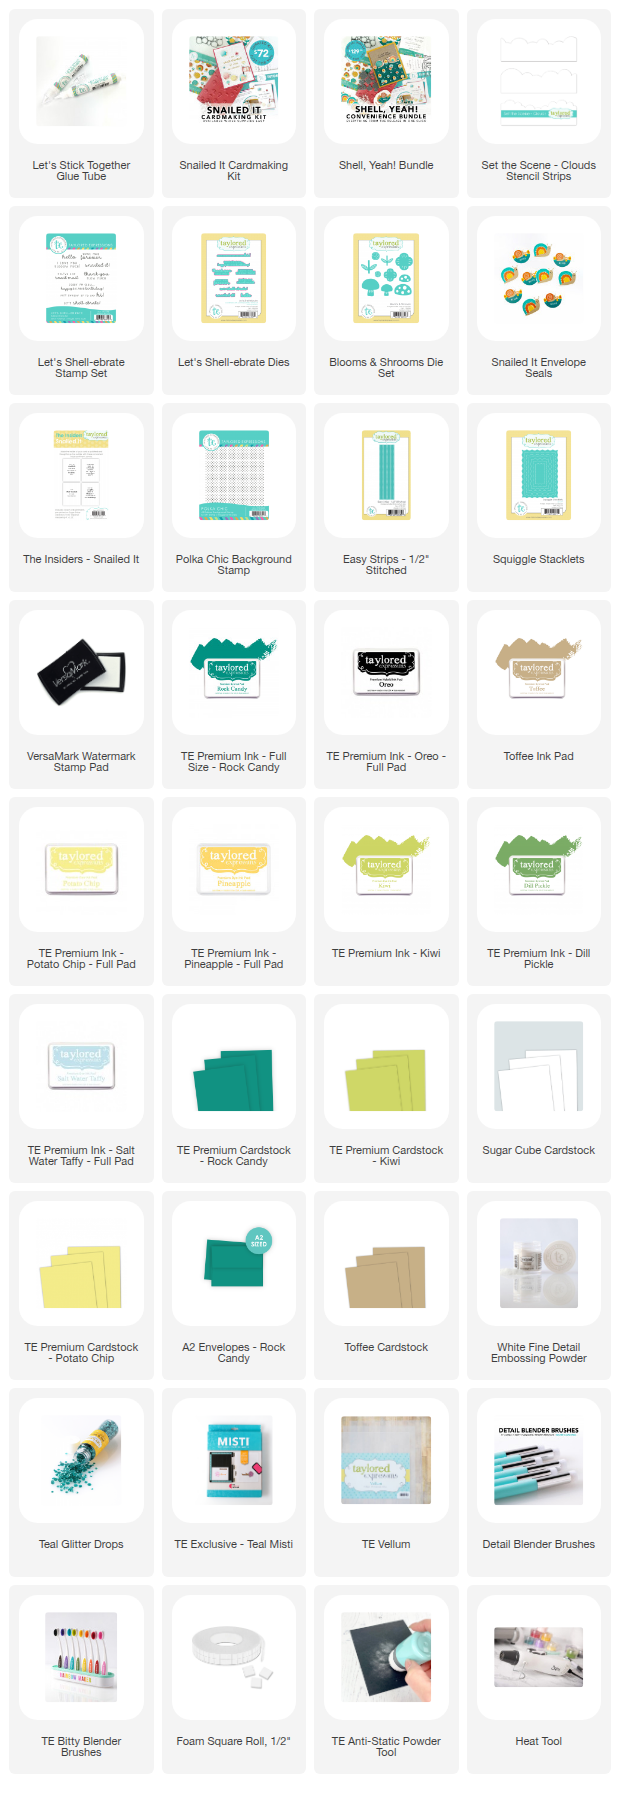
On my first card I used the Snailed It Stamp, Stencil, & Clear Combo to create this fun background. I started by stamping the Snailed It Stamp in Versamark Ink on Sugar Cube Cardstock and embossing with TE White Embossing Powder. Next I used the four stencil to created the snails. I used a combination of Toffee, Kiwi, Dill Pickle, and Rock Candy Inks. Then I used the clear stamp set with Oreo Ink to stamp the faces on the snails. 

I splattered the background with a brown watercolor paint and the die cut the panel with the largest die in the Squiggle Stacklets.  I stenciled a few extra snails, flowers, and mushrooms to add to the front of my card. The images are die cut with the Snailed It Cutting Plate Die.


I die cut a piece of Kiwi Cardstock with the  Easy Strips - 1/2" stitched die and wrapped it around the card along with a strip of vellum. I added the die cut images and a sentiment from the Let's Shell-ebrate Stamp Set and die cut with the coordinating dies. The sentiment set and dies are available for purchase separately. 


My second card features the Blooms & Shrooms Die Set, which is also available for purchase separately. I die cut the mushrooms and flowers from Potato Chip, Kiwi, Dill Pickle, and Rock Candy Cardstock and blended ink on the die cuts for shading. 


I used the Squiggle Stacklets to die cut the from rectangle and stenciled clouds with the Set the Scene Cloud Stencil Strips with Salt Water Taffy Ink. At the bottom I added a strip of Kiwi Cardstock. I arranged the mushrooms and flowers and then added the snails and smaller flowers and mushrooms. 


The card front is stamped with the Polka Chic Background stamp in Rock Candy Ink on Toffee Cardstock. I added another sentiment from the Let's Shell-ebrate Stamp Set .


  • Snailed It Stamp, Stencil, & Clear Combo
  • Snailed It Cutting Plate Die
  • The Insiders - Snailed It
  • Taylored Tutorial instruction sheet
Kits go fast and most items are not available to purchase outside the kit. Plus, in 2025 each monthly cardmaking kit included a Taylored Tutorial! This detailed instruction sheet helps kickstart your creative journey with step-by-step instructions.

Pair your kit with these coordinating products to take your projects even further:

Want it all? We totally understand and have made it easy for you to get everything in one click! Get the Shell, Yeah! Bundle that includes the kit along with each of the additional coordinating products ensuring you have one of everything.


Stop by the TE Blog for all the details and more inspiration from the team. 
4/29/25

Just Write Cardmaking Kit

Hi all! Today's projects are created with the new Just Write Cardmaking Kit from Taylored Expressions. This kit features a vintage type writter, fountain pen & ink, with options from a bulletin board, making it perfect for so many occasions. The new kit is available now in the TE Store. 


I created two cards with the kit to share today. 


My first card features the vintage typewriter. The typewriter is created with the Just Write Stencil & Clear Stamp Combo. There are four stencils in the set and the clear stamps add the details like the letters to the keyboard and the ink splatters. 


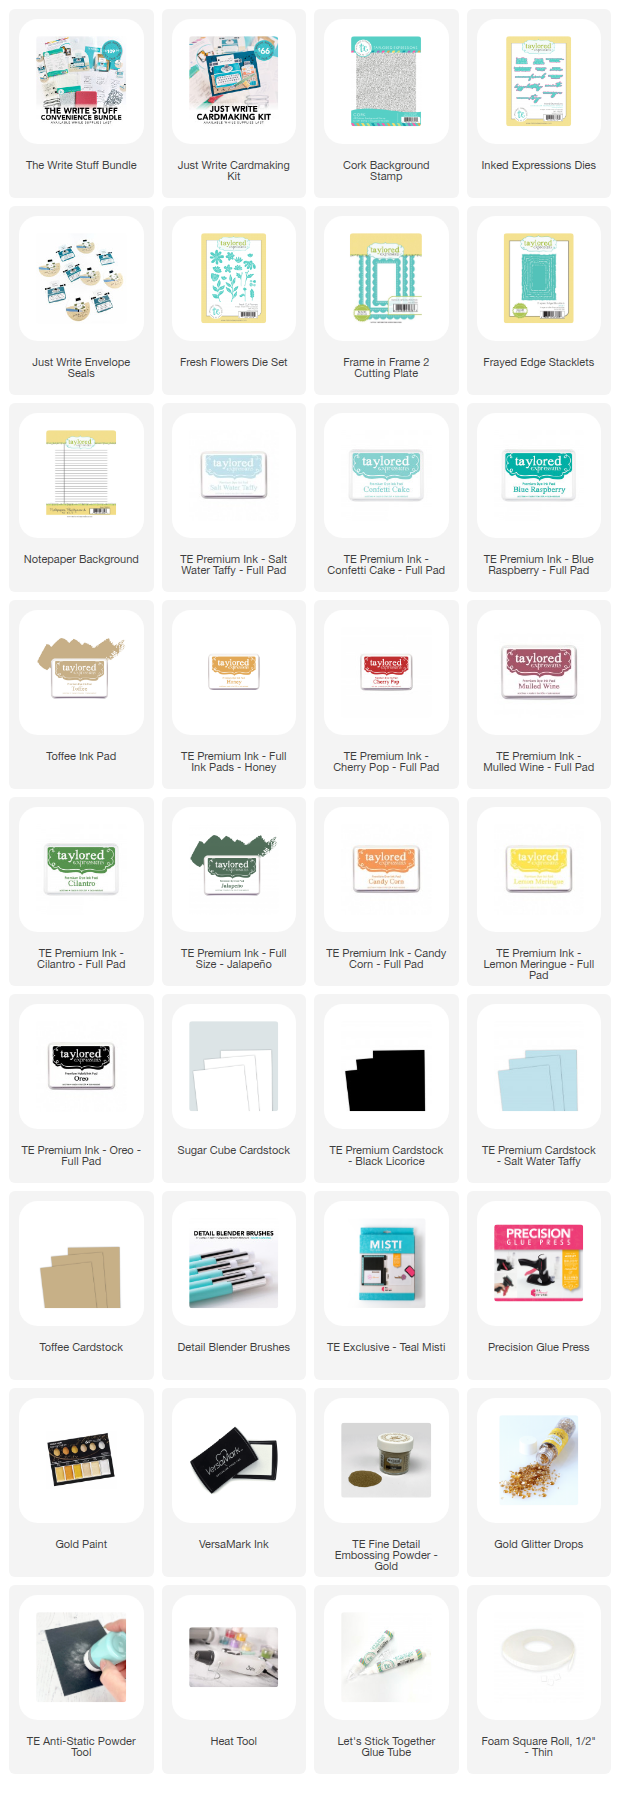
Just for fun I decided to add the flowers with the Fresh Flowers Die Set. I die cut the flowers and greenery from Sugar Cube Cardstock and blended inks in the colors I have listed below. The sentiment is from the Ink Expressions Stamp Set from the Kit and die cut with the Ink Expressions Dies which are available for purchase separately. I stamped in Versamark Ink and embossed with TE Gold Embossing Powder. 


The typewriter die cuts a slit to add the paper with the stamped sentiment. I also added two of the cute metal clips. The background is stamped with the Notebook Paper Background Stamp. I splattered gold paint on the background and added a few Gold Glitter Drops. 


On my second card I went with the look of a bulletin board. The Cork Board Background Stamp is available for purchase seperately or in the The Write Stuff Bundle. I stamped Toffee Ink on Toffee Cardstock to achieve to look of cork. 


I used the Frayed Edges Stacklets and the Notebook Paper Background Stamp to add the sheet of paper to the cork background. I stamped more sentiments in the Inked Expressions Stamp Set, and created the ink bottle, push pins, and fountain pens with the Just Write Stencil & Clear Stamp Combo.


Such a fun kit!!


  • Just Write Stencil & Clear Stamp Combo
  • Just Write Die Set
  • Inked Expressions Stamp Set
  • The Insiders - Just Write
  • Taylored Tutorial instruction sheet
Kits go fast and most items are not available to purchase outside the kit. New to the kits this year, we’re introducing the Taylored Tutorial instruction sheet, which provides step-by-step guidance for creating a special project using the kit's contents.

Pair your kit with these coordinating products to take your projects even further:

Want it all? We totally understand and have made it easy for you to get everything in one click! Get The Write Stuff Bundle that includes the kit along with each of the additional coordinating products ensuring you have one of everything.

Stop by the TE Blog for all the details and more inspiration from the team. 

3/25/25

Nature's Canvas Cardmaking Kit

Hi Crafters! Today I have projects to share that I created with new Nature's Canvas Cardmaking Kit from Taylored Expressions. The Nature's Canvas Stamp Set includes four pretty floral images that can be watercolored, colored with alcohol markers or blended with the Nature's Canvas Coloring Stencils. I used the stencils for my projects. 


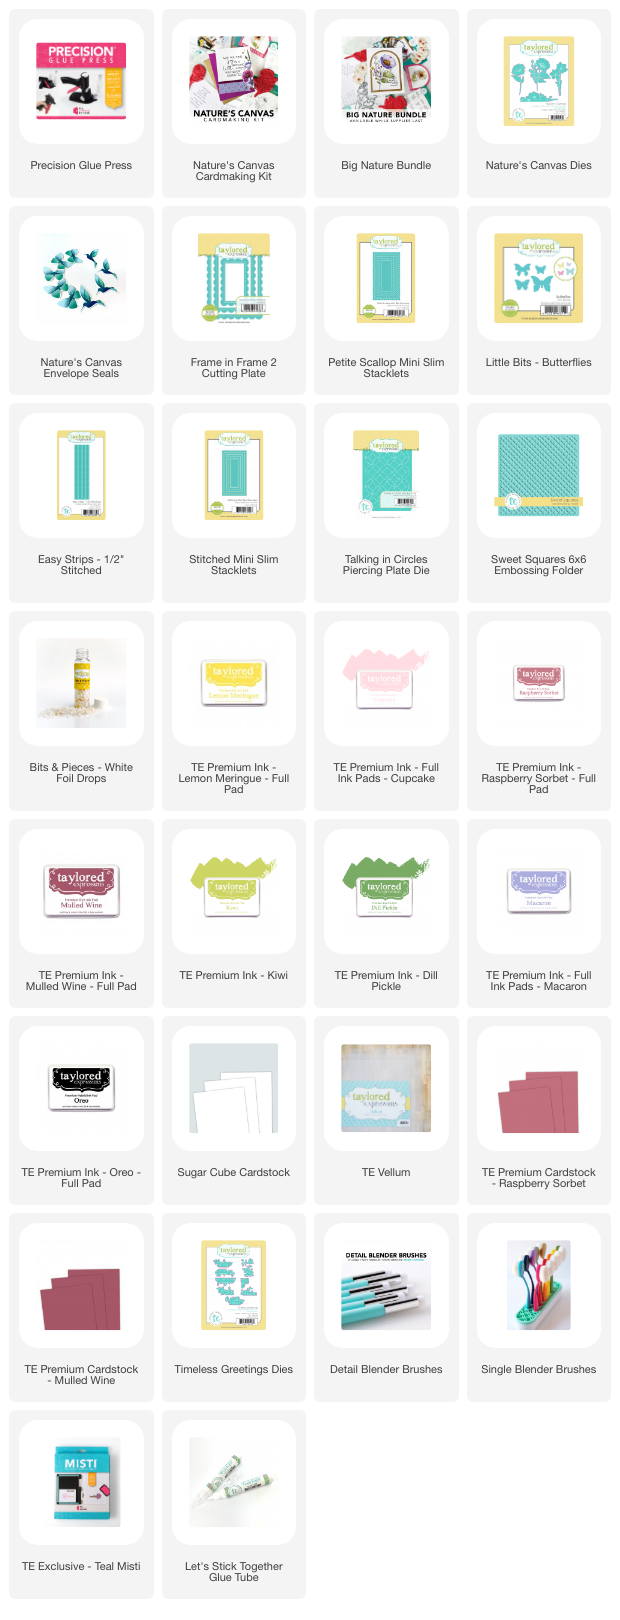
I stenciled the floral images with a combination of Cupcake, Raspberry Sorbet, and Mulled Wine Inks for the larger flowers, Macaron Ink for the smaller florals, and Kiwi and Dill Pickles Inks for the leaves using a combination of my TE Detail Blender Brush and my TE Bitty Blender Brushes. 


I die cut the images with the Nature's Canvas Dies, which are available for purchase separately. Behind the flower I added a panel of Sugar Cube Cardstock that I lightly blended with Cupcake Ink and die cut with the Talking In Circles Piercing Plate Die. 


I framed the card with the Frame in Frame 2 Cutting Plate and used Mulled Wine Cardstock for the card base. I also added a few Bits & Pieces: White Foil Dots. 


The sentiments on my cards are stamped with the Timeless Greetings Stamp Set, which is included in the cardmaking kit. I die cut the sentiment with the coordinating Timeless Greetings Dies, that are available for purchase separately. 


For my second card I created a mini slim card with another image from the Nature's Canvas Stamp Set. The background is embossed with the Sweet Squares 6 x 6 Embossing Folder. I used Sugar Cube Cardstock and blended Cupcake Ink over the embossing and splattered white paint. 


I added a strip of Raspberry Sorbet Cardstock at the bottom with the Easy Strips - 1/2" Stitched Dies. This sentiment is also included in the Timeless Greeting Stamp Set. 


I used the Little Bits - Butterflies Dies to added the three butterflies. I added vellum over Raspberry Sorbet Cardstock. 

  • Nature's Canvas Stamp Set
  • Nature's Canvas Coloring Stencil
  • Timeless Greetings Stamp Set
  • The Insiders - Nature's Canvas
  • Taylored Tutorial instruction sheet
Kits go fast and most items are not available to purchase outside the kit. New to the kits this year, we’re introducing the Taylored Tutorial instruction sheet, which provides step-by-step guidance for creating a special project using the kit's contents.

Pair your kit with these coordinating products to round-out your projects:
Get the Big Nature Bundle that includes the kit along with each of the additional coordinating products ensuring you have one of everything.

Stop by the TE Blog for all the details and more inspiration from the Team. 

2/25/25

Talking In Circles

 Hi! I have such a fun new cardmaking kit from Taylored Expressions to share with you today. Meet Talking In Circles! The kit features dies and page maps to create cards in unique circular patterns. The Talking In Circles Cardmakin Kit is available now in the TE Store. 


My first card features one of the Talking in Circles - Mini Slim Toffee Page Maps. I wanted to give the card a more masculine take. I never have enough masculine birthday cards in my stash and I think this kit perfect for male cards. 


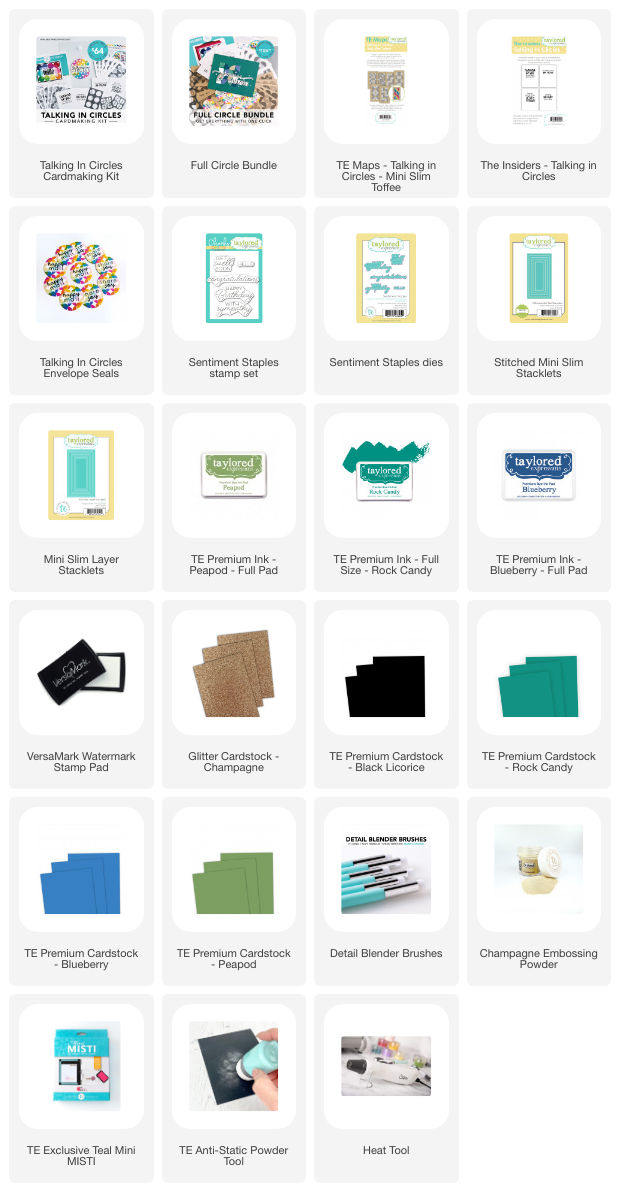
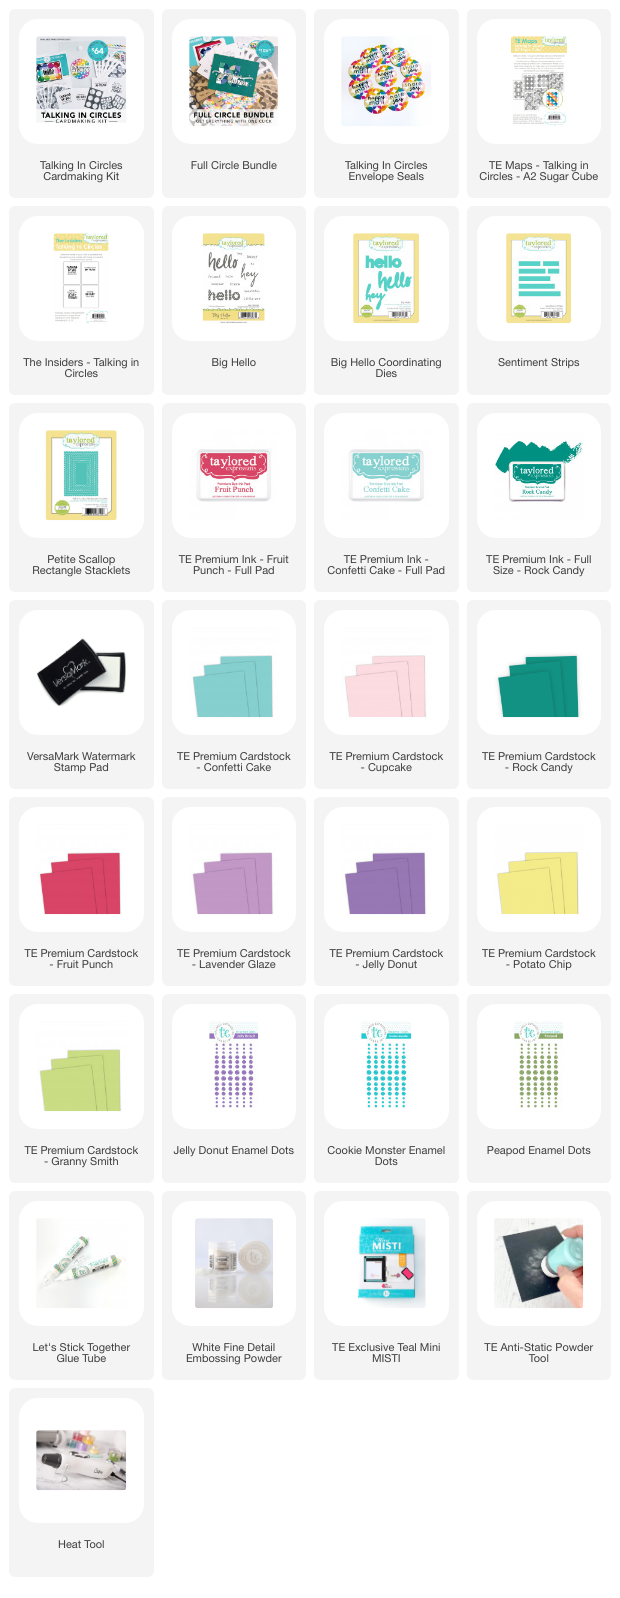
I used the Talking in Circles Die - Half and the Talking in Circles Die - Quarter Dies, that are included in the kit, to die cut my pieces from Rock Candy, Peapod, Blueberry, Licorice, and Champagne Glittered Cardstock. Then I just glued the die cut pieces to the pattern printed on the Toffee Cardstock. 


I added the sentiment with the Sentiment Staples Stamp Set and coordinating dies. I stamped the sentiment in Versamark Ink and embossed with Champagne Embossing Powder. 


I die cut the Toffee Mini Slim Map with the Stitched Mini Slim Stacks and matted with panel with Rock Candy Cardstock. 


On my second card  I used one of the Talking in Circles - A2 Sugar Cube Maps. I used the Talking in Circles Die - Quarter to cut all the pieces. I chose to work with Cupcake, Fruit Punch, Lavender Glaze, Jelly Donut, Confetti Cake, Blue Raspberry, Granny Smith, and Potato Chip Cardstock. 


Once you die cut the pieces you simply glue them to the pattern. There are whole, half, and quarter circle dies in the kit. 


The sentiments are from the Big Hello Stamp Set and die cut the the Big Hello Dies. I used Blue Raspberry and Confetti Cake Inks to stamp Hey. I added a few enamel dots in Jelly Donut, Cookie Monster, Peapod. 


I die cut the Page Map with the Petite Scallop Rectangle Stacklets. 

  • Talking in Circles Die - Whole
  • Talking in Circles Die - Half
  • Talking in Circles Die - Quarter
  • TE Maps - Talking in Circles - A2 Sugar Cube
  • TE Maps - Talking in Circles - Mini Slim Sugar Cube
  • The Insiders - Talking in Circles
  • Taylored Tutorial
Kits go fast and most items are not available to purchase outside the kit. New to the kits this year, we’re including a Taylored Tutorial instruction sheet, which provides a step-by-step guide for creating a special project using the kit's contents.

Available outside the kit includes:


We also have our Full Circle Bundle which includes the kit along with each of the additional coordinating products for one of everything.

Thanks for stopping by! Stop by the TE Blog for all the details and more inspiration. 


1/28/25

Treat Your Shelf

Hi Friends! I am excited to start off the week with the first cardmaking kit of the year from Taylored Expressions! The Treat Your Shelf Cardmaking Kit is here, and it’s perfect for all the book lovers in your life. I can't wait to make bookmarks for the members of my book club. 


Here is my group of projects I made with the kit to share with you first, two cards and two bookmarks. 


For the backgrounds of my cards I used the Pixie Petals Background Stamp, stamping Versamark Ink on Blue Raspberry Cardstock and embossing with TE White Embossing Powder. 


I used  a Foil It - Treat Your Shelf Panel with the Treat Your Shelf Layering Stencil to create my stack of books. I used TE Gold Foil with my Mini Minc Foil Applicator. I used a variety of ink that I have linked below. Once the books were stenciled and foiled I die cut with the coordinating Treat Your Shelf Dies. 

I mounted the books on a rectangle die cut and matted with Stitched Rectangle Stacklets and Petite Scallop Rectangle Stacklets. 


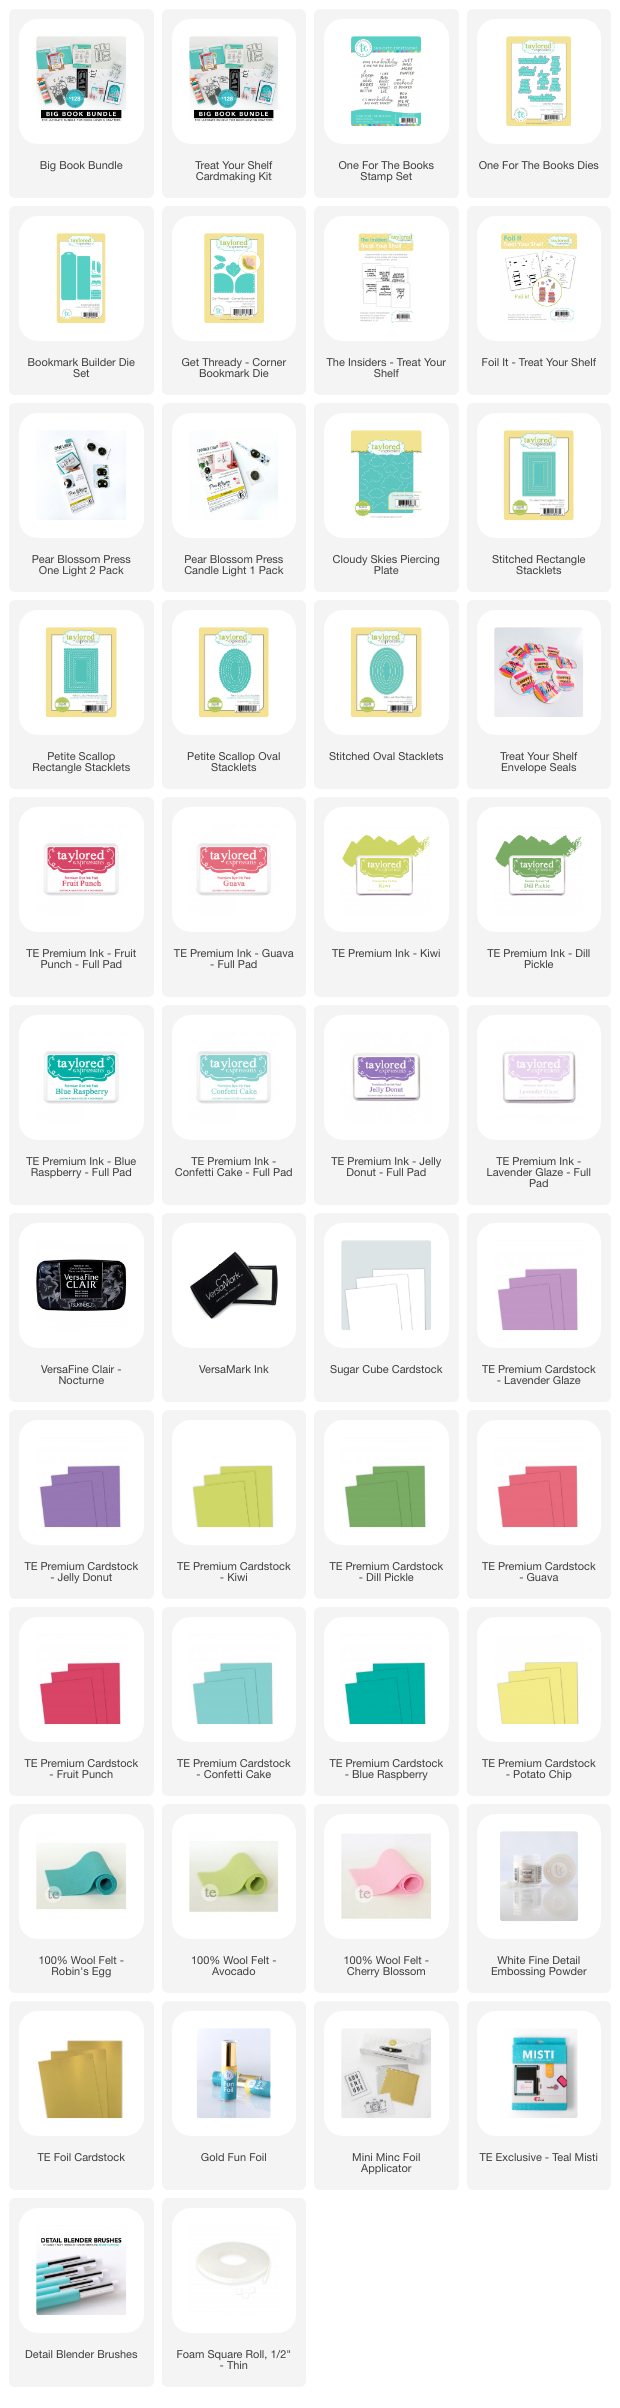
All the sentiments are from the One for the Books Stamp Set and die cut with the One for the Books Dies, available for purchase separately. On this card I used the Stitched Oval Stacklets and the Petite Scallop Oval Stacklets behind the books. Notice the clouds in the background. I used the Cloudy Skies Piercing Plate to achieve the look. 


I am loving these two bookmark options. I used the Bookmark Builder Die for the long bookmark. I just die cut books from different colored cardstocks and stacked the books on top of each other. 

The corner bookmark is die cut with the Get Thready - Corner Bookmark Die which creates a bookmark that fits perfectly on the corner of the page. I used TE Felt and DMC Embroidery Floss. I love the look and can't wait to make more of these. 


Here's a look at a couple of The Insiders - Treat Your Shelf Panels. I foiled the sentiments with TE Foil in Cookie Monster. 


The Treat Your Shelf Cardmaking Kit includes:
  • Treat Your Shelf Layering Stencil
  • Treat Your Shelf Coordinating Dies
  • Treat Your Shelf Clear Stamp
  • The Insiders - Treat Your Shelf
  • Taylored Tutorial instruction sheet
Kits go fast and most items are not available to purchase outside the kit. New to the kits this year, we’re introducing the Taylored Tutorial instruction sheet, which provides step-by-step guidance for creating a special project using the kit's contents.

Coordinating products outside of the kit include:

We also have the Big Book Bundle, which includes the kit along with each of the additional coordinating products for one of everything.


Thanks for stopping by! Visit the TE Blog for all the details, videos, and more inspiration from the team.