Showing posts with label Embossing. Show all posts

7/21/26

The Second Chance Release

Hi and thanks for stopping by today. I have four projects to share with you today that I created with new products for the Second Chance release at Taylored Expressions. Twice a year, TE brings back select past Gifts with Purchase so you have a second chance to add these customer favorites to your collection, along with  brand-new coordinating products!


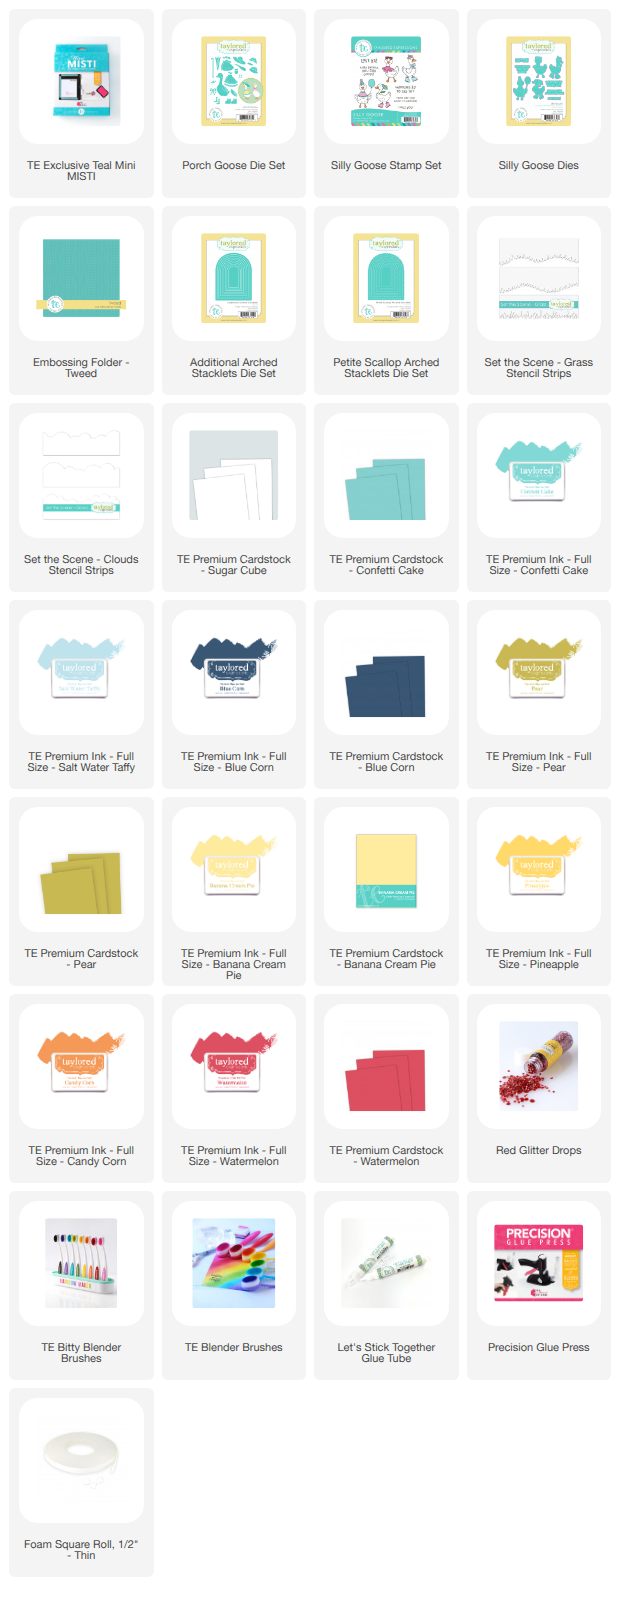
How cute are these adorable geese! They are created with the new Porch Goose Die Set! The die set includes numerous accessories to dress up the geese. There is a cute raincoat and umbrella that I did not use on this card. I used a color combo of Watermelon, Pear, Confetti Cake, and Blue Corn. 


I die cut the arch with the Arched Stacklets and matted with the Scallop Arched Stacklets. The clouds are stenciled with the Set the Scene - Clouds Stencil Strips and the grass with the Set the Scene - Grass Stencil Strips.


The sentiment is from another fun goose set, the Silly Goose Stamp Set, and the card front is embossed with the new Tweed Embossing Folder. 

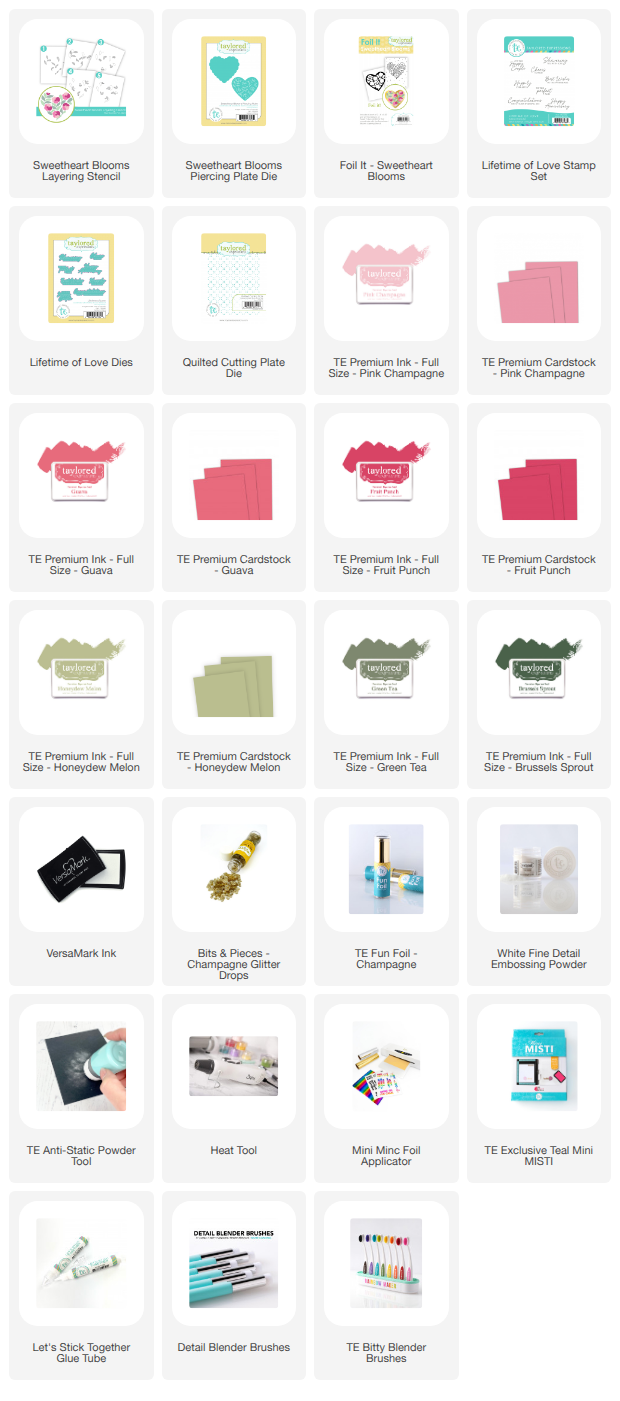
My next card is created with the Sweetheart Blooms Layering Stencil, Foil It, and Sweetheart Blooms Piercing Plate. The Sweetheart Blooms Foil It is foiled with Champagne Foil and stencil with Pink Champagne, Guava, Fruit Punch, Honeydew Melon, Green Tea, and Brussels Sprouts Inks.


Next I used the Sweetheart Blooms Piercing Plate to die cut the stenciled heart and matted the heart with the scalloped heart die included in the die set from Honeydew Melon Cardstock. 


The sentiment from the Lifetime of Love Stamp Stamp Set and die cut with the coordinating dies. I added the texture to the card front with the Quilted Cutting Plate Die. 
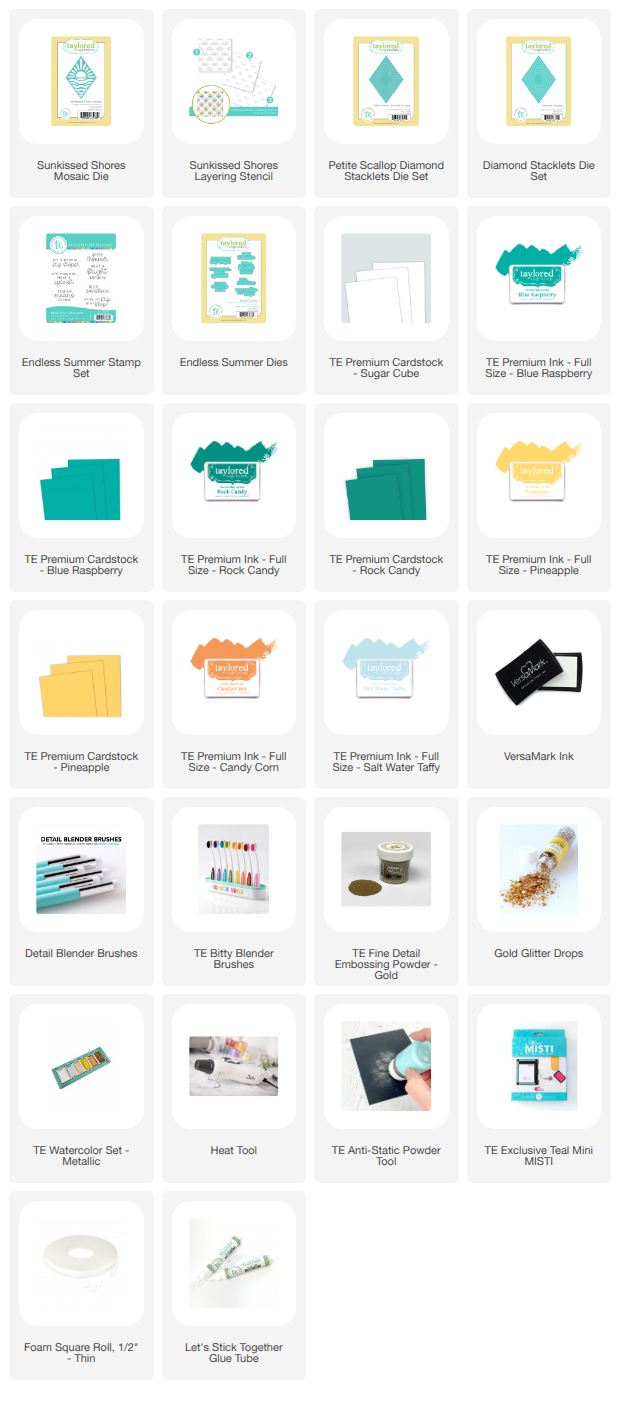
I love the fun, happy Sunkissed Shores Layering Stencil and the Sunkissed Shores Mosaic Dies. First I stenciled the background with the Sunkissed Shores Layering Stencil using Blue Raspberry, Rock Candy, Pineapple and Candy Corn Inks. 


Next I used Sunkissed Shores Mosaic Dies to created the center focal point. I die cut the die with Sugar Cube, Pineapple, Blue Raspberry, and Rock Candy Cardstock. I blended Salt Water Taffy Ink on the Sugar Cube Die cut and then inlayed the colored cardstock back into the triangle. 


I splattered gold watercolor on the background and added a few Gold Glitter Drops. The sentiment is from the Endless Summer Stamp Set. 

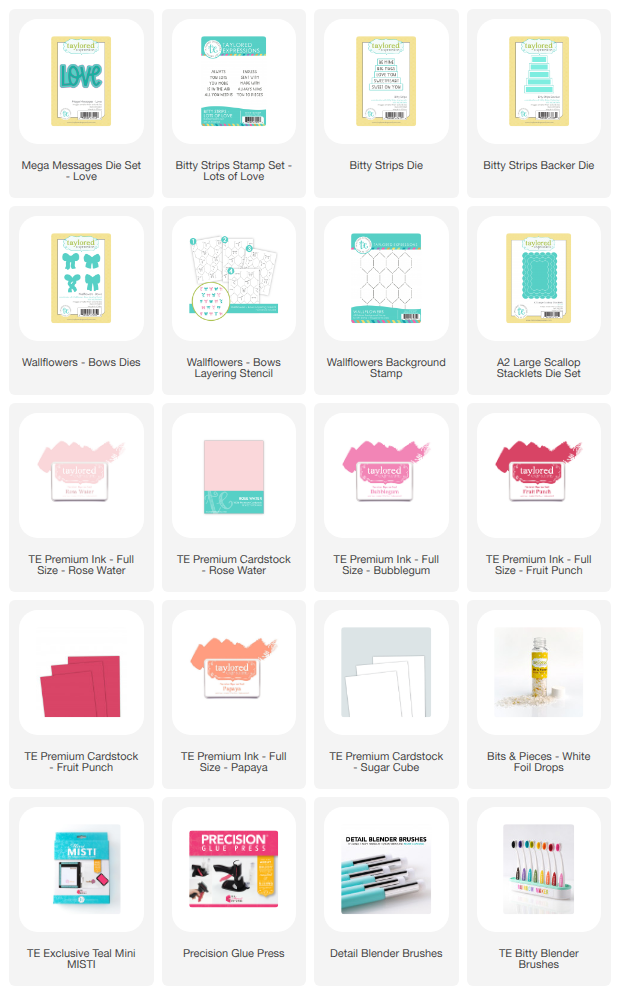
My last project features the Mega Messages Die Set and the Bitty Strips - Lots of Love Stamp Set. 


I stenciled the card front with the Wallflowers - Bows Layering Stencil using Bubblegum, Fruit Punch, Peaches n' Cream, and Papaya Inks. The card front is die cut first with the Pierced Tiles Cutting Plate Die and then with the A2 Large Scallop Stacklets Die Set.


I stenciled and die cut a few extra bows to add to the card front. 
Happy crafting! Stop by the TE Blog for all the details on the new products, and more inspiration from the team. 

6/22/25

Papertrey Ink June Release Countdown Day 3

Hi and welcome to Day 3 of the Papertrey Ink June Release Countdown. Today I have two more cards to share with you. All the new products will be available June 24th at 12 pm EDT. 


My first card features the Reflections: Romans 8 Stamp Set and coordinating Dies. The Romans 8 Dies is a set of three dies including one to die cut the sentiment and two layering dies. I stamped the sentiment in Versamark Ink and embossed with Gold embossing powder.  


I used the larger die in the  Romans 8 Dies, stenciled sun rays in the background, and attached to the sentiment. I added the flowers and leaves with the Into the Blooms: Wild Wood Dies. 


The background is foiled with the Ornamental Swirl Hot Foil Plate  I used Vintage Cream Cardstock with gold foil and blended Fine Linen Ink on the edges. 

Supplies: 

Stamps: Reflections: Roman 8
Dies: Reflections: Roman 8, Into the Blooms: Wild Wood
Ink: Fine Linen, Lemon Tart, Summer Sunrise, New Leaf, Pinefeather, Blueberry Sky, Versamark
Paper: Vintage Cream, Dark Indigo, Lemon Tart, Simply Chartreuse, Spring Rain, Stamper's Select White
Other: Ornamental Swirl Hot Foil Plate, Gold Foil, Gold Embossing Powder, Gold Gems, White Gel Pen, Blender Brushes


Next is a look at the Build-A-Sailboat Dies. There are a number of different ways to build the scene including three wave options. 


I blended Spring Rain, Blueberry Sky, and Dark Indigo Inks to create the waves and used a cloud stencil and Spring Rain Ink for the sky. The card front is die cut with the Love to Layer: Torn Edges. Dies. 


The sentiment is from the Ectectic Charm Stamp Set. I will have a card to share tomorrow with the stamp set. 

Supplies:

Stamps: Eclectic Charm
Dies: Build-A-Sailboat, Love to Layer: Torn Edges
Ink: Spring Rain, Blueberry Sky, Enchanted Evening, Dark Indigo, Lemon Tart, Summer Sunrise, Classic Kraft, Silver
Paper: Stamper's Select White, Fine Linen, Blueberry Sky, Lemon Tart, Pure Poppy, Silver
Other: Cloud Stencil, White Paint, White Gems, Blender Brushes

Thanks for stopping by! Stop by the PTI Blog for all today's details and inspiration from the team. 


6/17/25

The Birthday Bash Release at Taylored Expressions!

Hi! I can never have too many birthday cards ready to go! The new Birthday Bash Release at Taylored Expressions has some fun, new products for birthday cards. All the new products are available now in the TE Store. 


My first card is a 5 x 7 card. TE recently released the A7 Layer Stacklets Die Set and in this release there is a new 5 x 7 background stamp, the Funfetti 5x7 Background-Stamp. I stamped the background in Versamark Ink on Cupcake Cardstock and embossed with Gold Sparkle Embossing Powder. 


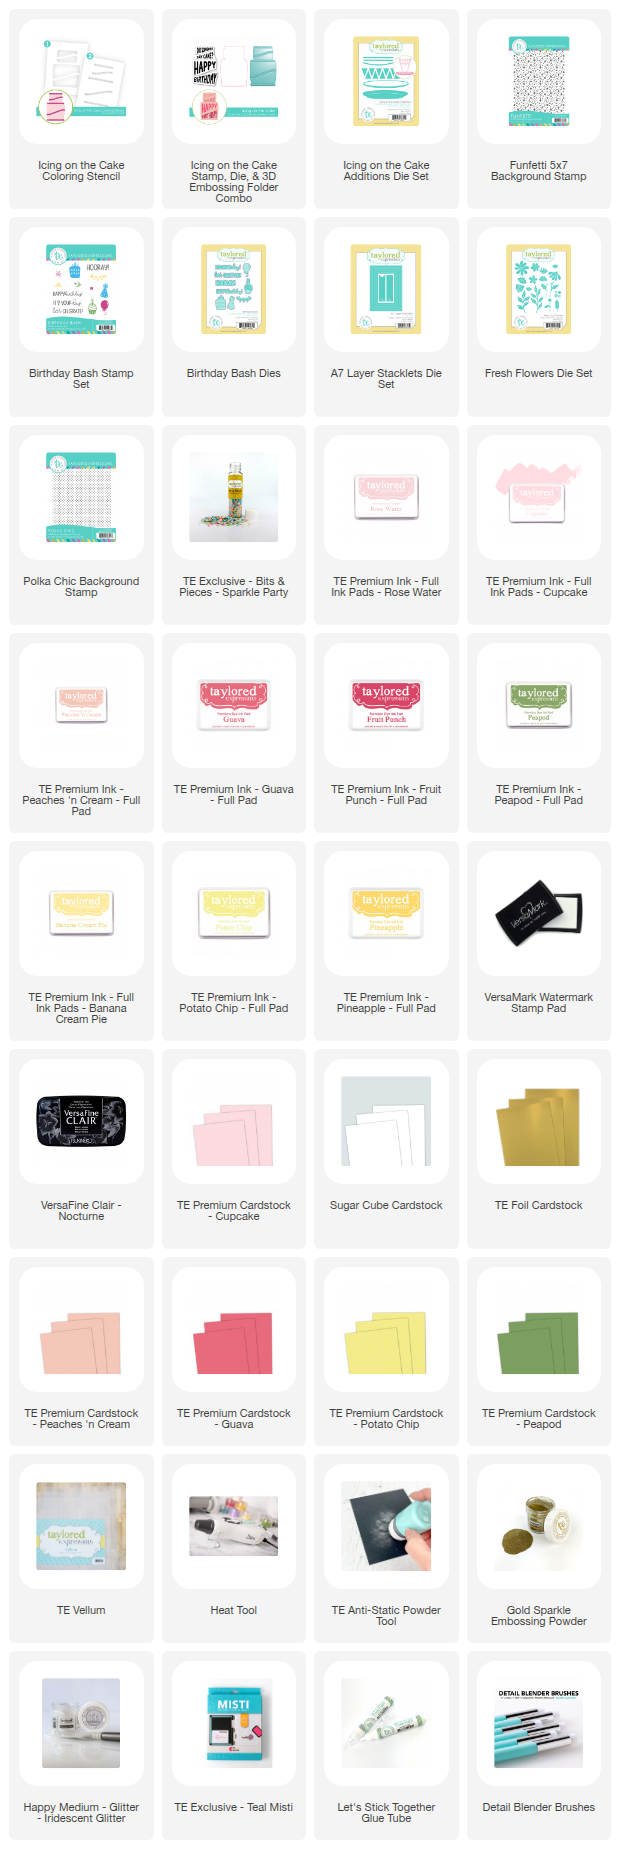
The birthday cake is created with the  Icing on the Cake Stamp, Die and 3D Embossing-Folder, the Icing on the Cake Additions, and the Icing on the Cake Stencil. The stencil allows you to add color to each layer of the cake and the icing. I used Cupcake, Peaches n' Cream, Rose Water, and Banana Cream Inks. I used TE Happy Medium - Iridescent Glitter to add sparkle to the icing. 


I used the Icing on the Cake Additions Die Set to add the cake plate and the banner on top of the cake. The flowers are added with the Fresh Flowers Die Set and the sentiment is from the Birthday Bash Stamp Set. I finished off the card with a scatter of TE Bits & Pieces - Sparkle Party. 


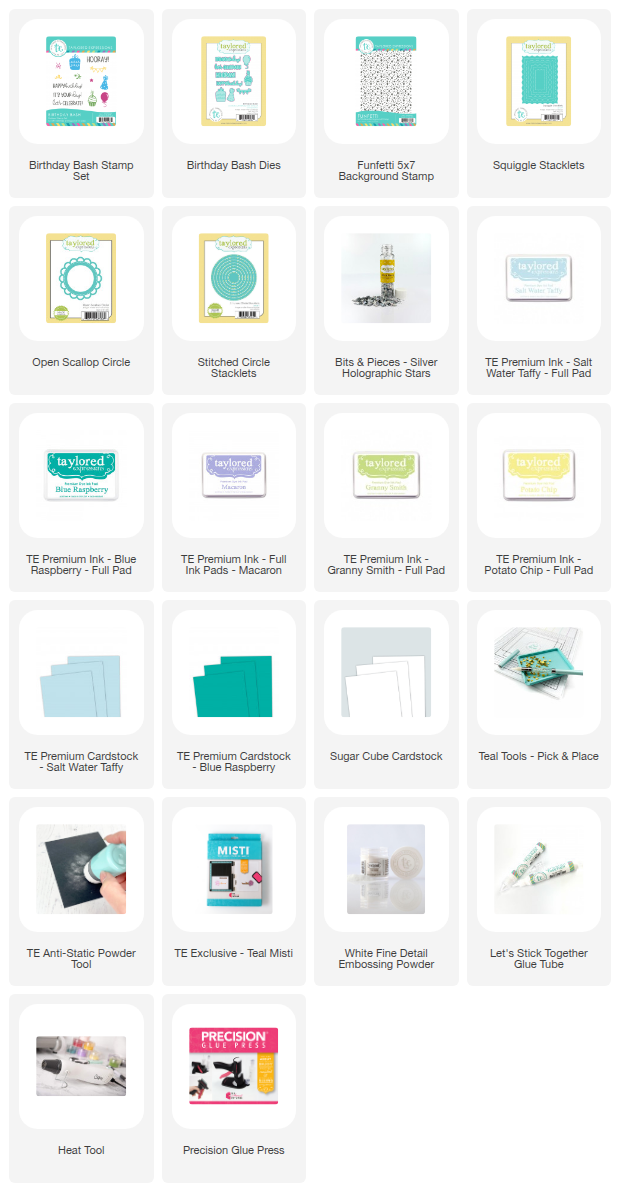
Next up is a look at the Birthday Bash Stamp Set and Birthday Bash Dies. The stamp set includes a variety of birthday themed stamps and sentiments. I stamped a few of each image in different colors and attached them to the background. The center circle is die cut with the Open Scallop Circle die and the Stitched Circle Stacklets. 


I stamped background with the Funfetti 5x7 Background-Stamp with Salt Water Taffy Ink on Salt Water Taffy Cardstock. The stamped stars and confetti are included in the Birthday Bash Stamp Set. 


The sentiment is included in the Birthday Bash Stamp Set. I added the small stars with the Bits & Pieces - Holographic Silver Stars.
Thanks for stopping by today! Stop by the TE Blog for all the details and inspiration from the team. 

4/15/25

The Tools and Essentials Release from Taylored Expressions

The new Tools and Essentials Release from Taylored Expressions is full of new products to help you easily create your crafting projects. There are new background stamps and a number of new tool available in TE Teal! 


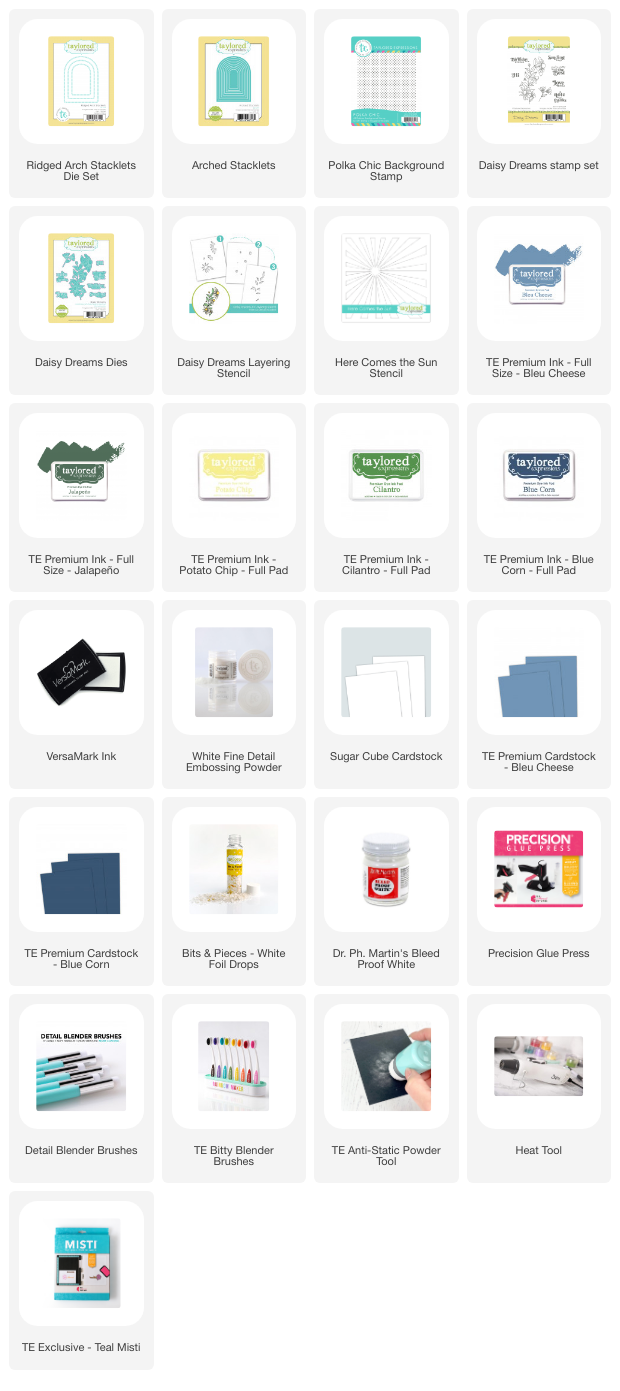
My first card features the new Ridged Arch Stacklets and the Polka Chic Background Stamp. The Ridged Arch Stacklets coordinate with the previously released Arched Stacklets, one of favorite shaped die to use in cardmaking. The Ridged Arch just adds the perfect detail to the arch shape. 


I used the Daisies Dream Stamp Set, stencil, and die to add the flowers around the edges of the arches. I used Bleu Cheese, Blue Corn, Cilantro, and Jalapeño Inks with the stencil. I also stenciled sun rays in the center of the smaller arch. 


To created the card front I stamped the Polka Chic Background Stamp on Blue Corn Cardstock with Versamark Ink. Then I embossed with TE White Detail Embossing Powder. 


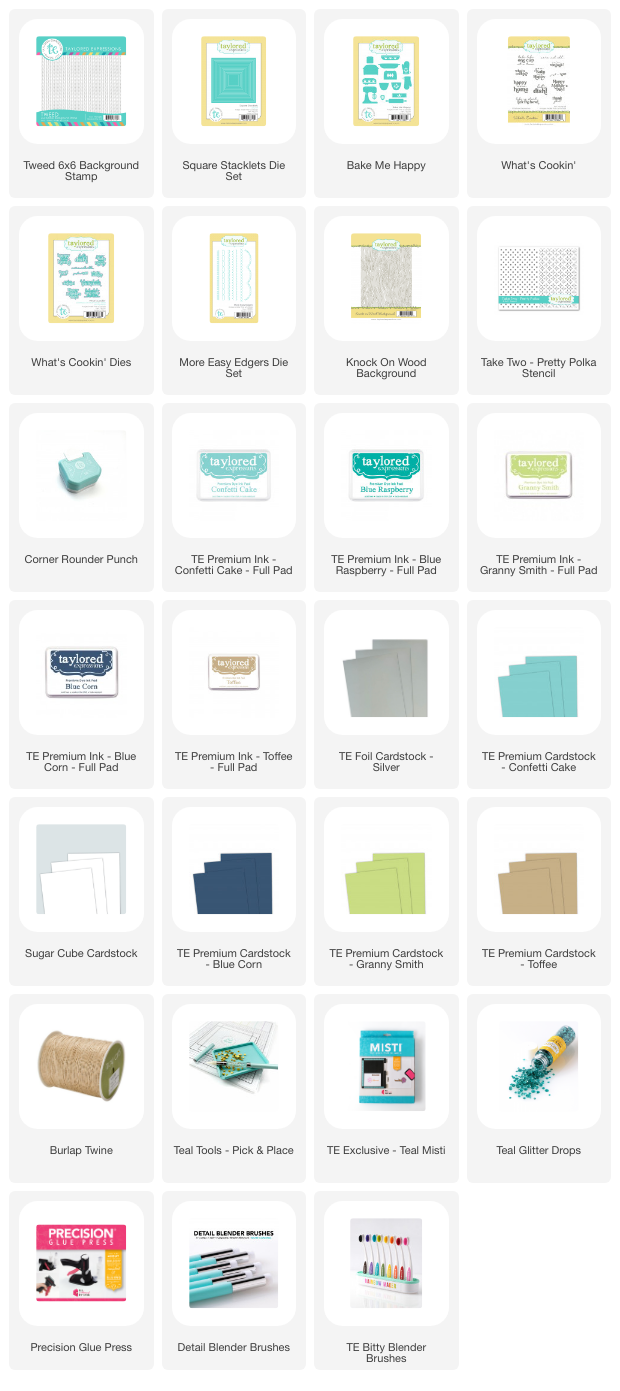
My second project features the new Tweed Background Stamp, the Square Stacklets, and the new Corner Rounder. There are four new background stamps being released, Tweed, Polka Chic, Pinstripe and Fine Diamond. They are perfect for a simple pattern to your background. 


The new Square Stacklets and be used the with the Stitched Square Stacklets and are perfect for adding a mat. I used the Bake Me Happy Dies to dies to cut the mixer, bowl, rolling pin, and mitt. The background behind the kitchen gadgets is stenciled with the Take Two - Pretty Polka Stencil. The sentiment is from the What's Cooking' Stamp Set and die cut with the coordinating dies. 


I rounded the bottom corners with the new Corner Rounder Punch. The design of the punch gives you three different size options for rounding the corners. 

Craft smarter, not harder! The newest tools and essentials from Taylored Expressions are designed for effortless creativity so you can easily create stunning cards.


Plus, don’t miss the new and exclusive Glassboard Buddy – only available from Taylored Expressions! The Glassboard Buddy is your magnetic sidekick for keeping tools and embellishments right where you need them. It sticks to your glassboard and keeps everything within reach so you can spend less time searching and more time creating!

Can’t decide which background stamp you love the most? Get them all with the Essential Backgrounds Bundle!


Get one of each size of acrylic blocks for all your stamping needs with the Acrylic Block Bundle!

Thanks for stopping by today. Stop by the TE Blog for a look at all the new tools!!


3/25/25

Nature's Canvas Cardmaking Kit

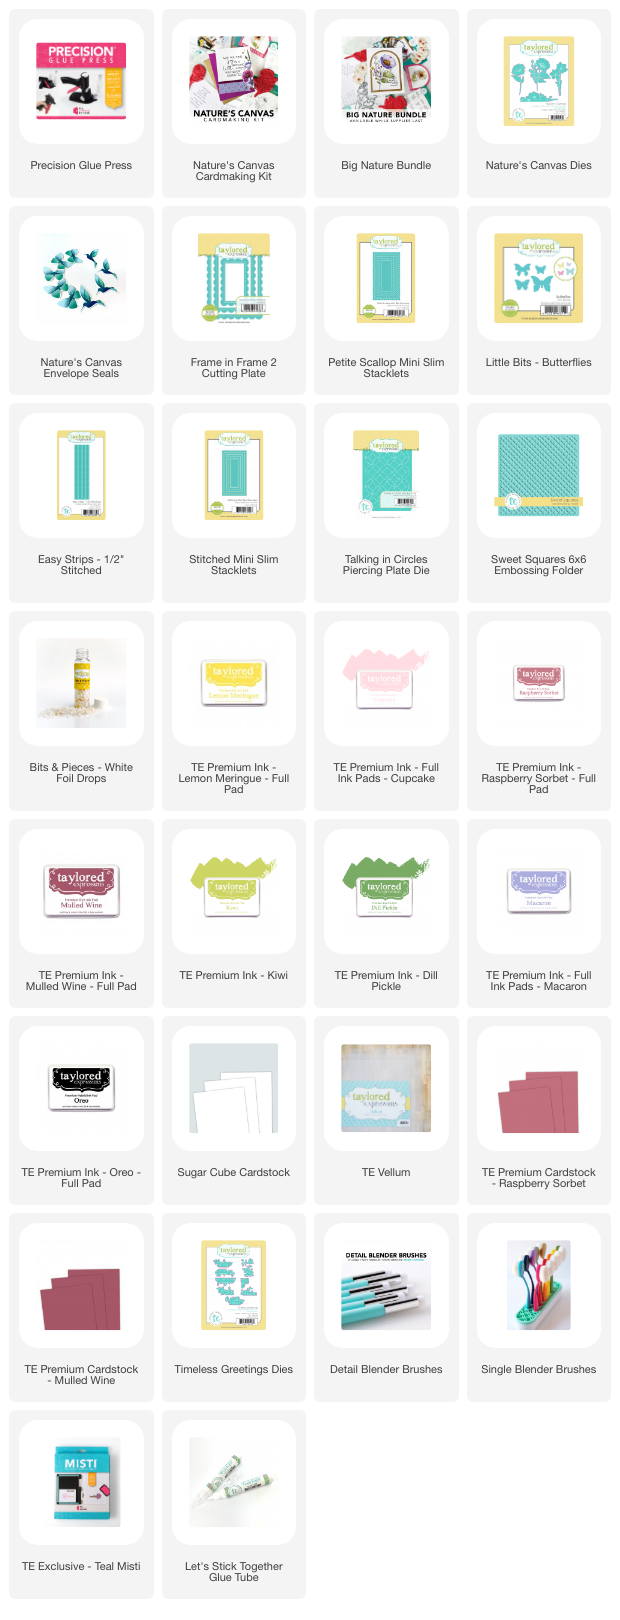
Hi Crafters! Today I have projects to share that I created with new Nature's Canvas Cardmaking Kit from Taylored Expressions. The Nature's Canvas Stamp Set includes four pretty floral images that can be watercolored, colored with alcohol markers or blended with the Nature's Canvas Coloring Stencils. I used the stencils for my projects. 


I stenciled the floral images with a combination of Cupcake, Raspberry Sorbet, and Mulled Wine Inks for the larger flowers, Macaron Ink for the smaller florals, and Kiwi and Dill Pickles Inks for the leaves using a combination of my TE Detail Blender Brush and my TE Bitty Blender Brushes. 


I die cut the images with the Nature's Canvas Dies, which are available for purchase separately. Behind the flower I added a panel of Sugar Cube Cardstock that I lightly blended with Cupcake Ink and die cut with the Talking In Circles Piercing Plate Die. 


I framed the card with the Frame in Frame 2 Cutting Plate and used Mulled Wine Cardstock for the card base. I also added a few Bits & Pieces: White Foil Dots. 


The sentiments on my cards are stamped with the Timeless Greetings Stamp Set, which is included in the cardmaking kit. I die cut the sentiment with the coordinating Timeless Greetings Dies, that are available for purchase separately. 


For my second card I created a mini slim card with another image from the Nature's Canvas Stamp Set. The background is embossed with the Sweet Squares 6 x 6 Embossing Folder. I used Sugar Cube Cardstock and blended Cupcake Ink over the embossing and splattered white paint. 


I added a strip of Raspberry Sorbet Cardstock at the bottom with the Easy Strips - 1/2" Stitched Dies. This sentiment is also included in the Timeless Greeting Stamp Set. 


I used the Little Bits - Butterflies Dies to added the three butterflies. I added vellum over Raspberry Sorbet Cardstock. 

  • Nature's Canvas Stamp Set
  • Nature's Canvas Coloring Stencil
  • Timeless Greetings Stamp Set
  • The Insiders - Nature's Canvas
  • Taylored Tutorial instruction sheet
Kits go fast and most items are not available to purchase outside the kit. New to the kits this year, we’re introducing the Taylored Tutorial instruction sheet, which provides step-by-step guidance for creating a special project using the kit's contents.

Pair your kit with these coordinating products to round-out your projects:
Get the Big Nature Bundle that includes the kit along with each of the additional coordinating products ensuring you have one of everything.

Stop by the TE Blog for all the details and more inspiration from the Team.