Showing posts with label Masking. Show all posts

4/11/21

Ink to Paper April Release Sneak Peeks Day 1

Hi Everyone! Thanks for stopping by! Today is Day 1 of the Ink to Paper April Release Sneak Peeks. Aprils's Release is is all about the men in our lives and pretty scene building options. . Everything will be available for purchase beginning at 10 PM EDT on April 15th!


My first three project are created with the new Sea of Life Stamp Set and Dies and the new Weaved Background Stamp. I cut a circle from Stamper's Select White Cardstock with the Love to Layer: Scalloped Circle Die. I stamped the water at the bottom of the circle, and added white gel pen to add a few highlights to the the waves. I stenciled clouds with Spring Rain Ink and then stamped two sea gulls and then die cut sun. 


I stamped the Weaved Background Stamp on Classic Kraft Cardstock and embossed with white embossing powder. Then sentiment is included in the stamp set. 


On my second card I started by creating the background. I stamped the water in Tropical Teal and Dark Indigo Ink. Then I blended Lemon Tart, Bright Buttercup, Orange Zest to create the sunset sky. I die cut a mask with the sun die from the die set to blend the evening sun. 


I stamped one of the sentiments in stamp set with Dark Indigo Ink. The frame is stamped with the Weaved Background Stamp and die cut with the Skinny Stitched Frame Die. 


On my third card I chose another sentiment from the stamp set and the anchor as the focal points. I stamped the anchor in Smokey Shadow Ink and the added the detail with WOW Mermaid Tails Embossing Powder. 


I stamped the background with Smokey Shadow Ink on Aqua Mist Cardstock. 


My final card focuses on the new Feathered Friends Mini 10 Stamp Set and Dies. I stamped and die cut the branches with the previously released Brighter Days Stamp Set and Dies. The frame is die cut with the Border Bling: Skinny Heart Frames Die


I used the Cover Plate: Ornate Die and Spring Rain Cardstock to created the card front. 

Thanks for taking a look! I will be back tomorrow for Day 2 of sneak peeks. Stop by the Papertrey Blog for more more inspiration with the new products.

10/24/19

Easy Birthday Card With The New Taylored Expressions Masking Stencils!

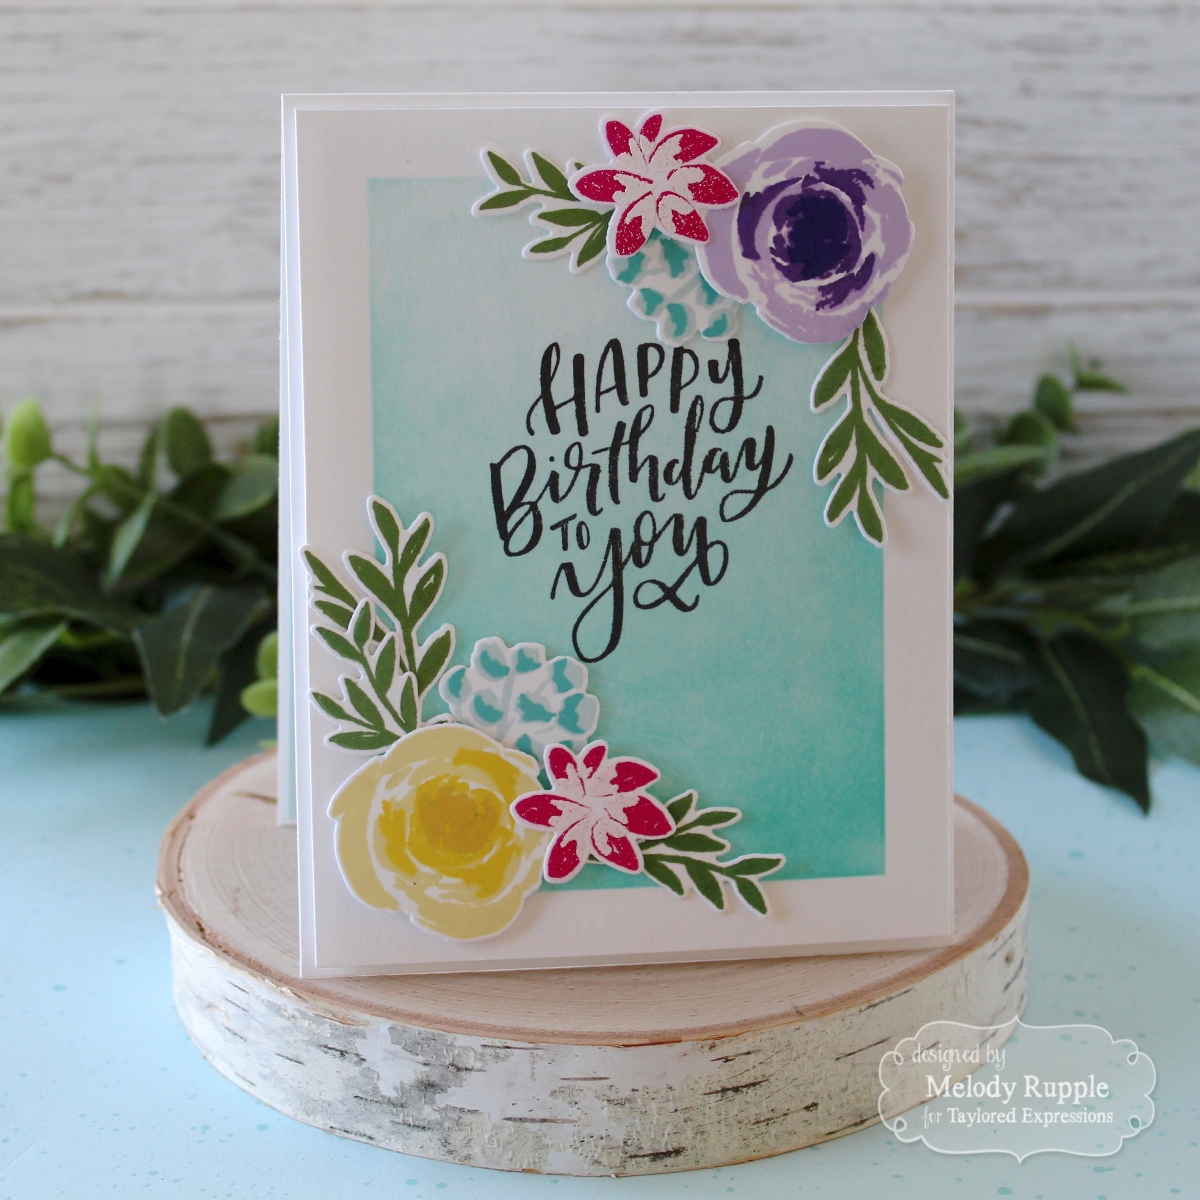
Hi and thanks for stopping by! I am back today with more masking inspiration with the new 6 x 6 Designer Masking Stencil from Taylored Expressions in collaboration with Laurie Willison. I am using the Rectangle Masking Stencil to create a easy birthday card. 


I cut a piece of Sugar Cube Cardstock for the card front. I simply attached the larger of the two Rectangle Masking Stencils with Purple Tape to the card front and using a TE Blender Brush I blended Salt Water Taffy, Sprinkles, and Blue Raspberry Ink. So easy! In the middle of the rectangle I stamped a sentiment from the Handlettered Sentiments Stamp Set. 


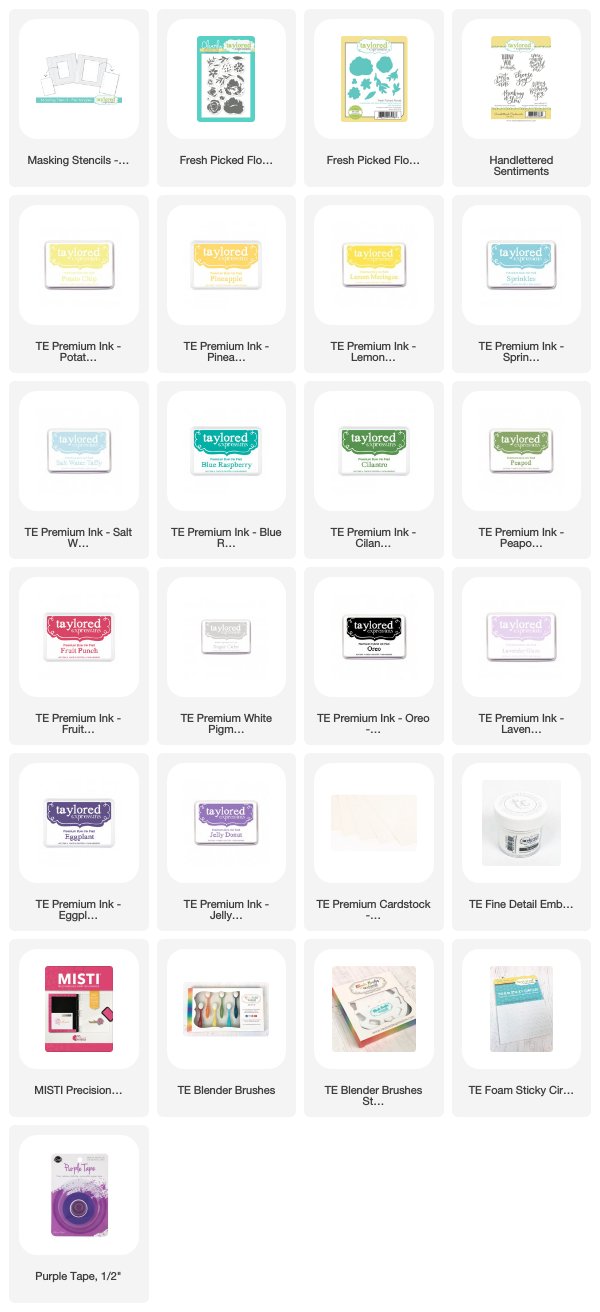
The flowers and leaves are all stamped with the Fresh Florals Stamp Set and die cut with the Fresh Florals Dies. My ink combination are linked below. 


Stop by the TE Blog for all the details and more inspiration with the new Masking Stencils. There are  links to the TE team and special guests that are sharing projects . 


10/22/19

Introducing the Taylored Expressions Masking Stencils!

Today I have a exciting new product to share with you from Taylored Expressions in collaboration with Laurie Willison6 x 6 Designer Masking Stencils! There are four stencils, circles, rectangle, ovals and squares.

No more masking with washi tape hoping your lines are straight and your paper doesn’t rip when you remove it. Simply use Pixie Spray or purple tape to adhere the stencil to the back of your cardstock panel - no more ripping!

There are two lines etched into each stencil for perfect alignment of an A2 card base or the layer just inside an A2 size (4” x 5.25”). Takes the guesswork out of centering the mask!

The stencil mask also includes the solid shape that falls out from the middle allowing you to reverse mask or apply two tones of ink to the project.


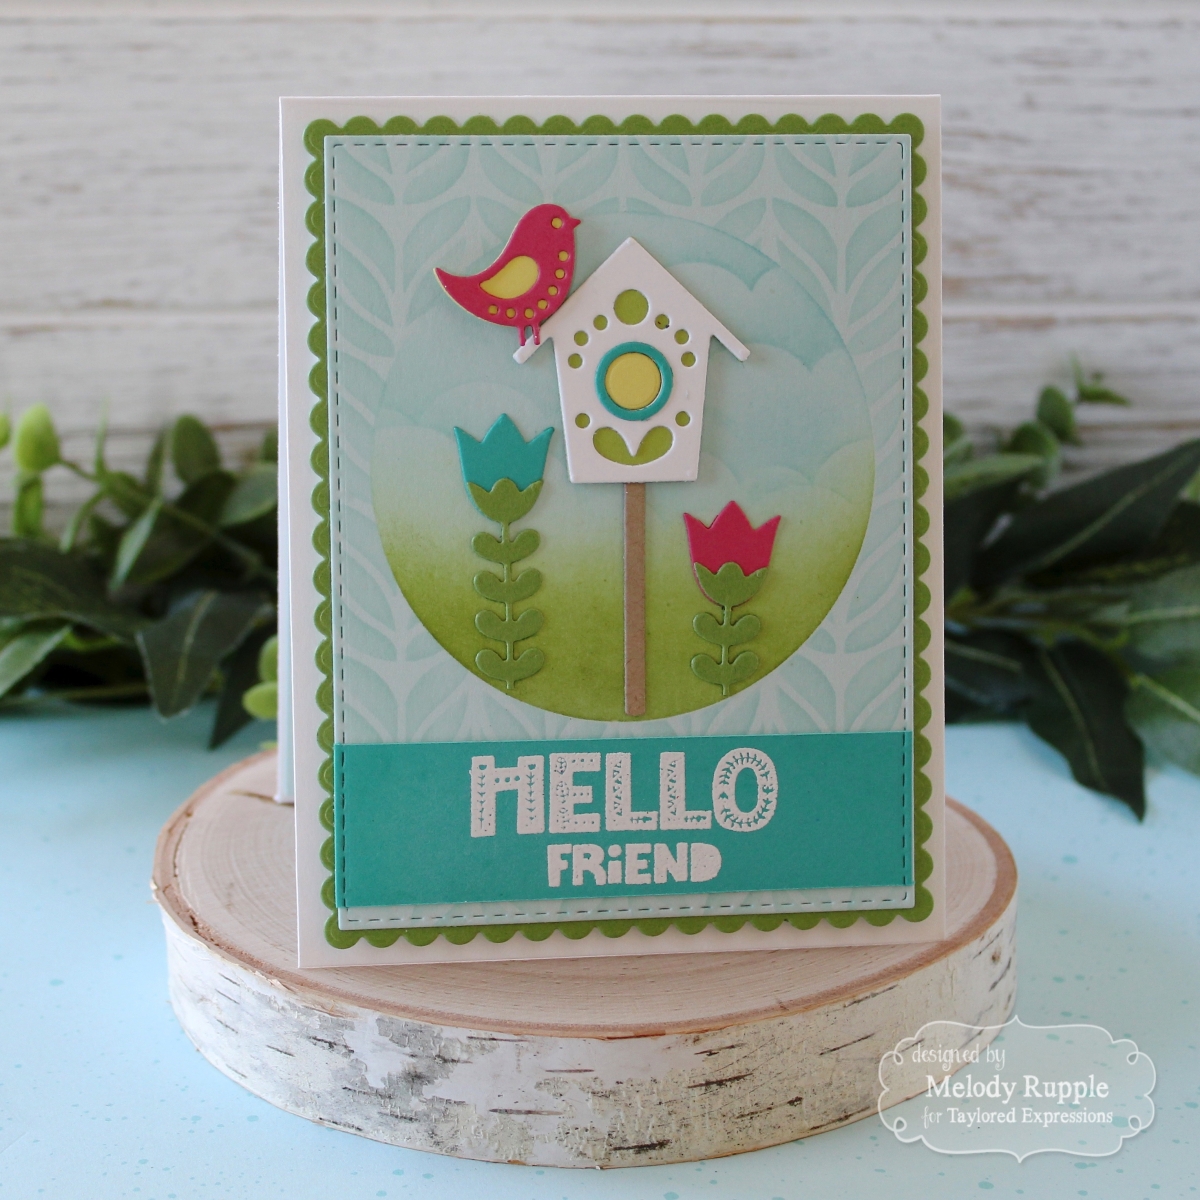
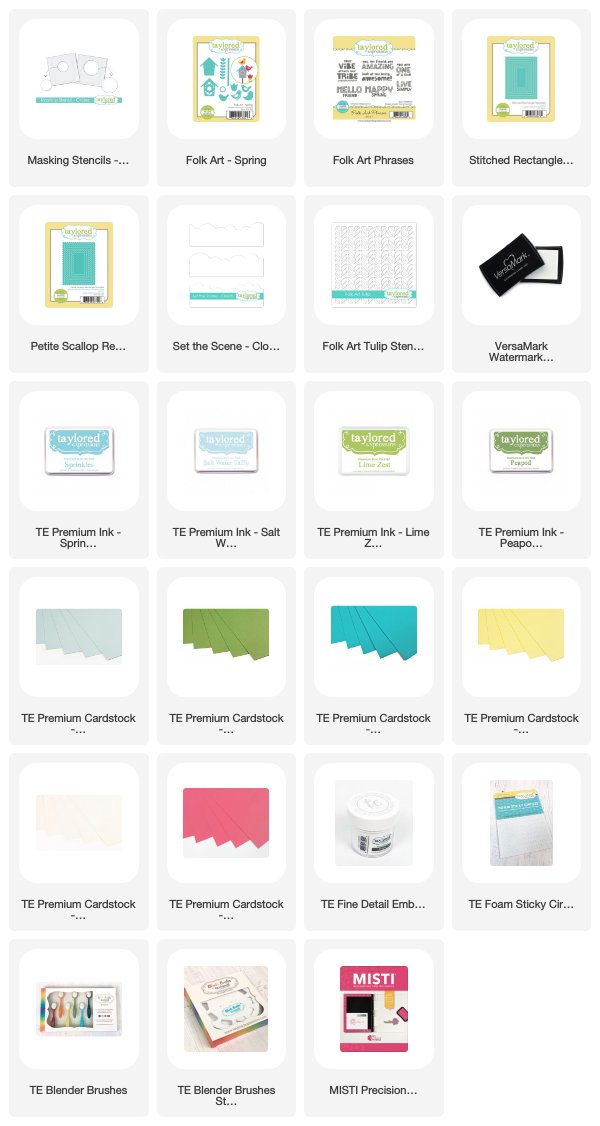
My first project uses the Masking Stencils - Circles. I attached a piece of Salt Water Taffy Cardstock to the back of the 6 x 6 Circle Stencil with Purple Tape. I created the background in the circle by blending Lime Zest and Peapod Ink for the grass and I used the Set the Scene - Clouds Stencil and Sprinkles Ink to add the clouds. When I pulled the mask off my circle was perfect! 


Next I taped just the circle mask over the background in the circle I had just created. Then I placed the Folk Art Tulip Stencil one the circle mask and the cardstock and stenciled the background on the rest of the card front. I die cut the card front with the Stitched Rectangle Stacklets and matted the card front with the Petite Scallop Rectangle Stacklets. 

I used the Folk Art - Spring Die to added the Birdhouse, bird and flowers to the circle. The sentiment is included in the Folk Art Phrases Stamp Set. I stamped in Versamark Ink and embossed with TE White Embossing Powder. 


Stop by the TE Blog for all the details and more inspiration with the new Masking Stencils!