5/31/18

Smile!

Hi Friends! I love the new floral stamp sets that have been added to the Pretty Pink Posh line of stamps. For this card I used the Wild Rose Stamp Set  in combination with the Hummingbird Thanks Stamp Set. The hummingbird compliments all of the floral stamp sets so well. And since it is finally feeling a little more like spring I used a pretty spring combination of colors.

The Smile Shaker Die is one of my favorite dies. Here I used the die as the focal point of the card. I also cut a circle of white cardstock and vellum to fit behind the die. 


The stamped images are colored with Copic Markers and I added a few highlights with a white gel pen. I die cut the images with the Wild Rose Coordinating Dies and the Hummingbird Thanks Coordinating Dies. I attached the vellum circle to the back of the Smile Shaker Die and then added the leaves under the vellum and then the circle of white cardstock. 

To put the card together added pattern to card front with a stencil. I cut  a triangle with a die from the Scallop Borders 2 Dies and a strip of green cardstock and attached them to the center of the card. Next I attached the Smile Die cut to the front and then the flowers and hummingbird. I added a touch of the sparkle with the Spring Green Jewels

Thanks so much for joining me. Have a great week! 

5/23/18

Thinking of You Dear Friend

Hi Everyone! I am popping in today with a pretty watercolored card I created with the Big Blooms - Zinnia Stamp Set and the coordination Big Blooms Zinnia Dies from Taylored Expressions.


I love the Big Blooms series of stamps and dies. They make a simple, bold statement and there are so many ways to color these big, beautiful flowers. I watercolored the Zinnia for this card. I used watercolor paper and stamped in Versamark Ink and embossed with TE White Embossing Powder. Once my flower and leaves were dry I die cut with the Big Blooms Zinnia Dies


Since the flower makes such I statement I wanted to keep my background simple. I brushed Guava Ink on the bottom half and Potato Chip Ink on the top half with a Clarity Stencil Brush. I added a strip of Guava Cardstock across the middle of the card. The sentiment is from the Friendly Phrases Stamp Set and die cut with the Double Ended Flags Stacklets. I stamped the sentiment with Versamark Ink and embossed with TE Black Embossing Powder. The sequins are from the Snow Flurries Sequins. 


Thanks for taking a look!

5/22/18

Sea Friends

Hi! Pretty Pink Posh is running a three day sale on the super cute Sea Friends Stamp Set and coordinating dies. Sea Friends is one of my favorite sets to use for summer cards and great to have in your stash for scene building.


I have a card to share with you that I created with the Sea Friends Stamp Set and coordinating dies.

I used watercolor paper and distress inks to create the background, Blueprint Sketch, Mermaid Lagoon, and Broken China. I created the sand with Kraft cardstock and the Scallop Borders Dies. The frame is die cut with the larger die in the Scallop Frames Dies. The sentiment is included in the stamp set. 

My stamped images are colored with Copic Markers and I added a few highlights with a white gel pen. I added bakers twine between the whale and the sentiment and attached the images with foam tape. Then a added a few "bubbles" with the Pearl White Jewels

Thanks for stopping by! 


5/18/18

Lovely Fuchsias

Hi and Happy Friday! I put in some long hours at work this week and I am really ready for weekend! And I am finally getting a chance to share this card I created with the beautiful Flourishing Fuchsias Stamp Set from Pretty Pink Posh.

This is such a pretty stamp set. To create the card front I die cut the larger die in the Window Frames Dies into the card front. I used the Stitched Borders 2 Dies to edge the lower white panel. I cut the sentiment with the new Lovely Script Die from black glittered cardstock. I added foam tape to the back of the card front to leave a little extra room to hang my flowers. 


My coloring is done with Copic Markers and I added a little black gel pen to the ends of the flowers. I die cut the images with the Flourishing Fuchsias Coordinating Dies. The final touch is a sprinkling of Pearl White Jewels

Thanks for taking a look! Have a great weekend! 


5/11/18

Sending You Happy Mail

Hi! Thanks for dropping by for Day 2 of the Pretty Pink Posh May Release Blog Hop! Hop along for lots of inspiration and prizes!

Be sure to leave comments on each stop. Pretty Pink Posh is giving away 4 $25 gift certificates to four random comments (2 winners each day) left before May 14, 2018 at 11:59 PM PST. The winners will be announced next week on the PPP Blog!


My first card features the new Flourishing Fuchsias Stamp Set. I really love the elegance of the fuchsias.


I started by cutting a piece of white cardstock for the card front and used a stencil brush to add a pale aqua ink and pale yellow ink to the background. Next I used the new Hugs Shaker Die, cutting it once directly into the card front and again from aqua cardstock. I inlayed the die cut in the card front added acetate behind the die cut. Inside the circle I attached few of the new Sparkling Clear Jewels to a piece of cardstock. I just love all the jewels PPP as added to their product line. The jewels are just beautiful! 


All my stamped images are colored with Copic Markers. The flowers and leaves are stamped with the new Flourishing Fuchsias Stamp Set and die cut with the Flourishing Fuchsias Coordinating Dies. The butterflies and sentiment are from the new Butterfly Friends Stamp Set and die cut with the Butterfly Friends Coordinating Dies.


My second card features two new stamps set and coordinating dies. The puppy is just one of the adorable new images in the new Playful Puppies Stamp Set and die cut with the Playful Puppies Coordinating Dies. The mail box, bird, envelope, and sentiment are from the new Happy Mail Stamp Set and die cut with the Happy Mail Coordinating Dies


The circle frame is cut with the Scallop Circles Dies. Behind the circle I cut the grass with the Scallop Borders Dies and the fence with the Picket Fence Die. I finished off with a few Sparkling Clear Jewels

Thanks for hopping along! Be sure to leave a comment for a chance to win! You can stop by the Pretty Pink Posh Blog for all the details! 

Here is the list of designers sharing projects for Day 2 of the Blog Hop:

5/7/18

Hello Friend with Page Maps and Taylored Expressions

Hi Everyone! I have a card to share with you today using a Becky Fleck’s Card Maps card sketch and Taylored Expressions products. This is fun collaboration. Card sketches are a great way to find inspiration for cards!! Here is the sketch I was given to work with.


And here is my take on the sketch!


First I used the Stitched Circle Stacklets and the Inside Scallop Circle Stacklets to create the circle frame for TE Gold Foil. Behind the frame I added a circle of Sugar Cube Card Stock brushed with a Clarity Stencil Brush with Sprinkles Ink to add the soft background. Then I used the Stitched Heart Stacklets and the Pierced Heart Stacklets to create the heart. I laced gold twine through the pierced holes. 


At the top I added small flowers and leaves with the Bloomers Greenery Dies and the Mini Bloomers 2 Dies. The sentiment is from the Friendly Phrases Stamp Set and die cut the Double Ended Flag Stacklets. I created the background pattern with the Chevron Arrow Stencil.

For more creative inspiration and card sketch ideas you can visit the Becky Fleck’s Card Maps Page here.


Thanks for stopping by and have a good week!

5/5/18

Pretty Pink Posh May Release if Available Now!

Hi and everyone and thanks for stopping by on this beautiful Saturday morning! It is a perfect spring day to introduce you to the new Flourishing Fuchsias Stamp Set from Pretty Pink Posh! I just love the beautiful hanging branches.  And the new release is available today!


I stamped the images on watercolor paper in Versamark Ink and then embossed with gold embossing powder. Next I watercolored the images and when the paint was dry I die cut with the Flourishing Fuchsias Coordinating Dies

I cut the center panel with the Stitched Notes Dies from white cardstock and used a Clarity Stencil Brush and yellow ink to add the soft background. Next I stamped a sentiment from the new Simple Sayings: Life Stamp Set. I splattered gold paint in the background and attached the flowers to the card front, using a gold foil to mat the images. I finished off the card with a few new Metallic Gold Jewels. The jewels are so pretty and add an elegance to my card. 

You can find all the new products HERE. Have a wonderful weekend! 


5/1/18

Introducing a New Glittered Felt from Taylored Expressions

Hi! Taylored Expressions is launching a new product today! Glittered and Foil Felt! It is even more pretty in person. You can stop by the TE Blog for more information on the new felt and more inspiration!

This new glitter and foil felt can be cut with the following cutting options:

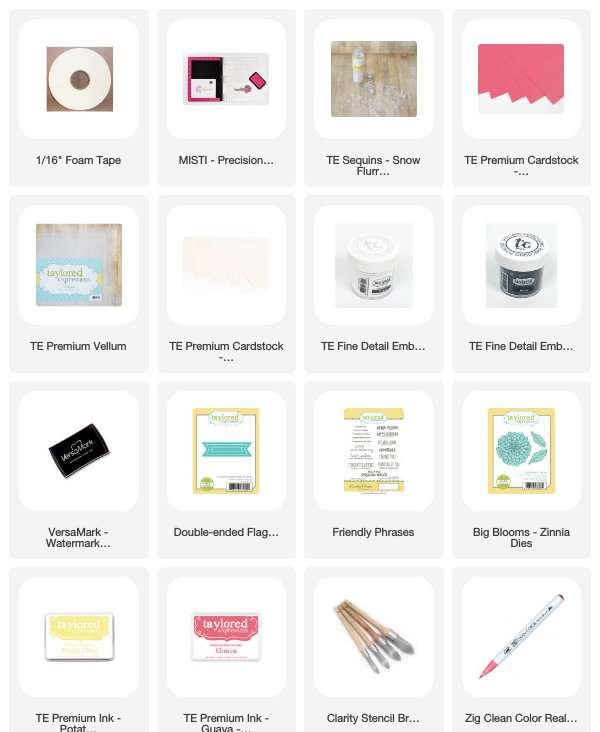
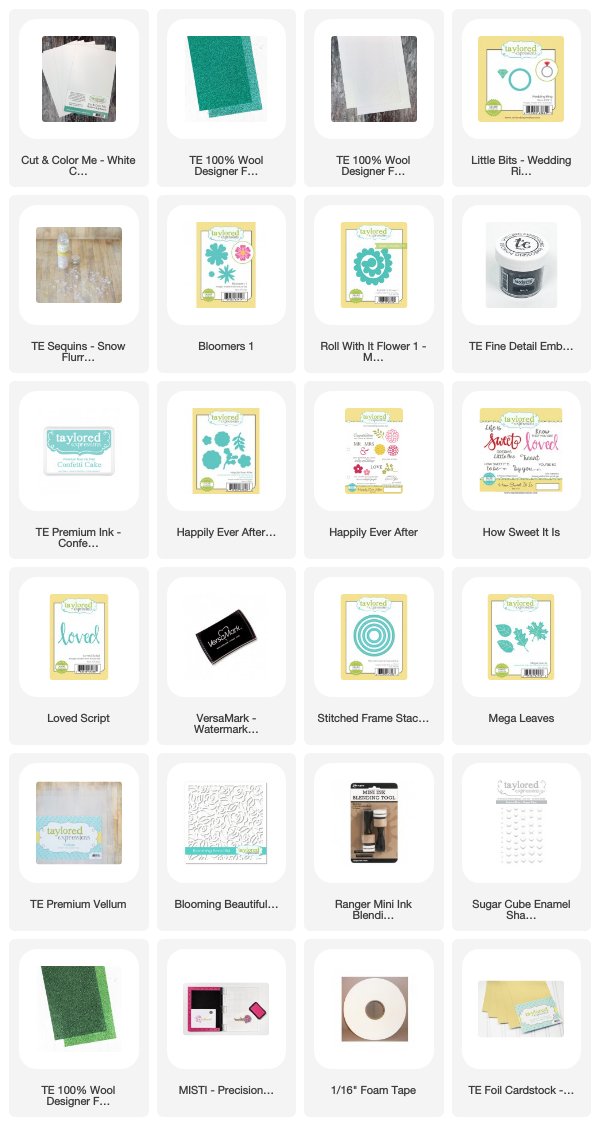
With the new black Mixed Media dies and a manual cutting machine (Big Shot, etc). The new glitter felt can not be cut with normal TE dies and a manual cutting machine. But it can be cut with any TE metal dies and an electronic cutting machine (Vagabond, Gemini, etc.) I have a Vagabond and that is the machine I used to create my framed scrapbook page.


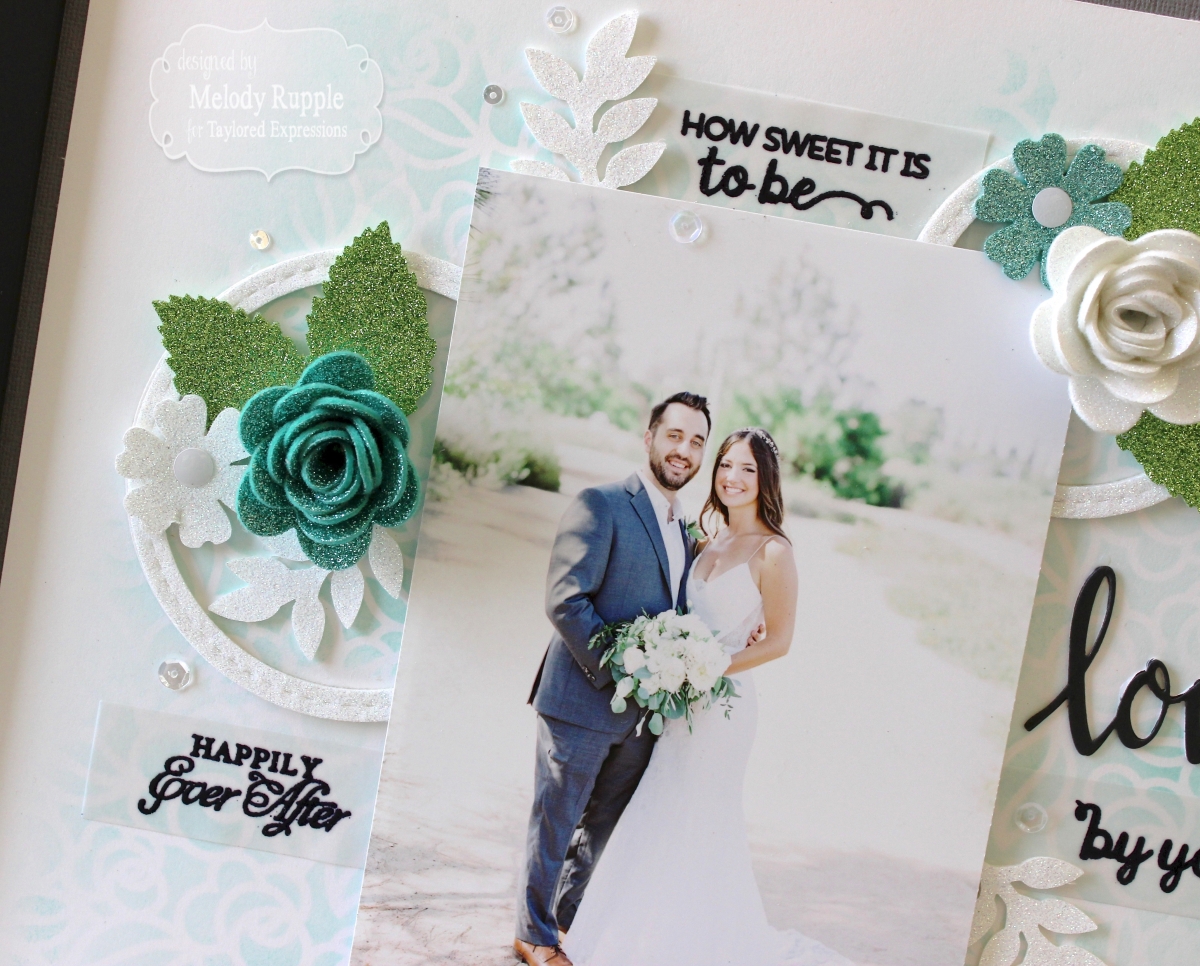
I like to hang framed scrapbook pages in my studio. This photo is from one of daughter's recent wedding. I started with a piece 12 x 12 white scrapbook paper. To create the subtle background I used the Blooming Beautiful Stencil and Confetti Cake Ink. 


I chose a sentiment from the How Sweet It Is Stamp Set and stamped with Versamark Ink on Vellum and embossed with TE Black Embossing Powder. The word "loved" is die cut with the Love Script Die. I cut the sentiment twice, once from Oreo Cardstock and once from TE Cut and Color Me White Chipboard and adhered the two layers together. The circles are die cut with the Stitched Frames Stacklets 2 from the new Sugar Coated Felt. 


To created the flowers I used the Roll With It Flower 1 Die and the Bloomers 1 Dies. The leafy branches are cut with the Happily Ever After Dies and the Leaves with one of the dies in the Mega Leaves Dies. This sentiment is from the Happily Ever After Stamp Set. I used two additional glittered felt colors, Sweet Mint and Herb Garden. 


I added Sugar Cube Enamel Shapes to the centers of the flowers cut with the Bloomers 1 die. At the bottom I created wedding rings with the Little Bits - Wedding Ring Die with TE Gold Foil and Sugar Coated Felt. I also added a few Snow Flurries Sequins. 

You can find the new felt here


Thanks for stopping by!