Today is one of my favorite releases of the. year! It is the Christmas Release at Taylored Expressions. We have bundles of products with different themes to get you starting on your Christmas Cards this year. All the new products are available now in the TE Store. I have three different projects to share with you, so let's get started!

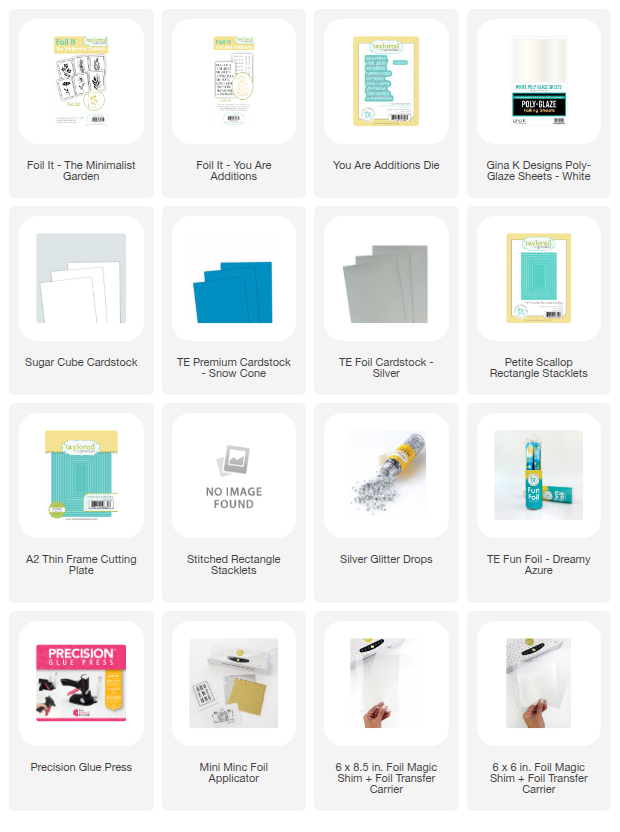
First up is a look at the Postmarked North Pole Products. The products can be purchased as a bundle or separately. All the available bundles are listed below.

I foiled two of the Foil It - Postmarked North Pole panels with TE Fun Foil in Champagne using my Minc. I foiled two panels because I wanted to use one panel as a card front and the second one so that I could die cut the images with the coordinating Postmarked Cutting Plate.

I used a combination of Blueberry, Royal Icing Sweet Basil, and Honeydew Melon with the Postmarked - North Pole Layering Stencil. In the center of the card I added a circle cut from vellum and a sentiment from the new Holly Jolly Hellos, and holly leaves die cut with the new Garden Variety - Holiday Greenery.

On the second card I used the individually die cut images to create the card front. I added another sentiment from the Holly Jolly Hellos and more holly leaves with the Garden Variety - Christmas Greenery.

For the center panel I embossed Royal Icing Cardstock with the Tiny Twinkles Embossing Folder. I used the Outgoing Frames Rotating Stencils to add the border. I finished off with a few TE Gold Glitter Drops.
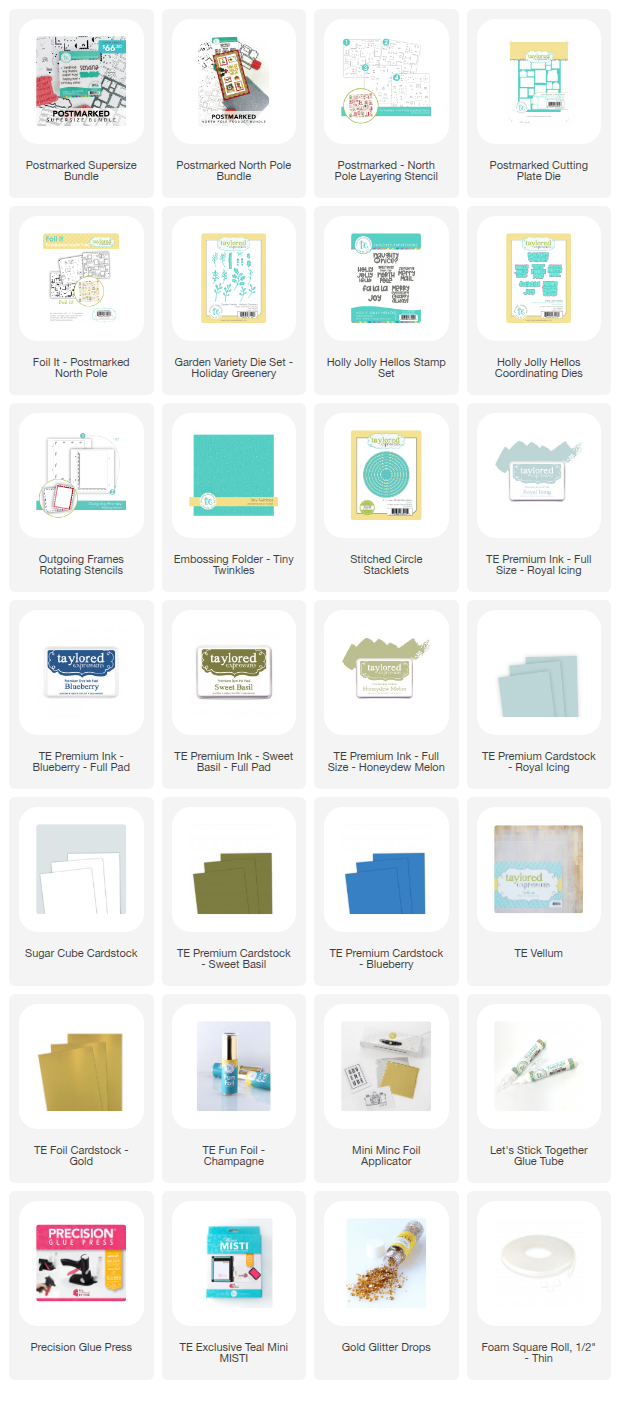

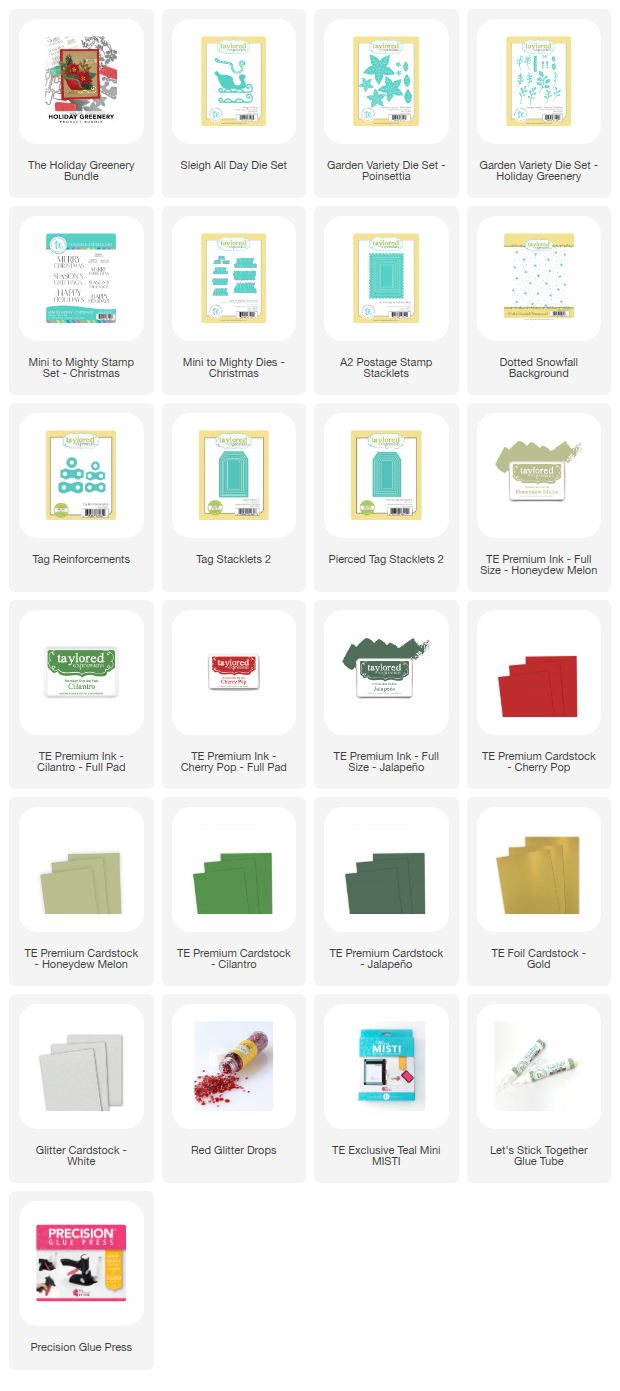
Next is a look at the Holiday Greenery Collection. There is the Sleigh All Day Die, the Garden Variety - Holiday Greenery Dies, and the beautiful Garden Variety - Poinsettia. You can create several sizes of Poinsettias. I used the largest one on the tag.

I used the Sleigh All Day Die with TE White Glittered Cardstock and TE Gold Foil Cardstock. I knew wanted an elegant feel to this card so I went with the white sleigh. I attached the sleigh with foam dots to the front of the card and then filled the sleigh with the poinsettias and greenery.

To create the card front I stamped the Dotted Snowflakes Background Stamp on Honeydew Melon Cardstock with Honeydew Melon Ink and then die cut with the A2 Postage Stamp Stacklets.

The sentiment is from the new Mini to Mighty - Christmas Stamp Set. There are three different sentiments in the stamp set and three different sizes of each sentiment. I love this idea!

I also created a coordinating tag using the Tag Stacklets 2 and the Pierced Tag Stacklets 2.

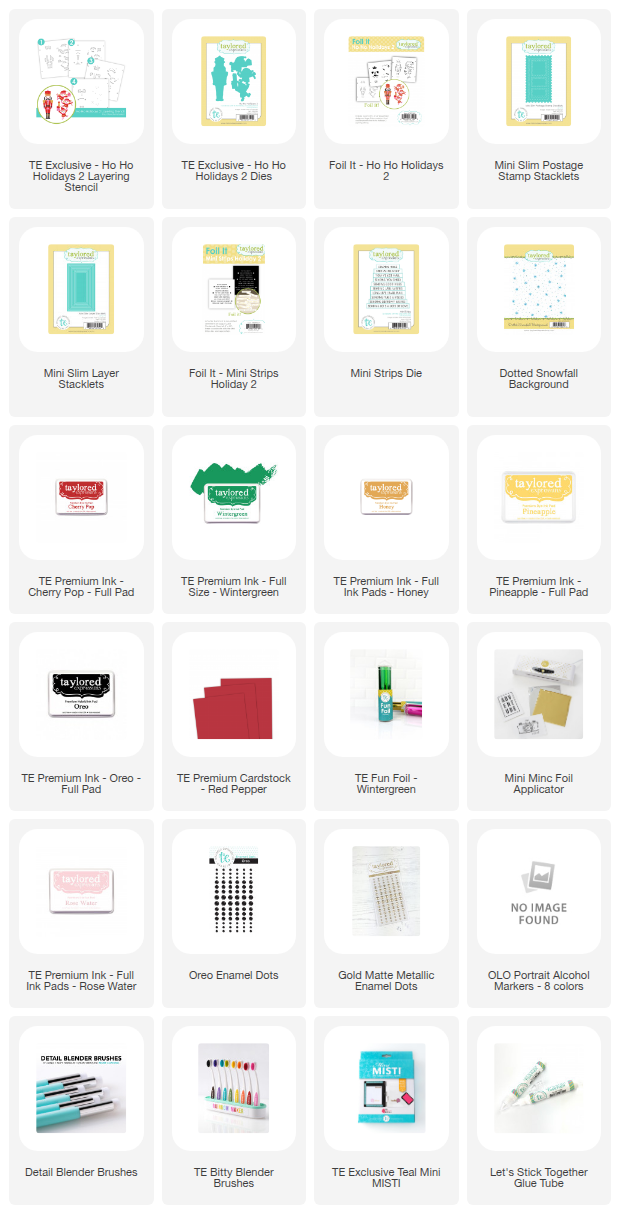
The cards are created with the Ho Ho Holidays 2 Layering Stencil and the coordinating Ho Ho 2 Dies, both of which are a gift with purchase.
Get the FREE Ho Ho Holidays 2 Layering Stencil with any purchase of $100+ and Ho Ho Holidays 2 Die with any purchase of $200+ sitewide! Offer valid 9/30 at 9 am CT through 10/7 at 9 am CT or while supplies last.

How sweet are these elves! I used the Foil It - Ho Ho 2 with the new Wintergreen Foil and then stenciled with the Ho Ho Holidays 2 Stencil. I have listed the colors I used below. Then I die cut with the coordinating Ho Ho Holidays 2 Dies.

I created Mini Slim Cards with the Mini Slim Layer Stacklets and the Mini Slim Postage Stamp Stacklets.

The backgrounds are stamped with the Dotted Snowfall Background Stamp.

To add the sentiments I used the new Foil It - Mini Strips Holidays 2 panel foiling with Wintergreen Foil.


https://www.tayloredexpressions.com/whats-new/christmas-2025/
It’s the time of year when crafters start dreaming of festive stamps and stacks of handmade holiday cards. This week’s Christmas Release is here to spark fresh ideas and fill your stash with seasonal goodies!
We have three different collections that are also available in bundles:
It’s the time of year when crafters start dreaming of festive stamps and stacks of handmade holiday cards. This week’s Christmas Release is here to spark fresh ideas and fill your stash with seasonal goodies!
We have three different collections that are also available in bundles:


We also have the Ready-to-Make Card Kit - Christmas and Ready-to-Make Card Refill - Christmas.
This kit takes the guesswork out of designing by giving you the stamps, stencils, inks, cardstock, card bases, envelopes and tools you need to craft 20 beautiful holiday cards. It includes a code to access step-by-step instructional video.
The refill provides just the pre-measured and cut cardstock, envelopes, and extras you need to assemble a set of 20 holiday

https://www.tayloredexpressions.com/ready-to-make-christmas-cards-kit/
https://www.tayloredexpressions.com/ready-to-make-christmas-cards-refill/
https://www.tayloredexpressions.com/ready-to-make-christmas-cards-refill/
Plus, get a FREE Ho Ho Holidays 2 Layering Stencil with any purchase of $100+ and Ho Ho Holidays 2 Die with any purchase of $200+ sitewide! Offer valid 9/30 at 9 am CT through 10/7 at 9 am CT or while supplies last.

I hope I have inspired you to start your holiday crafting! Stop by the TE Blog for all the details and more inspiration from the team.