11/29/17

Wild Rose Thank You

Hi and thanks for stopping by! I have a thank you card to share with you created with the pretty Wild Rose Stamp Set and the Wild Rose Coordinating Dies. I really like to have thank you cards ready to go so I have them when I need them!

I started by stamping the flowers and leaves from the Wild Rose Stamp Set in Delicata Silver Shimmer Ink and then embossed with a silver embossing powder.


I used Copic Markers to color the stamped images and die cut the flowers and leaves with the Wild Rose Coordinating Dies


To die cut the sentiment I used the Thank You Script Die. I cut the sentiment two times from a gray cardstock and glued the two layers together. This adds depth to the die cut and helps the sentiment stand out more on the card front.


I used two patterned papers. On the strip of paper that go across the middle of the card I added a strip of silver foil to the top and bottom and then attached the strip to the card front with a double sided foam tape. I wanted to leave a little room to slide a few of the flowers and leaves under the center strip and the foam tape gave me the space I needed. I arranged and attached the flowers and the leaves and finished off the card with a few sequins from the Sparkling Clear Confetti Mix

Thanks for stopping by! 

11/23/17

25 Days of Christmas Tags

Welcome to Day 23 of the 25 Days of Christmas Tags with Tracy McNeely! Day 23 features Pretty Pink Posh. This is such of fun event. Twenty-five days of full on inspiration and creative ideas for your Christmas Tags! And there are prizes! 


My tag is created with the Scallop Square Tags Dies, the Angel Friends Stamp Set and the Angel Friends Coordinating Dies. I colored the sweet angel with Copic Markers and added the dot detail to the bottom of dress with a gold gel pin. The sentiment is from the Holiday Greetings Stamp Set and die cut with the circle die in the Mini Tags Dies


I added the holly leaves with the Festive Holly Dies. I die cut the leaves and berries from white cardstock and then added color with Distress Ink and a Blending Tool. The final touch is a few sequins form the Berry Bright Sequins Mix

Thanks for stopping by! Be sure to stop by Tracey's Blog for all the details. Happy Thanksgiving  to all my US friends. May you have a blessed day with family and friends. 


11/13/17

Merry Christmas Shaker Card

Hi Everyone! I know my blog has been a little quiet! I just returned from a 12 day vacation in Hawaii. I really tried to stay unplugged this vacation! 

Today I have a shaker card to share with a few new products from the new Pretty Pink Posh November release. Today I’m highlighting the Joy Shaker Die and a few of the new sequin mixes. 

The sentiment if from the new Holiday Greetings Stamp Set


I started the card by cutting a piece of watercolor paper for my card front. Next I die cut the Joy Shaker Die from a gold foil and then again directly into the card front. This left a scalloped circle in the card front to form the shaker window.


Behind the window I added a piece of acetate and then inlayed the gold Joy sentiment directly into the card front. On the back of the card front I added foam to create the shaker. 

I dropped three of the new mixes into the shaker, Evergreen Sparkle Mix, Gold Shimmer Seed Beads, and Sparkling Clear Snowflake Mix. Then I covered the back of the shaker with cardstock and attached the card front to the card base. 


To finish off the card I die cut holly leaves and berries with the new Festive Holly Dies from watercolor paper, sponged on the color, and attached die cuts to left side of the shaker. The final touch is to attach a few Sparkling Clear Snowflakes

Thanks so much for stopping by!


11/2/17

It's November Release Day at Taylored Expressions

Welcome! It's release day at Taylored Expressions! I hope you have enjoyed all the October Sneak Peeks and been inspired to start your holiday creating!  All the new October products are available at the TE web store NOW.  

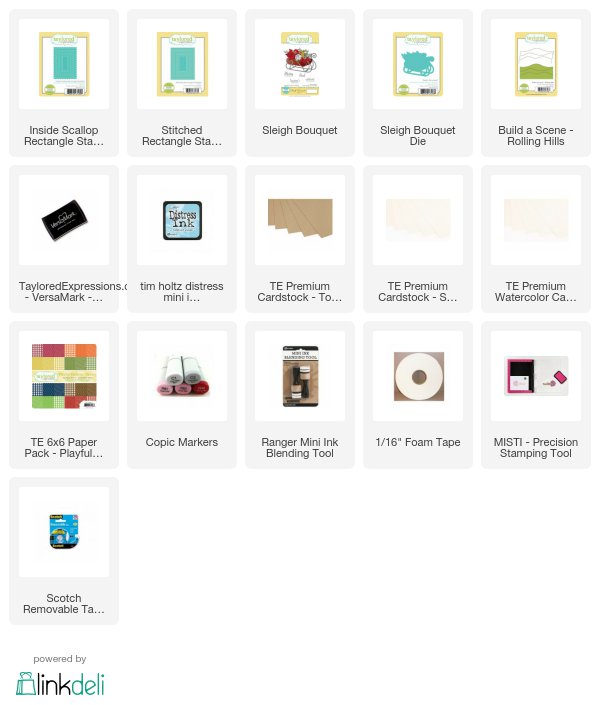
My first card features the new Inside Scallop Rectangle Stacklets, which coordinates with Stitched Rectangle Stacklets for creating frames.


To create the frame I layered the largest Inside Scallop Rectangle Stacklets inside the largest Stitched Rectangle Stacklets and ran the dies through my die cutting machine. I like to use Scotch Removable Tape to hold the dies in place. 

Behind the frame I added a piece of watercolor paper, using Tumbled Glass Distress Ink and a blending tool to add the color. The hills of snow are die cut with the Build a Scene - Rolling Hills Dies. 


Next I stamped the sleigh in the Sleigh Bouquet Stamp Set and die cut with the coordinating Sleigh Bouquet Dies. I colored the image with Copic Marker. The sentiment is included in the stamp set. 


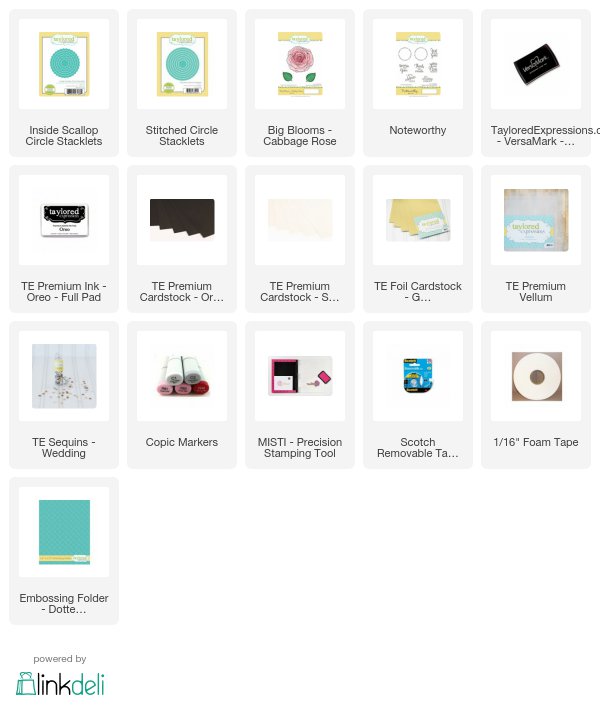
My next card features the Inside Scallop Circle Stacklets, which coordinates with Stitched Circle Stacklets for creating frames. I stamped a sentiment from the Noteworthy Stamp Set on vellum. The background is embossed with the Dotted Lattice Embossing Folder. 


My flower is stamped with the Big Blooms - Cabbage Rose. Love! I colored with Copic makers and hand cut the flower and leaves. I added Nuvo Gold Crystal Drops to the center of the flower and finished off the card with a few gold sequins.


Thanks for visiting! If you'd like to see more projects and new product information, please head over to the TE Blog for a complete list of our participating designers!

11/1/17

Taylored Expressions November Sneak Peeks Day 3 - Christmas Thank You

Hi! Welcome to Day 3  of Taylored Expressions November Sneak Peeks.  All the new products will be available at the TE web store at 7:00 am PST on Thursday, November 2nd. Today I am featuring an idea for a Christmas Thank You card and way to dress you plain envelopes. 


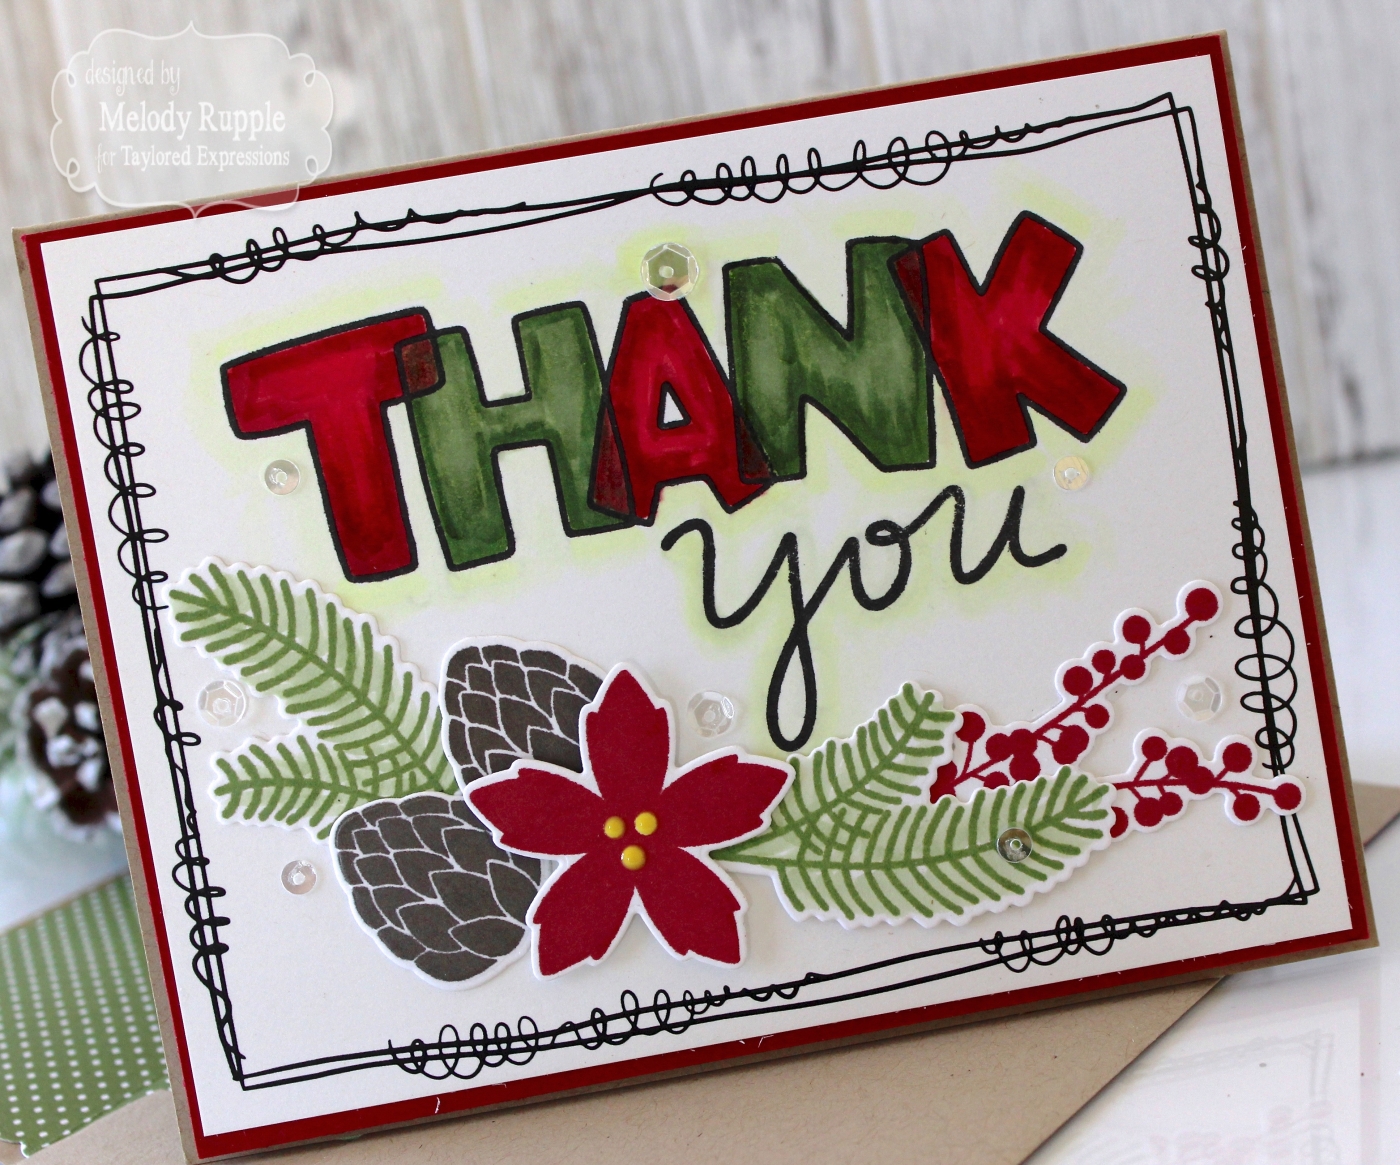
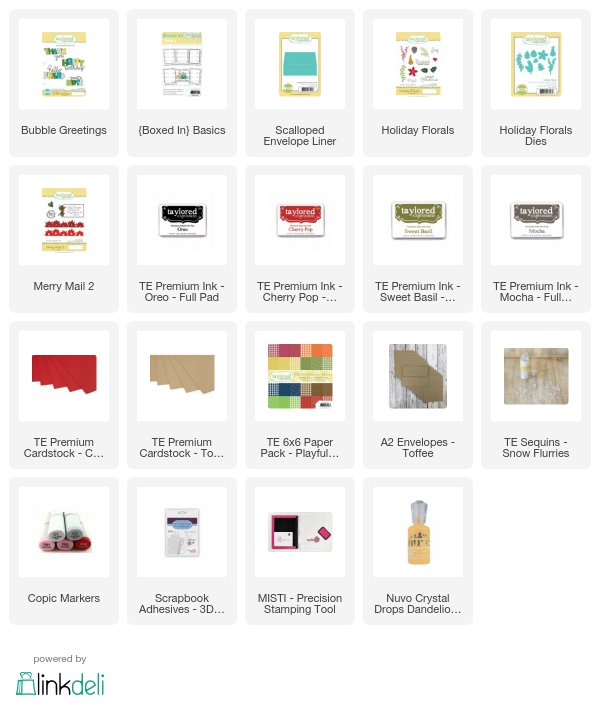
The front of the card is one of the pre-printed card fronts in the new Boxed In Basics. The Boxed In Basics are pre-printed doodle borders on A2 card panels. I stamped Thank You with on of the sentiments in the new Bubble Greetings Stamp Set. I colored the letters with Copic Markers and add a little shading around the letters. 

Notice the Kraft envelope! I lined it with the new Scalloped Envelope Liner. 


I added the floral embellishments with the Holiday Florals Stamp Set and coordinating Holiday Florals Dies. I also added a few sequins from the Snow Flurries Sequins. 


I lined all my envelopes with the Scalloped Envelope Liner and stamped the front of my envelopes with the Merry Mail 2 Stamp Set. I really like this idea. You can keep the stamping simple or add a little color. It just makes your card a little more special! 


Taylored Expressions is celebrating Release Week with a giveaway during each day of sneak peeks! Visit the TE Blog to answer Taylor’s Question of the Day for a chance to win one of the latest products before you can buy it!


Thanks for visiting! If you'd like to see more projects and new product information, please head over to the TE Blog for a complete list of our participating designers! I will be back tomorrow with my release day projects. 


10/31/17

Taylored Expressions November Release Sneak Peeks - Card Sets.

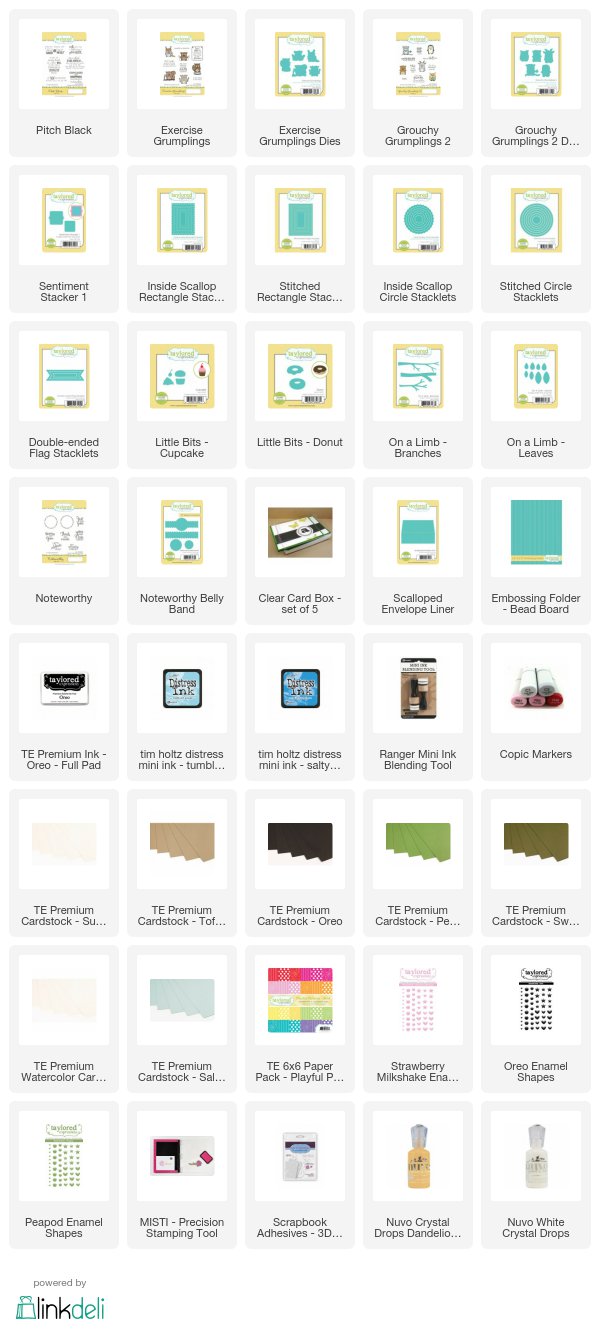
Hi Everyone! Thanks for stopping by for Day 2 of Taylored Expressions November Release Sneak Peeks. Continuing with the gift giving theme I have a set of cards to share using the new Pitch Black Stamp Set.


The sentiments on all my cards are included in the Pitch Black Stamp Set. I die cut this sentiment with the new Sentiment Stacker 1. I used a Grumpling from the Exercise Grumpling Stamp Set and die cut with the coordinating Exercise Grumplings Dies. I added the two Donuts with the Little Bits - Donut Die and add a few sprinkles with Nuvo White Crystal Drops. Behind the Grumpling I added a circle with the Stitched Circle Stacklets and embossed the card front with the Bead Board Embossing Folder. I finished off the card with a few Oreo Enamel Shapes. 


On my next card I used a Grumpling from the Grouchy Grumplings 2 Stamp Set. I cut out this sentiment with the new Inside Scallop Rectangle Stacklets, which coordinates with Stitched Rectangle Stacklets. A great way to create frames! Behind the sentiment I sponged on clouds with watercolor paper and Tumbled Glass and Salty Ocean Distress Ink. The owl is colored with Copic Markers. The branches are die cut with the On the Limb - Branches and the leaves with the On the Limb - Leaves. 


This card also features a Grumpling from the Grouchy Grumplings 2 Stamp Set. The Grumpling is framed with the new nside Scallop Circle Stacklets, which coordinates with Stitched Circle Stacklets for creating frames. The patterned papers are from the new Playful Patterns - Bold Paper Pack. I used the polka dots on my cards and the flower pattern to line my envelope. TE is releasing a Scalloped Envelope Liner that is designed to fit our A2 envelopes with a square flap. I love this idea! 


Here is the fourth card in the set. I used a Grumpling from the Exercise Grumpling Stamp Set and die cut with the coordinating Exercise Grumplings Dies. I created the frame with the Inside Scallop Rectangle Stacklets. And the cupcake is die cut with the Little Bits - Cupcake. 


I packaged the card with the lined enveloped in a clear cardbox and used the Noteworthy Stamp Set and Noteworthy Belly Band to create the band around the box. 


Taylored Expressions is celebrating Release Week with a giveaway during each day of sneak peeks! Visit the TE Blog to answer Taylor’s Question of the Day for a chance to win one of the latest products before you can buy it!


Thanks for stopping by! I will be back tomorrow with another sneak peek! 

10/30/17

Taylored Expressions November Sneak Peeks Day 1 - Calendars

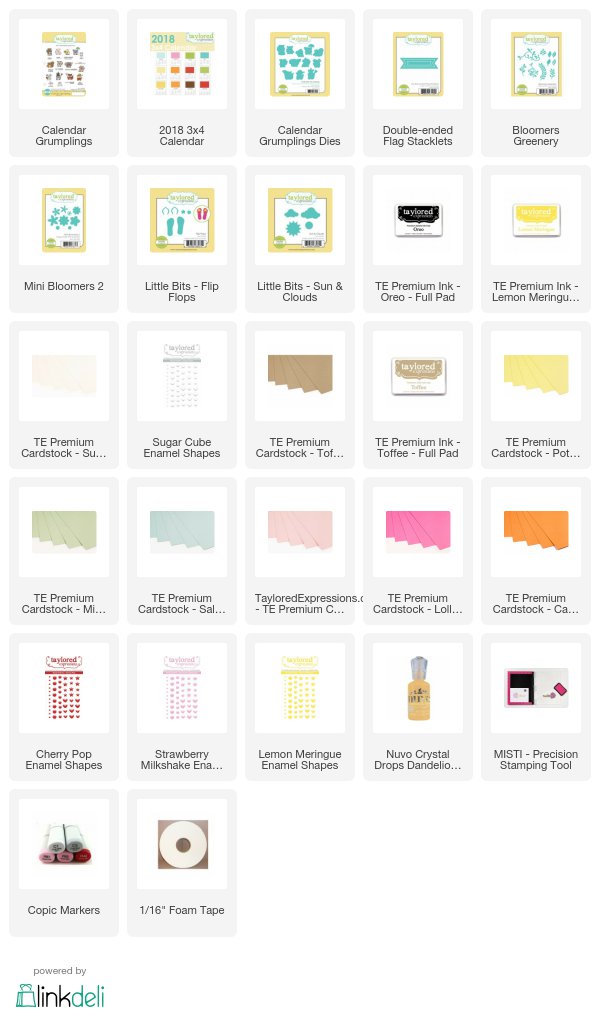
Welcome to Day 1 of Taylored Expressions November Release! We will be exploring the theme of gift-giving this month. I will be starting out today with ideas for calendars. We have a  new Display Easel Die that fits the mini tear off calendar with design above or use the ledge in order to display the 3x4 calendar months.


The easel was easy to put together with the Display Easel Die and Toffee Cardstock. 


For my calendar project I am using the 3x4 Calendar Set, month May through August along with the new Calendar Grumplings Stamp Set. The stamp set includes a Grumpling for each month along with a sentiment. The sentiment is die cut with the new Double Ended Flag Stacklets. I used the Mini Bloomers 2 and Bloomers Greenery dies to add the flowers and leaves. I added Enamel Shapes to the center of the flowers. 


Here's a look at June. All my Grumplings are colored with Copic Markers and then die cut the coordinating Calendar Grumplings Dies


I add flip flops with the Little Bits - Flip Flop Die. 


I had to go red, white, and blue for July. 


I used Enamel Shapes to add the stars.
]

Here is August!


I used the Little Bits - Sun and Clouds to create the sun. 

For a limited time, earn DOUBLE CRAFTY POINTS on our Display Easel die! If you're not a Crafty Points member, it's free and easy to join. Just create an account at the TE webstore and you're automatically enrolled to begin earning crafty points with every purchase. You'll earn 74 Crafty Points on the purchase of our Display Easel die! Offer valid on qualifying purchases made between 9am CST on Thursday, November 2, 2017 and 11:59 pm CST on Sunday, November 5, 2017 and only while supplies last. Crafty Points are only available on purchases made via our retail site: www.tayloredexpressions.com.

Taylored Expressions is celebrating Release Week with a giveaway during each day of sneak peeks! Visit the TE Blog to answer Taylor’s Question of the Day for a chance to win one of the latest products before you can buy it!


Thanks for stopping by! I will be back tomorrow with another sneak peek.