Showing posts with label Create In Quads. Show all posts

8/11/26

It's the Halloween Release at Taylored Expressions

Hi and thanks for stopping by today! I always look forward to creating for holidays and as a card designer you start early! Today Taylored Expressions is releasing new Halloween products and they are so fun to work with! 


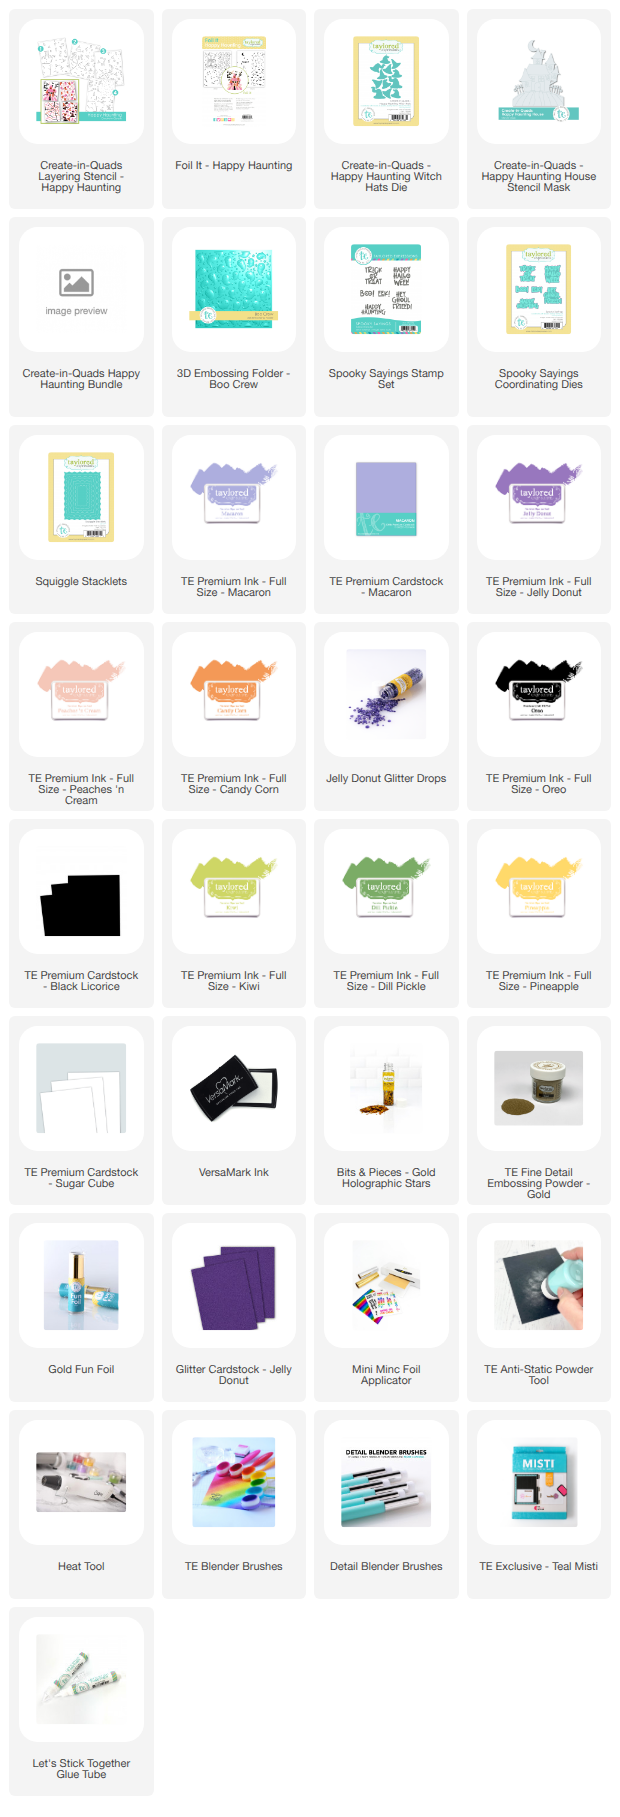
First up is a look at the Create-in-Quads – Happy Haunting product line. The Happy Haunting Stencil  turns one sheet of cardstock into four finished card fronts with a single layering stencil—a haunted house, playful ghosts, a colorful spiderweb, and witch hats. I foiled one of the Foil It-Happy Haunting panels with TE Gold Foil and then stenciled with the inks I have listed below. 


My first card focuses on the Witch's Hats. I stencil all four images and cut the images into four panel. With the hats I used the coordinating Create-in-Quads - Happy Haunting Witch Hats Die to die all the hats at one time. 


Next I cut a piece of Macaron Cardstock with the Squiggle Stacklets for the card front. I stenciled the clouds with the Set the Scene - Clouds Stencil Strips with Jelly Donut Ink. Then I die with the Happy Haunting Witch Hats Die again and inlayed the hats back in to the card front. 


The sentiment is from the new Spooky Saying Stamp Set. 


I created one more card with the four panel but you can get a glimpse at the other two images in the background. 


After I stenciled I used the new coordinating 3D Embossing Folder - Boo Crew. I just love the added dimension and texture. It is even better in person! And the Boo Crew Embossing folder would be great on its own for a Halloween card background. This is another sentiment from the new Spooky Saying Stamp Set. 
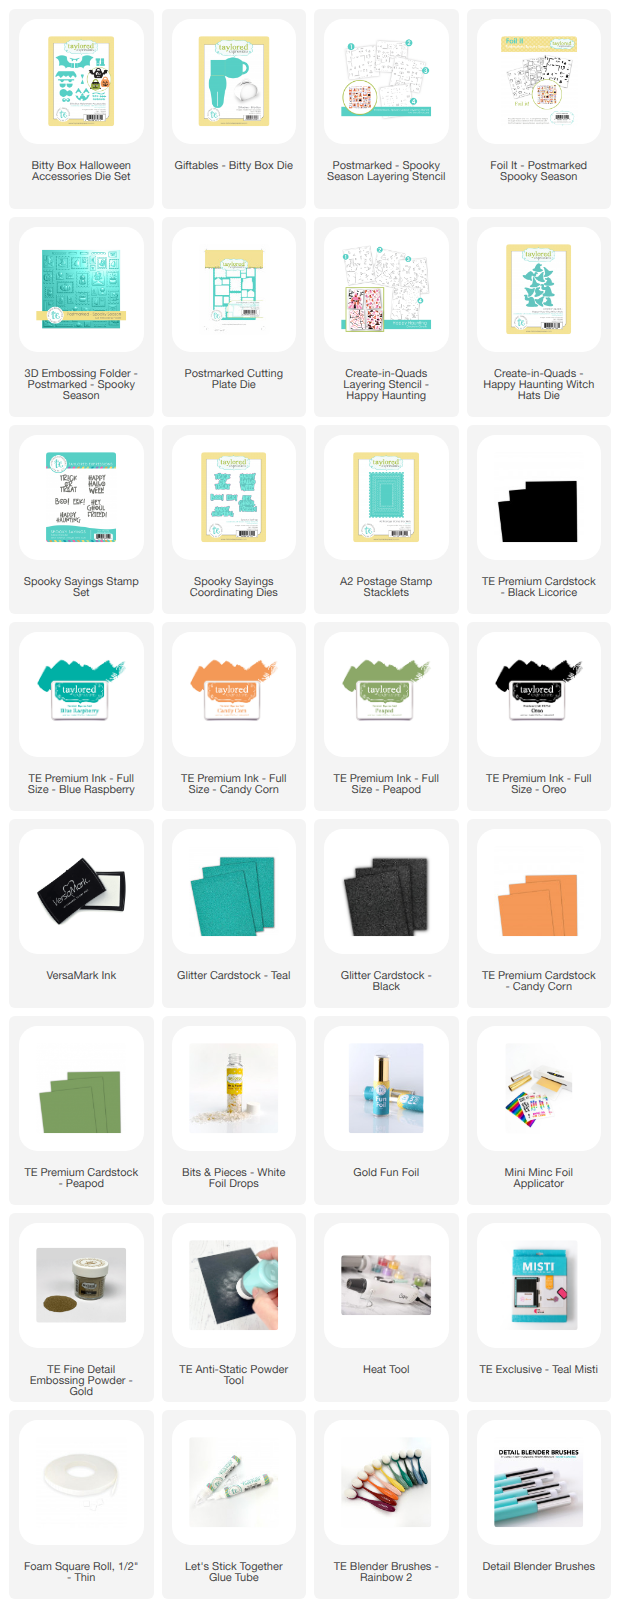
Next up is a look at the Postmarked - Spooky Season Bundle and the Bitty Box Halloween Accessories Dies Set. The Postmarked – Spooky Season brings together layered stencils, a 3D embossing folder, foiled panels, and coordinating stamps and dies—all designed to mix and match into postage-stamp-collage backgrounds filled with pumpkins, ghosts, bats, and candy corn.


I foiled one of the Foil It - Postmarked Spooky Season panels with TE Gold Foil and then stenciled with Blue Raspberry, Candy Corn, Peapod, and Oreo Inks. Then I die cut the panel with the largest die in the A2 Postage Stamp Stacklets Die Set and then embossed with the 3D Embossing Folder - Spooky Season. This sentiment is also from the new Spooky Saying Stamp Set.

I used the Create-in-Quads Layering Stencil - Happy Haunting to the stencil just one witch's hat and die cut with the Happy Haunting Witch Hats Die. 


And who doesn't love a cute treat box for a Halloween treat! Last Easter TE released the Giftables – Bitty Box Die Set along with an Easter Bunny option. The new Bitty Box - Halloween Die Set works with the Giftables – Bitty Box Die Set,  giving you more options, including a pumpkin, bat, and a cute Frankenstein. 

Here is the bat. I used Black Glitter Cardstock for the wings. 


Here is the cute Frankenstein. I love the eyes! 


And here is the pumpkin. I have of couple of granddaughters who will love these! 
Happy crafting! Stop by the TE Blog for all the details on the new products, and more inspiration from the team. 

2/5/26

Timeless Blooms

It is Throwback Thursday at Taylored Expressions! The Create-in-Quad Layering Stencil – Timeless Blooms is back! The Timeless Bloom Stencil creates four unique but coordinated panels all at once. And there are new products to coordinate! 


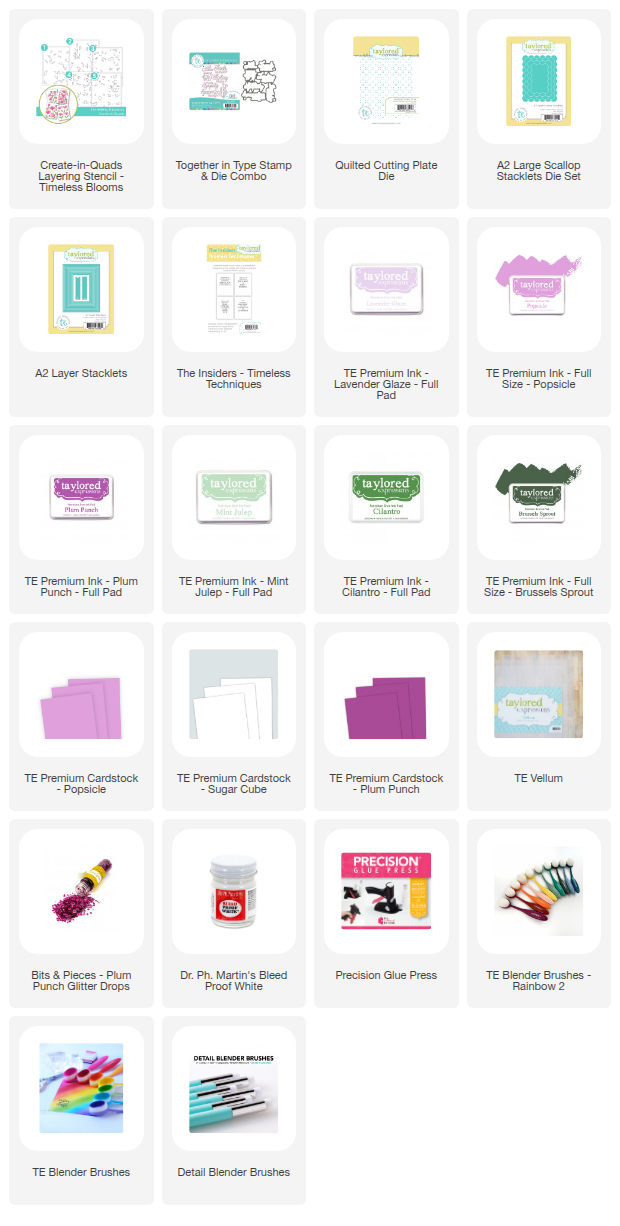
I created a set of four cards with the Timeless Bloom Stencil. I used a combination of Lavender Glaze, Popsicle, Plum Punch, Mint Julep, Cilantro, and Brussels Sprout Inks. 


I added the background texture to each card with the new Quilted Cutting Plate Die. I love the detail of the added texture and am sure I will reach for this Cutting Plate often! 


All the sentiments are from the Together in Type Stamp & Die Combo. Here I added a strip of vellum so that the sentiment stood out from the background. 


Here are the next two cards. I used Bits & Pieces Plum Punch Glitter Drops on all of my cards to add a little sparkle. 


On this card I die cut a small rectangle from the center of the card, framed it with the one of the smaller A2 Large Scallop Stacklets for some added detail. 


This card is framed with the largest die in the A2 Large Scallop Stacklets. The backgrounds of my cards are lightly splattered with  Dr. Ph. Martin's Bleed Proof White Watercolor. 

Thanks for taking a look. Stop by the TE Blog for all the details and more inspiration from the team. 

9/2/25

The Pick Your Pairings Release at Taylored Expressions

I am kicking of September with projects from the new Pick Your Pairings Release at Taylored Expressions. The Pick Your Pairings Release is where TE fans, our amazing community of crafters, share your product pairing ideas and today we’re excited to add some of those ideas to the TE collection.


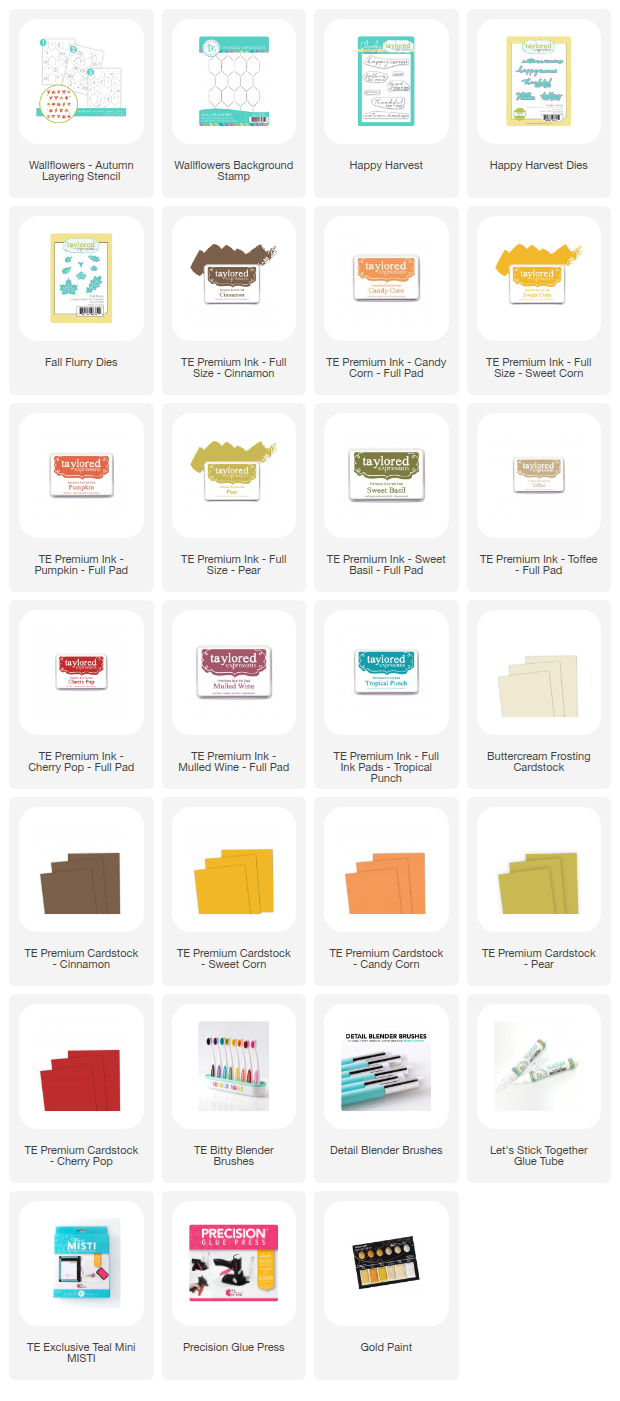
Let's start with a look at the Wallflower Background Stamp and the Autumn Wallflower Layering Stencil.  I started by stamping the Wallflower Background Stamp on Buttercream Cardstock with Cinnamon Ink and lightly blending Toffee Ink on the edges of the card front. 


Next I used the Autumn Wallflower Layering Stencil to add the fall icons to the Wallflower Background. I have listed the ink colors I used below. 


The sentiment is from the previously released Happy Harvest Stamp Set and die cut with the Happy Harvest Dies. I die cut the leaves with the Fall Flurry Dies. 


One of the customer requests was to add dies to coordinate with the Create-in-Quads Layering Stencil - Mistletoe that was previously released. This is one of my all time favorite stencils and perfect to mass producing Christmas cards. 


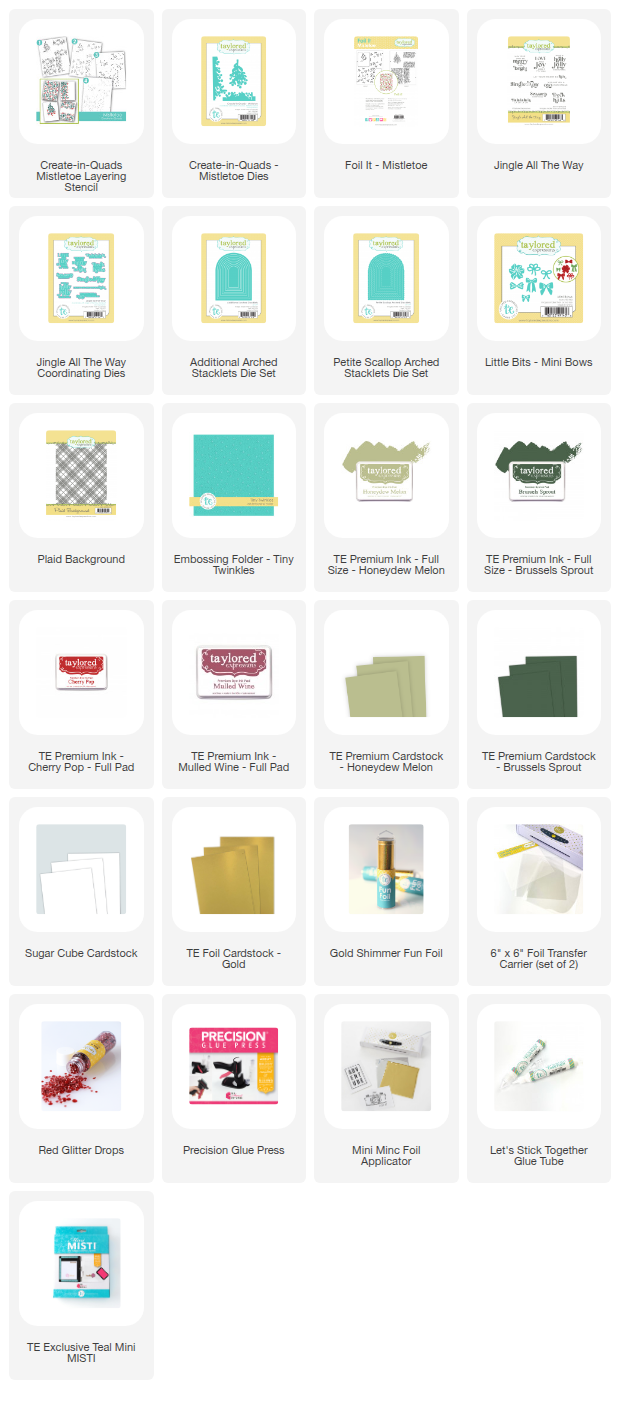
I started by foiling a Foil It - Mistletoe panel with gold foil and then stenciling with Honeydew Melon, Brussels Sprout, Cherry Pop, and Mulled Wine Inks. Then I used the new Create-in-Quads - Mistletoe Dies to die cut the images. 


I used the Tiny Twinkles Embossing Folder to emboss the card fronts. 


All the sentiments are from the Jingle All the Way Stamp Set and die cut with the coordinating Jingle of the Way Dies. 


I used TE Gold Foil to add the shadow to the die cut edges. 


On this card I used the new Additional Arched Stacklets and the Petite Scallop Arched Stacklets Dies to add the arched center. I am excited about this new dies. I love the shape! The bow is die cut with the Little Bits - Mini Bows Dies. 


Today’s release features product pairings inspired by ideas shared in the Fans of TE Facebook Group, all designed to help you get more out of what’s already in your collection.

Whether it’s adding the perfect sentiment, layering new details, or mixing and matching designs, these pairings are here to help you make the most of what you already love. Explore the new product pairings and see where your creativity takes you.

Plus, today only get a FREE Shoutout Birthday Embossing Folder with any purchase of $100+ from the new Pick Your Pairings release! 

Offer valid 9/2 at 9 am CT through 9/2 at 11:59 pm CT or while supplies last.

Thanks for stopping by! Stop by the TE Blog for all the details and more inspiration from the team.


4/8/25

Flit and Flutter

Spring is in the air today with the new Flit & Flutter Release from Taylored Expressions. I have two projects to share with you. The new collection is available now in the TE Store


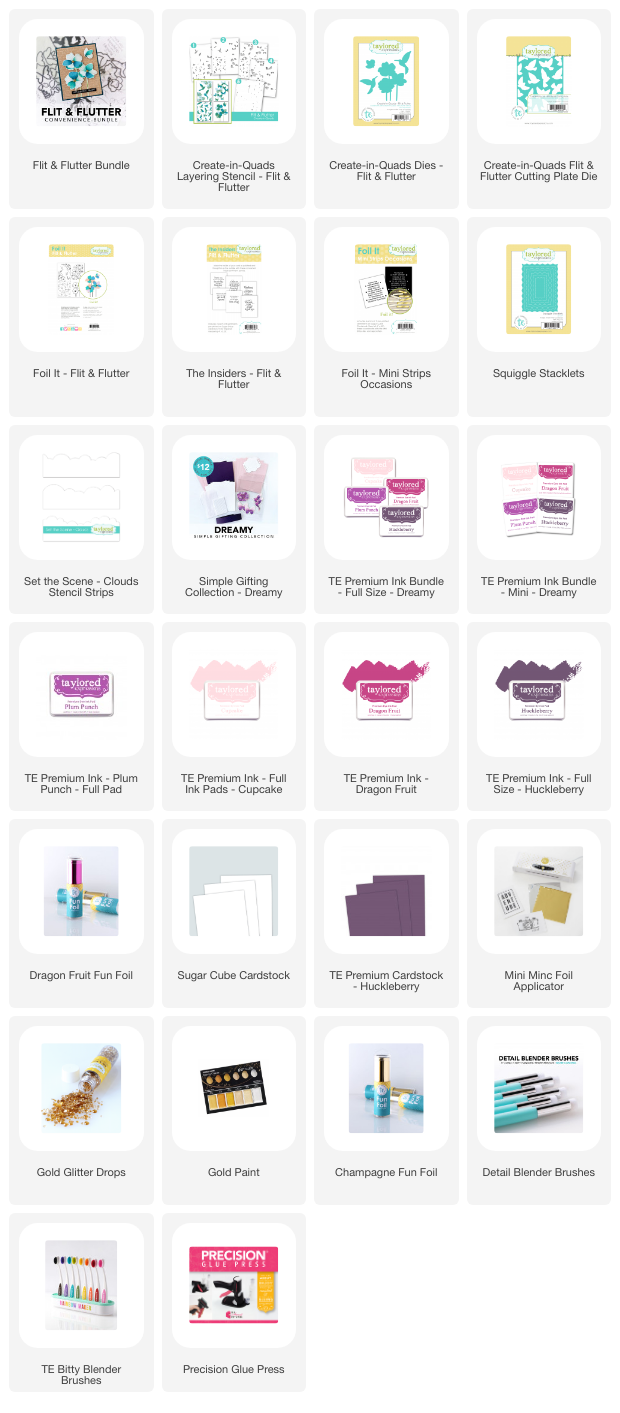
The Flit & Flutter Collection includes the Create in Quads - Flit & Flutter, Create in Quads - Flit & Flutter Coordinating Dies that cut the flowers, hummingbirds, bird, and the  Fit & Flutter Cutting Plate, along with the Foil It - Flit & Flutter,  Flit & Flutter - Butterflies Die Set, Flit & Flutter - Hummingbirds Die Set, Insiders - Flit & Flutter, and the Foil It - Mini Strips - Occasions. 


This month TE if offering Simple Gifting Collections in three different color combos. My projects use the Dreamy Collection which is a color combination of Cupcake, Plum Punch, Dragon Fruit, and Huckleberry. I foiled one of the Foil It - Flit & Flutter sheets with Champagne Foil then  I used these ink colors to stencil with the Create in Quads - Flit & Flutter. Next I die cut the images with the Create in Quads - Flit & Flutter Coordinating Dies.


I die cut the card front with the largest die in the Squiggle Stacklets. I used the Set the Scene - Clouds Stencil Strips with Cupcake Ink to lightly stencil clouds in the background. I also splattered the background with gold paint. I added the sentiment with the Foil It - Mini Strips - Occasions and Dragon Fruit Foil. 


On my second card I foiled and stenciled the birds as above and die cut with the Fit & Flutter Cutting Plate. I stenciled the clouds in the background, splattered paint, and then inlayed the birds back into the die cuts. 


This is another sentiment from the Foil It - Mini Strips - Occasions. 


We have a new gift collection called Simple Gifting! These bundles have all the pieces needed to create and package a set of cards to give as a gift. It is available in three color themes and they pair with the Flit & Flutter collection.


Plus, customers get 25% off a custom stamp with any purchase from the Flit & Flutter collection! Offer valid 4/08 at 9 AM CT through 4/15 at 9 AM CT. Limit one per customer.  We’ve also created two new custom stamps that pair beautifully with Flit & Flutter.


Stop by the TE Blog for all the details and more inspiration from the team. 


9/10/24

Taylored Expressions 16th Birthday Bash!!!

There is a new release today at Taylored Expressions celebrating TE's 16th Birthday!!! I feel so blessed to be part of the TE Family for so many years. Let the party begin! There are so many new birthday themed products in the TE Store


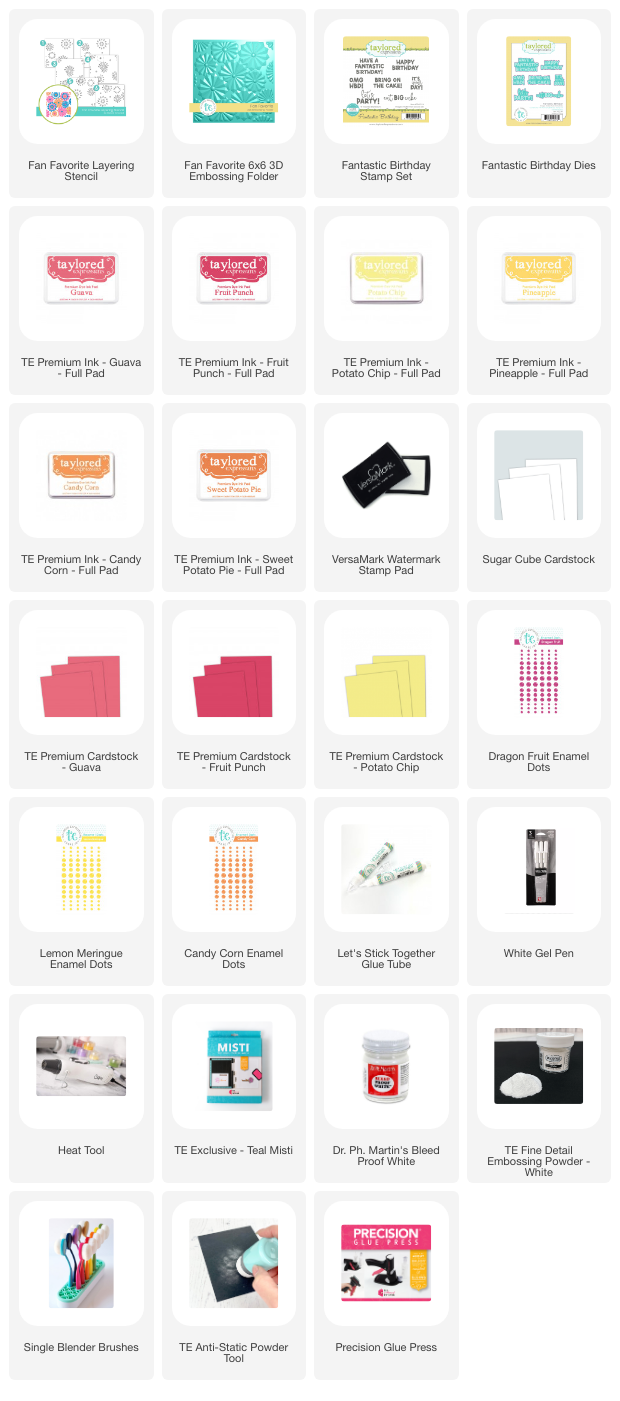
Let's get started with the fun new Fan Favorite Layering Stencil. I just love this fan pattern. The color combinations are endless and the stencil could be used for so many celebrations. I used a combination of Potato Chip, Pineapple, Candy Corn, Sweet Potato, Cupcake, Guava, and Fruit Punch Inks. 


To create the balloon I used the new Create-in-Quads - Celebrate in Style Ballon Bash. There are dies to create the tasseled balloon string in different colors. I die cut the balloon from Guava Cardstock and blended Fruit Punch Ink on the edges, used a white gel pen to add detail along with a splattering of white paint. 


The sentiment is from the Fantastic Birthday Stamp Set and die cut with coordinating dies.  I stamped in Versamark Ink on Fruit Punch Cardstock and then embossed with TE White Embossing Powder. Then I added enamel dots to the centers of the fans. 


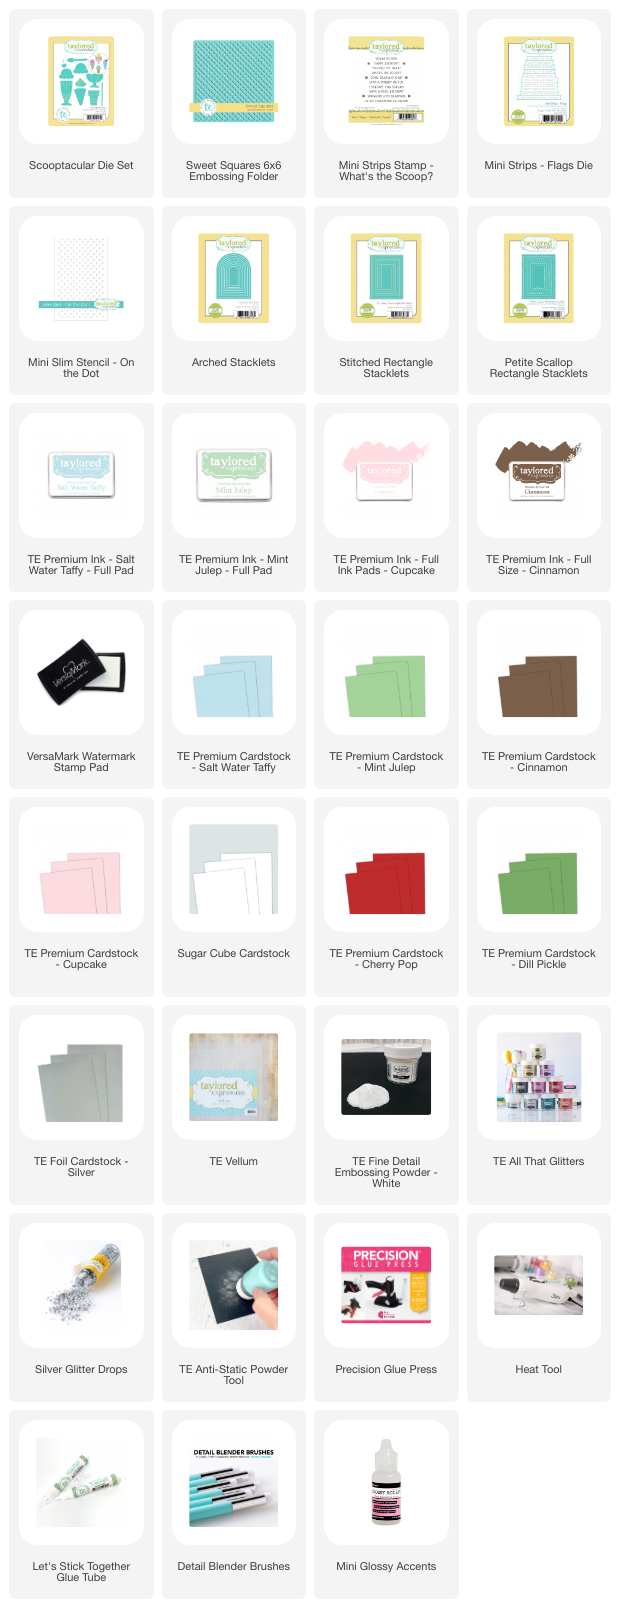
Next is a look at the Scooptacular Dies. There are also dies to create ice cream cones in the die set. I die cut my ice cream dishes from Salt Water Taffy and Mint Julep Cardstock and then again from vellum. I layered the vellum die cuts over the cardstock die cuts to give the feel of colored glass. 

I added Sugar Cube Glitter to the whip cream and Glossy Accents to the fudge topping. 


Behind the die cuts I added an arch die cut with the Arched Stacklets. I stenciled the polka dots with the Mini Slim Stencil - On the Dot. The background is embossed with the new Sweet Squares Embossing Folder. The spoon is cut from TE Silver Foil Cardstock. 


The sentiments are from the new Mini Strips Stamp - What's the Scoop? To die cut the background I used the Stitched Rectangle Stacklets and the Petite Scallop Rectangle Stacklets. 


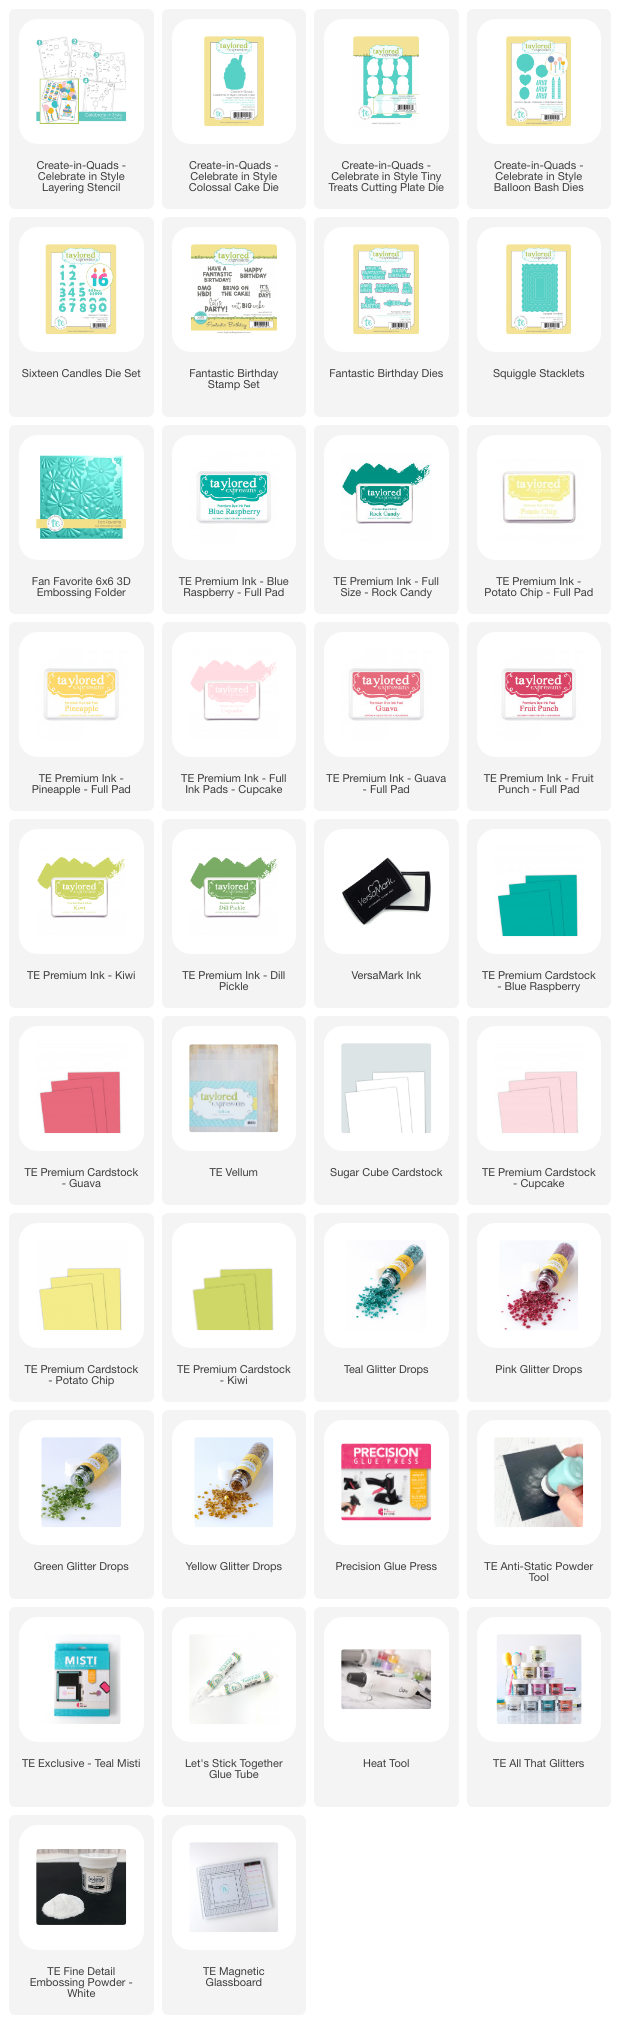
Next I am going to give you a look at the Create-in-Quads - Celebrate in Style Layering Stencil. Such an easy way to create four birthday cards! There are a number of coordinating products for the stencil if you want to add to the collection. 


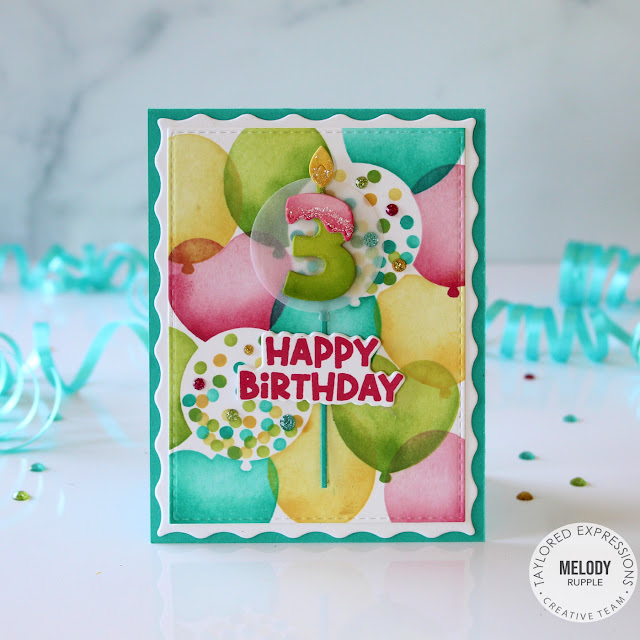
I decided I wanted to go with bright and happy colors. You can see the inks I used listed below. I die cut all the front card panel with the largest die in the Stitched Rectangle Stacklets and matted with the Squiggle Stacklets. 

On this card I used the Create-in-Quads - Celebrate in Style Sixteen Candles Dies to add the number 3. Each number in the set has a coordinating frosting die. So cute! I die cut the vellum balloon with the Create-in-Quads - Celebrate in Style Balloon Bash. 


I used the Create-in-Quads - Celebrate in Style Balloon Bash to add the balloon to the stenciled background. I love the option of the different colored tassels. The sentiment is from the new Fantastic Birthday Stamp Set. I stamped in Versamark Ink and embossed with TE White Embossing Powder. 


On this card I used the Create-in-Quads - Celebrate in Style Tiny Treats to die cut all the little stenciled cupcakes. I add foam squares to the back of each cupcake and added the cupcake back into the card front. You could die cut extra cupcakes to add to other birthday card layouts. 


On my last card I die cut the stenciled cupcake with the coordinating Create-in-Quads - Celebrate in Style Colossal Cake. I added glitter to the frosting and used Glitter Drops to add a little sparkle to all my cards. The background is embossed with the Fan Favorite 3D Embossing Folder. 


Get the Icing on the Cake exclusive Stamp, Die, & 3D Embossing Folder Combo FREE with any purchase of $100 or more.

Stop by the TE blog for all the detail, videos, and more inspiration from the design team.