Showing posts with label Celebrate. Show all posts

2/10/26

The Second Chance Release at Taylored Expressions

This week is the  Second Chance Release at Taylored Expressions.  TE is bringing back previously exclusive favorites into our main catalog and pairing them with brand-new coordinating pieces to increase your creativity and options. All the new products are available now in the TE Store.  I have four projects to share with you today. 


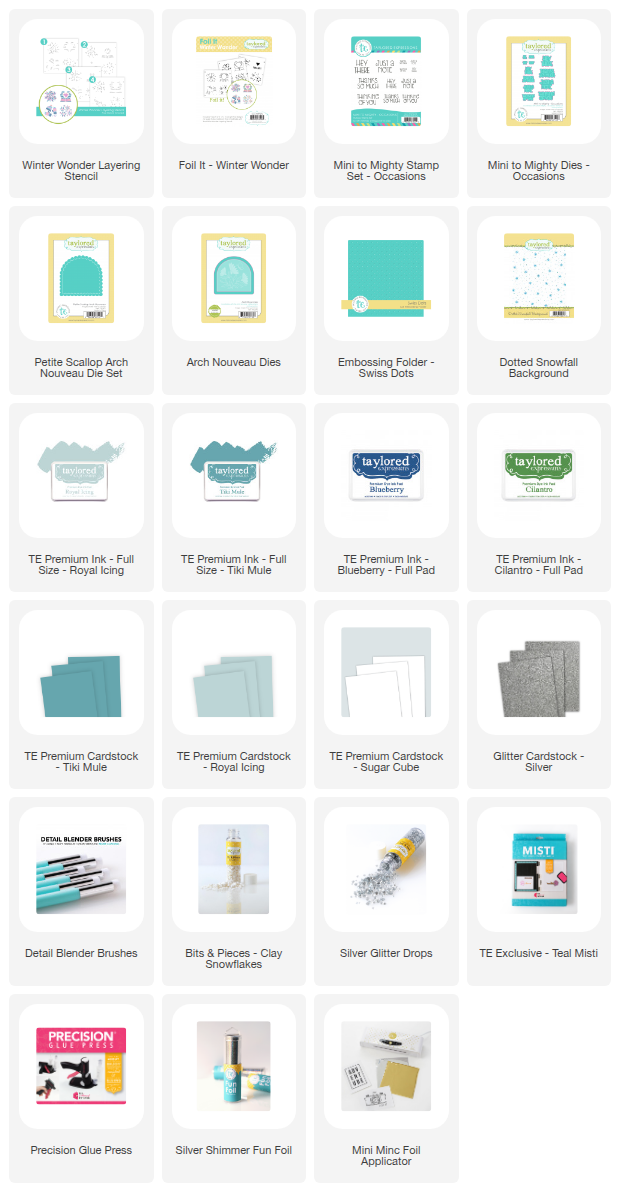
Let start with a look at the Winter Wonder Layering Stencil and the Petite Scallop Arch Nouveau Stacklets. The stencil creates four small designs with a winter theme. 


I used a combination of Royal Icing, Tiki Mule, Blueberry, and Cilantro Inks with the Foil It - Winter Wonder panel and TE Silver Shimmer Fun Foil. Each stenciled image is die cut with the Arch Nouveau Dies and matted with the new  Petite Scallop Arch Nouveau Dies.


I created the background by stamping the Dotted Snowfall Background Stamp in Tiki Mule Ink on Royal Icing cardstock. Then I embossed with the Swiss Dot Embossing Folder. 


All the sentiments are the Mini to Mighty Stamp Set - Occasions Stamp Set and die cut with the coordinating dies. I also created two tags with the stenciled images. 


Here is the inside of the tag. I added  Bits & Pieces - Clay Snowflakes to each project. 

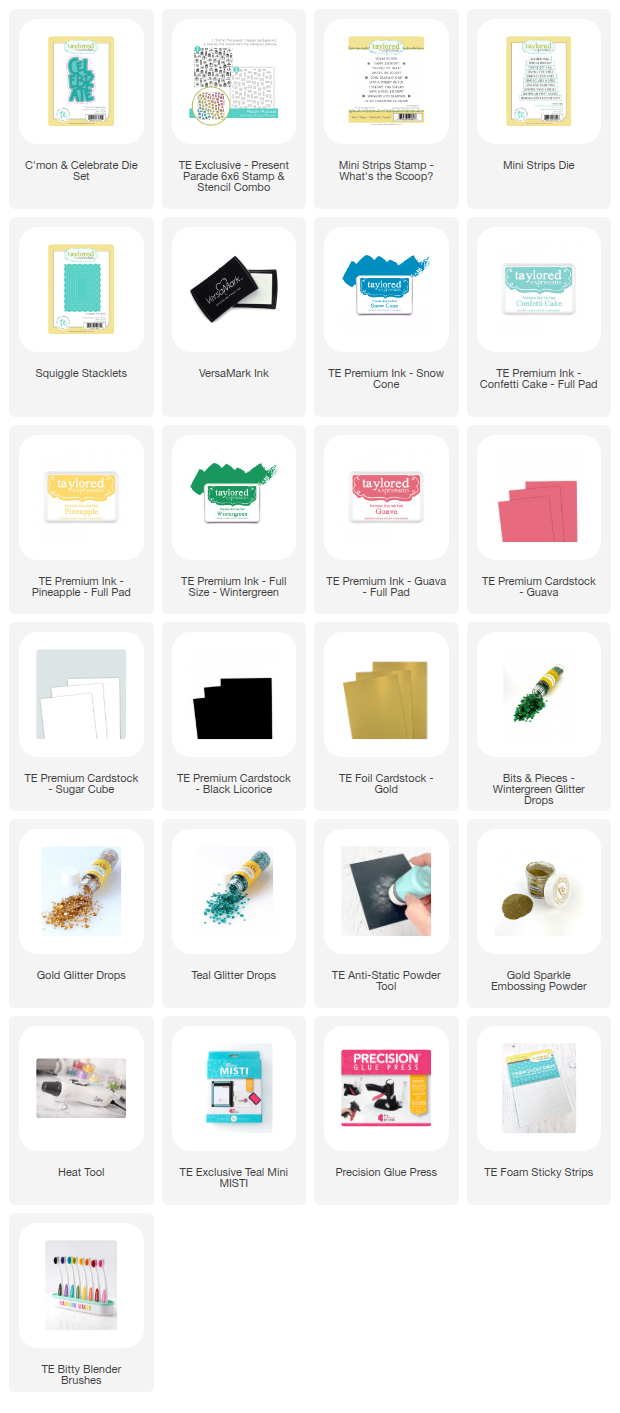
Next is a look at the C'mon & Celebrate Die Set This is a large sentiment to create the focal point of your card. There are three dies in the set to add the different layers. The smaller sentiment is from the previously released Mini Strips - What's the Scoop. I stamped in Versamark Ink on Licorice Cardstock and embossed the TE Sparkle Gold Embossing Powder. 


For the background I used. the Present Parade 6 x 6 Stamp & Stencil Combo. I stamped in Versamark Ink and embossed with Gold Sparkle Embossing Powder and then used the stencil to color the gifts. I have listed the inks I used below. 
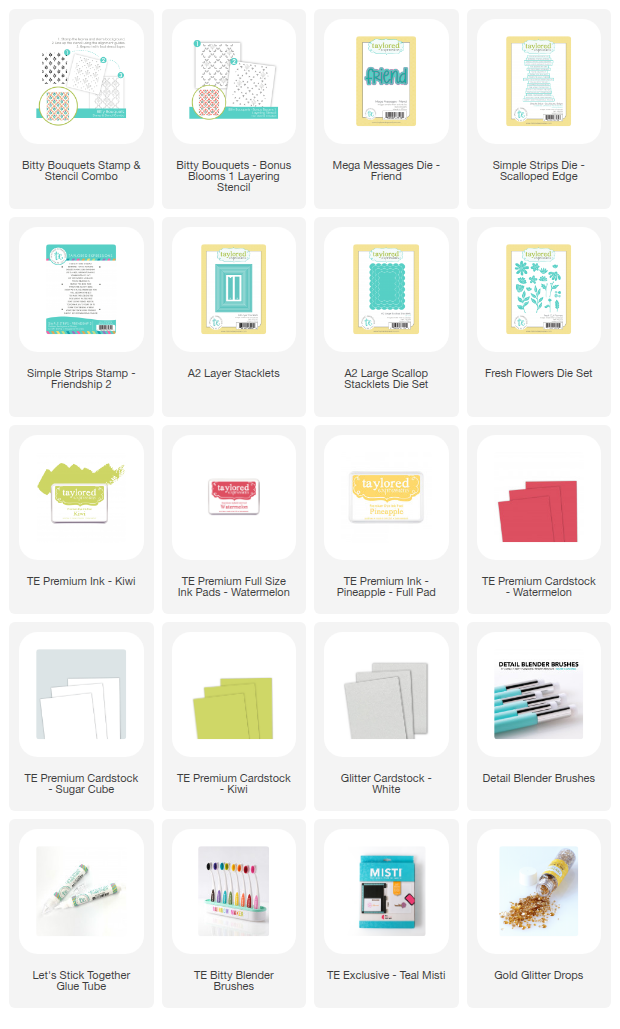
The focal point of my next project is the new Mega Messages - Friend Die. There are two dies in the set, one to die cut the sentiment and one to back the sentiment. I used TE White Glitter Cardstock for the sentiment with Guava for the backing. 


The background is created by stamping the leaves with the Bitty Bouquets Stamp and Stencil Combo and then stenciling with the new Bitty Bouquets - Bonus Blooms 2 Layering Stencil to add the flowers. The smaller sentiment is from the Simple Strips Stamp - Friendship 2 and die cut with the Simple Strips Die - Scalloped Edge. The flower in the corner is die cut with the Fresh Cut Flowers Die Set. 
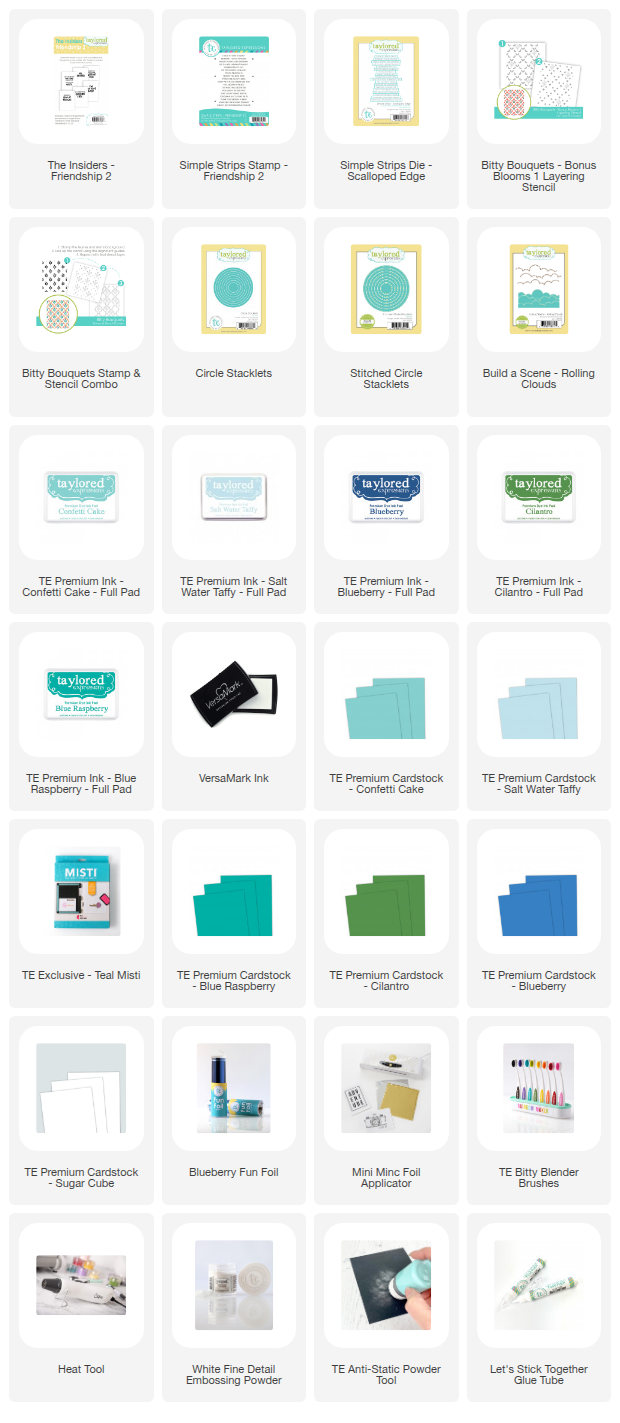
If you follow Taylored Expression you know how great the Insides Panels are. There are so many panels to choose from for many occasions to finish off the inside of your card. Here I am using The Insiders - Friendship 2 Panel as the sentiment on the front of my card. I foiled the sentiment with TE Blueberry Foil using my Minc, and stencil clouds in the background with the Set the Scene - Rolling Clouds Stencil. 


I created the background by stamping the leaves with the Bitty Bouquets Stamp and Stencil Combo and then I used the. new Bitty Bouquests - Bonus Blooms 1 Stencil to add the flowers. I used a combination of Confetti Cake, Blue Raspberry, Blueberry, and Cilantro Inks. Next I used the Circle Sticklets to cut and matt the circle in the center of card and then added the sentiment behind the circle die cut. The smaller sentiment is from the Simple Strips Stamp - Friendship 2. 

Thanks for taking a look. Stop by the TE Blog for all the details and more inspiration from the team. 


6/10/25

It's the Summer Release at Taylored Expressions

There is a new release at Taylored Expressions today and we are celebrating summer! This release is full of sunshine filled products to celebrate the summer season! All the new products are available now in the TE Store. 


My first card features the Summertime Sips Die Set along with the Fresh Squeezed Die Set. I love the new hurricane glassware and the new Bits & Pieces - Ice Cubes are perfect for a shaker card. I created the shaker with Sugar Cube Cardstock, TE Acetate, and TE Foam Strips. I used Cupcake and Guava Inks for the inside of the glass. 


The background is stenciled with the Sunny Slices Stencil with Potato Chip and Pineapple Inks. I added the lemon slices with the  Fresh Squeezed Die Set. I added the leaves with the previously released Garden Variety Die Set. 


The sentiment is from the Let's Chill Stamp Set and die cut with the coordinating Let's Chill Dies. 


Next up is a look at the Around the Town - Carnival Stencil and Dies. There is also a seaside themed option in this release. The Around the Town - Carnival Stencil is a set of three stencils that creates all the images on my card. The Around the Town - Carnival Die cut all the stenciled images in one step! 


The background is stenciled with the Around Town Stencil with Kiwi and Dill Pickle Inks. I also lightly splattered white paint on the background. 


The sentiment is from the new Enjoy Today Stamp Set and die cut with the Enjoy Today Dies. I finished off the card by adding a few Bits and Pieces - Black Rhinestone and red dots from the Tiny Diamond - Bold Collection. 


https://www.tayloredexpressions.com/all-around-summer-town-bundle/

Plus, get a FREE Sending Summer Kit with any purchase of $100+ sitewide! Offer valid starting 6/10 at 9 am CT through 6/17 at 9 am CT or while supplies last.


Thanks for stopping by today! Stop by the TE Blog for all the details and more inspiration from the team. 


9/10/24

Taylored Expressions 16th Birthday Bash!!!

There is a new release today at Taylored Expressions celebrating TE's 16th Birthday!!! I feel so blessed to be part of the TE Family for so many years. Let the party begin! There are so many new birthday themed products in the TE Store! 


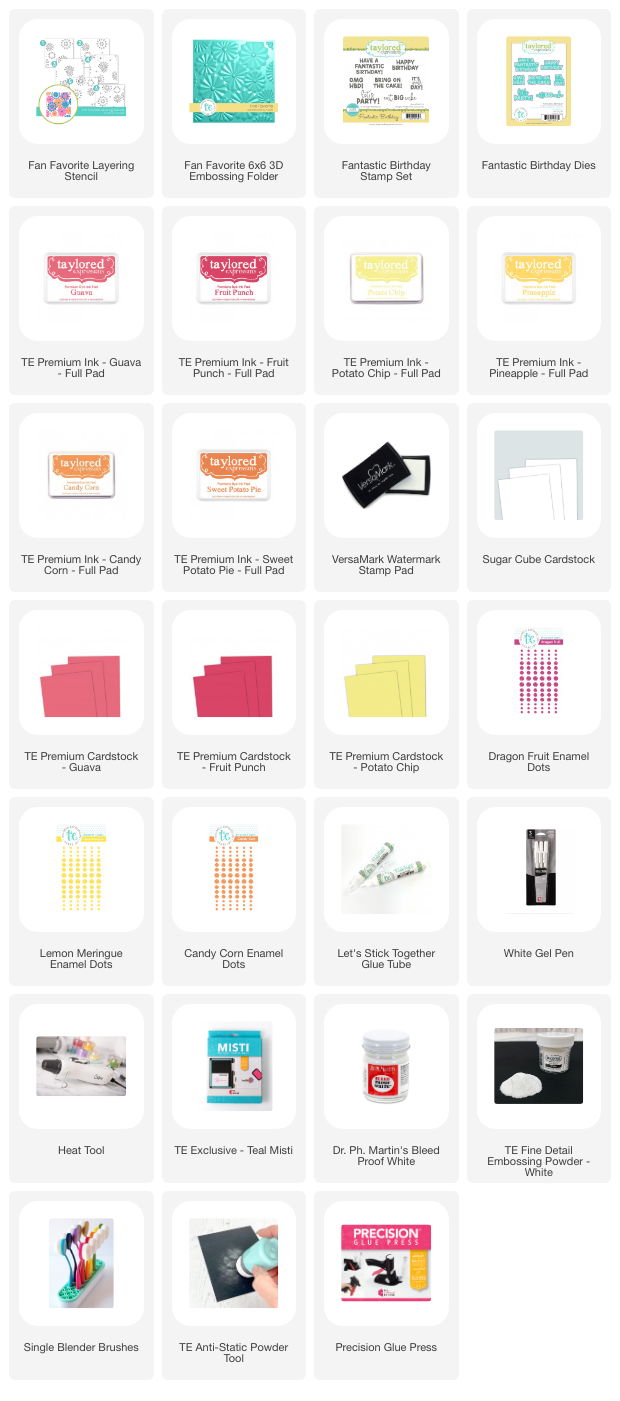
Let's get started with the fun new Fan Favorite Layering Stencil. I just love this fan pattern. The color combinations are endless and the stencil could be used for so many celebrations. I used a combination of Potato Chip, Pineapple, Candy Corn, Sweet Potato, Cupcake, Guava, and Fruit Punch Inks. 


To create the balloon I used the new Create-in-Quads - Celebrate in Style Ballon Bash. There are dies to create the tasseled balloon string in different colors. I die cut the balloon from Guava Cardstock and blended Fruit Punch Ink on the edges, used a white gel pen to add detail along with a splattering of white paint. 


The sentiment is from the Fantastic Birthday Stamp Set and die cut with coordinating dies.  I stamped in Versamark Ink on Fruit Punch Cardstock and then embossed with TE White Embossing Powder. Then I added enamel dots to the centers of the fans. 


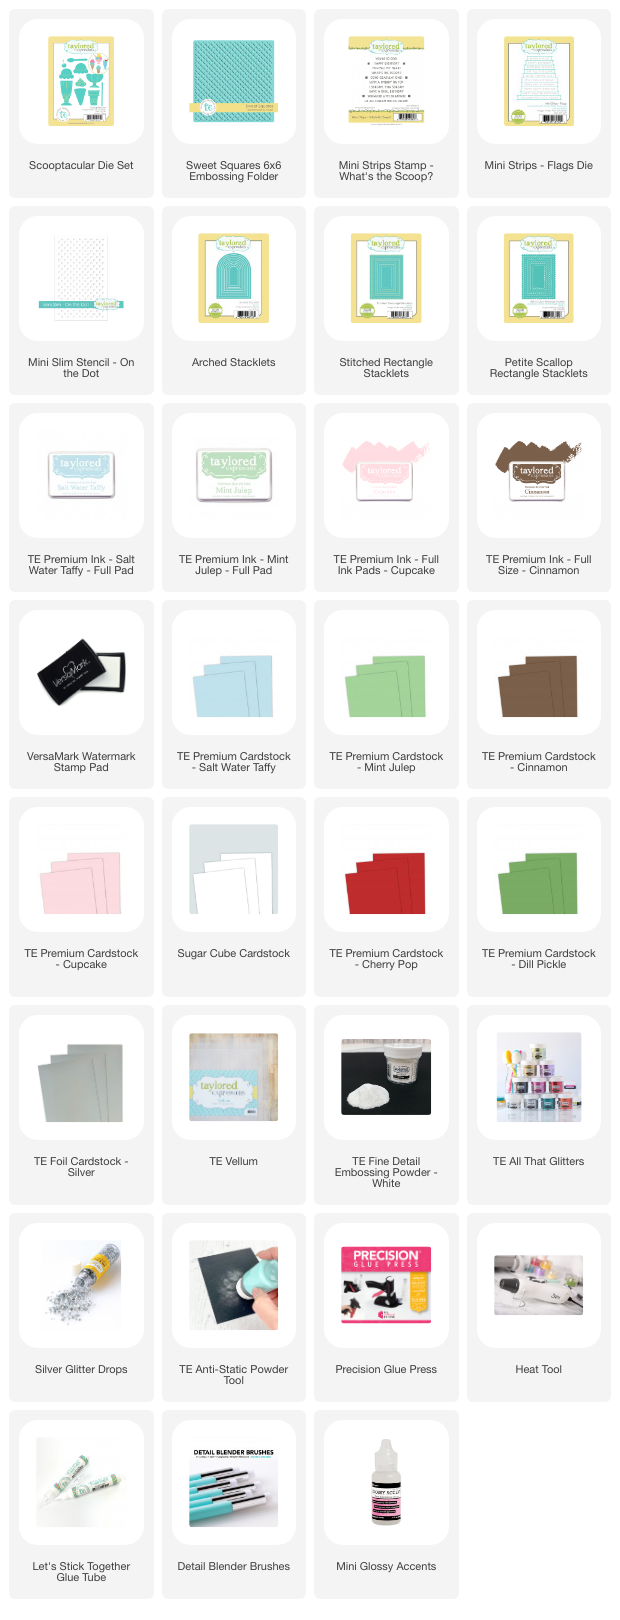
Next is a look at the Scooptacular Dies. There are also dies to create ice cream cones in the die set. I die cut my ice cream dishes from Salt Water Taffy and Mint Julep Cardstock and then again from vellum. I layered the vellum die cuts over the cardstock die cuts to give the feel of colored glass. 

I added Sugar Cube Glitter to the whip cream and Glossy Accents to the fudge topping. 


Behind the die cuts I added an arch die cut with the Arched Stacklets. I stenciled the polka dots with the Mini Slim Stencil - On the Dot. The background is embossed with the new Sweet Squares Embossing Folder. The spoon is cut from TE Silver Foil Cardstock. 


The sentiments are from the new Mini Strips Stamp - What's the Scoop? To die cut the background I used the Stitched Rectangle Stacklets and the Petite Scallop Rectangle Stacklets. 


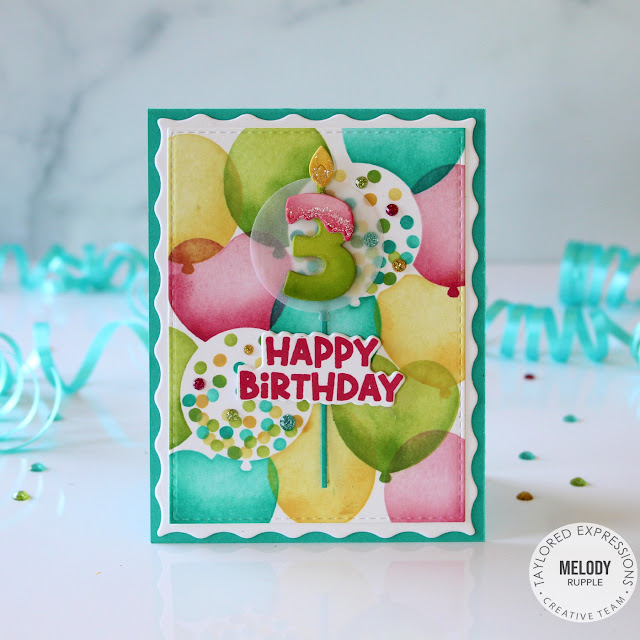
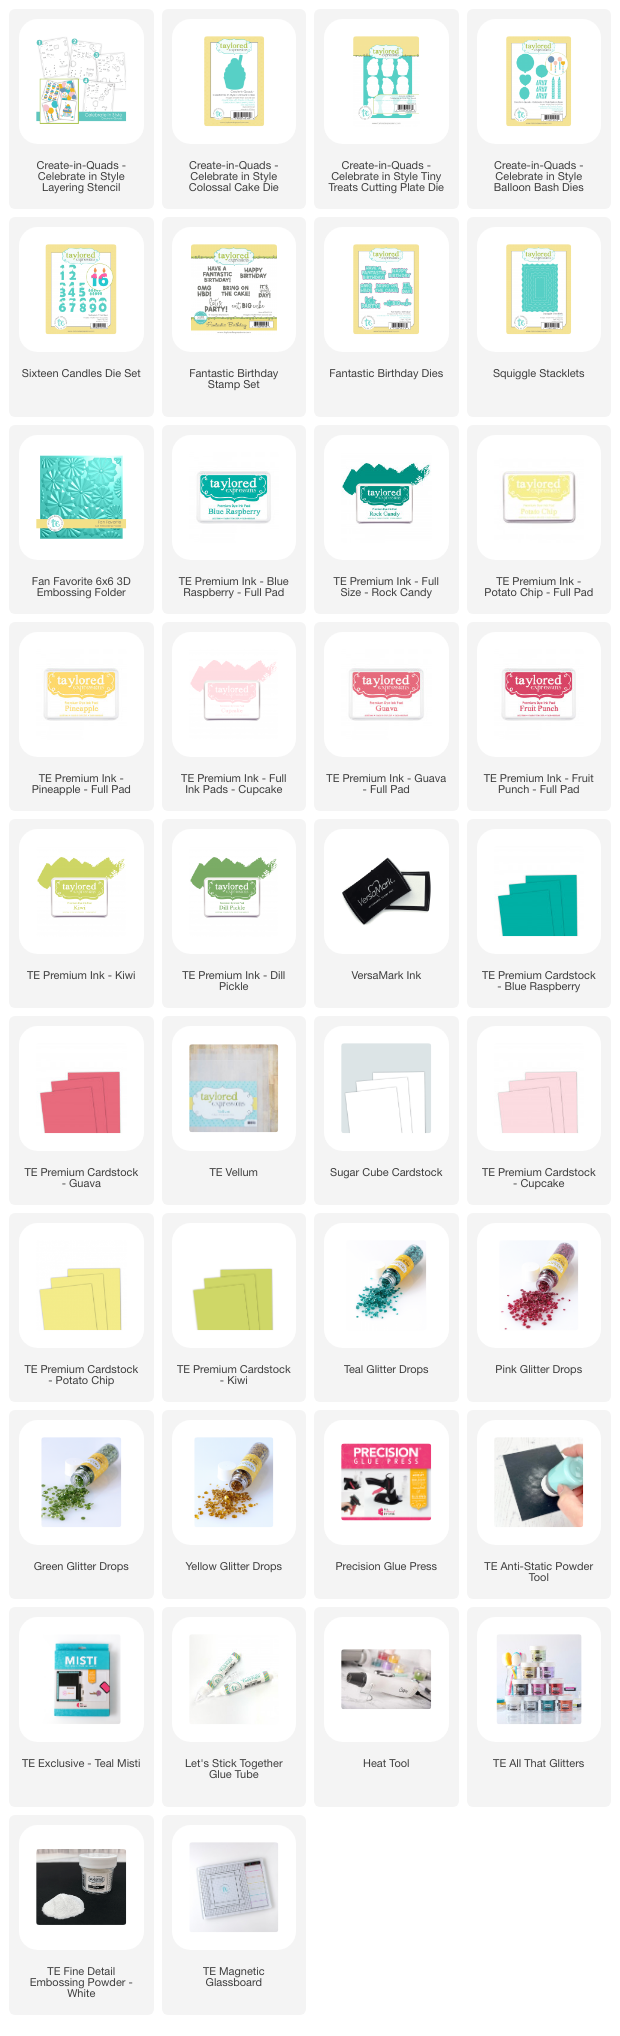
Next I am going to give you a look at the Create-in-Quads - Celebrate in Style Layering Stencil. Such an easy way to create four birthday cards! There are a number of coordinating products for the stencil if you want to add to the collection. 


I decided I wanted to go with bright and happy colors. You can see the inks I used listed below. I die cut all the front card panel with the largest die in the Stitched Rectangle Stacklets and matted with the Squiggle Stacklets. 

On this card I used the Create-in-Quads - Celebrate in Style Sixteen Candles Dies to add the number 3. Each number in the set has a coordinating frosting die. So cute! I die cut the vellum balloon with the Create-in-Quads - Celebrate in Style Balloon Bash. 


I used the Create-in-Quads - Celebrate in Style Balloon Bash to add the balloon to the stenciled background. I love the option of the different colored tassels. The sentiment is from the new Fantastic Birthday Stamp Set. I stamped in Versamark Ink and embossed with TE White Embossing Powder. 


On this card I used the Create-in-Quads - Celebrate in Style Tiny Treats to die cut all the little stenciled cupcakes. I add foam squares to the back of each cupcake and added the cupcake back into the card front. You could die cut extra cupcakes to add to other birthday card layouts. 


On my last card I die cut the stenciled cupcake with the coordinating Create-in-Quads - Celebrate in Style Colossal Cake. I added glitter to the frosting and used Glitter Drops to add a little sparkle to all my cards. The background is embossed with the Fan Favorite 3D Embossing Folder. 


Get the Icing on the Cake exclusive Stamp, Die, & 3D Embossing Folder Combo FREE with any purchase of $100 or more.

Stop by the TE blog for all the detail, videos, and more inspiration from the design team. 


9/13/22

Taylored Expressions 14th Birthday Bash Celebration

 Hi! Today I have a new release to share with you to celebrate Taylored Expressions's 14th Birthday. There are new products to celebrate the birthdays of all the special people in your life! And I have to take a moment to say how blessed I feel to be part of the TE Team. I have designed to Taylor for many years now and I cannot believe how much they have grown in evolved over the years! Congratulations to Taylor and Jon, and the whole TE Family! 


First up is a look at the Get Thready Cutting Plate die,  designed for adding stitched elements with DMC floss & a tapestry needle on a card panel. This is a simple design that will take less time to accomplish, but still incorporate the fun, textural stitched elements. I started by cutting a piece of Salt Water Taffy Cardstock to fit the card front and then I stenciled with the Confetti Toss Stencil and Salt Water Taffy Ink, and then ran the cutting plate through my die cutting machine. 


I used DMC Embroidery Floss in 208, 963, 727, 3848, 964, 956 and 702. The sentiment is die cut with the new Bold Birthday Die and backed with the Bold Birthday Backer Die. I finished the card off with a few Bits & Pieces Iridescent Rhinestones. 


My next two cards feature the Let Them Eat Cake A2 Layering Stencil and coordinating Let Them Eat Cake Dies. I used the cupcakes for my two cards in a couple of differ color schemes. 


Each card is framed with the fun Mix & Match Drip & Dots Cutting Plate. I used a stencil behind the frames to add visual interest. The cupcake is so easy to stencil and then die cut. I added a little Happy Medium - Iridescent Glitter Paste to the frosting on each card. 


The sentiments are from the Happy Hooray Stamp Set and Dies, a great birthday sentiments stamp set to have in your stash. I added the candles with the new Candles Layering Stencil and Triple Slim Celebrate Candles Die. 


My next group of cards are so easy to create with the Triple Slim Layering Stencil - Celebrate and the Foil It - Triple Slim Celebrate Panels. First I foiled the three panels and then I used the stencils. 


On my first card I used Deep Blue Foil and then stenciled with Blue Raspberry, Granny Smith, and Confetti Cake Ink. All the card fronts are die cut with Stitched Mini Slim Stacklets and the Petite Scallop Mini Slim Stacklets. On this card I added some Tiny Diamonds. 


On this card I used Aqua Foil with Granny Smith and Macaron Inks. I added the balloons with the new Triple Slim Celebrate Balloon Dies. 


My last card uses Gold Foil, always on of my favorites. I used Granny Smith, Macaron, and Cupcake Inks. 


For my last project I cut the Foil It - Acetate - Big Birthday Panel to create a shaker card. Rather than foiling the panel, I left the lettering black to go with the pink, gold, and black theme. I used the new Confetti Maker Die to make the filler for the shaker, using TE Gold, Cupcake, and Oreo Cardstock. I also added Snow Flurries Sequins. 


To create the shaker I die cut the largest die in the Frame in Frame 2 Cutting Plate four times. I added the acetate panel behind the first frame and the glued the the next three frame together. 


Right now through Sunday, September 18th, purchase the Get Thready Bundle (Get Thready – Sunburst Cutting Plate die, Bold Birthday die, Bold Birthday Backer die, 4 colors of embroidery floss, 4 floss bobbins, and tapestry needle) and get access to the LIVE class on Facebook (Friday, September 23 at 7:00pm) with Taylor (If you aren’t able to attend the class live, a replay will be available to view afterwards)! In this exciting virtual class, you’ll learn how to use the Get Thready – Sunburst Cutting Plate die using all of Taylor’s tips and tricks! Get Thready Bundle available while supplies last.


Right now through Sunday, September 18th we are including a freebie Birthday Bash stamp set with every order! This cute set includes a birthday present, cupcake, balloons, party blower, and happy birthday words to create cards, tags, and more to celebrate birthdays in style! Make sure to check out the Exclusive Maker Challenge that you can participate in on our Fans of Taylored Expressions Facebook page. Offer valid while supplies last.

Thanks for stopping by! Stop by the TE Blog and wish TE Happy Birthday and get all the details on the birthday release and celebration!