8/28/20

Sweet Birthday Wishes

Hi and thanks for stopping by today! I am sharing a simple birthday card today with products from Pretty Pink Posh, prefect for any little girl! 

I started by cutting a piece of white cardstock to fit the front of the card. I used the Birthday Background Stencil and a lavender ink to created the quick and easy background. (See Link Below) Just one of things I love about stencils.

Next I stamped a few images from the Birthday Friends Stamp Set, colored with Copic Markers, and die cut with the Birthday Friends Coordinating Dies. The dots are added with a white gel pen. 

I die cut the circle with the Scallop Circles Dies from white cardstcok and added a circle of vellum behind the die cut. The sentiment is from the Simple Sentiments Stamp Set and die cut with the Simple Strips Die. At the bottom I added a little feminine detail with white trim and lavender floss. 


Have a good weekend! Hope you have some time to get creative! 


8/25/20

Let's Celebrate Halloween at Taylored Expressions!


Today at 
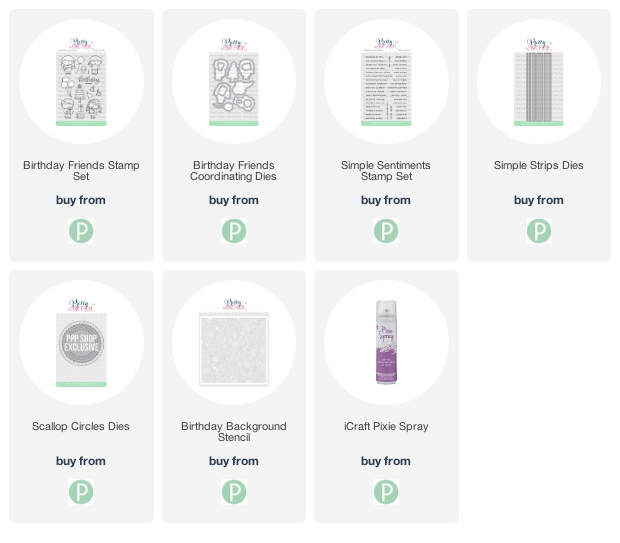
Taylored Expressions we are releasing our new Halloween Products! The release has 15 new products including stamps, dies, a new Mini Slim stencil, glow in the dark embossing powder, and a fun project kit to create Halloween treat containers! Everything is available now in the TE webstore.

I have three projects to share with you so let's get started! 


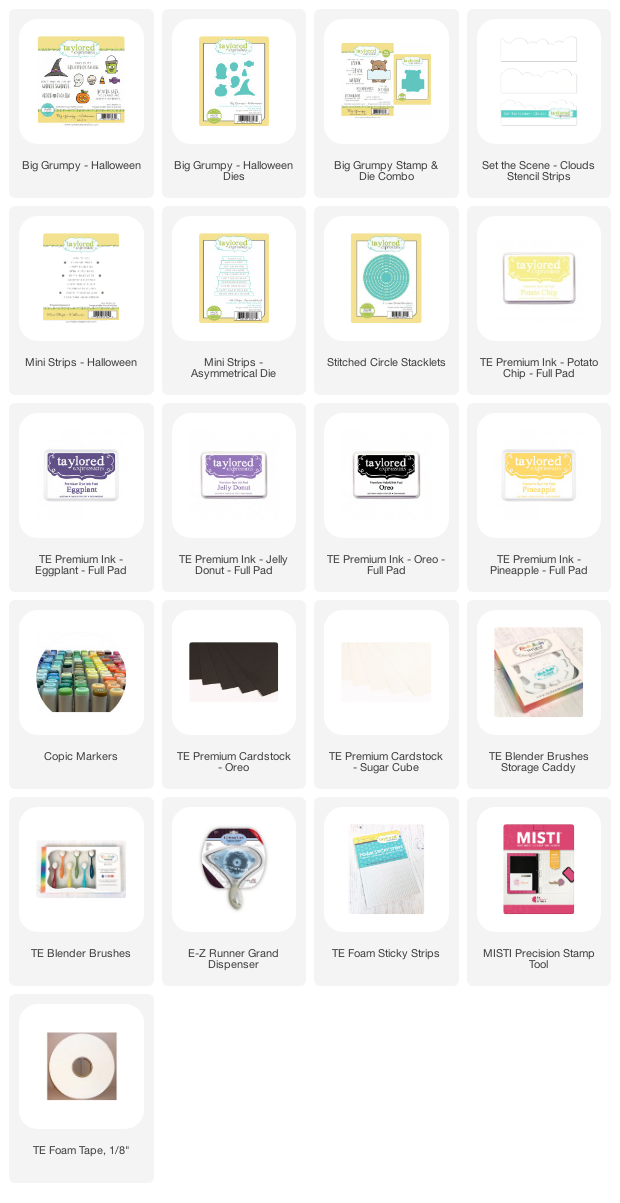
First is a look at Big Grumpy - Halloween! This stamp set coordinates with the Big Grumpy Stamp and Die Combo. (Product links are below each project) I stamped the images in Oreo Ink, colored with Copic Markers, and die cut with the coordinating dies. 


To create the spooky background I cut a piece of Sugar Cube Cardstock for the card front. At the bottom I blended Olive Ink. Then I used the Set the Scene - Clouds Stencil Strips with Jelly Donut and Eggplant Ink and my TE Blender Brushes. The last step was to splattered watered down white craft paint on the background. At the bottom I added a sentiment from the Mini Strips - Halloween. 

See the cut pumpkin candy holder in the corner! We have a kit to create these that includes the pumpkin, felt leaves, and the stem! 


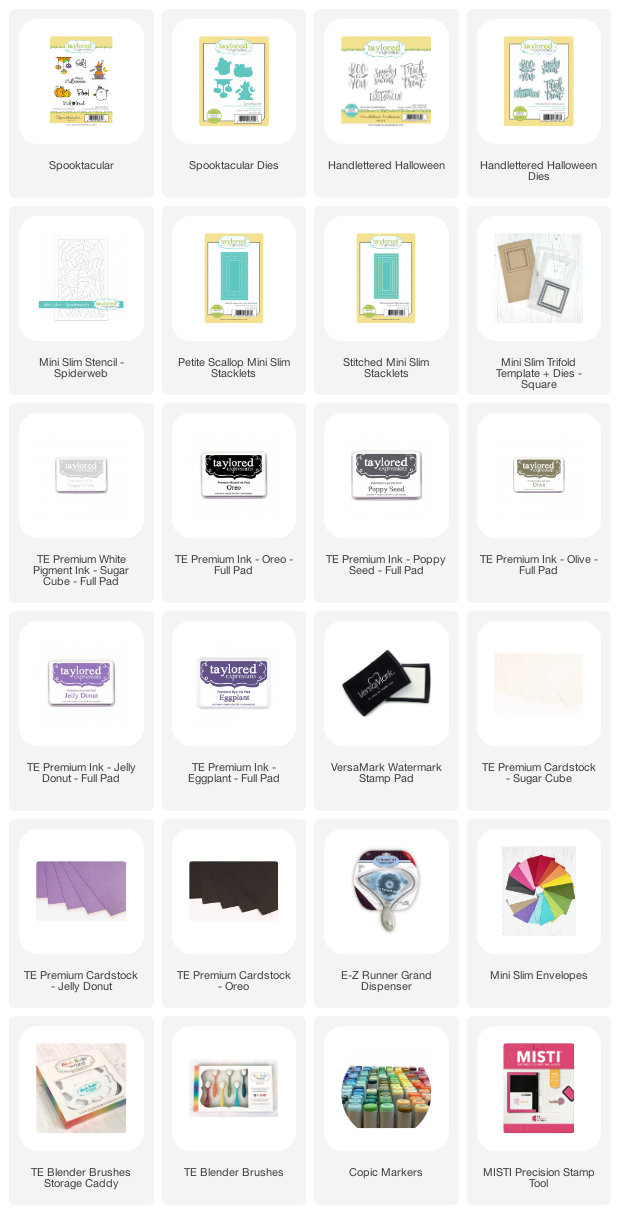
Next up is a Mini Slim Card created with the Spooktacular Stamp Set, Spooktacular Dies, and the new Mini Slim Stencil - Spiderweb. I cut the card front with the Petite Scallop Mini Slim Stacklets and used Jelly Donut and Eggplant Ink to stencil the spiderweb. The sentiment is from the Handlettered Halloween Stamp Set, stamped in Versamark Ink, embossed with TE White Embossing Powder, and die cut with the new Handlettered Halloween Dies


The windows are die cut with the Mini Slim Trifold Template + Dies - Square. I added a few more spiderwebs to the inside of the card with Sugar Cube Ink. The sentiment is included in the Spooktacular Stamp Set. 


Here is the card fully opened. I used the square template to mask off the square on the inside and then blended Olive, Poppy Seed, and Oreo Ink. 


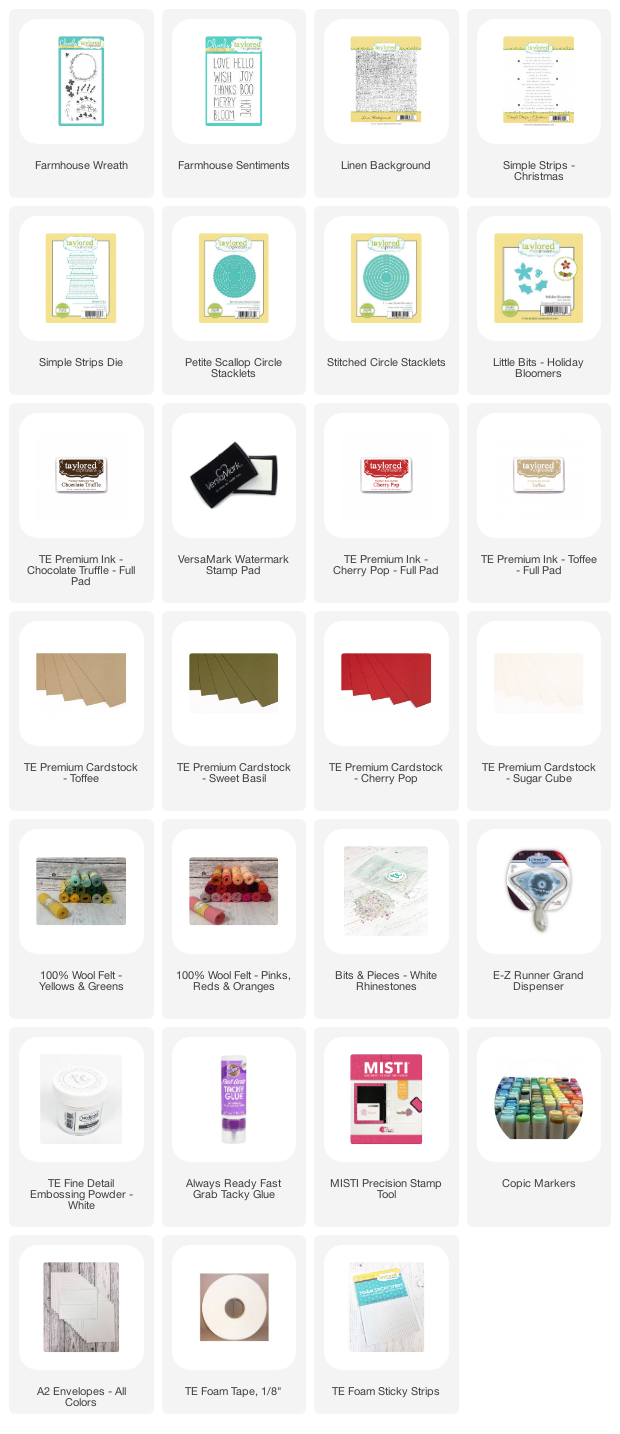
My last project is created with the new Farmhouse Wreath and Farmhouse Sentiments. The stamp set includes individual stamps that fit the wreath for additional holidays. There are bats, snowflakes, hearts, flowers, and stars. The background is stamped with the new Linen Background Stamp. I stamped with Toffee Ink on Sugar Cube Cardstock and blended a little Toffee Ink on the edges of the card front. 


I stamped the wreath on Toffee Cardstock in Chocolate Truffle Ink and added green to the leaves with my Copic Markers. The berries are stamped in Cherry Pop Ink. The circle is die cut with the Stitched Circle Stacklets and matted with the Petite Scallop Circle Stacklets. 


"Merry" is a sentiment from the new Farmhouse Sentiments Stamp Set. The other sentiments are from the Simple Strips - Christmas Stamp Set and die cut with the Simple Strips Die. I stamped in Versamark Ink and embossed with TE White Embossing powder. 


 I love creating handmade for the holidays! I hope I have inspired you to get started on Halloween and Pumpkin Season! Stop by the TE Blog for all the details and more inspiration! 

8/19/20

You Are Mer-Mazing!

Hi! I have one more card to share today featuring the new Mini Sim Products from Taylored Expressions. I am using one of my TE favorite previously released stamp sets, Be a MermaidYou can find all the new products now in the TE Webstore


I stamped the sand and the ocean with the Build A Background - Waves Stamp and Die Combo. (See links below.) I stamped the sand in Toffee Ink and the grains of sand in Mocha Ink. For the waves I used a mixed of Poblano Pepper and Blueberry Ink. The foam on the waves is stamped in Sugar Cube Ink and embossed with TE White Embossing Powder. 


I used the Here Comes the Sun Stencil to add the rays of sun and the die cut the front panel with the Stitched Mini Slim Stacklets and matted with the Petite Scallop Mini Slim Stacklets. The card base measures 3.5" x 6". I cut a piece of Sugar Cube Cardstock to 6" x 7" and scored at 3.5". 


I stamped one of the mermaid tails in the Be A Mermaid Stamp Set in Versamark Ink and embossed with TE Gold Embossing Powder. The tail is colored with Copic Markers, and die cut with the Be A Mermaid Dies. The sentiment is from the Be A Mermaid Stamp Set. 


Tomorrow through Sunday, August 23rd, the more you purchase of the new Mini Slim Trim-fold Card Bases and/or Mini Slim Envelopes the more you save!

Buy 3-5 Trifold Card Bases or Envelopes, save 10% on each
Buy 6-8 Trifold Card Bases or Envelopes, save 15% on each
Buy 9+ Trifold Card Bases or Envelopes, save 20% on each

Stop by the TE Blog for all the Details and more inspiration.


8/18/20

New Mini Slim Cards With Taylored Expressions!

Hi Crafters! Today Taylored Expressions is releasing the new Mini Slim products. The release has 24 new products including dies, stencils, envelopes, and more that coordinate with our unique Mini Slim size card (3 1/2″ x 6″). You can find all the new products now in the TE Webstore


Yesterday I shared a Mini Slim Trifold card. You can find that post HERE. Today my card features the new Masking Stencils – Mini Slim Windows and the new Mini Slim – On the Dot stencil. The card base measures 3.5" x 6". I cut a piece of Sugar Cube Cardstock to 6" x 7" and scored at 3.5". You can also purchase envelopes for the Mini Slim card size. TE is offering coordinating envelopes in 16 different colors to match our cardstock!


I used the largest die in the Petite Scallop Mini Slim Stacklets to cut the card front panel from Sugar Cube Cardstock. Next I used the Masking Stencils – Mini Slim Windows Circles and Potato Chip Ink to stencil the circles. Then I masked off the stenciled circles with the circle mask in the set. I blended Cupcake Ink on the background and used the Mini Slim – On the Dot stencil, Guava Ink, and TE Blender Brushes to add the polka dots. 


The flowers are stamped and die cut with the Bouquet Whimsy clear stamp set and Bouquet Whimsy Dies.  The sentiments are from the Simple Strips - Birthday Stamp Set and die cut with the Simple Strips Dies. 


Tomorrow through Sunday, August 23rd, the more you purchase of the new Mini Slim Trim-fold Card Bases and/or Mini Slim Envelopes the more you save!

Buy 3-5 Trifold Card Bases or Envelopes, save 10% on each
Buy 6-8 Trifold Card Bases or Envelopes, save 15% on each
Buy 9+ Trifold Card Bases or Envelopes, save 20% on each

I hope you like the Mini Slimline products. Stop by the TE Blog for all the Details and more inspiration. I will be back tomorrow with another project with the new products.


8/17/20

New Mini Slimline Cards from Taylored Expressions

Hi! I am starting off the week with a new card concept from Taylored Expressions, Mini Slimline! TE designed this collection with our own spin on the popular slimline concept. The "Mini Slim" release is built around cards sized at 3.5" x 6" giving everyone a slightly smaller surface to design within while still enjoying the slim sizing. 

Taylored Expressions will also be offering pre-cut and scored card bases in Sugar Cube & Toffee to make completing the tri-fold super easy. In addition, we'll be offering coordinating envelopes for the Mini Slim cards in 16 different colors to match our cardstock!


My first card with the new products is a tri-fold card. I used a Sugar Cube Trim-Fold Card Base and die cut square windows in the first and second layers of the tri-fold with the Mini Strips Trim-Fold Template + Dies. You can stop by the TE Blog for instructions and helpful hints. 


I used the largest die in the Stitched Mini Slim Stackets to die cut the front panel. Next  I attached the Mini Slim Stencil - Zig Zag to the front panel with Pixie Spray and stenciled with Blueberry, Blue Raspberry, Confetti Cake, and Lime Zest Inks and my TE Blender Brushes. (See links below)

The sentiment is from the Little Monsters Stamp and Die Combo, stamped in Versamark Ink and embossed with TE White Embossing Powder. 


I stamped the two monsters from the Little Monsters Stamp and Die Combo and colored with Copic Markers. I stenciled the inside panel with the same stencil as the card front and added another sentiment from the stamp set. 


Here is the card with all sides open. I used the stencil that is part of the Mini Strips Trim-Fold Template + Dies to mask off and ink the square with Confetti Cake Ink and added a second little monster and the gifts. The sentiment is from the Inside Scoop Stamp Set - Birthday Stamp Set. I also added a few Bits & Pieces - White Rhinestones. 


Tomorrow through Sunday, August 23rd, the more you purchase of the new Mini Slim Trim-fold Card Bases and/or Mini Slim Envelopes the more you save!

Buy 3-5 Trifold Card Bases or Envelopes, save 10% on each
Buy 6-8 Trifold Card Bases or Envelopes, save 15% on each
Buy 9+ Trifold Card Bases or Envelopes, save 20% on each

I hope you like the Mini Slimline products. Stop by the TE Blog for all the Details and more inspiration. I will be back tomorrow with another project with the new products.

8/15/20

Taylored Expressions Collaboration with Brutus Monroe!

Hi All! I have a fun new Simple Strips Stamp Set to share, perfect for all you crafty friends, and a collaborative between Taylored Expressions and Brutus MonroeSimple Strips - Crafty is available for purchase now! 


Each company chose 9 sentiments for the set that coordinates with the original TE Simple Strips Die and the newer Well-Rounded Simple Strips Die. 


The background on this card is stamped with the Art From the Heart Background Stamp. This stamp set is free in the month of August with the purchase of $100! 


I colored the background with Copic Markers and then die the card front with the Stitched Rectangle Stacklets and matted with background with the Petite Scallop Rectangle Stacklets. (See links below)


I added two of the sentiments from the Simple Strips - Crafty Stamp Set, stamped in Versamark Ink and embossed with TE White Embossing Powder. I die cut the strips with the original Simple Strips Die. 


On my next card I created the background with stamps from the Craftiness is Happiness Stamp Set. I used Oreo, Guava, Lime Zest, and Potato Chip Inks. The Misti Stamping Tool made the background easy to build. 


I added the sentiments with the Simple Strips - Well Rounded Die. The three paint brushed are die cut with the Little Bits - Paint Brushes. 
Stop by the TE Blog for all the details and more inspiration! 


8/14/20

Jungle Themes Birthday Tags

Happy Friday! I have a few ideas for birthday tags to share today. I love making tags and they make the simplest wrapping special. These tags are created with the latest products from Pretty Pink Posh

I used the Scallop Square Tag Dies for the base of each tag. I cut the tags from white cardstock, then blended a different color of ink on each tag, and added the polka dots with the PPP Medium Polka Dot Stencil. (See Link Below)


The cute zebra is from the Jungle Friends Stamp Set. All the images are colored with Copic Markers. 

The hippo is from the Jungle Friends Addition Stamp Set. All the sentiments I used are included in the Simple Sentiments Stamp Set and die cut with the Simple Strips Dies. 

I love the Jewels that are in the PPP product line and they come in so many different colors. I added a different color to each tag. 

At the top of each tag I added an eyelet and black and white checked ribbon. I also like to give a set of gift tags as a gift! 

Thanks for taking a look and have a great weekend! 

8/12/20

Spellbinders Sparking Christmas Collection

The new Spellbinders Sparking Christmas Collection has just been released at Spellbinders! Although the holidays are months away it is always helpful to plan ahead before things get too crazy, especially in creating handmade gifts and cards! 


My card from the collection showcases the new Die D-Lites Sunday Drive with Santa Etched Dies from Sparking Christmas Collection. The die coordinates with the Shapeabilities Sunday Drive Etched Dies, which die cuts the car and then there are several additional themed dies sets in the Sunday Drive Collection. 


I started by creating the background. I used a cloud stencil and Distress Inks in Blueprint Sketch, Chipped Sapphire, and Black Soot. Then I splattered gold paint on the background. Next I die cut all the pieces to put the car and Santa together. 


At the bottom I added a sentiment from the Pretty Pink Posh Holiday Greeting Stamp Set, stamped in Versamark Ink and embossed with white embossing powder. I finished off by added a few Metallic Gold Jewels. 

Thanks for stopping by! You can find the complete Sparking Christmas Collection HERE