9/30/19

Merry Christmas! Taylored Expressions October Sneak Peeks Day 1

Welcome to Day 1 of the Taylored Expressions October Release Sneak Peeks! The TE Christmas release is always one of favorites. I have number of projects to share with you over the next few days.   New stamps, new dies, new cardstock and ink colors, and stencils!!


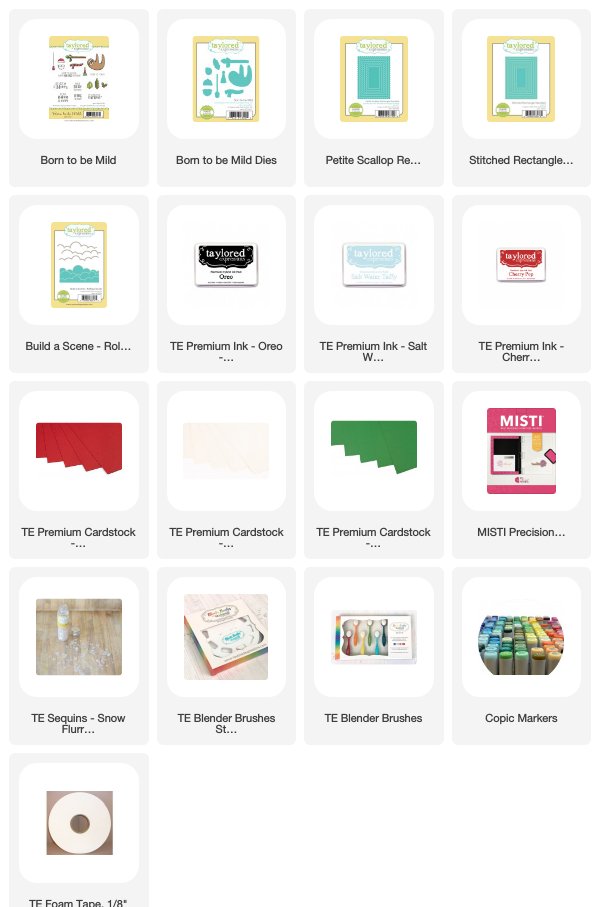
My first card is created with a fun stamp set called Born To Be Mild. The stamp set includes both Holiday and non Holiday stamp options. My card features the some the holiday elements and sentiment included in the set. I colored with Copic Markers and the die cut the images with the Born to be Mild Dies


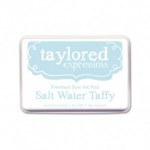
I die cut the front panel with the Stitched Rectangle Stacklets from Sugar Cube Cardstock. I used the Build a Scene - Rolling Clouds with Salt Water Taffy Ink and my TE Blender Brush to create the background. The front panel is matted with Cilantro Cardstock die cut with the Petite Scallop Rectangle Stacklets. I finished off the card with a few Snow Flurries Sequins. 


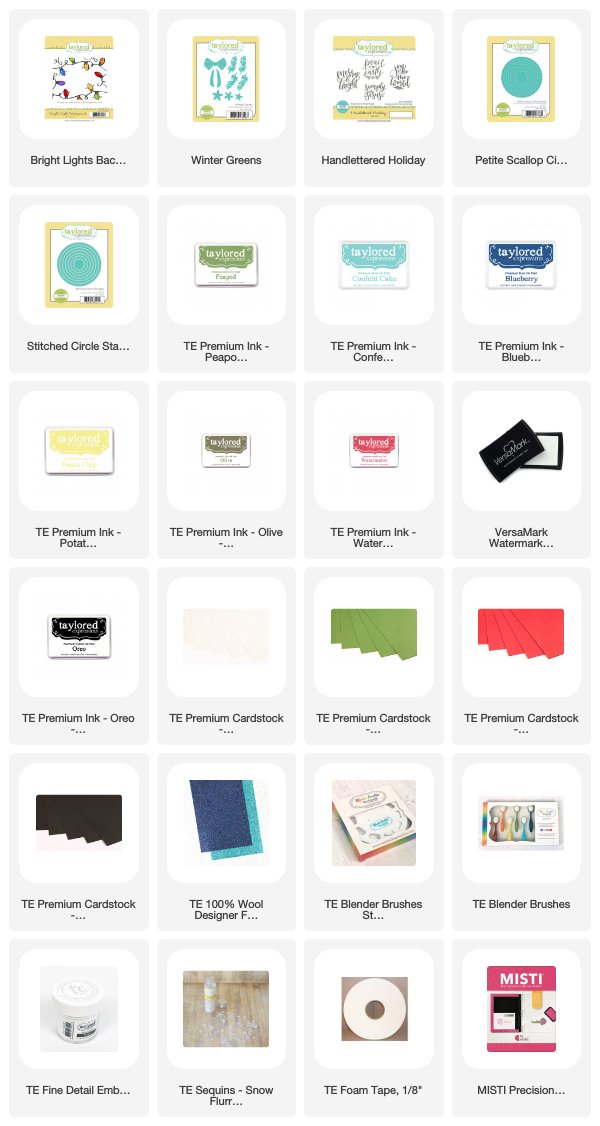
My second card features the Bright Lights Background Stamp. I stamped the background in Oreo Ink and stamped the lights in the ink colors linked below. The sentiment is from the Handlettered Holiday Stamp Set. I stamped in Versamark Ink and then embossed with TE White Embossing Powder. 


I die cut the sentiment with Stitched Circle Stacklets and matted the circle with Peapod Cardstock die cut with the Petite Scallop Circle Stacklets. The branches and bow at the top of the circle are die cut with the new Winter Greens Die


Taylored Expressions is celebrating Release Week with a giveaway during each day of sneak peeks! Visit the TE Blog to answer Taylor’s Question of the Day for a chance to win one of the latest products before you can buy it!


Have yourself a merry little Christmas! Every order placed between October 3rd - October 6th will earn DOUBLE crafty points to apply to a future purchase! Plus, receive FREE U.S. shipping on orders over $25 OR $5 off shipping for residents of Canada with the code CANADA5.  

Let's get started creating for the holidays! I will be back tomorrow with more projects to share. 


9/28/19

Pretty Pink Posh Halloween Theme Week Day 6


Hi Everyone! I am on the Pretty Pink Posh Blog today sharing my project for Day 6 of Halloween Theme Week. I have a Halloween card to share created with the  Autumn Wreath Stamp Set and Autumn Wreath Coordinating Dies and the Boo Stamp Set and Boo Coordinating Dies.


Stop by the Pretty Pink Posh Blog for all the details on my project and more Halloween inspiration. 


9/27/19

Simon Says STAMPtember with Pretty Pink Posh!


Hi Everyone!! I am excited to share a new stamp set with you today created by Pretty Pink Posh for the Simon Says Stamp STAMPtember. The pretty Topiary Clear Stamp Set is a limited edition which means it will be gone completely when it’s sold out!

The stamp set has six trees in it, three outline stamps and three solid stamps. I stamped the three outline stamps in a brown ink and colored the trees with Copic Markers. The background is lightly blended with ink. 


I stamped one of the sentiments in the stamp set inside the sentiment frame included in the stamp set. I added an Espresso Jewels on each side of the sentiment. I framed the trees with the Scallop Frames Dies

You can find the limited edition Topiary Stamp Set HERE. Stop by the Simon Says Stamp Blog for more inspiration with the stamp set and a can to win a prize! 

9/25/19

Thankful for You

Hi! It is starting to feel a little like fall here which makes me excited. Today I have a Fall inspired card created with products from Pretty Pink Posh.


Let's start with the background. I used the Autumn Leaves Stencil with a panel of Kraft Cardstock. I blended a variety of fall colors and then splatter on gold paint. I also distressed the edges of the card front and sponged on Brushed Corduroy Distress Ink. 


I kept the rest of the card simple. I die cut the smaller die in the Scallop Circles Dies from gold foil and added a circle of vellum behind the scalloped circle. The pumpkin is die cut with the Small Stitched Foliage Dies and the sentiment from the Thankful For You Script Die

Thanks for stopping by! 


9/17/19

Autumn Greetings

Thanks for stopping by! I have a fall card to share today created with the Fall Signs Stamp Set and the Pumpkin Patch Critters Stamp Set from Pretty Pink Posh. And the stamp sets is on sale!! Save 15% on all the items in our Fall section this week!


All my stamped images are colored with Copic Markers and then die cut with the Fall Signs Coordinating Dies and the Pumpkin Patch Critters Coordinating Dies. The fence is die cut with the Spooky Fence Die


To create the background I die cut the scalloped border in the Stitched Borders 2 Dies and used it as a stencil to form the clouds. I used Peeled Paint Distress Ink for the the grass. I finished off the card with a few jewels from the Harvest Jewels Mix

Have a good day! I am looking forward to Pumpkin Season! 

9/13/19

Happy Halloween with Pretty Pink Posh

Happy Friday! I am popping in today with a cute Halloween card created with products from Pretty Pink Posh. I am enjoying working with fall colors and looking forward to my favorite season!!


I used two stamp and die sets for the my pumpkins and critters, the Halloween Pals Stamp Set, the Halloween Pals Coordinating Dies, the Pumpkin Patch Critters Stamp Set, and the Pumpkin Patch Critters Coordinating Dies. The images are colored with Copic Markers and then die cut. I added the die cut fence with the Spooky Fence Die


I created the night sky with Faded Jeans and Blue Sapphire Distress Inks and the new Stars Stencil. I used the stencil with gold embossing paste and finished off with a few jewels from the Boo Jewels Mix

Have a great weekend! 

Melody


9/12/19

Let the Celebration Begin!!

Hi! I am backed today with two more projects I created with products for the new September Release from  Taylored ExpressionsYou can find all the new products HERE


My first card uses three new products that are designed to work together giving you so many creative options, the Gifted Background Stamp, the Gifted Cutting Plate, and the Gifted Stencil


First stamped the Gifted Background Stamp in Versamark Ink and embossed with TE Gold Embossing Powder. Next I laid the Gifted Stencil over the stamped image and used my TE Blender Brushes to add color to the presents! Such a quick and easy way to add color. The third step was to use the Gifted Cutting Plate to cut out each present. 


I added foam tape to the back of the individual gifts and stacked them up the card. The sentiment is from the new Simple Strips - Birthday Stamp Set


My next card features the Big Cake Stamp Set the Big Cake Die. I stamped in Oreo Ink and colored with Copic Markers. I used the new Confetti Toss Stencil to create the background. 


The sentiment is included in the Simple Strips - Birthday Stamp Set and die cut with the Simple Strips Die. 


We're celebrating our 11th birthday and the gifts for you are stacking up! Here's how you can jump in on the celebration!

1. Receive a free Share Joy enamel pin with every purchase of new release products (while supplies last)
2. Free US shipping on orders of $50+
3. Orders of $75 will be entered to win 1 of 11 gift certificates to the TE store: ten $50 gift certificates, one $100 gift certificate! 

Offers valid 9/10 - 9/22 and while supplies last. Gift certificate winners will be announced on the TE blog on 9/23.
You'll also want to check out the TE Blog this week as we share the stories of TE friends and fans who are sharing joy through their handmade cards! During our birthday celebration, Taylored Expressions will donate 5% of new release product sales to support one customer’s mission to provide a backpack filled with love and hope to children being placed in foster care. Read Louise's story on the TE Blog and continue to follow along as we tell Share Joy stories throughout our birthday month!

Thanks for stopping by! 


9/11/19

Yay! It's Your Birthday

Hi! I am back today with a look at more of the new birthday products being released to celebrate Taylored Expressions 11th birthday. I have two cards to share that I think could work for either genders. I don't know about you but I never have enough cards in my stash that can be given to all the males in my family. You can find all the new products HERE.


My first card features the new Backstory - Birthday Background. I stamped the background on Sugar Cube Cardstock with Versamark Ink and embossed with TE White Embossing Powder. I grabbed my Potato Chip, Confetti Cake, Lime Zest, and Blueberry Inks and blended the rainbow effect with my TE Blender Brushes. 


 I die cut the Caps Lock - Yay Die twice, once from chipboard and once from Blue Raspberry Cardstock and layered the two layer together.  I like the dimension the two layers give. I used the Big Grumpy - Birthday Stamp Set and Dies to add the balloon and present. 


The sentiment is from the Simple Strips - Birthday Stamp Set and die cut with Simple Strip Die. 


My second card is created with the Party Pennants Background Stamp and the Birthday Basics Stamp Set. Using my Misti, I stamped the background twice, first with Oreo Ink and then with TE Clear Embossing Powder. The embossing just makes the background stand out a little bit more. 


I stamped the cake from the Birthday Basics Stamp Set in Versamark on Oreo Cardstock and embossed with TE White Embossing Powder. I framed the cake with the Stitched Square Stacklets and the Inside Scallop Square Stacklets. The sentiment is included in the Birthday Basics Stamp Set.


We're celebrating our 11th birthday and the gifts for you are stacking up! Here's how you can jump in on the celebration!

1. Receive a free Share Joy enamel pin with every purchase of new release products (while supplies last)
2. Free US shipping on orders of $50+
3. Orders of $75 will be entered to win 1 of 11 gift certificates to the TE store: ten $50 gift certificates, one $100 gift certificate! 

Offers valid 9/10 - 9/22 and while supplies last. Gift certificate winners will be announced on the TE blog on 9/23.
You'll also want to check out the TE Blog this week as we share the stories of TE friends and fans who are sharing joy through their handmade cards! During our birthday celebration, Taylored Expressions will donate 5% of new release product sales to support one customer’s mission to provide a backpack filled with love and hope to children being placed in foster care. Read Louise's story on the TE Blog and continue to follow along as we tell Share Joy stories throughout our birthday month!

Stop by the TE Blog and wish Taylor a Happy Birthday! I will be back tomorrow with more projects to share. 

9/10/19

Happy 11th Birthday Taylored Expressions!

Welcome to the Taylored Expressions 11th Birthday Celebration! Today begins three day of projects created with the new birthday release! I first started creating cards about 12 years ago. I started out as a scrapbooker. I followed Taylor and remember when she released her first stamp set. I feel honored to be part the TE Team!! You can find all the new products HERE.


My first card features the Big Grumpy Birthday Stamp and Die Combo and the Big Grumpy - Birthday Stamp Set and the Big Grumpy Birthday Dies.   The stamped images are colored with Copic Markers and then die cut. I stamped one the sentiment from the Big Grumpy Birthday Stamp and Die Combo in Oreo Ink. 


In the background I stamped the new Party Pennants Background Stamp in Salt Water Taffy Ink on Salt Water Taffy Cardstock. I created the grass with the Build A Scene - Grassy Hills Die and Lime Zest Cardstock. 


Here is a look at the inside of the card where I finished off the sentiment and stamped a balloon. 


My second card is created with the new Big Cake Stamp Set and Big Cake Dies. I stamped the cake and candles in Versamark Ink and then embossed with TE White Embossing Powder. Then I used the TE Blender Brushes to add color to each layer of the cake with Potato Chip, Peaches n' Cream, and Guava Ink. 


The background is created by embossing Sugar Cube Cardstock with the Sprinkles Embossing Folder, blending on Potato Chip Ink, and then adding a panel of vellum to create the soft background. The card is framed with the largest die in Stitched Frame Stacklets 1. 


I added three of the sentiments from the new Simple Strips - Birthday Stamp Set, stamping with Versamrk Ink on Guava Cardstock and embossing with white embossing powder. I used the Simple Strips Die to cut the sentiments. The stamp set has so many great sentiments


We're celebrating our 11th birthday and the gifts for you are stacking up! Here's how you can jump in on the celebration!

1. Receive a free Share Joy enamel pin with every purchase of new release products (while supplies last)
2. Free US shipping on orders of $50+
3. Orders of $75 will be entered to win 1 of 11 gift certificates to the TE store: ten $50 gift certificates, one $100 gift certificate! 

Offers valid 9/10 - 9/22 and while supplies last. Gift certificate winners will be announced on the TE blog on 9/23.
You'll also want to check out the TE Blog this week as we share the stories of TE friends and fans who are sharing joy through their handmade cards! During our birthday celebration, Taylored Expressions will donate 5% of new release product sales to support one customer’s mission to provide a backpack filled with love and hope to children being placed in foster care. Read Louise's story on the TE Blog and continue to follow along as we tell Share Joy stories throughout our birthday month!

Stop by the TE Blog and wish Taylor a Happy Birthday! I will be back tomorrow with more projects to share. 

9/6/19

TE Blender Brushes Pre Order!!!

Taylored Expressions has a new website! The pre-orders for the blender brushes are coming next week! Watch the Taylored Expressions blog and the emails for more information.


I used the TE Blender Brushes in combination with the Here Comes the Sun Stencil to created the background. 


I also used the Blender Brushes to add color to the mermaid tales and backed the tales with TE Gold Foil using the Be A Mermaid Dies. The sentiment is included in the Be A Mermaid Stamp Set. I stamped the sentiment in Versamark Ink and embossed with TE Gold Embossing Powder. I added drops of Nuvo Clear Crystal Drops behind each tail. 


At the bottom of the ocean I used the Build A Scene - Underwater Dies to add the coral, shells, and plants. I can't decide if I want to give the card to someone or just keep it in my studio! 

Thanks for stopping by! 


TE Blender Brushes
[ TE ]
TE Blender Brushes Storage Caddy
[ TE ]
Be a Mermaid
[ TE ]
Be a Mermaid Dies
[ TE ]
Build a Scene - Underwater
[ TE ]
Here Comes the Sun Stencil
[ TE ]
TE Premium Ink - Granny Smith - Full Pad
[ TE ]
TE Premium Ink - Peaches 'n Cream -...
[ TE ]
TE Premium Ink - Blue Corn - Full Pad
[ TE ]
TE Premium Ink - Blue Raspberry -...
[ TE ]
TE Premium Ink - Chocolate Truffle -...
[ TE ]
TE Premium Ink - Salt Water Taffy -...
[ TE ]
TE Premium Ink - Blueberry - Full Pad
[ TE ]
TE Foil Cardstock - Gold
[ TE ]
TE Premium Cardstock - Sugar Cube
[ TE ]
TE Premium Cardstock - Blue Raspberry
[ TE ]
TE Premium Cardstock - Peapod
[ TE ]
TE Fine Detail Embossing Powder - Gold
[ TE ]
Nuvo Crystal Drops - Morning Dew
[ TE ]
MISTI Precision Stamp Tool
[ TE ]