8/30/19

Pretty Pink Posh Labor Day Sale!

Pretty Pink Posh is having a special FOUR day sale in honor of Labor Day. All in-stock stamps and dies are 20% off!

The sale is valid from August 30- September 2, 2019 at 11:59 PM, PDT. Coupon code required. Use the code laborday19. While supplies last. FREE SHIPPING on orders within the United States over $75.


This includes products from the August Release! 

Happy Shopping! 

8/26/19

Spellbinders Becca Feeken Holiday 2019 Blog Hop!

Hi and welcome to the Spellbinders Becca Feeken 3D Holiday Vignettes & Glistening Holiday Collections Blog Hop. If you are hopping along you should have come here from Pam Sparks Blog. You can start at the beginning of the Blog Hop here.


To celebrate this release, we are giving away a $50 gift certificate to one lucky blog reader – selected from the comments across all of the blogs in the hop. Giveaway closes on Sunday, September 1st, 11:59 pm EDT. The winner will be announced in the blog hop post the following Tuesday. The winner is responsible for shipping cost, duties and taxes.


My first card features the Shapeabilities Santa Claus Layering Set Etched Dies 3D Holiday Vignettes Collection by Becca Feeken which is a set of five dies. The three circular dies layer perfect together to create this beautiful scene. I cut a circle directly into the the card front. Behind the circle I added the die cut Santa and tree. Behind Santa is the gold foil rays, then a layer of clear acetate, then sequins, and then the card back.


Here's a closer look at the the layers. The flower is created with Shapeabilities Cinch and Go V Etched Dies Vintage Treasures by Becca Feeken, a set of three dies that includes four different size flowers, a center and two leaf designs. I cut flower and leaves from felt and added a gold enamel dot to the center of the flower. 


My next project is created with the Shapeabilities Grand Snow Globe Etched Dies 3D Holiday Vignettes Collection by Becca Feeken, a set of eight dies to create a circular shaped multi-layered card. This is such a creative die set! The card is really a gift that can be displayed throughout the holiday season. 


The card has five layers. The front is cut from white cardstock and I used a blender brush to blend the colors of ink. The next layer is the sentiment.  You can see how I incorporated a couple of the dies from the Santa Claus Layering Set Etched Dies 3D Die I used above. I also added a panel where I attached flowers to the edges. The layers are inserted into slots on the side of the card. 

Thanks for stopping by! Now it is time to hop on over to Karin Ã…kesdotter Blog. 

Here is list of all the participating bloggers: 


8/22/19

Pretty Pink Posh August Release Blog Hop - Day 1

Hi and welcome to Day 1 o f the Pretty Pink Posh August Release Blog Hop. The hop will be full inspiration for Halloween and Fall projects! 

Be sure to leave a comment as you hop! There are 4 $25 gift certificates up for grabs (two winners each day). Winners will be picked randomly along the blog hop. Comments must be left by 11:59 PM PST on 8/28/2019. Winners will be announced on the PPP blog.


My first card features the Boo Stamp Set and Boo Coordinating Dies. I stamped the letters and ghosts with black ink and colored with Copic Markers. I die cut the letters again with black cardstock and adhered the two layers together. 


I created the background the new Spider Web Stencil, using white ink on black cardstock. Love the effect! I added a few Glossy Black Jewels to the body of the spiders. The sentiment is included in the the Boo Stamp Set . 

My next card is created with three of the new products being released. I started by stamping one of the images in the Fall Signs Stamp Set in brown ink and colored with Copic Markers. The Fall Signs Stamp Set has four images and some great fall sentiments! I die cut the image with the Fall Signs Coordinating Dies and framed the image with the Scallop Circles Dies with gold foil cardstock. 


The background is created with the Wafers Stencil with Kraft Ink on Kraft Cardstock. The sentiment is die cut with the new Happy Thanksgiving Script Die. I die the sentiment twice, once from gold foil and again from a green cardstock and layered the die cuts together. I added twine and a few Metallic Gold Jewels to finish off the card. 


Thanks for taking look! You can find all the new products HERE 

8/20/19

It's August Release Day at Pretty Pink Posh!

Hi! It's Release Day at Pretty Pink Posh! We have six new stamp sets, three new individual die sets, six new stencils, and new jewels and confetti! All the new products will get you creating for Fall!  You can find all the new products HERE.


I will have lots of projects to share with you throughout the week but I am kicking things off with the new Sunflowers Stamp Set and the Sunflowers Coordinating Dies. Sunflowers are prefect for Fall! I stamped the flowers in a dark brown hybrid ink and colored with Copic Markers. I created the background by simply blending ink on white cardstock.

I also used another new die from the release, the Spooky Fence Die. Perfect for both Halloween and Fall cards. I cut the fence from Kraft Cardstock and added a little ink to the edges. The sentiment is from the Fall Signs Stamp Set. This stamps has a number of great fall sentiments that can be used with many of the new products. To finish off the card I added a few Expresso Jewels from the new Harvest Jewels Mix

Thanks for taking look. I will be back on Thursday with more inspiration with the new products. You can take a look at all the new goodness here


8/18/19

Pretty Pink August Release Sneak Peeks!

Hi Everyone! I am excited to start sharing the projects have been working on with the new Pretty Pink Posh August Release. Today I am going to give you a sneak peek at the new Fall Borders Stamp Set and the Thanksgiving Scene Stamp Set being released on August 20th. I always am a little extra excited for the Fall Release. It kicks off the start of creating for the holidays!


Here's a look at my first project. I stamped the Thanksgiving Scene Stamp Set in a dark brown pigment ink and colored the with my Copic Markers. I used a blending brush to add a pale yellow ink to the background. 


There are three different border stamps in the Fall Borders Stamp Set. I cut a piece of Kraft cardstock to fit the card front and stamped the leaves border at the top and bottom of the card front. I stamped in Versamark Ink and embossed with gold embossing powder. Then I colored the leaves in a variety of fall colors. Around the edges of the card front I sponged on Distress Ink in Brushed Corduroy. 


Next I stamped and embossed the sentiment from the Thanksgiving Scene Stamp Set on a strip of deep red cardstock and added a strip of gold cardstock at the top and bottom of the scene


On my second card I used the Fall Borders Stamp Set in a couple of different ways. First I used the Fall foliage border to create the background pattern, stamping dark green ink on dark green cardstock. The I stamped the border again on a strip white cardstock, colored with Copic Markers, and sponged Antique Linen Distress Ink on the edges. Then I die cut the larger of the windows in the Window Frames Dies directly into the card front. 


To create the scene in the window I used the previously released Autumn Wreath Stamp Set and the Pumpkin Patch Critters Stamp Set and their coordinating dies. I love how these sets coordinate so well with the new stamp sets! I finished off the card with a few Espresso Jewels

Thanks for stopping by! I hope I have inspired you to start thinking about creating for Fall! 


8/14/19

Taylored Expressions Blending Brushes - Hello Friend!

Hi Everyone! Today I want to share one of my favorite cards I have created this summer. The ocean definitely feed my soul and nothing makes me feel better and calm than a walk on the boardwalk and the sound of the waves! I love the elegance of the Be a Mermaid Stamp Set from Taylored Expressions.


I used the TE Blender Brushes in combination with the Here Comes the Sun Stencil to created the background. If you missed out getting the Blender Brushes on the first release you can get on the waitlist HERE


I also used the Blender Brushes to add color to the mermaid tales and backed the tales with TE Gold Foil using the Be A Mermaid Dies. The sentiment is included in the Be A Mermaid Stamp Set. I stamped the sentiment in Versamark Ink and embossed with TE Gold Embossing Powder. I added drops of Nuvo Clear Crystal Drops behind each tail. 


At the bottom of the ocean I used the Build A Scene - Underwater Dies to add the coral, shells, and plants. I can't decide if I want to give the card to someone or just keep it in my studio! 

Thanks for stopping by! 


8/13/19

You're A Star!

Hi Friends! I have a cute and uplifting card to share with you today created with the Animal Signs Stamp Set from Pretty Pink Posh. And stay tuned next week when I will start sharing projects created with the new Pretty Posh Fall Release!


I stamped three of the animals from the Animal Signs Stamp Set in black ink and colored with Copic Markers. Then I die cut the animals with the Animal Signs Coordinating Dies. The balloons are from the Elephant Friends Stamp Set and die cut with the Elephant Friends Coordinating Dies


In the background I added a few clouds and then die cut the grass with the Scallop Borders Dies. I added flowers and leaves to brighten up the scene with the Spring Wreath Stamp Set

Thanks for stopping by! 


8/8/19

It's Release Release Day at Taylored Expressions!

Hi and thanks for stopping by! It's August Release Day at Taylored Expressions. All the new products are available at the TE web store NOW. Today I have two more projects to share with you.


My first card showcases the new Shiplap Background Stamp. I stamped the background in Earl Gray Ink and created the card base from Earl Gray Cardstock. I think the Shiplap will become one of my favorite background stamps! 

The flowers are stamped with the new Fresh Picked Florals Stamp Set and die cut with Fresh Picked Florals Dies. You can see the combinations of inks I used to stamp the flowers and leaves below in my links. 


The sentiment is from the new Handlettered Sentiments Stamp Set. I stamped in Versamark Ink and embossed with TE White Embossing Powder and used a Blender Brush to add Sugar Cube Ink to the edges. 


Next up is a set of tags to add to Halloween Treats that features the new Handlettered Halloween Stamp Set. 


For the base of each tag I cut a piece of Oreo Cardstock using the Petite Scallop Circle Stacklet and a circle of Sugar Cube Cardstock with the Stitched Circle Stacklets. Using the TE Blender Brushes I created a variety of backgrounds.


This background is stenciled with the Spiderweb Stencil and I added ghosts with the Haunted Accessories Dies. 


I used the Set the Scene - Clouds Stencil for this background and added clouds with the Spooky Clouds Die and bats with the Haunted Accessories Die


The Little Bits - Witches Hat and the Little Bits - Stars and Moon added detail to my fourth tag. 


Thanks for visiting! If you'd like to see more projects and new product information, please head over to the TE Blog for a complete list of our participating designers! Let's start creating for Fall! 


8/7/19

Happy Halloween! Taylored Expressions Sneak Peeks Day 3

It is Day 3 of sneak peeks of the Taylored Expression August Release. Today my projects are all about Halloween, cute zombies and a new gatefold card. All the new products will be available starting at 9am CDT tomorrow, August 8th.


My first card features the new Zombies Stamp Set and Zombies Dies. I colored the images with Copic Markers. The tombstone is die cut with the previously released Tombstone Trio. 


To create the background I stamped the Bare Tree Background Stamp on Sugar Cube Cardstock with Versamark Ink and embossed with the TE Black Embossing Powder. Then I used the TE Blender Brushes to create the evening sky.


The sentiment is stamped with the new Mini Strips - Halloween and die cut with the new Mini Strips Die


Next up is the new Gatefold Reveal 2 Die that creates a really fun card and added a favor box to create the set. 


Here is how the card looks completely put together. I used the Better Half Cutting Plates to die cut the striped panels and added the spider web border with the new Flip the Web Stamp Set and Die. I created the band out of vellum and added one of the sentiments from the new Handlettered Halloween


The webs are stamped in Versamark Ink and embossed with TE White Embossing Powder. 


And how cute is the card when you open it! The spiders and sentiment are from the new Sweet and Spooky Stamp Set. And the gatefold is created with the new Gatefold Reveal 2 Die


This cute favor box is so easy to create. I used the All Tucked In Die to create the box and cut the window with the new All Tucked In Window Dies. I added acetate behind the window. Before I put the box together I stamped the sentiment and Halloween images with the new All Tucked In - Hallowen Stamp Set.


Taylored Expressions is celebrating Release Week with a giveaway during each day of sneak peeks! Visit the TE Blog to answer Taylor’s Question of the Day for a chance to win one of the latest products before you can buy it!

Thanks for stopping by! I will be back tomorrow with my Release Day Projects. 

8/6/19

Simply Smitten - Taylored Expressions August Release Sneak Peeks Day 2

Its Day 2 Taylored Expressions August Release and today I have projects to share with Fall and Thanksgiving in mind. I also have a couple of ideas for place cards and hostess gifts. All the new products will be available starting at 9am CDT Thursday, August 8th.


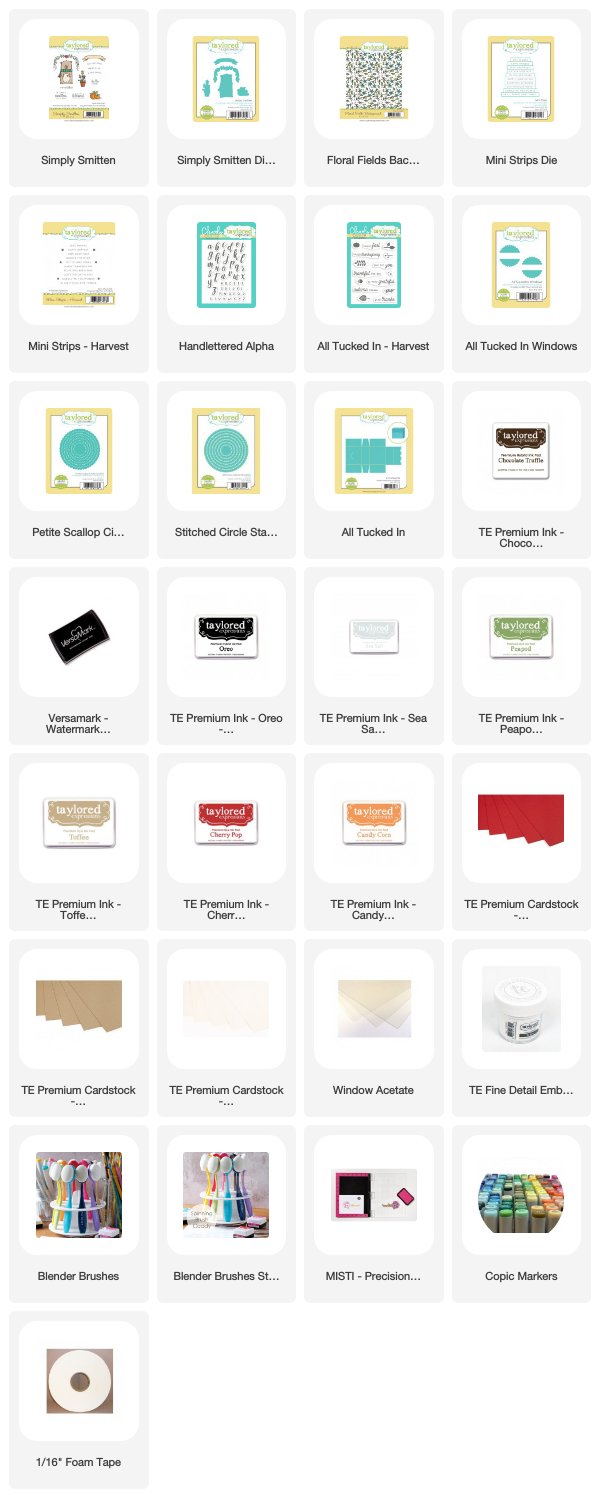
First up is a project I created with the new Simply Smitten Stamp Set and the All Tucked In - Harvest  Stamp Set


The background for this card is stamped with the new Floral Fields Background Stamp. On this card I stamped in Versamark Ink and embossed with TE White Embossing Powder. On my second card below I used in the stamp again but gave it a whole different look with Copic Markers. 


My stamped images are colored with Copic Markers and die cut with the Simply Smitten Dies. The center circle is die with the Petite Scallop Circle Stacklets and the Stitched Circle Stacked. I used the TE Blender Brushes to add Peapod and Salt Water Taffy to the background of the circle. 


The sentiment is included in the new Mini Strips - Harvest Stamp Set and die cut with the Mini Strips Die. This is the first of the Mini Strips Sentiment Sets that can be die cut with the Mini Strips Die. 


Now I want to give you a closed look at the place card favors I plan to use for Thanksgiving. The box is created with the previously release All Tucked In Die. I added the name to the front of box with the new Handlettered Alphabet Clear Stamp Set


Here is look at the back of the box. The new All Tucked In Windows Die coordinates wit the All Tucked In Die. I added acetate behind the window before I assembled the box. The sentiment and fall foliage is stamped with the new All Tucked In - Harvest Stamp Set. 


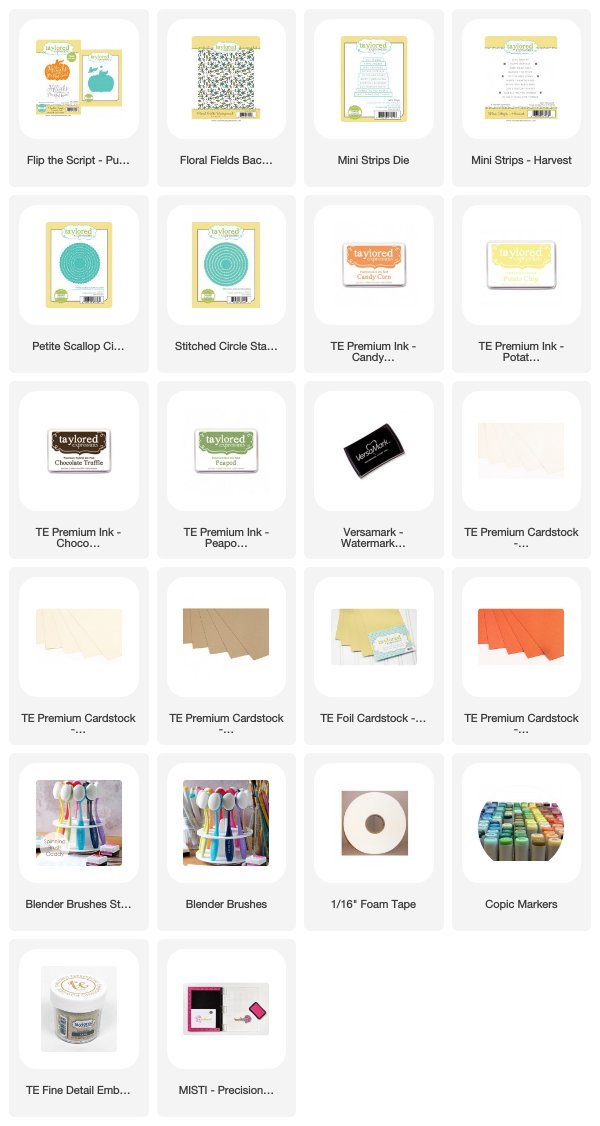
For my next project I created a hostess gift set with the Flip The Script - Pumpkin Stamp and Die Combo. 


I used the Floral Fields Background Stamp again but here I stamped in Chocolate Truffle Ink and colored with Copic Markers. 


I stamped the pumpkin on Pumpkin Cardstock in Versamark Ink and embossed with TE Gold Embossing Powder and the die cut with the die included in the set. The sentiment is from the Mini Strips - Harvest Stamp Set. 


To created the tag I used the second stamp in the The Script - Pumpkin Stamp and Die Combo and added another sentiment from the Mini Strips - Harvest Stamp Set. 


Taylored Expressions is celebrating Release Week with a giveaway during each day of sneak peeks! Visit the TE Blog to answer Taylor’s Question of the Day for a chance to win one of the latest products before you can buy it!

Thanks for stopping by! I will be back tomorrow with another Sneak Peek.