1/7/20

It's January Release Day at Taylored Expressions and Love Is In The Air!

Hi and thanks for stopping by! It's January Release Day at Taylored Expressions. All the new products are available at the TE web store NOW.  This release includes over 25 new products including stamps, dies, stencils, 2 new Masking Stencil designs, and new embellishments! Today I have two more projects to share with you.


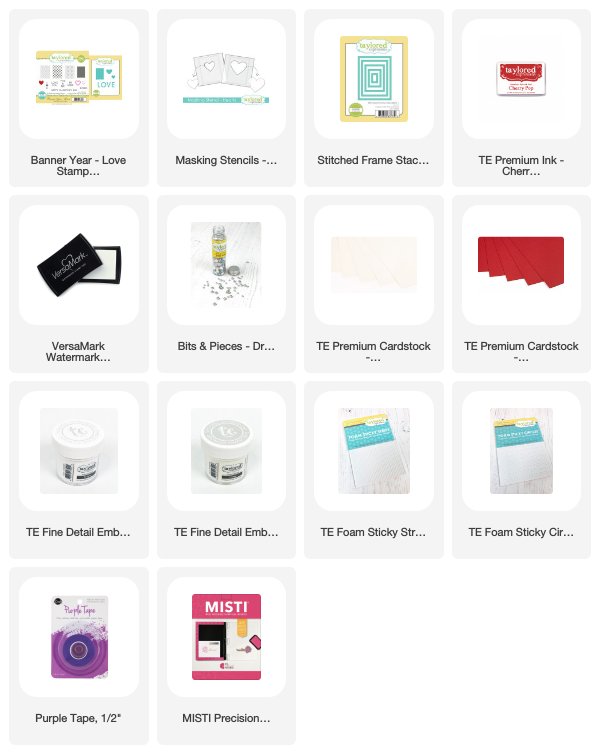
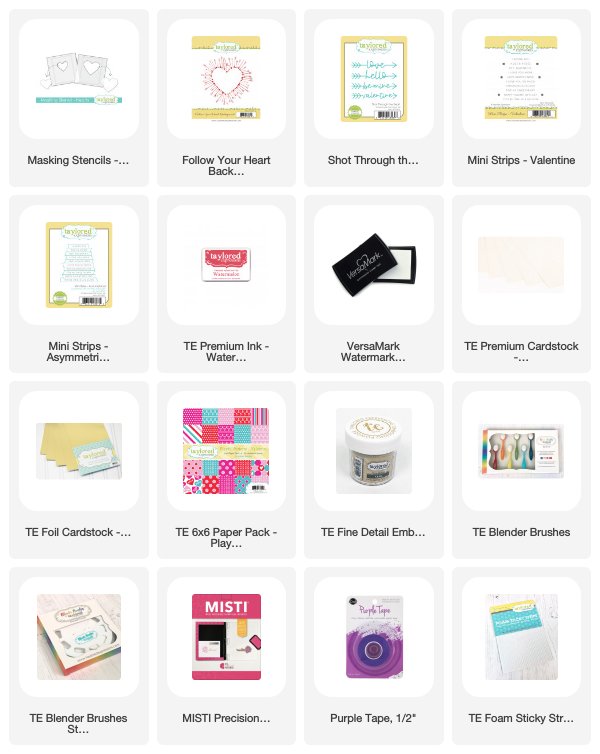
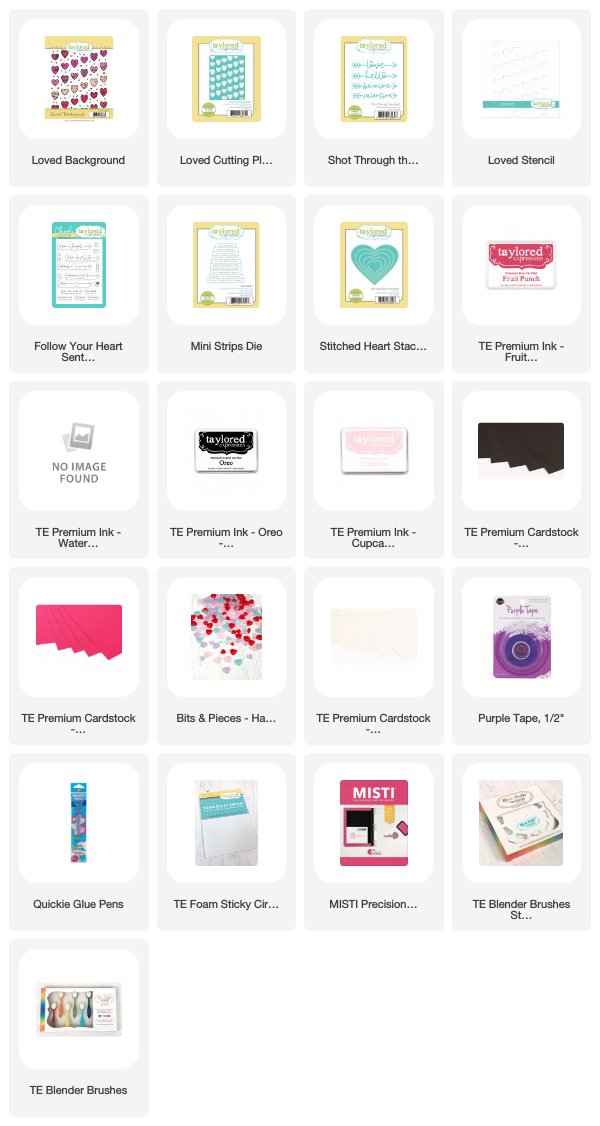
My first card is created with the new Loved Collection, a stamp set, stencil, and cutting plate that all coordinate together giving you lots of options! I created the background in three steps. First I stamped the Loved Background Stamp twice in Oreo Ink on Sugar Cube Cardstock. On the bottom layer I attached the Loved Stencil with Purple Tape to the cardstock and quickly colored the rows of hearts in Watermelon, Fruit Punch, and Cupcake Ink with the TE Blender Brushes. On the top layer I used sponged on Cupcake Ink and then die cut with the Loved Cutting Plate.


The center heart is die cut with the Stitched Heart Stacklets. The sentiment is stamped with the new Follow Your Heart Stamp Set and the arrow is die cut with the Shot Through the Heart Dies. The small heart is one of new embellishments, Bits and Pieces - Happy Hearts


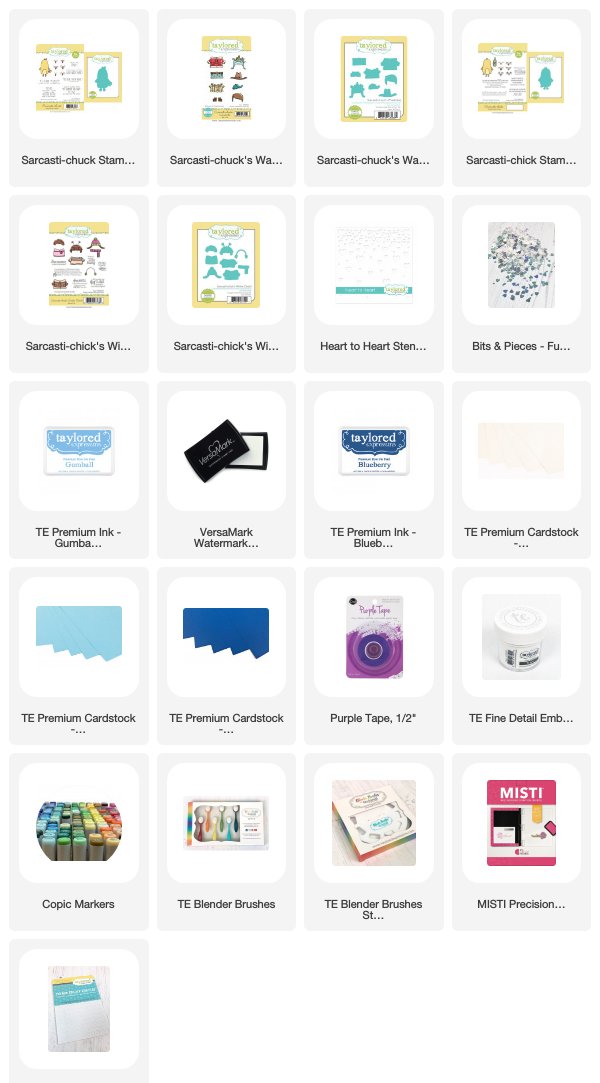
My next card feature the new Sarcasti-chuck Stamp & Die Combo, the Sarcasti-chucks Wardrobe Stamp Set and Die, and Sarcasti-chuck's Wardrobe Dies. Chuck is paired with the previously released Sarcasti-chick Stamp & Die Combo and Sarcasti-chick's Winter Closet Stamp Set and coordinating dies. The images are colored with Copic Markers. 


The sentiment is from the Sarcasti-chuck Stamp & Die Combo, stamped in Versamark Ink and embossed with TE White Embossing Powder. The background is stenciled with the new Heart to Heart Stencil. I finished off the card with a few of the new Bits & Pieces - Full of Heart.


Thanks for visiting! If you'd like to see more projects and new product information, please head over to the TE Blog for a complete list of our participating designers! I will be back tomorrow with a few more projects with the new release. 

1/6/20

Valentine Love - Taylored Expressions January Release Day 1 Sneak Peeks

Hi all! I finally get to share my projects I have been working on with the new Taylored Expressions January Release. Today I have two Valentine's Day cards. All the new products will be available tomorrow, January 7th at 9 AM CST in the TE Store.


My first card features the new Banner Year - Love Stamp & Die Combo. This is a clear stamp with cute patterns for banner. To create the banner I used Sugar Cube and Cherry Pop cardstock. On the Cherry Pop cardstock I stamped the pattern with Versamark Ink and embossed with TE White Embossing Powder. On the Sugar Cube Cardstock used my Misti and stamped in Cherry Pop Ink and then in Versamark Ink and embossed with TE Clear Embossing Powder. 


The heart behind the mask is created with the Designer Masking Stencil - Hearts, Cherry Pop Ink, and TE Blender Brushes. I framed the card with the largest die in the Stitched Frame Stacklets. The sentiment, heart dies, the letters to create LOVE are all included in the Banner Year - Love Stamp & Die Combo.


My second card features the new Designer Masking Stencil - Hearts. On my first card above I used the larger heart stencil. On this card I used the smaller heart stencil with Watermelon Ink.  The smaller heart fits perfectly inside the new Follow Your Heart Background Stamp, which I stamped in Versamark Ink and embossed with TE Gold Embossing Powder. 


To add the sentiments I used the new Shot Through the Heart Dies and the new Mini Strips - Valentine Stamp Set and coordinating Mini Strips - Asymmetrical Dies. I cut a piece of patterned Paper from the Playful Pattern - Valentine Paper Pack for the card front and added machine stitching. 


Taylored Expressions is celebrating Release Week with a giveaway during each day of sneak peeks! Visit the TE Blog to answer Taylor’s Question of the Day for a chance to win one of the latest products before you can buy it!

Tomorrow is Release Day! I will be back with two more projects! 


1/4/20

Sneak Peek at the Pretty Pink Posh January Release

Hi Everyone! I am up on the Pretty Pink Posh Blog today kicking off the new year with sneak peek at the new Large Floral Hearts Stamp Set being released on January 9th. I have two cards to share with you that I created with the stamp set and the Coordinating Large Floral Hearts Dies.


I used the two heart stamps and their coordinating dies to to give you some ideas for Valentine's Day cards. I love that this stamps can be used for so many different occasions throughout the year! 


PPP released a similar smaller version of the stamp set last year, the Floral Hearts Stamp Set. Here is how the two stamp sets compare in size. You can see that the new Large Floral Hearts Stamp Set is much larger and will the centerpiece of your project.


Here's a closer look at my first card. I stamped the heart and flowers in black ink, colored with Copic Markers, and then die cut with the coordinating dies. Next I cut a piece of white cardstock for the card front, sponged on Distress Ink in Tumbled Glass, and used the heart die to cut a heart directly into the card front. Then I inlayed the flower heart into the card front. Behind the heart I stamped a sentiment from the stamp set in Versamark Ink on red cardstock and embossed with white embossing powder.


At the bottom of the card I stamped the heart border from the new Love Borders Stamp Set in red ink. I added another sentiment from the stamp set. Then I arranged the extra flowers around the heart and finished off the card with a two Lemon Drop Jewels.


On my second card I stamped the other floral heart in the stamp set on white cardstock. I brushed the cardstock lightly with pale pink ink and then colored with Copic Markers. I die cut the heart and layered it on a large heart die cut. I added a few more flowers around the heart. Next I cut a piece of white cardstock with the largest die in the Stitched Notes Dies and stamped another sentiment in the set.


I used the Wide Stripes Stencil to add pattern to card front, added a piece of lace, and few Flamingo Pink Jewels.

Thanks for stopping by! Be sure to visit the PPP Blog for more sneak peeks of the January 9th release!


1/2/20

Warm Hugs with Pretty Pink Posh

Hi all! I am kicking off the year with a winter themed card and another term designing for Pretty Pink Posh! I have been designing for Pretty Pink Posh for a few years now. Paulina is so wonderful to work for and it has been a pleasure to watch PPP grow and expand over the years. You can stop by the PPP Blog for all the news and a chance to win a prize.


January is PPP’s Birthday month, and there is a new release coming next week! I will have more details on that coming soon!  Today I have a winter themed card to share. 

For the background on my card I used the Snowflakes Stencil. I taped the stencil to white cardstock and stamped Versamark Ink over the stencil. I removed the stencil from the cardstock and embossed with white embossing powder. Then I sponged on Distress Ink in Tumbled Glass.


I cut a circle in the card front and the green scalloped frame with the Scallop Circles Dies. The holly branch, birds, and sentiment are included in the Winter Woodland Stamp Set and die cut with the Winter Woodland Coordinating Dies. I added Sparkling Clear Jewels to the snowflake background. 

Be sure to stop by the PPP Blog for all the news and a chance to win a prize. Here's to a creative 2020!


12/31/19

A Holiday Thank You

Happy New Year! Welcome 2020! As we kick off the new year I would like to thank all you who stop  by my blog, follow me on Instagram or  Facebook, and take the time to leave me comments and support my work. Thank You!


I have a few thank you notes to sent for Christmas gifts so I get to use my Christmas stamps one more time for this year. This pretty stamp set is the Elegant Holly Stamp Set from Pretty Pink Posh. I colored the images with Copic Markers and die cut with the Elegant Holly Coordinating Dies


I kept the background simple, just blending Tumbled Glass Distress Ink on white cardstock. The "thank you" script is die cut with the Thank You Script Die. I die cut twice from red cardstock, and layered the die cuts for more depth. I finished off the card with red jewels from the Holiday Jewels Mix

Wishing you the best in 2020! 


12/21/19

Warm Winter Wishes

Hi All! I know my blog has been a little quiet! Such a busy time of year. I made this card a few weeks ago but I am just now finding the time to share the details. Once I am done with my Christmas cards I like to look at my holiday products and see if I can get a little more use out of them during the Winter Season. The Winter Scene Die from Pretty Pink Posh was one of my favorites products from the PPP Holiday Release and works perfect through the winter.


Let's start with the background. I cut a piece of aqua cardstock and a piece of vellum to fit the card front. On the vellum I stamped the snowflake border from the Winter Borders Stamp Set and the sentiment from the Holiday Greetings Stamp Set in Versamark Ink and embossed with white embossing powder. Then I layered the cardstock and the vellum together. 


I die cut the Winter Scene Die twice, once from white cardstock and once from green. I sponged on aqua ink on the sky and add embossing paste to the edges of the snow, and then layered to pieces to create the scene. The branched are die cut with the Pine Sprigs Dies. I finished off the card with a few sequins from the Marshmallow Confetti Mix.

Thanks for stopping by! Best wishes to you in the Holiday season!


12/4/19

Christmas Cheer

Hi! I have one more Christmas card to share today. It is probably the last one for this year, although I hope to create a few more tags. This card features the Holiday Signs Stamp Set and the Layered Tree Dies from Pretty Pink Posh.


I die cut the Layered Tree Dies from green cardstock, stamped Versamark ink on the edges of the tree, and embossed with white embossing powder. The star is included in the die set and cut from gold foil. The hills of snow are die cut with the Scallop Borders Dies. The background is created with distress inks in Blueprint Sketch and Chipped Sapphire. Once I had the background together I splattered on white paint. 

The Santa and the sign are from the Holiday Signs Stamp Set , colored with Copic Markers and die cut with the Holiday Signs Coordinating Dies. I finished off the card with a few Pearl White Jewels

Have a great week and thanks for stopping by!