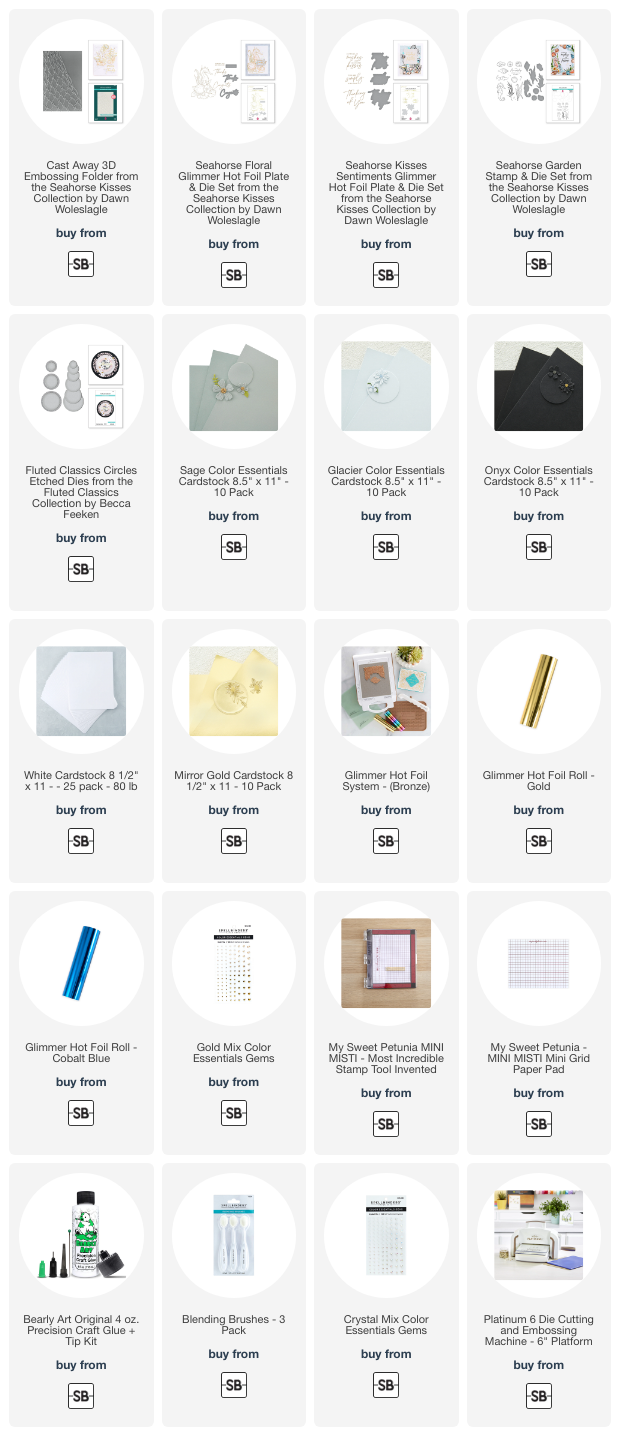
Hi Crafters! Today I have look at the new Cute Combos Release at Taylored Expressions. This release is full of stamp & die combos that cover a wide variety of themes and occasions. There are 10 stamp and die combos in the release. I have four cards to share with you.

My first card features the Cute to Boot Stamp & Die Combo. There are two different style boots in the stamp set. I couldn't resist the fun sunflower boots. I stamped the boots in Oreo Ink colored with a combination of Olo and Copic Markers.
Olo-
Y2.2, Y2.3, Y8.6
B2.0, B2.2
G5.1, 5.3
Copic-
E30, 31, 33, 35,37

I stamped the background with the Wood Plank Background Stamp, stamping in Versamark Ink on Toffee Cardstock, and embossing with white embossing powder. I die cut the background with the Frayed Edge Stacklets and blended Toffee Ink on the edges.

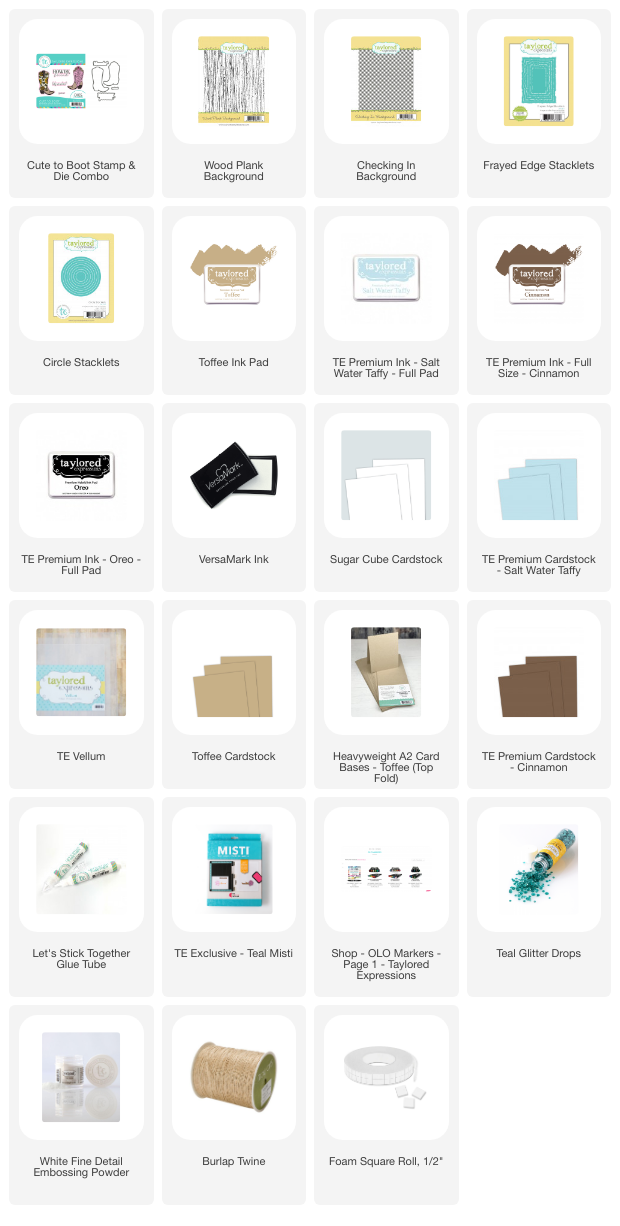


If you want all the combos, the I Want It All Bundle is yours at a special price of $199, making it easy to get every delightful duo!
I stamped the background with the Wood Plank Background Stamp, stamping in Versamark Ink on Toffee Cardstock, and embossing with white embossing powder. I die cut the background with the Frayed Edge Stacklets and blended Toffee Ink on the edges.
I used the Checking In Background Stamp with Salt Water Taffy Ink and Salt Water Taffy Cardstock to added the center strip. The sentiment is included in the set.
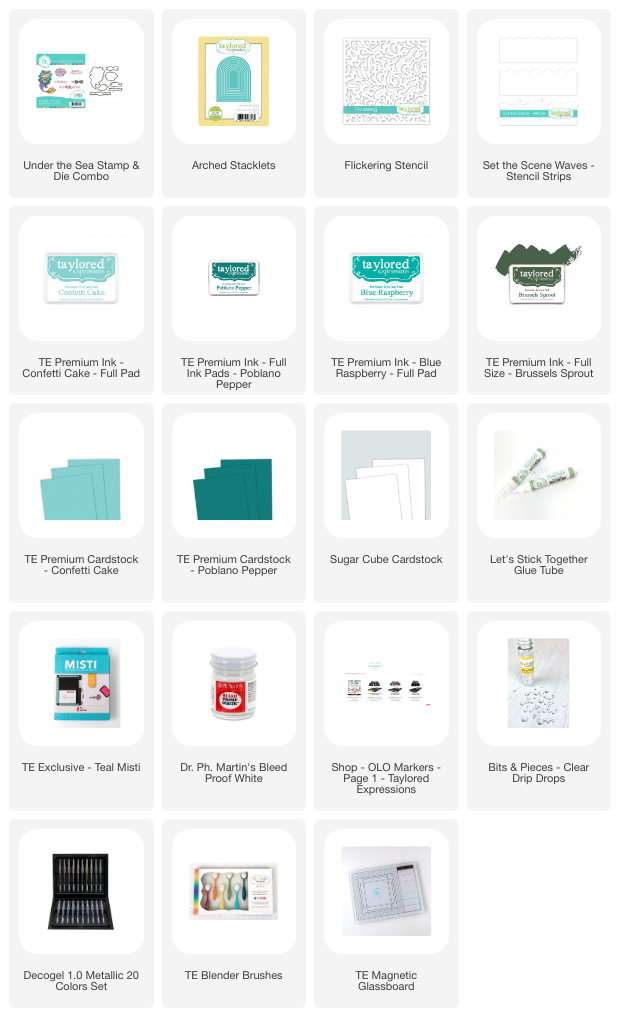
My next card features the Under the Sea Stamp and Die Combo. I colored the mermaid with Olo Markers and added some glitter to her fin. I used Olo Markers in:
G5.1, G5.3, G1.7
BG2.1, BG2.3, BG2.4,BG2.7
BV1.1, BV1.2, BV1.4, BV1.7
Y1.1, Y1.2
Behind the mermaid I used the Build A Scene - Waves Stencil Strips with Brussels Sprout, Poblano Pepper, Blue Raspberry, and Confetti Cake Inks.
I used the Arched Stacklets to frame and mat the scene. The card front is stencil with the Flickering Stencil with Confetti Cake Ink on Confetti Cake Cardstock.
I lightly splattered white paint on the background and added Bits & Pieces - Clear Drip Dots.
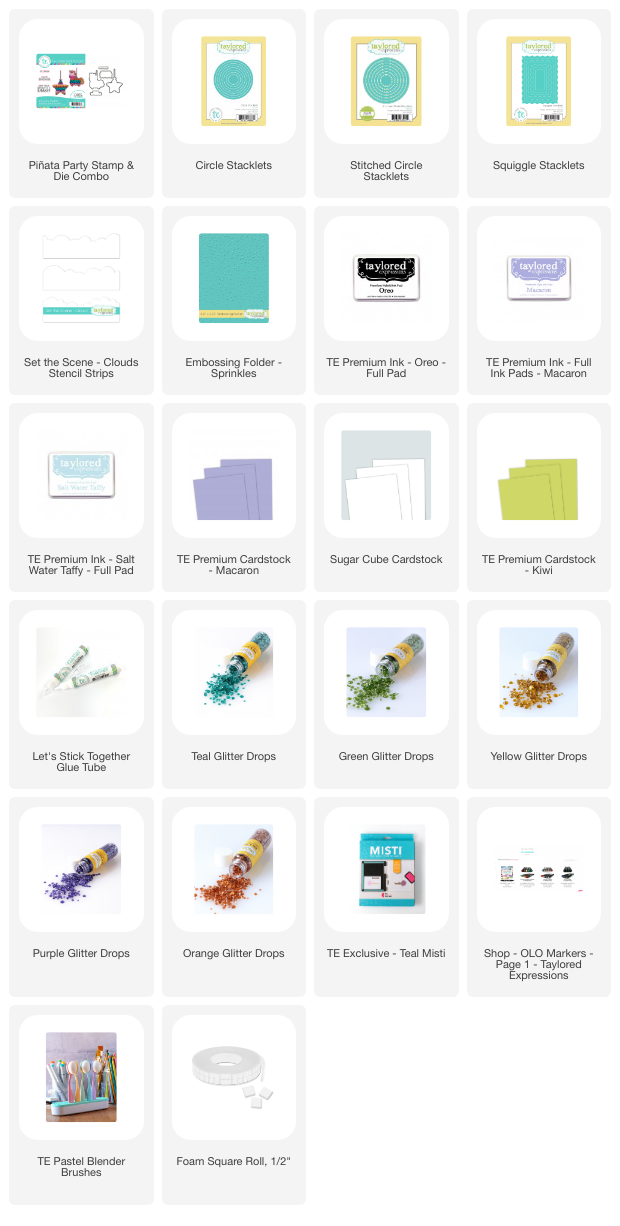
Next up is a look at the Piñata Party Stamp and Die Combo. The set includes these two piñatas and sentiments. I colored with Olo Markers in:
R2.2, 2.4
BV 1.1, 1.2, 1.4, 1.7
B2.0, 2.2, 2.4, 2.6
YG 1.2, 1.4, 1.6
Y1.1, 1.2, 1.3
O 2.2, 2.4, 2.5
To create the card front I used the largest die in the Squiggle Stacklets with Macaron Cardstock. Next I used the Circle Stacklets to cut the circle in the center of the card front. Then I embossed with the Sprinkles Embossing Folder. I used a smaller circle die to mat the image with Kiwi Cardstock.
I finished off with Glitter Drops in the colors I linked below.
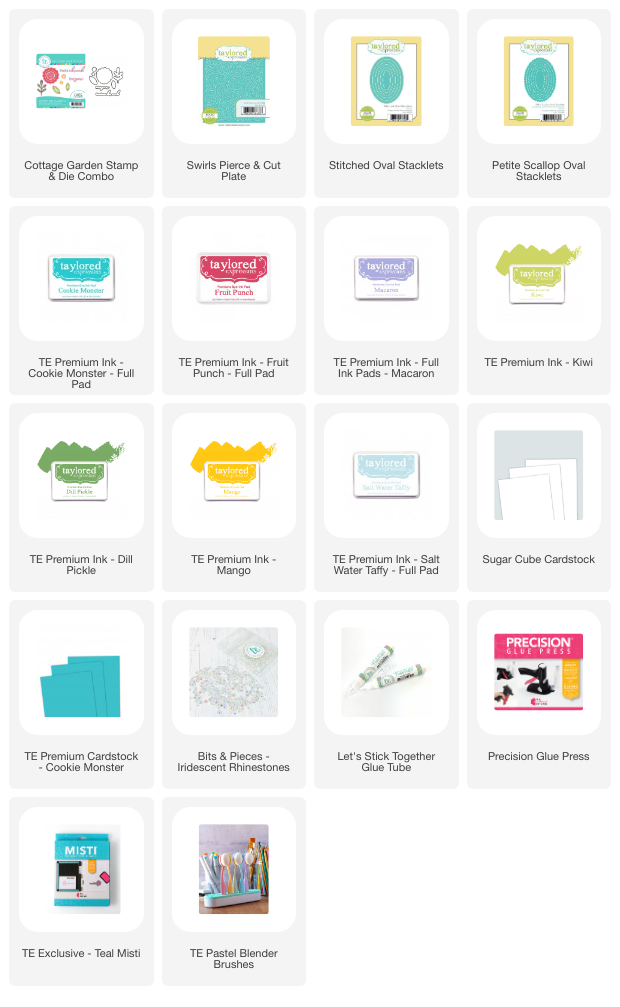
My last project features the Cottage Garden Stamp and Die Combo. I love the fun, happy flowers!
I stamped and die cut the flowers and greenery and centered them on an oval die cut with the Stitched Oval Stacklets and matted with the Petite Scallop Oval Stacklets.
The card front is die cut with the Swirls Pierce & Cut Plate from Cookie Monster Cardstock.
Get 15% off when you purchase 4 or more new Stamp & Die Combos part of our Cute Combo release. Just add 4 or more new combos to your cart, and the discount will automatically apply!
If you want all the combos, the I Want It All Bundle is yours at a special price of $199, making it easy to get every delightful duo!
Thanks for stopping by! Stop by the TE Blog for all the details and more inspiration for the team.