Showing posts with label Bookmark. Show all posts

1/28/25

Treat Your Shelf

Hi Friends! I am excited to start off the week with the first cardmaking kit of the year from Taylored Expressions! The Treat Your Shelf Cardmaking Kit is here, and it’s perfect for all the book lovers in your life. I can't wait to make bookmarks for the members of my book club. 


Here is my group of projects I made with the kit to share with you first, two cards and two bookmarks. 


For the backgrounds of my cards I used the Pixie Petals Background Stamp, stamping Versamark Ink on Blue Raspberry Cardstock and embossing with TE White Embossing Powder. 


I used  a Foil It - Treat Your Shelf Panel with the Treat Your Shelf Layering Stencil to create my stack of books. I used TE Gold Foil with my Mini Minc Foil Applicator. I used a variety of ink that I have linked below. Once the books were stenciled and foiled I die cut with the coordinating Treat Your Shelf Dies. 

I mounted the books on a rectangle die cut and matted with Stitched Rectangle Stacklets and Petite Scallop Rectangle Stacklets. 


All the sentiments are from the One for the Books Stamp Set and die cut with the One for the Books Dies, available for purchase separately. On this card I used the Stitched Oval Stacklets and the Petite Scallop Oval Stacklets behind the books. Notice the clouds in the background. I used the Cloudy Skies Piercing Plate to achieve the look. 


I am loving these two bookmark options. I used the Bookmark Builder Die for the long bookmark. I just die cut books from different colored cardstocks and stacked the books on top of each other. 

The corner bookmark is die cut with the Get Thready - Corner Bookmark Die which creates a bookmark that fits perfectly on the corner of the page. I used TE Felt and DMC Embroidery Floss. I love the look and can't wait to make more of these. 


Here's a look at a couple of The Insiders - Treat Your Shelf Panels. I foiled the sentiments with TE Foil in Cookie Monster. 
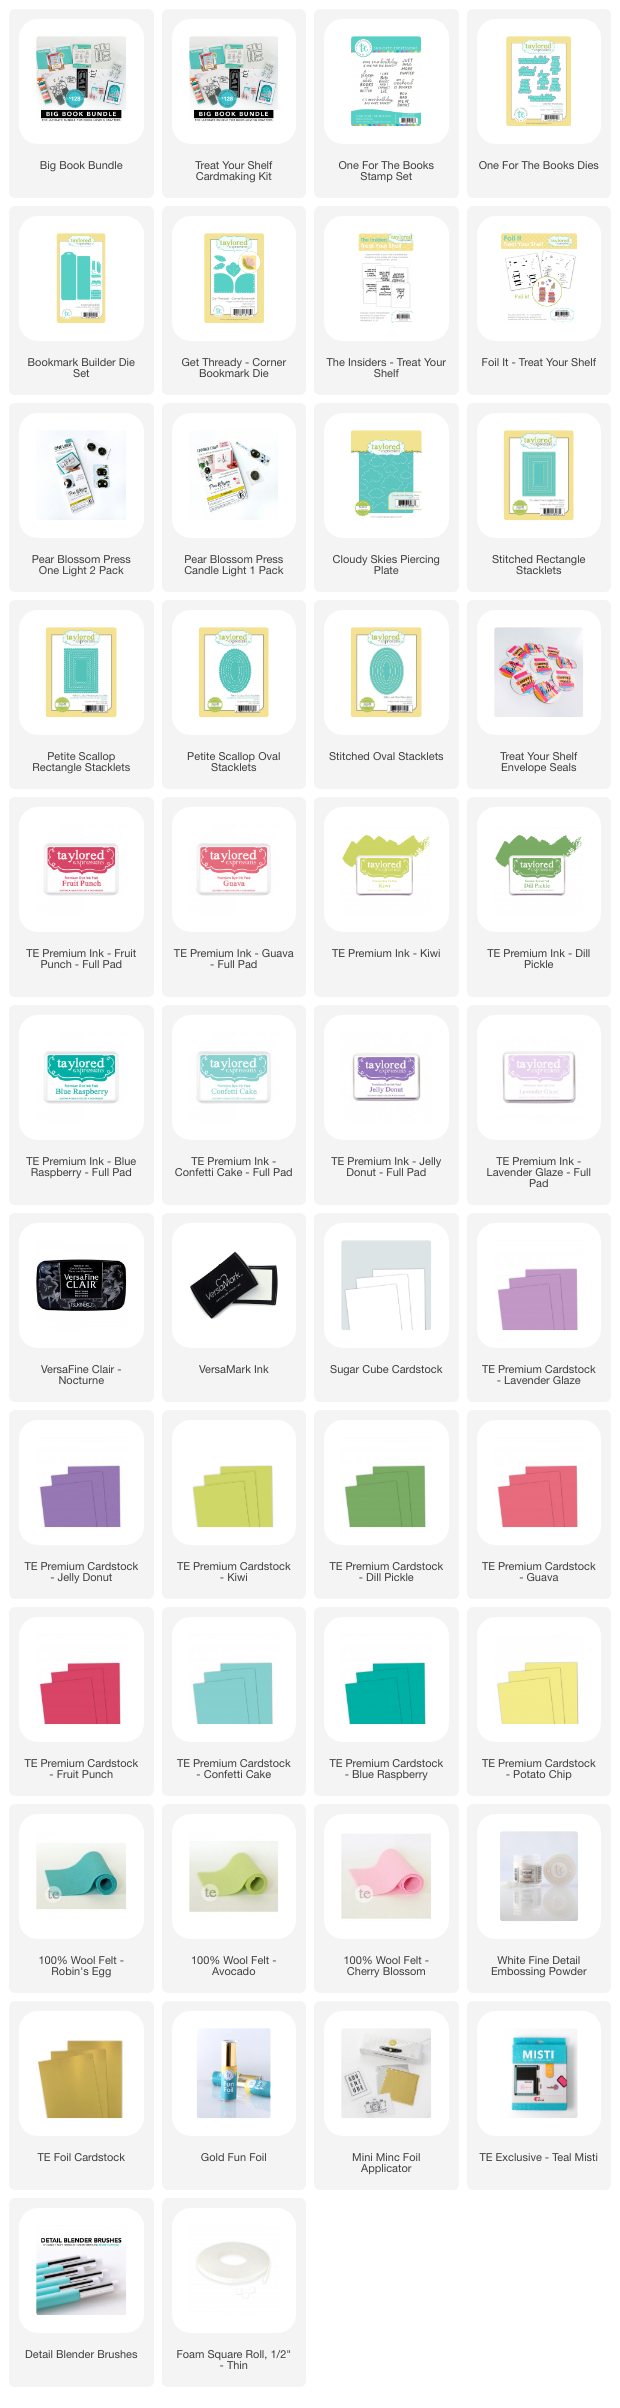

The Treat Your Shelf Cardmaking Kit includes:
  • Treat Your Shelf Layering Stencil
  • Treat Your Shelf Coordinating Dies
  • Treat Your Shelf Clear Stamp
  • The Insiders - Treat Your Shelf
  • Taylored Tutorial instruction sheet
Kits go fast and most items are not available to purchase outside the kit. New to the kits this year, we’re introducing the Taylored Tutorial instruction sheet, which provides step-by-step guidance for creating a special project using the kit's contents.

Coordinating products outside of the kit include:

We also have the Big Book Bundle, which includes the kit along with each of the additional coordinating products for one of everything.


Thanks for stopping by! Visit the TE Blog for all the details, videos, and more inspiration from the team.

3/24/24

Papertrey Ink March Release Countdown Day 3

Hi and welcome to Day 3 day of the Papertrey Ink March Release Countdown. I have two more projects to share with you today. All the new products will be available on March 26th at 10 PM ET. 


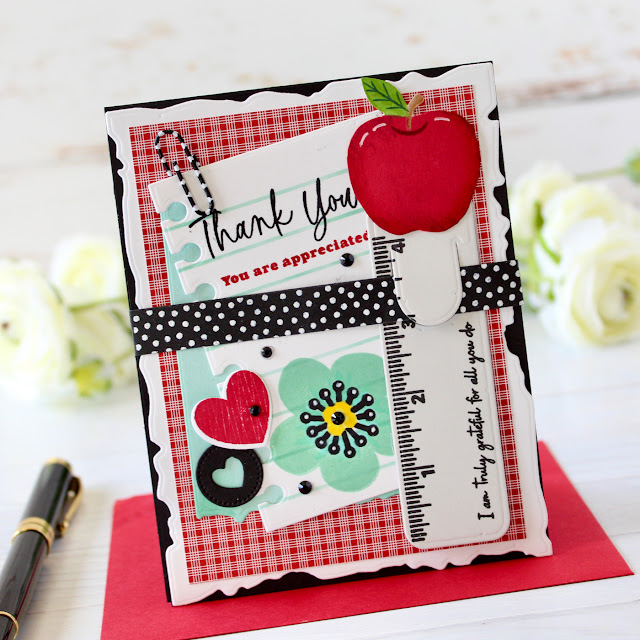
My first few projects feature the new Bookmarked Stamp Set and coordinating Dies. On my first project I incorporated the bookmark on to the front of my card. The other elements are from the new Just Notes Stamp Set and Dies and the Love to Layer: Notebook Dies. 

I added the notebook paper to the card front and then stamped the strip of tape in Versamark and embossed with white embossing powder. Rather than glue the strip down I wrapped the corners around the card and glued them down. I hung the bookmark on the tape but it can easily be removed and used as a bookmark. 


I used the Border Bling: Frayed Edges Dies to add the frayed edges to the card front. 


There are a number of different options in the Bookmarked Stamp Set and coordinating Dies to create bookmarks. Here is a look at the the three animal options. 


There is also three flower options along with the pencil and the ruler. 

Supplies:

Stamps: Bookmarked, Just Notes
Dies: Bookmarked, Just Notes, Border Bling: Frayed Edges
Ink: Pure Poppy, True Black, New Leaf, Classic Toffee, Aqua Mist, Lemon Tart, Versamark
Paper: True Black, Stamper's Select White, Aqua Mist, Soft Stone, Bitty Big Collection: Pure Poppy
Other: Just Notes: Stencil, White Embossing Powder, Paper Clip, White Gel Pen, Black Jewels


Next is a look at the Always In Bloom Stamp Set and Dies. This a beautiful set full of pretty flowers and beautiful greenery. I have listed the inks I used below. 


After I had stamped and die cut the flowers and greenery I arranged them on a panel die cut with the Love to Layer: Deckled Dies and stenciled with the  Watercolor Wonderful Stencil. The sentiment is from the new Mother's Day Sentiments stamp set. 


The background is created with the Cover Plate: Exquisite and True Black Cardstock. I added a strip of Sweet Blush Cardstock in the the center of the card and finished off with a few Moonshine Sequins: Fresh Snow.

Supplies:

Stamps: Always in Bloom, Mother's Day Sentiments
Dies: Always in Bloom, Love to Layer: Deckled Edges, Cover Plate: Exquisite
Ink: Sweet Blush, Melon Berry, True Black, Lemon Tart, Harvest Gold, Plum Pudding, Honey Nut, Ocean Tides, Mint Julep, Pinefeather
Paper: True Black, Stamper's Select White, Sweet Blush
Other: Watercolor Wonderful Stencils, Moonshine Sequins: Fresh Snow

Thanks for stopping by! Stop by the PTI Blog for more inspiration from the Design Team. I will be back tomorrow with more Countdown projects. 


4/24/22

Papertrey Ink April Sneak Peeks Day 1

 Hi and welcome to the Day 1 of the Papertrey Ink April Sneak Peeks. This month some new Feathered Friends, products for teacher gift giving, and some great new masculine products. Everything will be available for purchase beginning at 10 PM ET Thursday, April 28th. 


Let's start with a group of gift giving product. My first project is created with the new Go to Gift Holder Book Stamps and Dies, the  Go to Gift Holder Scrolls Stamps and Dies, and the  Go to Gift Holder Book Pockets Dies. They all work together to create this cute book. 


I added two pockets and two gift card holders to the inside of the book. You can add notes to your teacher in the pockets. 


I also added the stamped apple and ribbon to tie the book closed. 


The  Go to Gift Holder Book Box Die creates this sweet gift box. I also created another gift card holder to fit inside the box.  The box will also hold a small gift. 


The sentiments are stamped with the  Go to Gift Holder Book Stamp Set, along with the apple. I also used the Go to Gift Holder Scrolls Stamp Set to add the scroll on the book binding and the over the circle. 


The Book Mark Dies creates the perfect size book mark with room to add a sentiment. 

Supplies: 

Stamps: Go To Gift Card Holder: Books, Go To Gift Card Holder: Scrolls
Dies: Go To Gift Card Holder: Books, Go To Gift Card Holder: Scrolls, Go To Gift Card Holder:Pockets, Go To Gift Card Holder:Box, Go To Gift Card Holder:Bookmarks, Love to Layer: Scallop Circles
Ink: Pure Poppy, True Black, Spring Moss, Classic Kraft, Versamark 
Paper: Stamper's Select White, True Black, Bitty Big Collection in Spring Rain, Spring Moss, Pure Poppy, Glittered Cardstock
Other: White Embossing Powder,Ribbon, Raindrops, Glue


The Feathered Friends Mini 22 Stamp Set is the latest addition to this product line. This is a lovely stamp set. It includes the bird, the branch, and the flowers. My card also uses the new Elegant Edges: Leaves Dies, and the Inside Sentiments: Everyday. 


I used a stencil in the background and the die cut the edge of the paper with the Elegant Edges: Leaves Dies.


I added Star Dust Stickles to the flowers and added a few clear sequins. 

Stamps: Feathered Friends Mini 22, Inside Greetings: Everyday
Dies: Feathered Friends Mini 22, Elegant Edges: Leaves
Ink: Spring Moss, Sweet Blush, Classic Kraft, Raspberry Fizz, Lovely Lady, Lemon Drop, Summer Sunrise, True Black
Paper: Stamper's Select White, Raspberry Fizz, Bitty Big: Spring Moss
Other: Sequins, Stickles: Star Dust, Sunshine Stencil, Blending Brushes

Thanks for stopping by! I will be back tomorrow with another sneak peek! 

11/6/12

Taylored Expressions November Sneak Peek Day 1


Welcome to Day 1 of Taylored Expressions November Sneak Peeks Day 1! We will have inspiration to share Tuesday through Friday.  All of the new products will be available for purchase on Thursday, November 8th at 8 am PST. You'll find it all in the Fresh out of the Oven Department at the Taylored Expressions Store.

You can join us as a fan on Facebook for an early peek at the stamp sets, as well as a SPECIAL Facebook GIVEAWAY, on Wednesday night beginning at approximately 6 pm PST.

Today I am sharing projects with the new In The Word Stamp Set. This stamp set coordinates with the TE Bookmark Die. This set will allow you to create beautiful bookmarks, as well as cards, tags, framed art, and more!


First I stamped the swirls in pink ink and then I stamped the sentiment.  I used the new Label Stacklets 2 Dies to cut out the sentiment. The bottom border is cut with the new Lace Chain Border Die. I think it is my new favorite!


I sponged the edges with Tim Holtz Distress Ink in Antique Linen. I added machine stitching with a heavy weight thread and ribbon. My papers are from Dear Lizzy - 5th & Frolic 6x6 Pad.


On the back I stamped one of the cute signature stamps from the Signature Style Stamp Set. Every one should sign the back of their stamped creations and this sampler set (with illustrations from all of our designers) gives you a multitude of ways to do that. No matter what style of card or project you've created, we have a coordinating image to help you leave your mark!


Next I used another Bible verse and an image of the sun from the In The Word Stamp Set to create a bookmark. The stamps coordinate with the Mark Your Spot Bookmark Die


Thanks for stopping by! Be sure to stop by all the Bakers Dozen blogs for more inspiration. 


      Photobucket
      Pin It

      8/3/12

      Bookmark and Gift Card Holder

      Hi and thanks for stopping by! I am excited to share the new MFT Bookmark Duo Die-namics and Stamp set with you today. I have so many friends and family that love to read! 


      For my first project with the set I made a card/gift card holder and a bookmark.


      I stamped one of the sentiments from the set with Amuse Ink in Watermelon and cut it out with the Circle STAX Die-namics. Since I wanted my card to double as a gift card holder I thought it would be fun to add a button and twine to hold the card closed. I threaded the twine through the button, glued down one end and wrapped the other end around the card and then around the button.


      The doily flap is cut with the larger die in the Dainty Doily Duo. My flower and leaves are cut with two new dies, Layered Rose Die-namics and the Medium Leafy Flourish Die-namics. I added a MFT Button to the center of the flower. My papers are new from My Mind's Eye, The Sweetest Thing Honey. (Always dangerous time for my pocketbook after CHA!)


      When you open the card the gift card pops up in the middle. I stamped a sentiment from Finishing Flourishes and used the new Designer Label 4 STAX Die-namics.


      This is how I made my slot to hold the gift card. I cut a piece of cardstock 5" by 11" Then I scored at 5", 5.5" and 6". I used one of the Retangular STAX Die-namics to cut the slot, and glued the ends together.


      And here is my coordinating bookmark I made with the set and the Layered Rose Die-namics.


      Here are the details about the upcoming release: 
      • You can attend the New Release Party on August 7 from 8-10 PM EST HERE in the MFT forum, where you can WIN PRIZES!
      • The MFT release, including all new stamp sets and Die-namics, is on August 7 at 10 PM EST.  You'll find all the newest products HERE at release time.
      • The guest designer contest is going on now!  Check out the forum for details on how YOU can win over $200 in stamp sets and Die-namics.
      • If you'd like to see all the teasers for today, please click on over to the MFT Blog NOW.  Be sure to leave comments as you go for the chance to win one of 2, $10 gift certificates given away daily.  The winners will be posted on August 7 just before the release party, on the MFT blog.


      Photobucket