1/30/24

The Pieced Patterns Cardmaking Kit

Hi all! Today I have three cards to share with you that I created with a new fun cardmaking making kit from Taylored Expressions. This is a fun and easy way to create colorful patterned backgrounds for your projects along with great grid patterns to create different patterns. 


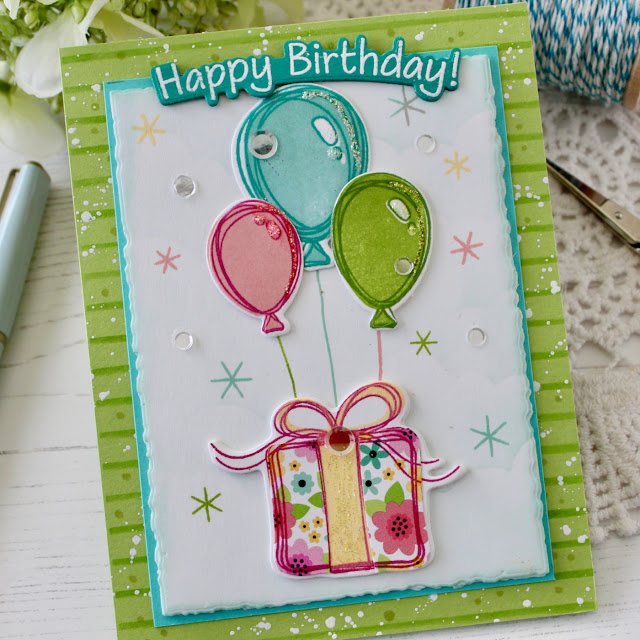
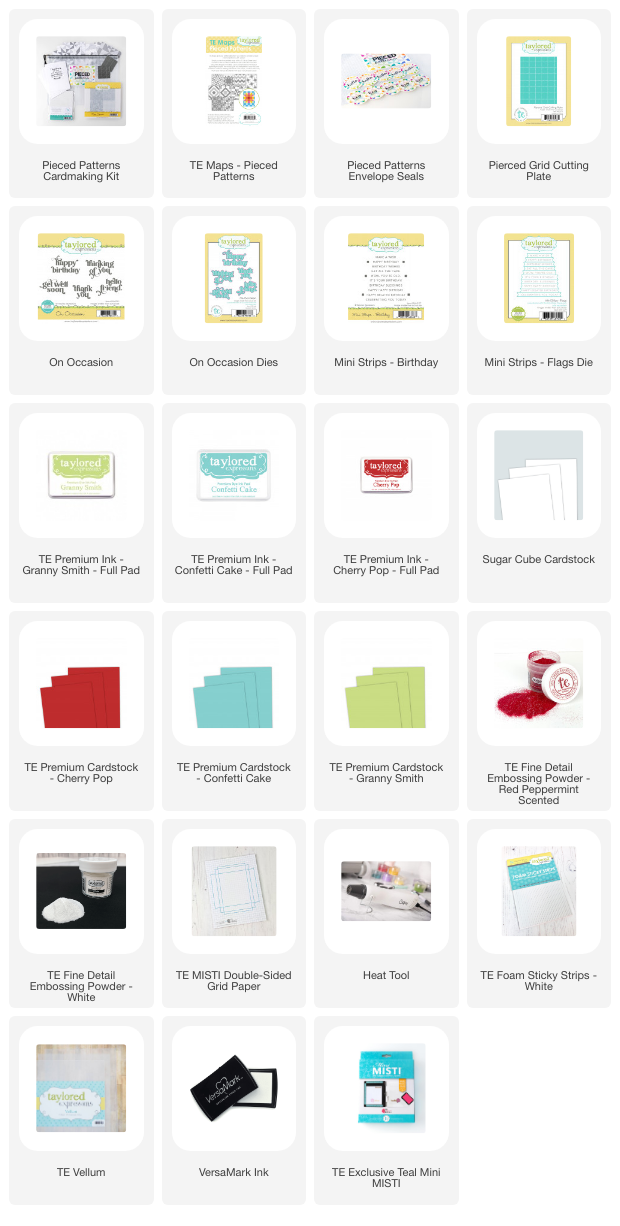
On my first card I chose one of the star patterns to work with. I went with a color scheme of Cherry Pop, Granny Smith, Confetti Cake, and Sugar Cube. I stamped the Four Square 6x6 Background stamp in a variety of the colors. On the Cherry Pop Cardstock I stamped in Versamark Ink and embossed with White Embossing powder. Then I die cut the squares and triangles with the Pieced Patterns dies. 


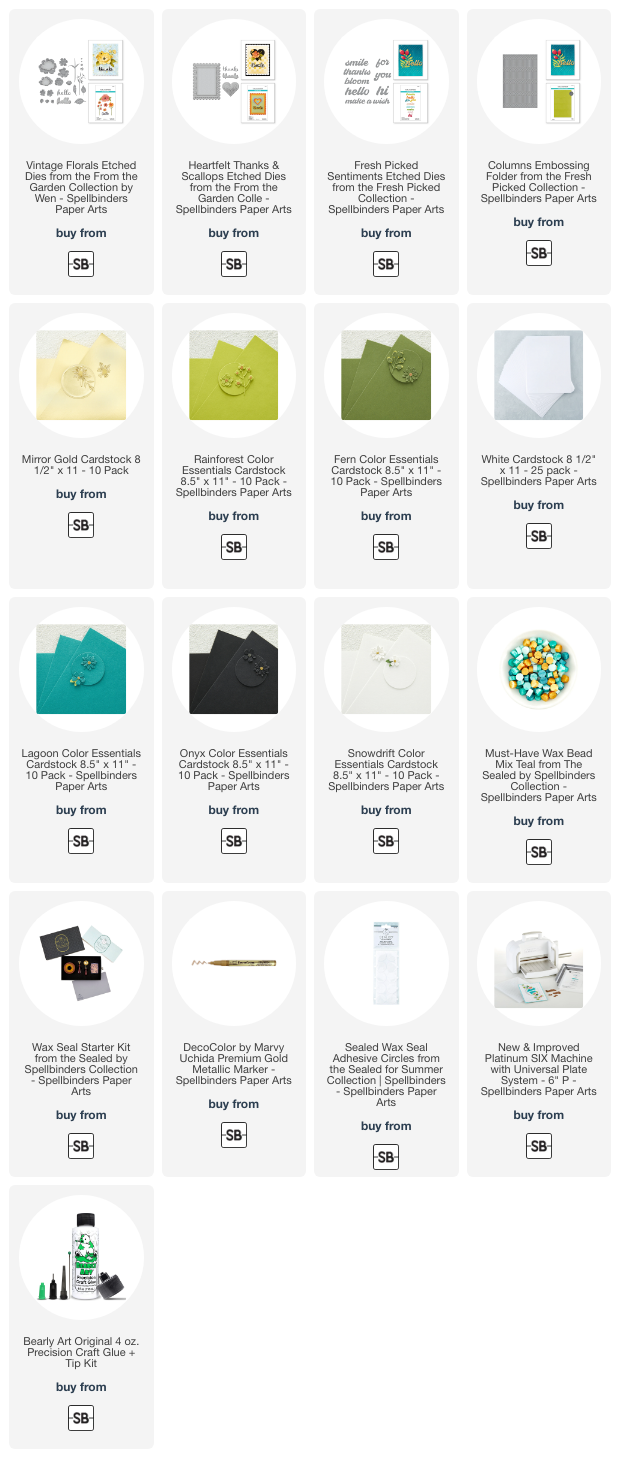
Using the grid the pattern is easy to create. I stamped a sentiment from the On Occassion Stamp Set on Vellum with Versamark Ink and embossed with Red Peppermint Embossing Powder. The smaller sentiment is from the Mini Strips - Birthday Stamp Set. 


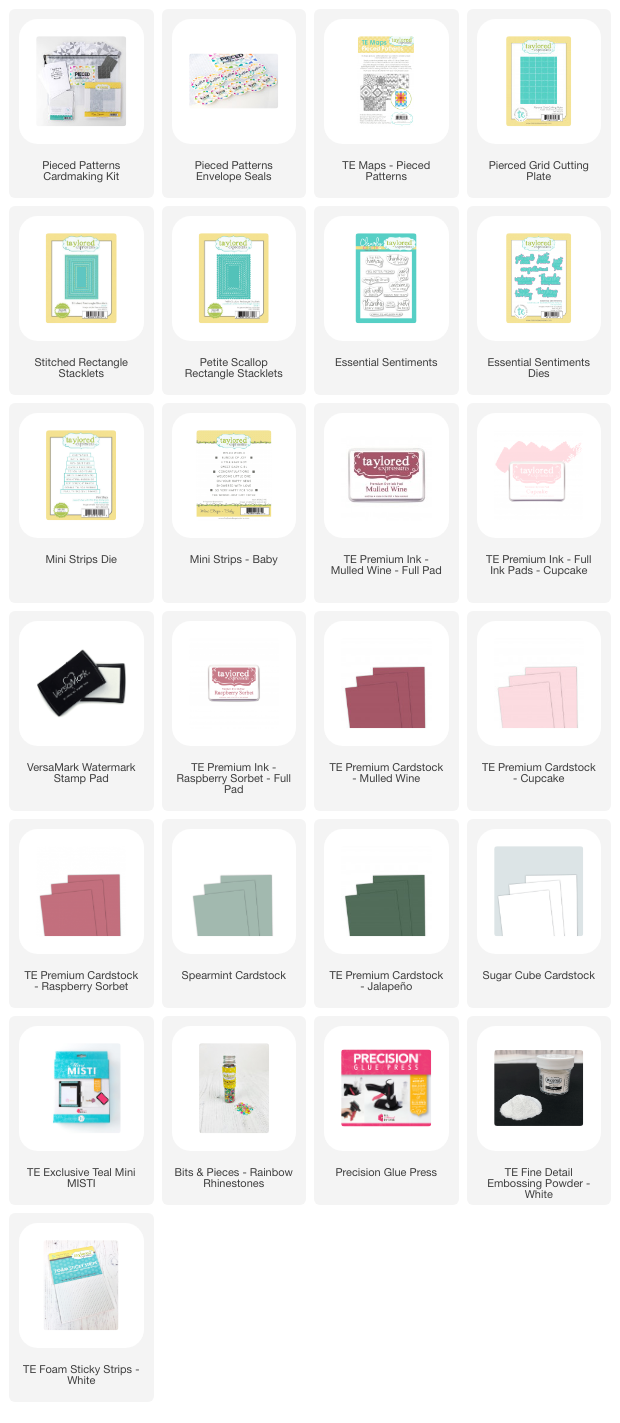
Next I went with the idea of baby quilt, using another one of the patterns. I used a color theme of Cupcake, Raspberry Sorbet, Spearmint, JalapeƱo, and Sugar Cube. The larger sentiment is from the Essential Sentiment Stamp Set and the smaller one from Mini Strip - Baby Stamp Set. 


I used the Stitched Rectangle Stacklets and the Petite Scallop Rectangle Stacklets to finish off the quilt. 

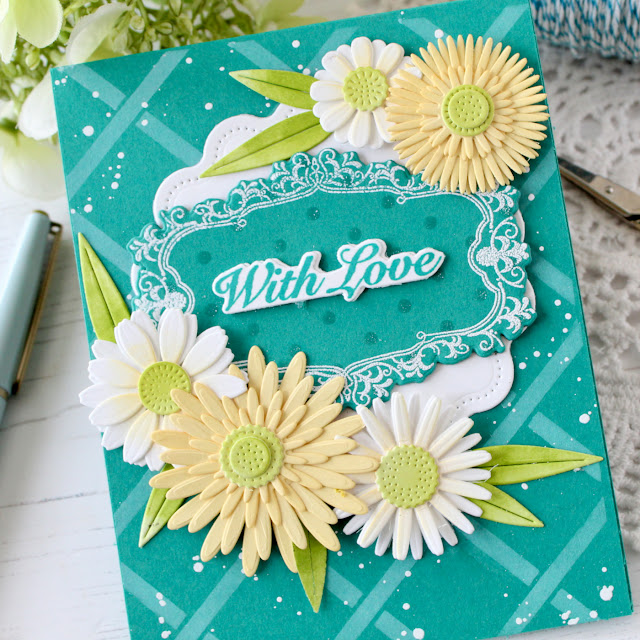
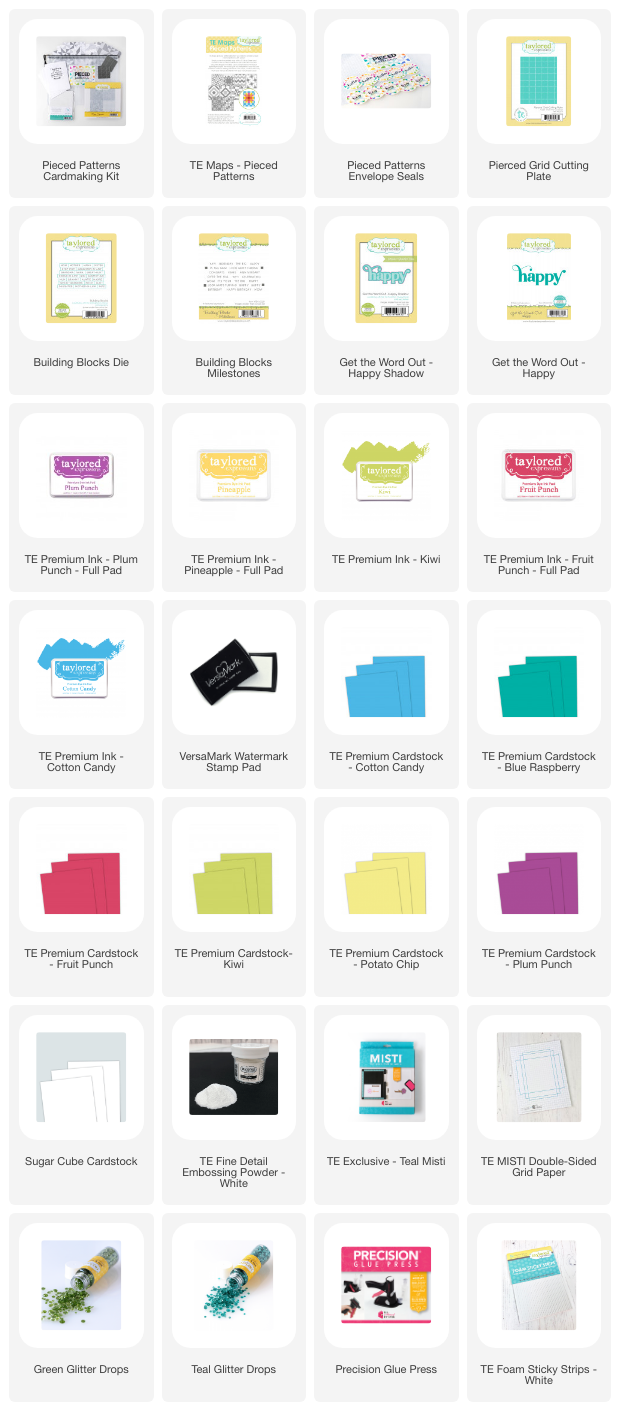
Here is another idea for the Kit. I used a group of brighter colors that I have linked below. 


The "happy" sentiment is created with the Get the Word Out - Happy Stamp Set and the coordinating Get the Word Out - Happy Shadow. 


The Pieced Patterns Cardmaking Kit retails for $57, is packaged in a zippered pouch with a custom sticker, and includes:
  • Pieced Patterns – Squares die
  • Pieced Patterns – Triangles die
  • Four Square 6×6 Background stamp
  • Sticky Sheets (set of 10 sheets)
  • TE Maps – Pieced Patterns
  • The Insiders – Everyday Occasions panels
  • True Colors Inspiration Cards (set of 4)
Most kit items are not available to purchase individually.

Additional products available to purchase outside of the kit: Pierced Grid Cutting Plate die, Pieced Patterns envelope seals(set of 10, 5 each of 2 designs), TE Maps – Pieced Patterns, and The Insiders – Everyday Occasions panels.

Limited quantity available.

Thanks for stopping by! Stop by the TE Blog for more inspiration, videos, and more. 


1/29/24

Papertrey Ink January Release Countdown Day 4

Hi and welcome to Day 4 of the Papertrey Ink January Release Countdown. All the new products will be available tomorrow, January 30th at 10 PM ET. 


My first card today is a fun, whimsical  birthday card I created with the new Scribble Balloons Stamp Set and coordinating Scribble Balloons Dies. 


I stamped three of the balloons and the larger present from the stamp set. I paper pieced the gift with a floral print and added Diamond Stickles to the ribbon on the gift and the balloons. I die cut the center panel with the Love to Layer: Deckled Edge Die, lightly blended Aqua Mist Ink on the background, and then stamped confetti with stamps in the set. 


I stenciled the card front with the striped stencil in the Perfect Presents Stencils, using New Leaf Ink on Green Parakeet Cardstock. I splattered the background with white paint and finished off with a sentiment from the Scribble Balloons Stamp Set and a few Moonshine Sequins: Fresh Snow

Supplies: 

Stamps: Scribble Balloons
Dies: Scribble Balloons, Love to Layer: Deckled Edge
Ink: New Leaf, Green Parakeet, Pale Peony, Raspberry Fizz, Aqua Mist, Tropical Teal, Lemon Tart
Paper: Green Parakeet, Hawaiian Shores, Stamper's Select White, Tropical Teal
Other: Perfect Presents Stencils, Moonshine Sequins: Fresh Snow, Diamond Stickles, White Paint, Blender Brushes, Glue, Foam Tape


My next card features the new Tropical Frond: Hot Foil Plate. It creates a beautiful background to build your cards around. I used Spellbinders Gold Foil with the Glimmer Hot Foil System. I blended Sweet Blush and Lemon Tart Ink over the foiling. 


I used the Into the Blooms: Orchids Dies to create the orchids with the vase. I used a white gel pin to add the polka dots. The sentiment is from the new Vintage Frames Stamps and Dies. 

Thanks for stopping by! You can stop by the PTI Blog for more inspiration.

1/28/24

Papertrey Ink January Release Countdown Day 3

Hi and welcome to Day 3 of the Papertrey Ink January Release Countdown. All the new products will be available on January 30th at 10 PM ET. 


First up today is a look at the Into the Blooms: Daisies Dies and the Vintage Frames Stamp Set and coordinating dies. I love the variety of shapes and sizes of the Daisies in this set. 


There are two frames in the  Vintage Frames Stamp Set. This is the larger frame. I stamped in Versamark Ink on Tropical Teal Cardstock and embossed with white embossing powder. The sentiment is included in the stamp set. 


I used the Perfect Presents Stencils to add the polka dots and the lattice patterns. Then I splattered the background with white paint. 


Next up is look at the Reflections: January Stamp Set and dies. I stenciled the background of with the polka dot pattern in the Perfect Presents Stencils in Lemon Tart Ink, stamped the sentiment in Enchanted Evening Ink and die cut with the Reflections: January Dies. 


I added a few daisies with the Into the Blooms: Daisies Dies and added yellow gems to the center of the flowers. 


The background is die cut with the Exquisite Cover Plate.

Supplies:

Stamps: Psalm Reflections: January
Dies: Psalm Reflections: January, Into the Blooms: Daisies, Cover Plate: Exquisite
Ink: Enchanted Evening, Lemon Tart, New Leaf
Paper: Stamper's Select White, Enchanted Evening
Other: Yellow Gems, Blender Brushes, Misti

Thanks for stopping by! I will be back tomorrow with more projects. You can stop by the PTI Blog for more inspiration.


1/27/24

Papertrey Ink January Release Countdown Day 2

Hi and welcome to Day 2 of the Papertrey Ink January Release Countdown. All the new products will be available on January 30th at 10 PM ET. Today I have two birthday cards to share with you. 


My first project features the Perfect Presents Dies and the Beautiful Bows and Perfect Presents Stencils. Using the Perfect Presents Dies I cut the gift box from Spring Rain Cardstock and stenciled with Blueberry Sky Ink and the polka dot stencil in the Perfect Presents Stencils. 


The center panel is die cut with the Love to Layer: Deckled Edge Die from Stamper's Select White Cardstock and then stenciled with the plaid stencil in the Perfect Presents Stencils.Then I stenciled the bow in Pure Poppy Ink with the new Beautiful Bows Stencils. 


I created the flower with Into the Blooms: Dahlia Dies, one of favorites! The card front is die cut with the Border Bling: Tin Stitch Die.The sentiment is from the new Birthday Your Way II Stamp Set.

Supplies:

Stamps: Birthday Your Way II, Just Sentiments: Happy Hello
Dies: Perfect Presents, Birthday Your Way II, Into the Blooms: Dahlia, Love to Layer: Deckled Edge Die, Border Bling: Tin Stitch Die
Ink: Spring Rain, Blueberry Sky, Pure Poppy, Simply Chartreuse, Lemon Tart, Versamark
Paper: Blueberry Sky, Stamper's Select White, Spring Rain
Other: Beautiful Bows Stencils, Perfect Presents Stencil, White Embossing Powder, White Glittered Cardstock, Misti, Blender Brushes, Glue


Next is a look at the Stamps: Birthday Your Way II Stamp Set and the Birthday Your Way II Dies, and the Wrap-It Ribbon Dies. I die cut the square with the Love to Layer: Square Dies, stenciled with Versamark Ink and embossed with gold embossing powder. 


I stamped one the larger sentiments in the Birthday Your Way II Stamp Set in Versamark Ink, embossed with gold embossing powder, and colored with OLO Markers. Then I added the bow with the Wrap-It Ribbon Dies. 


The smaller sentiment is also from the Birthday Your Way II Stamp Set. I used the  On the Edge: Scallops Collection to add the scallop border.

Supplies:
Stamps: Birthday Your Way II
Dies: Birthday Your Way II, Wrap-It Ribbons, Border Bling: Skinny Diagonals Frame, On the Edge: Scallops Collection, Love to Layer: Squares
Ink: Tropical Teal, Green Parakeet, Versamark
Paper: Stamper's Select Site, Hawaiian Shores, Green Parakeet , Bitty Big: Simply Chartreuse
Other: Perfect Presents Stencil, Gold Embossing Powder, Gold Gem, Olo Markers, Twine, Misti, Glue

Thanks for stopping by! I will be back tomorrow with more projects. You can stop by the PTI Blog for more inspiration.


1/26/24

Papertrey Ink January Release Countdown Day 1

Today I am kicking off the Papertrey Ink January Release Countdown. I will be sharing my projects over the next few days. All the new products will be available on January 30th at 10 PM ET. Today's cards feature sweet floral and the cutest cupcakes. 


My first two cards are created with the Lofty Petals Stamp Set and coordinating Lofty Petal Dies. I stamped the flowers with Sweet Blush, Autumn Rose, and Scarlet Jewel Inks, adding a few details with a white gel pens, and then die cut. 


Next I used the new Fantastic Front Die to die cut the front panel from Stamper's Select White Cardstock. I blended Sweet Blush Ink on the white cardstock and then stamped the stems and leaves in Ripe Avocado and Sweet Chartreuse Inks. 


The Fantastic Front Die is a set of two dies, one larger die to cut the larger panel and a second die cutting the area from the sentiment. The sentiment is included in the Lofty Petals Stamp Set. 

Supplies:

Stamps: Lofty Petals
Dies: Lofty Petals, Fantastic Front Dies
Inks: Sweet Blush, Autumn Rose, Scarlet Jewel, Ripe Avocado, Simply Chartreuse, Versamark
Paper: Stamper's Select White, Ripe Avocado, Bitty Big Collection: Simply Chartreuse
Other: White Embossing Powder, Moonshine Sequins: Lovely Lady, Perfect Presents Stencils, Glue, Misti


On my second card I used the Lofty Petals Stamp Set to create a background pattern. The white flowers are stamped in Versamark Ink and embossed with white embossing powder on Dark Indigo Cardstock. The other flowers are stamped in Aqua Mist, Hawaiian Shores, and Lemon Tart Ink. 


I added the flowers to the Dark Indigo Cardstock along with a few white gems. I added the another sentiment from the Lofty Petals Stamp Set. 


The polka dot pattern is stenciled with the new Perfect Presents Stencils. This is a set of four stencils with great patterns for backgrounds. 

Supplies:

Stamps: Lofty Petals
Dies: Lofty Petals, Fantastic Front Dies
Ink: Lemon Tart, Aqua Mist, Hawaiian Shores, New Leaf, Ocean Tides, Versamark
Paper: Stamper's Select White, Dark Indigo
Other: Perfect Presents Stencils, White Embossing Powder, Lemon Tart 5/8" Satin Dots Ribbon, Clear Gems, Button, Twine, Glue, Misti, Blender Brush


Next up is a look at the Occasional Cupcakes Stamp Set and Dies. This is such a cute set. There are stamps to create cupcakes for birthdays, Easter, Halloween and Christmas! Since Easter is coming early this year I decided to go with the Easter Theme. 


I stamped the bunny on Classic Kraft Cardstock and embossed with white embossing powder. I used Stickles in Star Dust to add the glitter. I die the the Fantastic Font Die again and stenciled the background with the one of the stencils in the Perfect Presents Stencils. The scalloped circle is die cut with the new Love to Layer: Soft Scallops Die. 


The sentiment is from the previously released Spring Greetings Stamp Set

Supplies: 

Stamps: Occasional Cupcakes, Spring Greetings Stamp Set
Dies: Occasional Cupcakes, Love to Layer: Soft Scallops, Fantastic Front
Ink: Orange Zest, Canyon Clay, Lovely Lady, Hibiscus Burst, Lilac Grace, Amethyst Allure, New Leaf, Aqua Mist, Tropical Teal, Lemon Tart, Summer Sunrise, True Black, Versamark
Paper: Stamper's Select White, Aqua Mist, Classic Kraft
Other: Perfect Presents Stencils, Twine, Misti, Blender Brushes, Glue

Thanks for stopping by! I will be back tomorrow with more projects. You can stop by the PTI Blog for more inspiration.


1/18/24

From The Garden - Thanks

Hello Crafters! Today's card is created with the with some new products from the Spellbinders January Release. I do love pretty florals and scallops!


I started by diecutting the Vintage Florals Etched Dies for white cardstock and ink blending with pinks, yellows, peach inks. I layered the flowers together and added the black centers. 


To create the center panel I die cut Barely Peach Cardstock with the Heartfelt Thanks & Scallops Etched Dies. Next  I die cut the heart in the center of the panel with the heart die that is included with the Heartfelt Thanks & Scallops Etched Dies and then I embossed with the Mandala Blooms 3D Embossing Folder. I cut a second larger heart from Wild Berry Cardstock to mat the heart. 

I added a clear acetate behind the heart, then foam tape, and I dropped in the clear confetti. 


The sentiment is also included in the Heartfelt Thanks & Scallops Etched Dies. 


Thanks for taking a look. You can find all the new January products HERE

1/17/24

The New Fresh Picked Collection

I have a post up on the Spellbinders be on the blog. I am sharing hare a few cards I have created with the new Fresh Picked Collection. I love the modern, contemporary feel of this collection. 


You can stop by the Spellbinders blog for all the details on my cards. Have a great day!


1/16/24

Valentine Treats with Taylored Expressions

Hi and thanks for stopping by! Today I have some really cute Valentine Treat projects to share with from Taylored Expressions.


Strawberries and flowers! I think this new products are so fun!


Let's start with cute strawberries. The strawberries are put together with the new Berry Sweet Treat Dies. I die cut the berries from Cherry Pop and Watermelon Cardstock and stenciled with the Mini Slim Stencil - On the Dot. The leaves are die cut from Cilantro Cardstock. I used red baker twine to tie the berries together. 


The sentiments are from the new Berry Best Stamp Set. The sentiments are die cut with the previously released Itty Bitty Tags 1 and 2. 


Here a closed look at the berries outside the basket. Taylor will have video up on the blog to help you assemble the strawberries. 

Next up is the I'm A Sucker For You Die. The die cuts the flowers and leaves. When you put the flowers together there is a hole left to insert the lollipop. 


I stenciled the flowers with the Mini Slim Stencil - Swiss Hearts.

Stop by the TE Blog for all the details, how to videos, and more inspiration from the Design Team. 

1/15/24

Vintage Florals from Spellbinders

Thanks for stopping by today! I am starting off the week with some new products from Spellbinders January Release. 


I'm not sure if I can every have enough floral dies. I like to used as the center piece of my card but also for smaller embellishments when I feel like I need one final touch to a card. This card is created with the new Vintage Florals Etched Dies which are part of the From the Garden Collection by Wendy Vecchi. I love the detail on the die cuts. I die cut the flowers from white cardstock and blended each layer of the flowers with ink .


In the center of the largest flower I add a wax seal with the new Must-Have Wax Bead Mix Teal Beads. This set has four different color of bead in the mix that melt beautifully together. I will link the products below. 


The background is die cut from Lagoon Cardstock with the new Heartfelt Thanks & Scallops Etched Dies. I do love a scalloped edge! After the die cut the panel I embossed with the the new Columns Embossing Folder. Then I finished off the card with a simple sentiment from the Fresh Picked Sentiments Etched Dies. This is great set of sentiment dies I know I will use over and over. 


Hope you have a great week!