11/12/18

The 25 Days of Christmas Tags 2018

Today is Day 12 of the 25 Days of Christmas Tags 2018 and it's Pretty Pink Posh Day! This is the 8th  year Tracy has coordinated this fun event. You can find all the details here. Play along with us! Create a tag for a chance to win a prize!


I used the Scallop Square Tags Die to create the base of my tag and added patterned paper to the centers of the tags. 


The ornaments are created with the new Pretty Pink Posh Stitched Ornament Dies. The branches at the top are die cut with the Pine Bough Dies. 


The sentiments are from the Holiday Greetings Stamp Set and I added a little bling with the jewels from the Holiday Jewels Mix.

Thanks for stopping by and I hope you get a chance to play along!! 


11/9/18

Christmas Blessing

Hi and happy Friday! I am moving along on my Christmas Cards! I have a card to share today created with products from Taylored Expressions. I went with classic Christmas colors and used a new background stamp, the Buffalo Plaid Background Stamp, which is my new favorite!


I stamped the Buffalo Plaid Background Stamp on Cherry Pop Cardstock with Sugar Cube Ink and embossed with TE White Embossing Powder. The beautiful Christmas Sleigh is stamped with the Sleigh Bouquet Stamp and colored with Copic Markers. 


The sleigh is die cut with the coordinating Sleigh Bouquet Die. I added a hill of snow with the new Build a Scene - Snow Drifts. Then I did a light splatter of white paint on the scene. The circle is cut with Stitched Circle Stacklets and framed with Petite Scallop Stacklets. The sentiment is from the stamp set and die cut with the Double Ended Flag Stacklets. 


Have a great weekend! 


11/5/18

November Release Day at Pretty Pink Posh!

I am so excited to start sharing my projects I created with the November Holiday Release from Pretty Pink Posh. The release is combination of cute, elegant, and creative! My card today features the new Ornament Shaker Die.

I used the new Winter Days Confetti Mix to inspire the color theme. I cut a piece of white cardstock to fit the card front. Using a stencil brush and Tumbled Glass Distress Ink I brushed on the soft background and splattered white paint. Then I cut the Ornament Shaker Die directly into the card front and then again from Royal Blue Cardstock. I inlayed the ornament into the card front and added clear acetate and foam tape behind the die cut to foam the shaker. 


At the top I added the branches with the Pine Sprigs Die Set. I think the Pine Sprigs are perfect for creating Holiday and Winter Themed cards! The sentiments are from the Holiday Greetings Stamp Set

Thanks for stopping by! You can find all the new products HERE


11/1/18

Spellbinders Cut and Emboss Folders

Hi Everyone! Today I have two cards to share with you that I created with Spellbinders Cut and Emboss Folders. I think these folders are such a creative idea. They cut and emboss in one step! The embossing is beautiful with so much detail. These folders are perfect for mass producing cards beautiful and elegant cards.


My first card uses the Flora Banner Cut & Embossing Folder. I cut a piece of watercolor paper and ran it through my die machine with the Cut & Emboss Folder. Then I used a blending tool and sponged on Distress Inks in Tumbled Glass, Peacock Feathers, Shabby Shutters, Peeled Paint, and Squeezed Lemonade. 


Here is closer look at the cut outs. I added a darker cardstock behind the cut outs to highlight the flowers. I added Pearl White Jewels to the center of the flowers. 


My next card features the Botanical Frame Cut & Embossing Folder. I used the same method as the first card to create the card front. Here I used Distress Inks in Ripe Persimmon, Orange Marmalade, Wild Honey, and Squeezed  Lemonade. 


I added a gold foil flower with the Shapeabilities Robin and Rosy Mug Etched Die Set. I added Metallic Gold Jewels to the center of these flowers. The sentiment on both cards is from the Taylored Expressions Friendly Phrases Stamp Set. 

Thanks for taking a look! These Emboss & Cut Folders are beautiful! 

10/30/18

Autumn Greetings with Pretty Pink Posh

Hi All! Can you believe it is the last day October! Happy Halloween! I am ending the month with a fall themed card with a combination of products from Pretty Pink Posh.

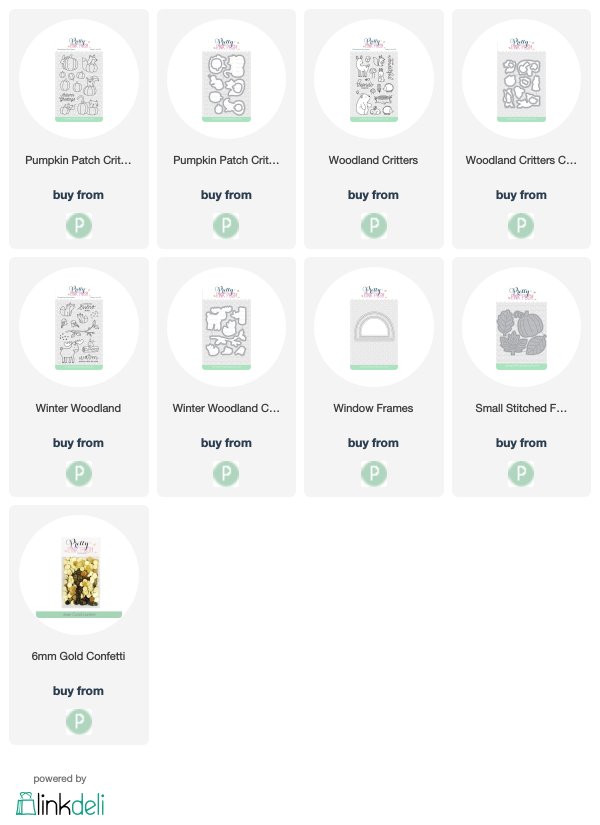
I started by coloring my stamped images with Copic Markers. I used a combination of stamps from the Pumpkin Patch Critters Stamp Set, the Winter Woodland Stamp Set, and the Woodland Critters Stamp Set. Looking at my colored images I thought my colors choices were pretty bold and deep so I decided I wanted to keep my background soft. I blended a combination of Squeezed Lemonade and Scattered Straw Distress Inks and then splattered the background with water and watered down gold paint. 

I die cut the larger die in the Window Frames Dies directly into the card front. I added foam tape behind the window and then added die cut images to created the scene. The sentiment is from the Pumpkin Patch Critters Stamp Set. I die cut the leaves in the Small Stitched Foliage Dies and added the color with distress inks. I finished the card off with Gold Confetti. 

Thanks for taking a look! 

10/25/18

Autumn Greetings

Hi all! I am finishing up a few fall themed cards this week before I move on to Christmas with new products from Pretty Pink Posh.  Today my card is created with the Autumn Wreath Stamp Set from Pretty Pink Posh.

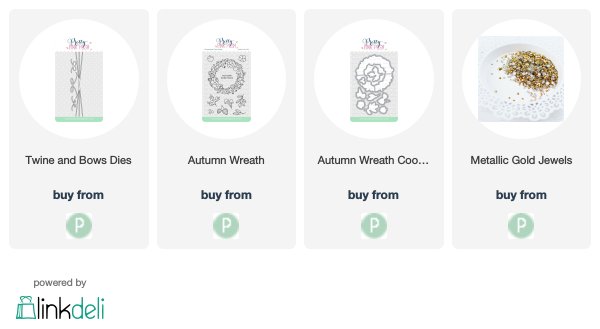
I really love the Autumn Wreath Stamp Set. Here I stamped the wreath in Brown Ink and colored with Copic Markers. I die cut the wreath with the Autumn Wreath Coordinating Dies and then lightly brushed the edges with Antique Linen Distress Ink. 

I hung the wreath from gold twine and added the bow with the Twine and Bows Dies cut from gold foil. The sentiment is from the stamp set. I finished off with a few Metallic Gold Jewels

Thanks for stopping by!


10/22/18

So Much To Be Thankful For

Hi! With my design team commitments I don't always have time to play with some of the new, fun products I have in stash. This month I got a chance to play along with the Reverse Confetti Stock Your Stash Challenge. This month the challenge is to create a Thanksgiving themed card.


I used a combination of new and previously release products to create the card, The pumpkin and leaves are from the Pumpkin Patch Stamp Set and die cut with the coordinating Pumpkin Patch Confetti Cuts. I envisioned my pumpkins and candles sitting a tablecloth. I used the Edgers Confetti Cuts to create the look of a tablecloth. 


The candles are from the new Christmas Candles Stamp Set and die cut with the Christmas Candles Confetti Cuts.   To create the card front I used the  Lacy Scallop Frame Confetti Cuts. This is one of very favorite dies! On this card I strung gold twine through the die cuts around the edge of cardstock. 

Thanks for taking a look! You can find of the information about the challenge here