10/30/18

Autumn Greetings with Pretty Pink Posh

Hi All! Can you believe it is the last day October! Happy Halloween! I am ending the month with a fall themed card with a combination of products from Pretty Pink Posh.

I started by coloring my stamped images with Copic Markers. I used a combination of stamps from the Pumpkin Patch Critters Stamp Set, the Winter Woodland Stamp Set, and the Woodland Critters Stamp Set. Looking at my colored images I thought my colors choices were pretty bold and deep so I decided I wanted to keep my background soft. I blended a combination of Squeezed Lemonade and Scattered Straw Distress Inks and then splattered the background with water and watered down gold paint. 

I die cut the larger die in the Window Frames Dies directly into the card front. I added foam tape behind the window and then added die cut images to created the scene. The sentiment is from the Pumpkin Patch Critters Stamp Set. I die cut the leaves in the Small Stitched Foliage Dies and added the color with distress inks. I finished the card off with Gold Confetti. 

Thanks for taking a look! 

10/25/18

Autumn Greetings

Hi all! I am finishing up a few fall themed cards this week before I move on to Christmas with new products from Pretty Pink Posh.  Today my card is created with the Autumn Wreath Stamp Set from Pretty Pink Posh.

I really love the Autumn Wreath Stamp Set. Here I stamped the wreath in Brown Ink and colored with Copic Markers. I die cut the wreath with the Autumn Wreath Coordinating Dies and then lightly brushed the edges with Antique Linen Distress Ink. 

I hung the wreath from gold twine and added the bow with the Twine and Bows Dies cut from gold foil. The sentiment is from the stamp set. I finished off with a few Metallic Gold Jewels

Thanks for stopping by!


10/22/18

So Much To Be Thankful For

Hi! With my design team commitments I don't always have time to play with some of the new, fun products I have in stash. This month I got a chance to play along with the Reverse Confetti Stock Your Stash Challenge. This month the challenge is to create a Thanksgiving themed card.


I used a combination of new and previously release products to create the card, The pumpkin and leaves are from the Pumpkin Patch Stamp Set and die cut with the coordinating Pumpkin Patch Confetti Cuts. I envisioned my pumpkins and candles sitting a tablecloth. I used the Edgers Confetti Cuts to create the look of a tablecloth. 


The candles are from the new Christmas Candles Stamp Set and die cut with the Christmas Candles Confetti Cuts.   To create the card front I used the  Lacy Scallop Frame Confetti Cuts. This is one of very favorite dies! On this card I strung gold twine through the die cuts around the edge of cardstock. 

Thanks for taking a look! You can find of the information about the challenge here

10/19/18

Pretty Pink Posh + Glue Dots Collaboration Hop Day 2


A very big crafty hello and welcome to our very special blog hop collaboration with Pretty Pink Posh & Glue Dots!

We are going to bring you a fun blog hop where there are PRIZES from both companies up for grabs, along with inspiration and videos. The crafters involved in this hop are going to bring you an array of projects, coloring inspiration and a variety of ways to have fun with both Pretty Pink Posh & Glue Dots collectively.

Here is what I came up with. These beautiful flower are created with the Anemones Stamp Set and the Anemones Coordinating Dies. The flowers are stamped in black ink and colored with Copic Markers. 

The Extra Coverage Glue Dots are perfect for attaching the larger flowers to my card front. And the Pop-Up Dots work great to pop up a few of the flowers and to add extra dimension to my card. 

To create the card front I added a striped patterned paper, and then a panel of white cardstock, brushed with Squeezed Lemonade Distress Ink, and matted on a pink cardstock. I stamped a sentiment from the Thoughtful Greetings Stamp Set and splattered black paint on the paper. I used the Permanent GlueTape Runner to attached all my panels to the card front. The card is finished off with Lemon Drop Jewels

We have a super talented line up ahead.... 


If you get lost along the way, head over to the Glue Dots or Pretty Pink Posh blog for a complete list of designers joining in the blog hop. 
***GIVEAWAY***
No blog hop is complete without some prizes. Are you ready for some awesome giveaways? Each company has a prize pack to give away! 
Glue Dots Prize Pack- An assortment of adhesives valued at $100!
Pretty Pink Posh Prize Pack- An assortment of goodies up to the value of $75! 
The only thing you need to do for a chance to win is leave a comment on each of the design team members blogs! 
Winners will be chosen at random from comments left on all blogs on the blog hop by 6:00 AM PST on October 23rd. Winners will be announced on the Pretty Pink Posh and Glue Dots blog.  

Hop along for lots of inspiration! 


10/15/18

Alpine Merry Christmas

Hi Crafters! Have you started your Christmas cards? I am beginning to stock pile cards now because I know the rest of the year will speed by! I recently purchased the Alpine Window by Julie Ebersole,  Essentials by Ellen Designer Dies. These dies are so creative and there a number of different ways to use them.


Here is my first card I created with the Alpine Window Dies. My inspiration for the card is the September Essentials Challenge at Ellen Hutson. This month is a sketch challenge. Sketch challenges are great for inspiration and love how my card turned out. I started by laying out panels of patterned paper on a white card front and then cut a circle directly into the card front with the circle die in the set. 


I used the addition three dies in the set to create the circle frame and the the window scene. I sponged on white pigment ink on the mountains and embossed with white embossing powder. Then I splattered white paint. The sentiment is from the Mondo Holly by Julie Ebesole, by Essentials by Ellen Clear Stamps. The holly leaves are created with the Pretty Pink Posh Festive Holly Dies and I added Pearl White Jewels to the center of the berries. 

You can find the challenge here. Thanks for stopping by! 


10/14/18

Thanks Shaker Card

Hi! I have a fall card to share today. It is actually feeling like fall in San Diego. We even got rain over the weekend. I am definitely ready for sweater weather!

I created this shaker card with the Thanks Leaf Shaker Die from Pretty Pink Posh. I used the die to cut the outline of the leaf directly into the card front and then a second time from a green cardstock to add the outline of the leaf. Behind the leaf I added clear acetate and foam to form the shaker. I dropped in sequins from the 4mm Autumn Harvest Sequins Mix and 6mm Gold Confetti


To create the background pattern I randomly stamped images from the Autumn Wreath Stamp Set on Kraft Cardstock in Versamark Ink and embossed with Gold Embossing Powder. I colored the images with Copic Markers. The final touch is gold twine wrapped around the card front and tied in bow. 

Thanks for stopping by! I will have a few more projects to share this week. You can also follow me on Instagram


10/5/18

Halloween Theme Week at Pretty Pink Posh


Hi Everyone! I am up on the Pretty Pink Posh Blog today sharing my card for Halloween Theme Week. You can hop on over the blog for all the details. All Halloween Products are 15% off!


Thanks for stopping by! 


10/4/18

Merry and Bright - It's Release Day at Taylored Expressions

Hi and thanks for stopping by! It's October Release Day at Taylored ExpressionsAll the new products are available at the TE web store NOW.  This is our biggest release of the year! There are over 40 new products including stamps, dies, stencils, ink, cardstock, and other supply accessories!

Today I have two cards to share with you created with a number of new products from the new release. 


I went with a non traditional color scheme on this card, using the new Blueberry Cardstock and Ink. I stamped the new Twiggy Background Stamp in Sugar Cube Ink and embossed with White Embossing Powder. Using a blending tool I inked the background with the new Blueberry Ink. This is such a pretty shade of blue! 


I stamped a sentiment from the new Handlettered Holiday Stamp Set in Versamark Ink and embossed with Silver Embossing Powder. I die cut the sentiment with the Stitched Oval Stacklets and matted the oval with the new Petite Scallop Stacklets. The flowers are cut from felt with the new Little Bits - Holiday Bloomers. I added silver sequins to the center of the flowers. 


My next card features the new Pine Bough Background Stamp, die cut with the Pine Bough Edger. I layered the pine boughs over Cherry Pop Cardstock stenciled with the new Nordic Snowflake Stencil with Cherry Pop Ink. I added pine cones at the top with the previously release Simply Stamped - Pinecones and the Simply Stamped - Pinecones Dies. This is one of my favorite stamp sets!

The sentiment is from the new Handlettered Holiday Stamp Set, stamped in Versamark Ink and embossed with Gold Embossing Powder. 


For a limited time, you can earn DOUBLE CRAFTY POINTS on the Big Background Bundle! Just create an account at the TE webstore and you're automatically enrolled to begin earning crafty points with every purchase. You'll receive 120 Crafty Points when you purchase our Holiday Big Background bundle! Offer valid on qualifying purchases made between 9am CDT on Thursday, October 4, 2018 and 11:59 pm CDT on Sunday, October 7, 2018. Crafty Points are only available on purchases made at www.tayloredexpressions.com.

Thanks for visiting! If you'd like to see more projects and new product information, please head over to the TE Blog for a complete list of our participating designers!


10/3/18

Taylored Expressions October Sneak Peeks Day 3 - Christmas Blessings

Hi and thanks for stopping by for Day 3 of Taylored Expressions October Release!  All the new products will be available starting at 9am CDT Thursday, October 4th. TE is releasing four new Background Stamps this month to help you mass produce your Christmas Card. My set of cards uses the new Buffalo Plaid Stamp Background Stamp and the Woodland Silhouettes  1 & 2 Dies


For each card I cut Oreo Cardstock for the card base and Cherry Pop or Toffee Cardstock for the card front. 


On the Cherry Pop background I stamped the Buffalo Plaid Background Stamp with Oreo Ink and on the Toffee card fronts I used Cherry Pop Ink. 


I used the new Petite Scallop Circle Stacklets with TE Gold Foil and the Stitched Circle Stacklets with Cherry Pop Cardstock to die cut each of the center circles. I used the new The Inside Scoop - Christmas Blessings to stamp the sentiments except for the sentiment on this card where I used the Peace, Love, and Cocktails Stamp Set. 


I cut each of the Woodland Silhouettes Dies from Toffee Cardstock and the chose an element on the Silhouette to embossed with Versamark Ink and Gold Embossing Powder. 


The sentiments are stamped in Versamark Ink, embossed with Gold Embossing Powder, and die cut with the Double Ended Flag Stacks.


My second project features the new Cutting Edge - Trees Stamp and Die Combo. The trees are stamped in Versamark Ink, embossed with Gold Embossing Powder, and colored with Copic Markers. The I die the trees with the die included in the Cutting Edge - Trees Stamp and Die Combo. The other hills of snow are die cut with the new Build A Scene - Snow Drifts Dies. I inked the edges of the drifts with Sugar Cube Ink and embossed with the new Diamond Embossing Powder. 


I used the new Snow Flurry Stencil with Embossing Paste to create the background. The sentiment is included in the stamp set. 


Here's a look at the inside of the card. I used the new Gift Card Pop Up Die to create the gift card holder inside the card. I am pretty excited about this new die! The inside sentiment is from the new The Inside Scoop - Christmas Blessings


For a limited time, you can earn DOUBLE CRAFTY POINTS on the Big Background Bundle! Just create an account at the TE webstore and you're automatically enrolled to begin earning crafty points with every purchase. You'll receive 120 Crafty Points when you purchase our Holiday Big Background bundle! Offer valid on qualifying purchases made between 9am CDT on Thursday, October 4, 2018 and 11:59 pm CDT on Sunday, October 7, 2018. Crafty Points are only available on purchases made at www.tayloredexpressions.com.


Taylored Expressions is celebrating Release Week with a giveaway during each day of sneak peeks! Visit the TE Blog to answer Taylor’s Question of the Day for a chance to win one of the latest products before you can buy it!

Thanks for stopping by! I will be back tomorrow with Release Day projects.

10/2/18

Taylored Expressions October Sneak Peeks Day 2 - Sea, Sand, and Santa

Hi and thanks for stopping by for Day 2 of Taylored Expressions October Release! Today I have two more projects to share with you, a fun hostess gift and sunny Santa Christmas card. All the new products will be available starting at 9am CDT Thursday, October 4th.


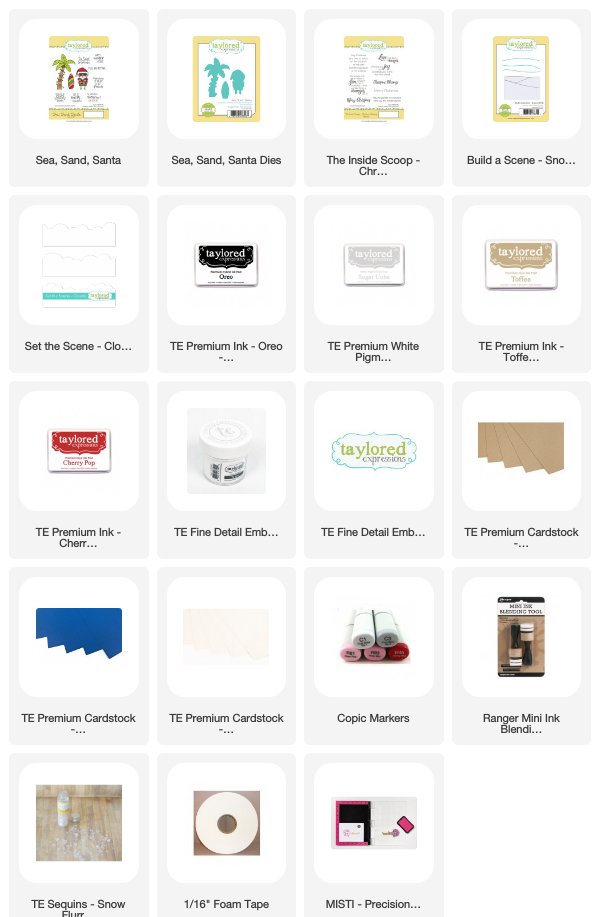
My first card features the new Sea, Sand, Santa Stamp Set and Sea, Sand, Santa Dies. I stamped all my images in Oreo Ink and colored with Copic Markers. Next I created the background. I used the Set the Scene - Clouds and Salt Water Taffy Ink to stencil the the sky. 


The sand and water are die cut with the new Build a Scene - Snow Drifts Dies. I inked the edges of the sand with Toffee Ink and the water is inked with Sugar Cube Ink and embossed with the new Diamond Embossing Powder. The sentiment is from the stamp set, stamped in Sugar Cube Ink and embossed with White Embossing Powder. 


Here is look at the inside where I stamped a sentiment from the new The Inside Scoop - Christmas Blessings. 


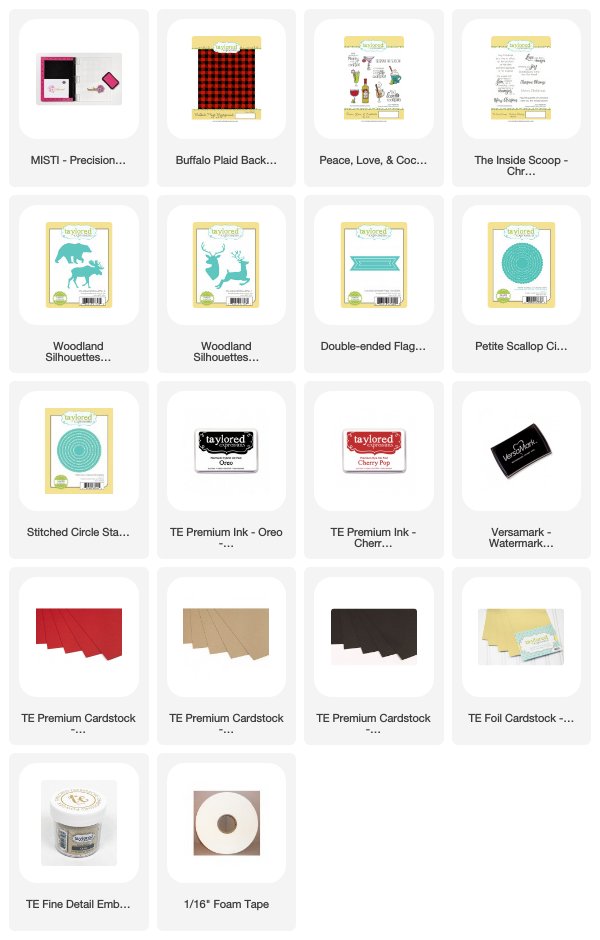
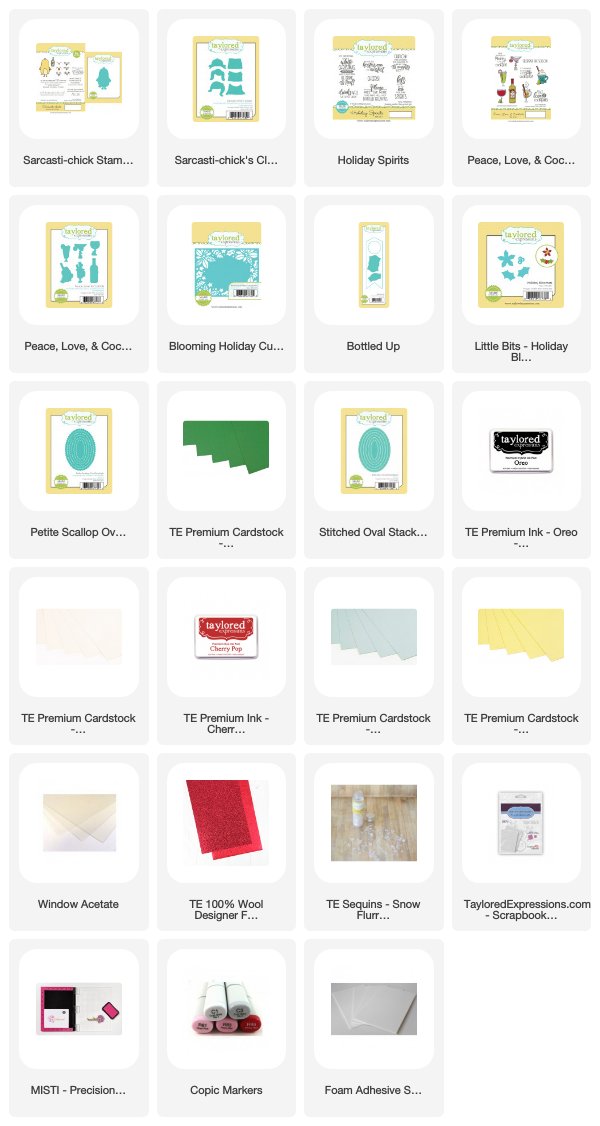
My next project is a hostess gift. I used a combination of the Sarcasti-Chick Stamp & Die Combo, the new Holiday Spirits Stamp Set, and the Peace, Love, and Cocktails Stamp Set


The pretty background is die cut with the new Blooming Holiday Cutting Plate, cut from Cilantro Cardstock.  Then I used the new Petite Scallop Ovals Stacklets and the Stitched Oval Stacklets to create the frame and cut the oval window for my shaker card. Behind the oval cutout I added Window Acetate and foam to form the shaker and dropped in Snow Flurries Sequins. 


The sentiment is from the new Holiday Sprits Stamp Set. I used the Sarcastic-chick Stamp Set and Die Combo and the Sarcasti-Chick's Closet Stamp Set and Dies to create the chick. The cocktails are from the new Peace, Love, and Cocktails Stamp Set and die cut with the coordinating dies. 


I used the Bottled Up Die to create the tag for the bottle.


Taylored Expressions is celebrating Release Week with a giveaway during each day of sneak peeks! Visit the TE Blog to answer Taylor’s Question of the Day for a chance to win one of the latest products before you can buy it!

Thanks for stopping by! I will be back tomorrow with another Sneak Peek.