Showing posts with label Taylored Expression Studio Challenge. Show all posts

8/15/20

Taylored Expressions Collaboration with Brutus Monroe!

Hi All! I have a fun new Simple Strips Stamp Set to share, perfect for all you crafty friends, and a collaborative between Taylored Expressions and Brutus Monroe! Simple Strips - Crafty is available for purchase now! 


Each company chose 9 sentiments for the set that coordinates with the original TE Simple Strips Die and the newer Well-Rounded Simple Strips Die. 


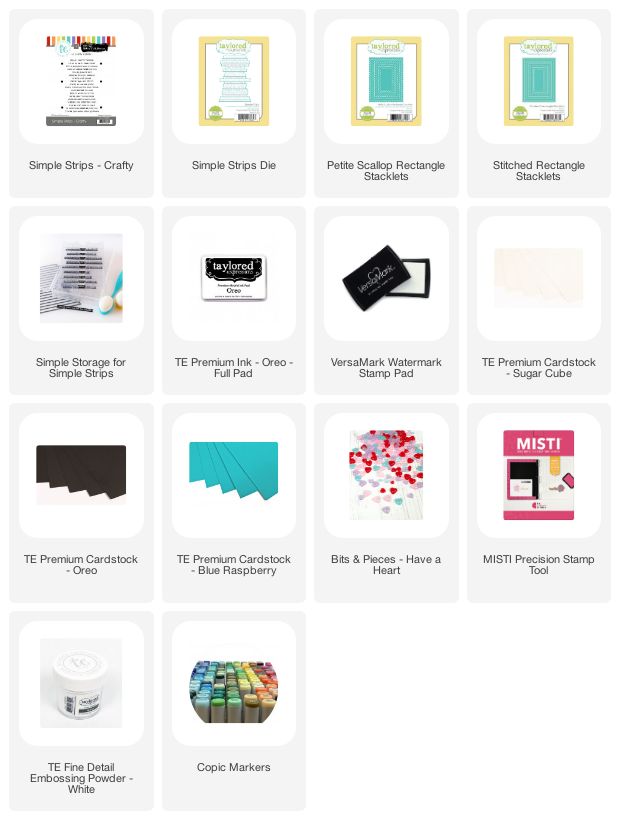
The background on this card is stamped with the Art From the Heart Background Stamp. This stamp set is free in the month of August with the purchase of $100! 


I colored the background with Copic Markers and then die the card front with the Stitched Rectangle Stacklets and matted with background with the Petite Scallop Rectangle Stacklets. (See links below)


I added two of the sentiments from the Simple Strips - Crafty Stamp Set, stamped in Versamark Ink and embossed with TE White Embossing Powder. I die cut the strips with the original Simple Strips Die. 


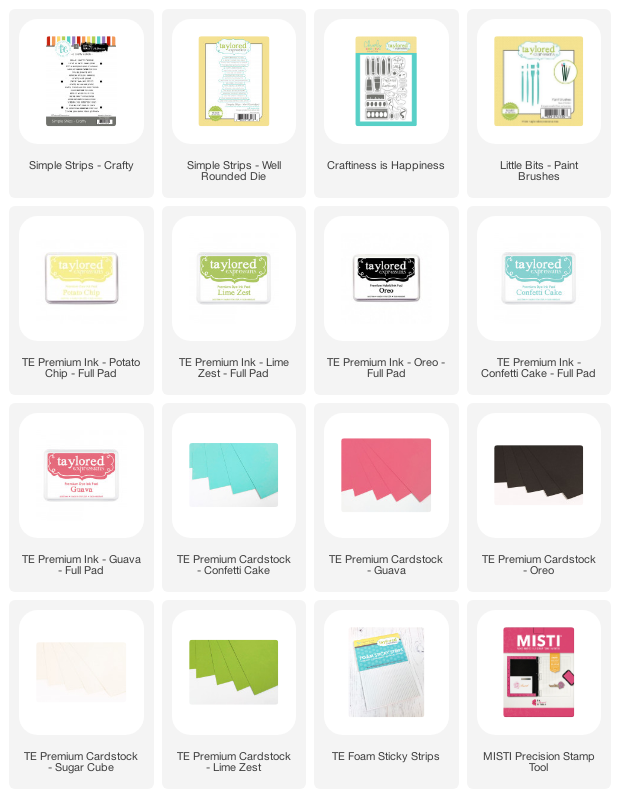
On my next card I created the background with stamps from the Craftiness is Happiness Stamp Set. I used Oreo, Guava, Lime Zest, and Potato Chip Inks. The Misti Stamping Tool made the background easy to build. 


I added the sentiments with the Simple Strips - Well Rounded Die. The three paint brushed are die cut with the Little Bits - Paint Brushes. 
Stop by the TE Blog for all the details and more inspiration! 


12/18/12


It's time for the Baker's Dozen Studio Challenge.  This is a monthly opportunity for us to share what makes our stamping studios hum.  Each month we will have a fun, crafty question so we can share our favorites, some tips and tricks, stamping advice and more.


The theme for December is:

Inpsiration is all around us.  Many of us learned to stamp by CASEing other stampers we admired.  (CASE = Copy and Share Everything)  We want everyone to know that, not only is CASEing perfectly OK, it's actually pretty flattering and a lot of fun!  And it can be especially helpful in the midst of the busy holiday season when it's hard to think straight!  So take some inspiration from your fellow Baker's Dozen Teammates, and show us how you can turn any great inspiration into a fabulous holiday card!


So the team member I am casing is Karen Giron. Karen and so sweet, always helpful and I LOVE Karen's clean, classic and sometimes whimsical stamping style! Her cards always make such a wonderful statement! I love how she uses white on her cards. Frankly white space scares me and clean and simple scares me. But I love the look and feel. 

You can find Karen's card in the TE Gallery right here.  The TE gallery is a great source of inspiration, full of inspiration and lots of cards to case! 

To turn Karen's card into a Christmas card, I used the Very Merry Stamp Set and the Very Merry Outlines and and Very Merry Scallops Dies. I used Ladybug Doodle Twine to hang the ornaments. The border on the left side is cut with the Small Scallop Border. 

The layout of my card is very similar to Karen's and I did my best to leave the white space! Karen often sews on her cards, like me, so I added some stitching to this card. 


The sentiment is from the stamp set and the papers are from My Mind's Eye Winter Wonderland.

On the inside I stamped a sentiment for the Very Merry stamp set and used the companion die for the word Merry.


Thanks for stopping by! Be sure to visit the other Baker's Dozen Blogs for even more inspiration!


Photobucket
Pin It

10/23/12

Baker's Dozen October Studio Challenge


It's time for the Baker's Dozen Studio Challenge.  This is a monthly opportunity for us to share what makes our stamping studios hum.  Each month we will have a fun, crafty question so we can share our favorites, some tips and tricks, stamping advice and more.

The theme for October is:

Good things come in small packages!  The holiday season is upon us and between Halloween, Thanksgiving, Hanukah, and Christmas there are a ton of opportunities to create and give little treats, gifts, and party favors.  Please show us something you'll be giving this year.


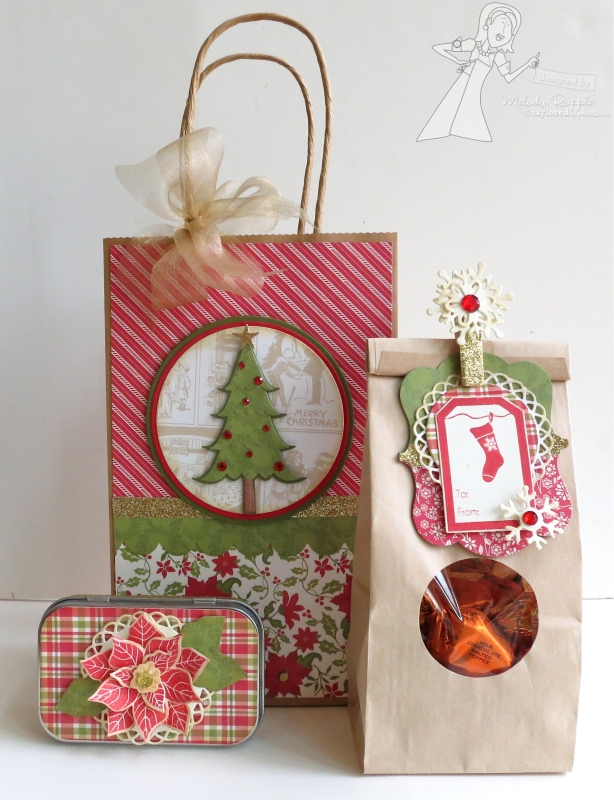
I usually begin in October creating some Christmas packaging to have ready to go in December when I need it. Here are three different packaging ideas I like to have in my stash.

First up is gift bags. I like to use these to dress up any handmade food items I give to friends and family.  It might be caramel corn, cookies, or fudge, but the dressed up bag makes the gift a little more special. I try to keep the bags simple, quick, and easy. Here I used the Trim a Tree Die Set to create the Christmas tree and then I just added red rhinestones.

The border is cut with the Medium Scallop Die. The papers are from Echo Park, This 'n That Christmas. I used the American Crafts Glitter Tape in Brown Sugar at the top of the border, a quick and easy way to add bling.


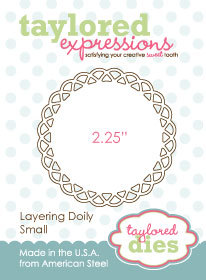
I also like to have tags ready to go. They dress up even the simplest brown bag. This bag is the Mini Kraft Bakery Bags Taylor carries in the store. The base of my tag is cut with the Take Note Frame 3 Die. I used a stamp from the Totally Tags Holiday Stamp Set and cut it out with one of the Totally Tags Dies. I layered the small tag on a doily cut with  the Layering Doily Small.


I like to decorate a few small cloth pins to attach my tag with. I just covered the front of the pin with American Crafts Glitter Tape in Brown Sugar and created a snowflake with the Make A Snowflake Die.


Here is a cute, little tin, just the perfect size for a gift card. I love this because it make giving a gift card a little more personal. Taylor carries this small hinged tin in the store, along with the Gift Card Frame Die. I created a Poinsettia using the Peaceful Poinsettia Stamp Set and the Poinsettia Dies. The flower is layered on a doily cut with the Layering Doily Small Die.


Here is a look at the inside. I used the Banner Day 1 Die and the sentiment is from the Banner Holidays Stamp Set. 


Thanks for stopping by! Be sure to visit the other Baker's Dozen Blogs for even more inspiration!


Photobucket
Pin It

9/25/12

Taylored Expressions September Studio Challenge


It's time for the Baker's Dozen Studio Challenge.  This is a monthly opportunity for us to share what makes our stamping studios hum.  Each month we will have a fun, crafty question so we can share our favorites, some tips and tricks, stamping advice and more.

The question for September is:
Within Arm's Reach - What do you keep within arm's reach at your stamp table?  Show us what you have access to without leaving your seat.  What organization methods do you use?  Tell us which ones you love and which ones you'd like to change.


After raising four daughters I finally have an office/craft room of my own. I have been in my room for about nine months now. I still need pictures on the walls, and some personal touches, but I am thrilled to have a place of my own. I have two work areas and I can roll my chair between them. I also work from home at times and I need the room to be a functional office as well. 

I did clean my room before I took these pictures so it is neater than usual! But I always clean up between each project, even if I am going to start another one. I drives me crazy when I am spending time looking for things. I have lots of drawers and storage so I look fairly organized at least on the outside!


On the far right of my desk I have two stacking paper trays. Each one holds the stamps and dies for new releases I am working on at the moment.  Next is a Lazy Susan that holds many of the tools I use all the time, like paper piecers, pencils, glue pens, scissors, glitter and gel pens. 


Next is another desk organizer that holds stamp blocks, my Crop-A-Dile  and corner rounder, punches, a sketch pad, etc.


I couldn't live without my OttLite. The large dome gives great light for coloring and creating and I like the styling of the lamp.

I also keep my laptop on my desk. Need it for work but love to watch my favorite shows on it while I am coloring and creating!


I keep my Copics to the left of my desk. I have them divided into color families in pencil cups from Staples and long with my Copic Chart for matching colors. I like that I can grab the cup of Copics I want to work with and set them next to me on my desk.


At the moment I am storing my inks in a drawer in the main desk. I like having them close, but I am considering purchasing a unit to store my inks in. I have trouble keeping this drawer organized. Tim Holtz inks are favorites of mine to sponge on the edges of paper. 


The next desk drawer down houses all my favorite, can't live without adhesives! 


The bottom drawers on each side of the desk are file drawers and contain my 81/2 x 11 cardstock. I added file tabs to help me locate the color I am looking for, especially at night. 


Next to my desk I have a storage unit that stores my dies. On the top in cups are my border dies. My drawers are divided into categories like doilies, flowers, outdoor themes like the sun, clouds, grass, etc.  I do plan to label the drawers when I have a chance.


I can turn and roll my chair over to my sewing machine and my Big Shot, certainly two tools I couldn't live without. I keep threads and needles in the drawer on the right. 


I keep 6 x 6 paper pads in small containers I got at Micheals. According to the holiday or season at the time, I keep my red bucket full of papers and embellishments. Right now I am working on Halloween and Fall projects so my bucket contains paper pads for the season, bingo cards, black and orange twine, ribbons, buttons, etc. I take a little time at the beginning of the season to go through my stash to look for items that might work for that time of year. 


Off to side of my desk is my paper cutter and Scor-pal. We all know we can't live without those tools!

Well, that is it for me. Now we will see how long my desk keeps this clean! Be sure to visit the other Baker's Dozen Blogs for even more inspiration!


Photobucket