8/23/25

Papertrey Ink August Release Sneak Peeks Day 2

Hi and welcome back for Day 2 of the Papertrey Ink August Release Countdown. I have a Halloween and Fall themed card to share with you today. All the products will be available on August 26th at 12 PM EDT. 


Let's start with a look at the new Cookie Swap Halloween Dies. This die set coordinates with the previously released Cookie Swap Die, which was released last Holiday season and includes the baking pan, oven mist, spatula, and rolling pin. There are also Christmas cookie dies in that set. The Halloween cookie dies are a fun addition to the collection. 


Here is a closer look at the cookies. I used the new Mat Stack: Happy Halloween Collection, which includes dies and stencils, to add the layers behind the cookie sheet. 


Added the sentiment with the Just Sentiments: Spooky Mini Stamp Set

Supplies:

Stamps: Just Sentiments: Spooky Mini Stamp Set
Dies: Cookie Swap Halloween, Cookie Swap, Mat Stack: Happy Halloween, Cover Plate: Geo Flowers, Love to Layer: Playful Scallops 
Ink: True Black, Classic Kraft
Paper: Stamper's Select White, True Black, Soft Stone, Green Parakeet, Orange Zest, Sweet Blush, Lemon Tart, Silver, Bitty Big Collection: Orange Zest
Other: Mat Stack: Halloween Stencil, PTI Black and Pink Gems, White Glitter Cardstock, Antique Linen and Brushed Corduroy Distress Inks


Next is a look at the new Into to the Blooms: Fall Boots and the Love to Layer: Elegant Points Die. First I die cut the boot, all the flowers and greenery to fill the boot, and pumpkins with the Into to the Blooms: Fall Boots Dies. I listed the colored of cardstock I used below. The grass is die cut with the Grassy Edge Die


I die the largest die in the new Love to Layer: Elegant Points Die, stenciled the sunrays, added the grass, and attached the boot and other die cuts. 


I used Bitty Big Collection: Simply Chartreuse cardstock for the card front. The sentiment is from the newThis is Big Sentiments: Fall Harvest. 

Supplies:

Stamps: This is Big Sentiments: Fall Harvest
Dies: Into the Blooms: Fall Boot, Love to Layer: Elegant Points, Grassy Edges
Ink: Lemon Tart, Summer Sunrise, Ripe Avocado, Cocoa Bean, Pure Poppy, Orange Zest, Terracotta Tile, Hawaiian Shores, Tropical Teal
Paper: Stamper's Select White, Classic Kraft, Hawaiian Shores, Tropical Teal, Lemon Tart, Ripe Avocado, Pure Poppy, Simply Chartreuse, Gold, Bitty Big Collection: Simply Chartreuse, Vintage Cream 
Other: Sunburst Stencil, Gold Gems, Blender Brushes

Thanks for stopping by! Stop by the PTI Blog for more inspiration from the team. I will be back tomorrow with more projects with the new release. 


8/22/25

Papertrey Ink August Release Countdown Day 1

I am moving into the Fall Season of creating with the new August Release from Papertrey Ink. The release is full of Fall and Halloween inspiration! All the products will be available on August 26th at 12 PM EDT. 


Let's start with a look at the Perfectly Potted Die Set and the Cover Plate: Lush Foliage Die. I used all the dies in the Perfectly Potted Die Set to create the potted plant. It is a versatile set because you mix the layers of greenery and add flowers with other dies from your stash. 


I die cut the pot from Spring Rain Cardstock and blended Enchanted Evening and Dark Indigo Inks. Then added a splattering of gold watercolor paint. I added twine to the pot and a sentiment from the This is Big Sentiments: Fall Harvest Stamp Set. I added the pot to an oval of vellum die cut with the Love to Layer: Playful Scallops Dies. 


The Cover Plate: Lush Foliage Die makes a beautiful background. 

Supplies:
Stamps: This is Big Sentiments: Fall Harvest
Dies: Perfectly Potted, Cover Plate: Lush Foliage, Love to Layer: Playful Scallops
Ink: Simply Chartreuse, Ripe Avocado, Pinefeather, Enchanted Evening, Dark Indigo, Classic Kraft, Aqua Mist
Paper: Classic Kraft, Stamper's Select White, Simply Chartreuse, Spring Rain, Vellum
Other: Brushed Corduroy Distress Ink, Cloud Stencil, Twine, Gold Water Color Paint, Blender Brushes


My next card is created with the This is Big Sentiments: Fall, Tall Pumpkin Slices, and the Wandering Petals Stencil. I die cut the pumpkin from Vintage Cream Cardstock and then blended the edges with Antique Linen and Brushed Corduroy Distress Ink. 


I used the previously released Into the Blooms: Wild Wood Die to added the flowers and greenery to the top of the pumpkin. The sentiments are from the new This is Big Sentiments: Fall Harvest and die cut with the coordinating dies. 


I blended the background with Aqua Mist and Simply Chartreuse Ink and then added the stenciling with the new Wandering Petals Stencil. 

Supplies:
Stamps: This is Big Sentiments: Fall
Dies: This is Big Sentiments: Fall, Tall Pumpkin Slices, Into the Blooms: Wild Wood Die
Ink: Aqua Mist, Scarlet Jewel, Summer Sunrise, Orange Zest, Ripe Avocado, Lemon Tart
Paper: Stamper's Select White, Vintage Cream, Scarlet Jewel, Simply Chartreuse, Ripe Avocado, Lemon Tart, Melon Berry
Other: Wandering Petals Stencil, Cloud Stencil, Antique Linen and Brushed Corduroy Distress Ink, Gold Gems


There are two sizes of pumpkin dies in this release. This is the rounded one as compared to the tall pumpkin I used on my first card. I also used the Wandering Petals Hot Foil Plate on this card. 


I added the flowers with the Blooms: Wild Wood Die along with the Into the Blooms: Sunflowers Die, one of my favorites. Both the sentiments are included in the This is Big Sentiments: Fall Harvest. 


I used the Wandering Petals Hot Foil Plate with Gold Foil on Vintage Cream Cardstock for the card front. The edges are die cut with the Love to Layer: Torn Edges Dies

Supplies:
Stamps: This is Big Sentiments: Fall Harvest
Dies: This is Big Sentiments: Fall Harvest, Pumpkin Slices, Into to the Blooms: Wild Wood, Love to Layer: Torn Edges
Ink: Classic Kraft, Orange Zest, Terracotta, Lemon Tart, Summer Sunrise, Pure Poppy, Ripe Avocado, Cocoa Bean, Versamark
Paper: Rustic Cream, Classic Kraft, Stamper's Select White, Gold, Ripe Avocado, Cocoa Bean, Pure Poppy
Other: Wandering Petals Hot Foil Plate, Gold Foil, Gold Embossing Powder, Gold Gems, Gold Watercolor Paint, Antique Linen and Brushed Corduroy Distress Inks

Thanks for stopping by! Stop by the PTI Blog for more inspiration from the team. I will be back tomorrow with more projects with the new release. 

8/19/25

It the Halloween Release at Taylored Expressions!

I love creating Halloween projects! I have three new projects to share with you today with some of the fun, new products from Taylored Expressions. All the new products are available now in the TE Store. Let's get started! 


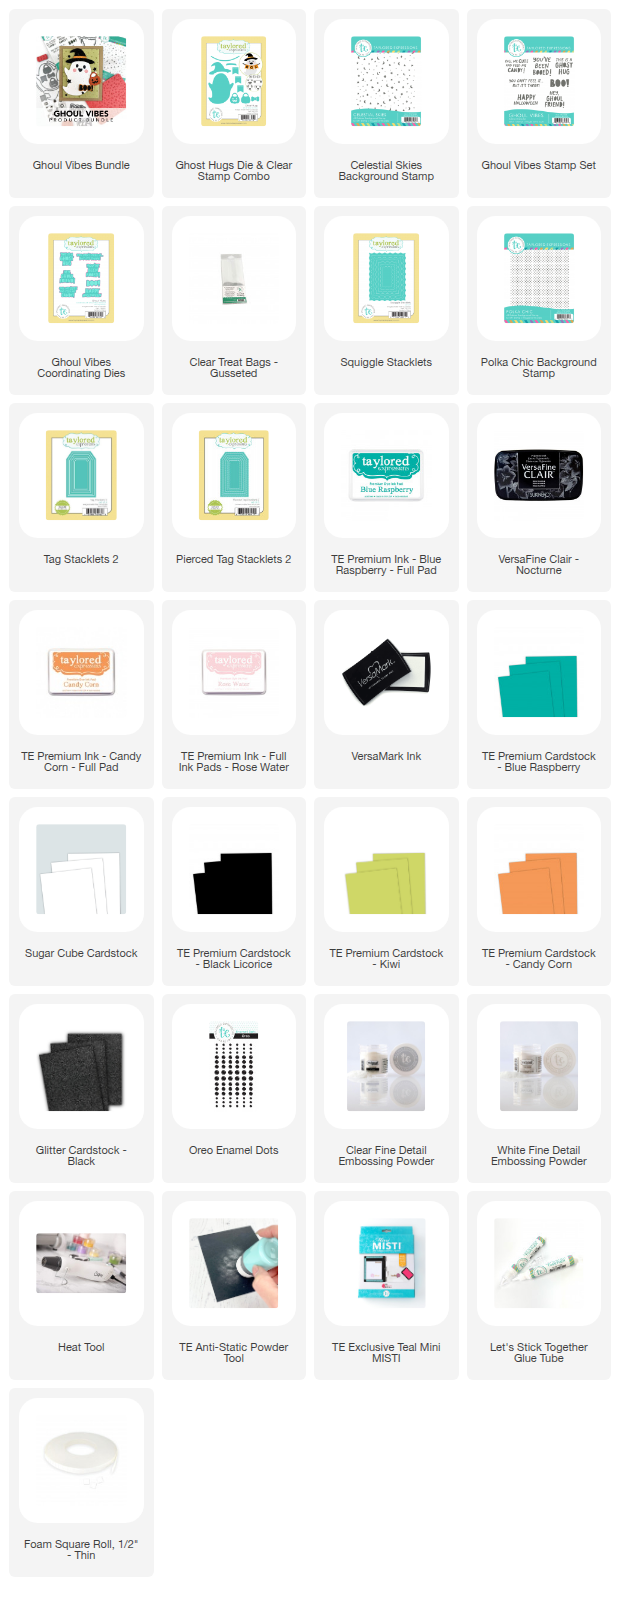
First up is a look at the Ghost Hugs Die & Clear Stamp Combo. I like a cute Halloween vibe and the cute ghost with all the accessories are perfect for my Halloween projects. I created a card and coordinating tag. 


I used a combination of Licorice, Blue Raspberry, Kiwi, and Candy Corn Cardstock and Inks. To add the polka dot pattern to the banner I used the Polka Chic Background Stamp. The background is stamped with the new Celestial Skies Background Stamp. I stamped with Versamark Ink on Licorice Cardstock and embossed with TE White Embossing Powder. 


The sentiment is stamped with the Ghoul Vibes Stamp Set and die cut with the coordinating dies. The card front is die cut with the Squiggle Stacklets. 


I filled a TE Clear Bag with candy and added the ghost tag. 


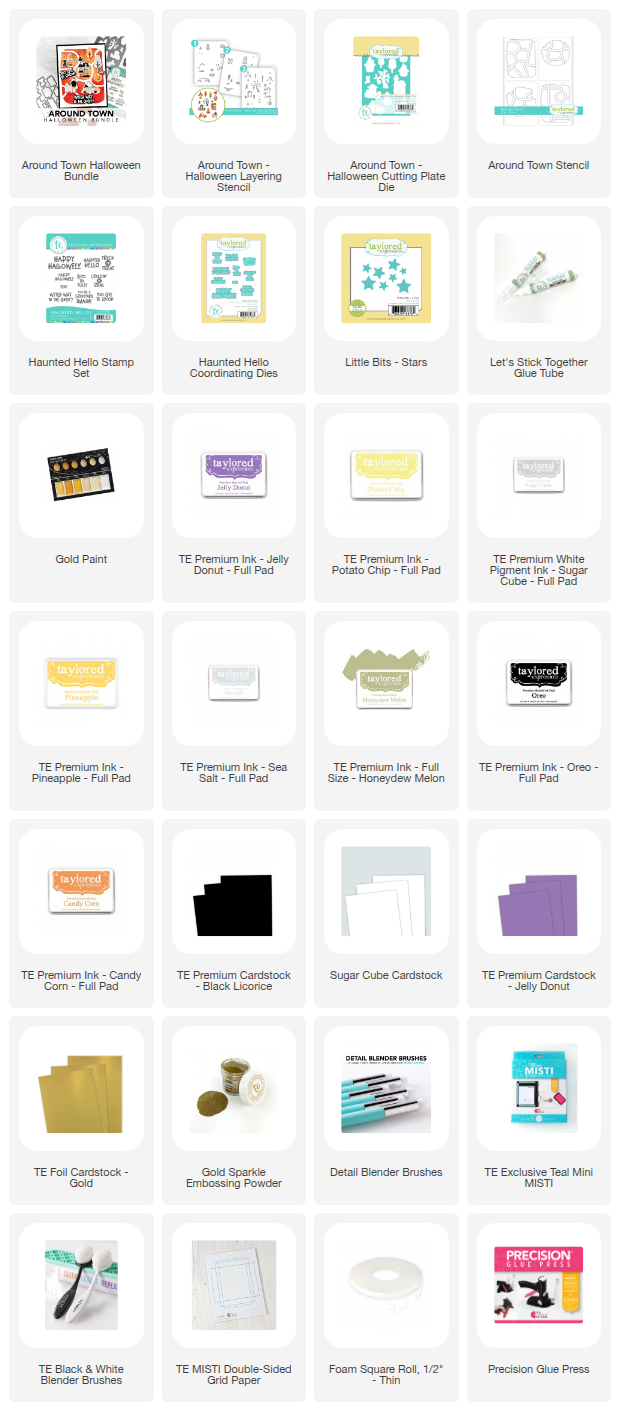
Next up is a look a the Around Town - Halloween Layering Stencil and the Around Town - Halloween Cutting Plate Die. This is the latest addition to the Around Town Collection. I used Grape Jelly, Candy Corn, Honeydew Melon,  Oreo, and Pineapple Inks to stencil the images. 


For the background I used the Around Town Stencil with Sugar Cube Ink on Licorice Cardstock. Then I lightly splattered gold watercolor on the background and arranged the die cut images. 


The sentiment is from the Haunted Hello Stamp Set and die cut with the coordinating dies. I used TE Gold Foil to die cut the small stars with the Little Bits - Stars die set. 

My final project showcased the new Mega Messages- Trick or Treat and the Haunted Boo-levard Stamp Set and Dies. 


To create the background for my card I stamped the Celestial Skies Background Stamp in Versamark Ink on Sugar Cube Cardstock and embossed with TE Gold Sparkle Embossing Powder. Then I used the Build A Scene - Clouds Stencil Strips and starting layering a variety of inks that I have listed below. Then I die cut the panel with the Squiggle Stacklets. 


I die cut the Mega Messages- Trick or Treat sentiment from TE Gold Glitter Cardstock and backed the sentiment with Vellum. I added the ghosts and bats with the Haunted Boo-levard Dies. 


I stamped one of the houses in the Haunted Boo-levard Stamp Set in Oreo Ink and colored with Olo Markers. To create the treat box I used Treats & Trinkets Dies and added the house to the front of the box. 


https://www.tayloredexpressions.com/whats-new/halloween-2025/
We have a BIG release packed with cute, spooky, and everything in between so you can create cards, tags, and treats that match your favorite haunting style. 
We have two bundles:
  • Around Town Halloween Bundle
  • Ghoul Vibes Bundle


https://www.tayloredexpressions.com/ghoul-vibes-bundle/

Plus, we have an exclusive Gift with Purchase this week! Get a FREE Mega Messages - Trick or Treat Die with any purchase of $100+ sitewide. Offer valid 8/19 at 9 am CT through 8/26 at 9 am CT or while supplies last. 


Let's get spooky! Thanks for stopping by! Stop by the TE Blog for all the details and more inspiration from the team.


8/13/25

Christmas Cracker Etched Dies

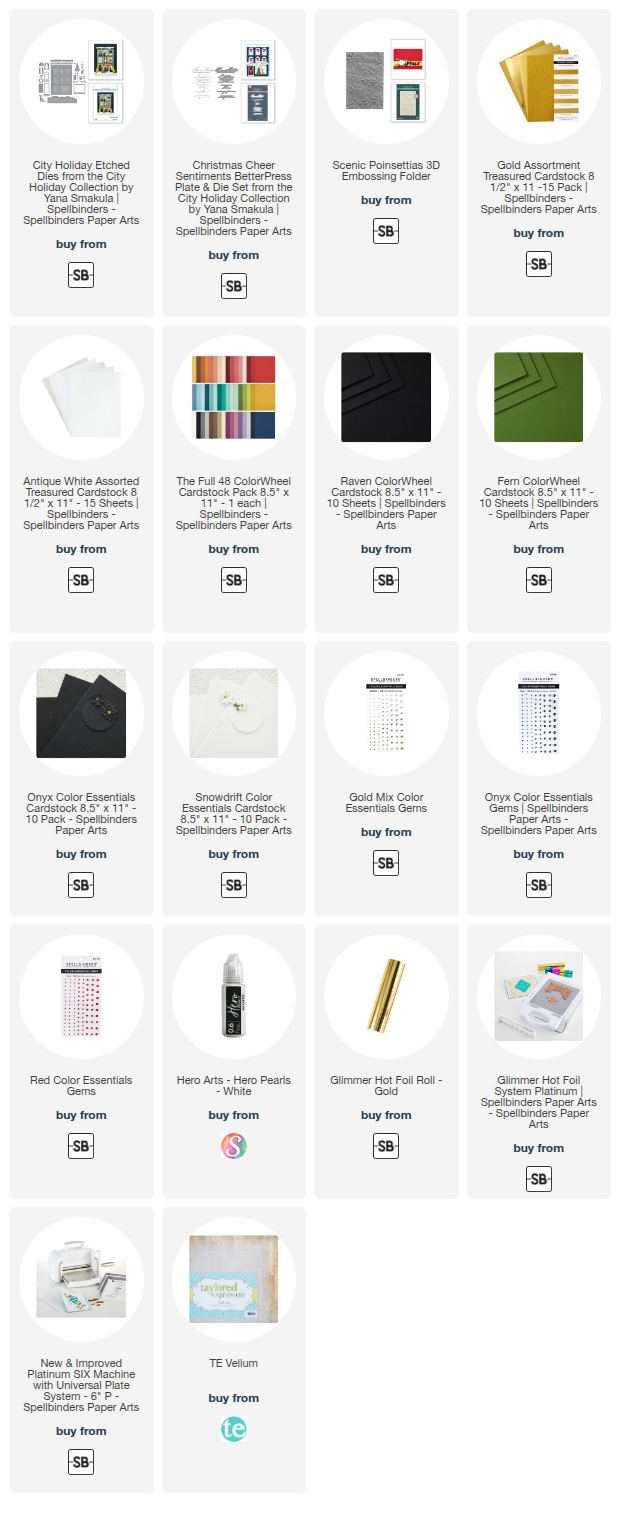
 I am back today with two more cards I created with the new  City Holiday Collection by Yana Smakula for Spellbinders. 


The Christmas Crackers are festive! I two cards in different color combos. 


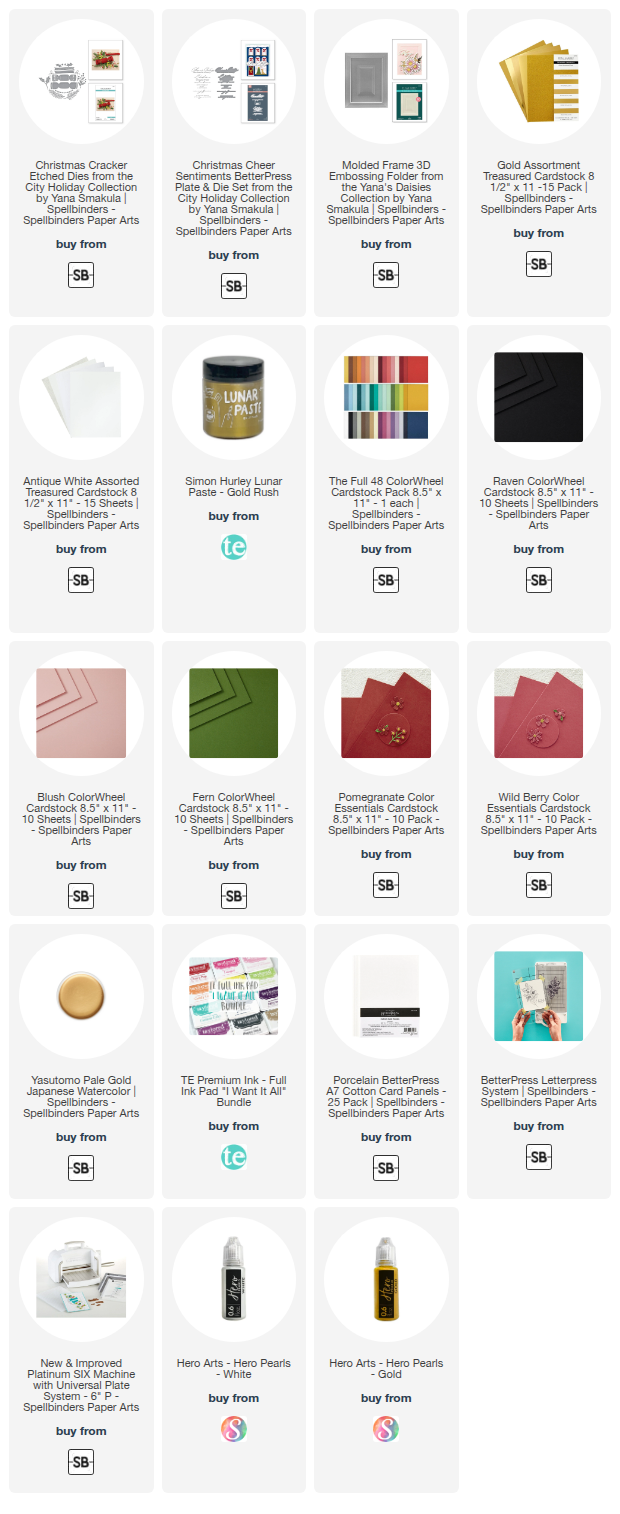
All the dies I used on this card are included in the Christmas Cracker Etched Dies, including the sentiment. You could use the Christmas greenery and garland dies throughout the holiday season. 


I cut a piece of black cardstock for the card front and added the gold snowfall with an older stencil and Gold Rush Lunar Paste. 


I used red glittered cardstock for the berries and the gold cardstock in from the Gold Assortment Treasured Cardstock Collection for the gold accents. I like adding a little shine to my holiday cards.  


Next I went with shades of pink and maroon cardstock along with white glittered cardstock from the Antique White Assorted Pack Collection. The sentiment is from the Christmas Cheer Sentiments BetterPress Plate & Die Set. 


For the background I used the Molded Frame 3D Embossing Folder.

Thanks for taking look! 

8/12/25

Thanks a Bunch!

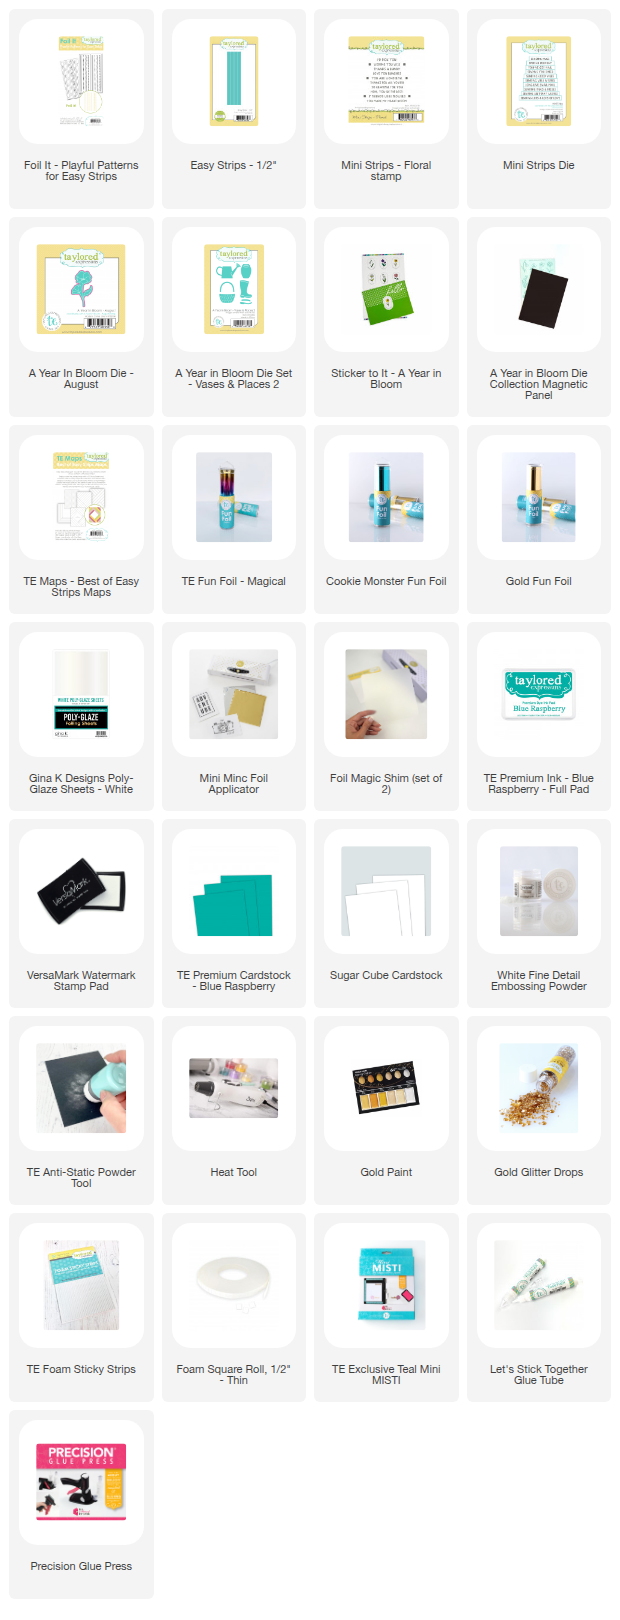
There is a sale on the Easy Strips Collection at Taylored Expressions this week, along with a few new products added to the collection. The new Foil It - Playful Patterns for Easy Strips are perfect for adding a little shine to your cards. 


For the fun layout of my card I used one of TE's Easy Strips Maps. Using one of the maps makes it so easy to lay down your strips. I used the Easy Strips Die - 1/2" to cut the strips after I foiled them. 


I used three TE Fun Foils on my project, Magical, Gold, and Cookie Monster. The Magical Foil is the one that gives you the blend of different colors. After I foiled the strips I kept the negative foil. I added the negative foil to a Gina K Designs Poly-Glaze Sheets - White, and ran it through my Mini Minc Foil Applicator and that gave me the strips with the solid color. 


In the center of the card I added a square of white cardstock, ink blended with Salt Water Taffy Ink. The flower stamp is the A Year in Bloom - August stamp and the vase is die cut with the A Year in Bloom Die Set - Vases and Places 2. The sentiment is from the Mini Strips - Floral Stamp Set. 

https://www.tayloredexpressions.com/sale/easy-strips-sale/ 
Get new Easy Strips products adding fun new strip patterns and foiling! Plus, we have two new cardstock and ink sampler packs: Pastel Rainbow and Trendy Rainbow.

Enjoy 20% off Easy Strips stamps, dies, and more! 
Offer valid 8/12 at 9 am CT through 8/19 at 9 am CT or while supplies last. 

Thanks for stopping by! Stop by the TE Blog for all the details and more inspiration from the team.


8/10/25

City Holiday Collection by Yana Smakula

Hi All! Today I have two projects to share with you from the new City Holiday Collection by Yana Smakula for Spellbinders.  It is a wonderful collection!


My first two projects showcase the City Holiday Etched Dies and the Christmas Cheer Sentiments BetterPress Plate & Die Set. I have linked the products below. I love little Christmas houses so this collection was so fun to play with. 


I die cut the house from white cardstock and then created the windows, doors, and Christmas embellishments. The die that cut the house also impresses the spots for the windows and doors so it is easy to align everything up. I also added the roof and snow at the top of the house and a hill of snow at the bottom of the house. 


For the sentiments on my card I used the Christmas Cheer Sentiments BetterPress Plate & Die Set. I love that the BetterPress plates also work with the Glimmer Hot Foil System. Here I foiled my sentiment with gold foil on Onyx Cardstock. 


To create the background I splattered white paint on Onyx Cardstock and then added drops of Hero Arts White Pearls. 


On my second card I just used the dies for the doors, the trees and the hill of snow. This makes the die set very versatile. 


The background is embossed with the previously released Scenic Poinsettias 3D Embossing Folder. This is one of my favorite embossing folders. 


I added another sentiment from the Christmas Cheer Sentiments BetterPress Plate & Die Set.
Thanks for stopping by! I will have two more cards to share with you tomorrow.