Today Taylored Expressions is releasing some new products to create interactive card designs. You can also incorporate a number of the products with your traditional card making. I have three cards to share with you today to give you an idea of how the products work together.
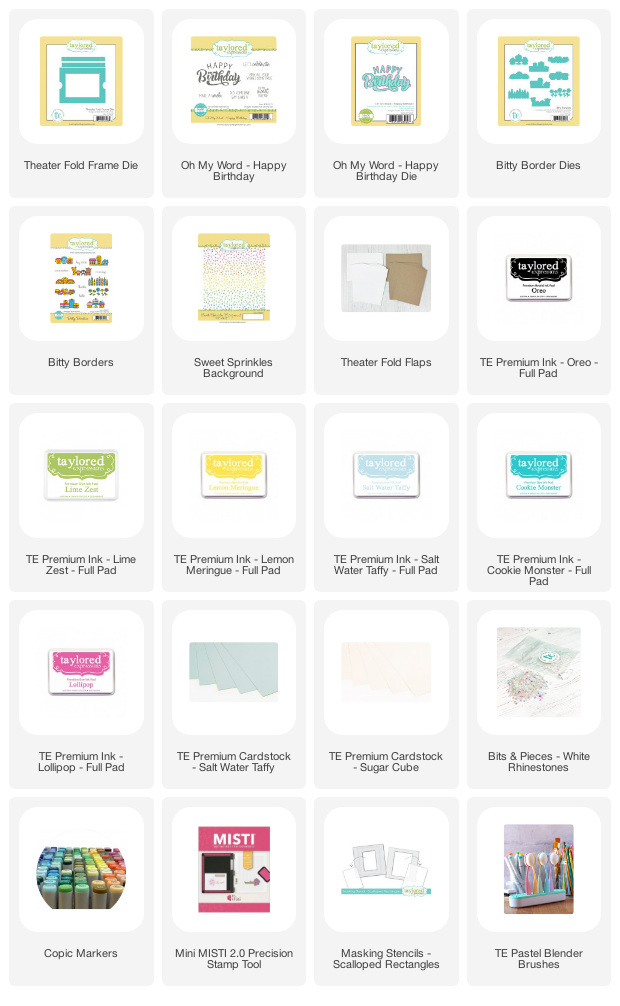
My first card uses the new Theater Fold Frame Die. First I stamped the Confetti Background Stamp on Salt Water Taffy Cardstock in Lollipop, Lime Zest, Lemon Meringue, and Cookie Monster Ink. Then I used the die to cut the frame and the window. There will be videos on the TE Blog to give you instructions on putting the card together.
This is how the card looks when it will pulled open. You can purchase the Theater Fold Flaps that are pre-scored for you in Sugar Cube and Toffee Cardstock.
On the inside of the card I added the candles and sentiment from the new Oh My Word-Happy Birthday.
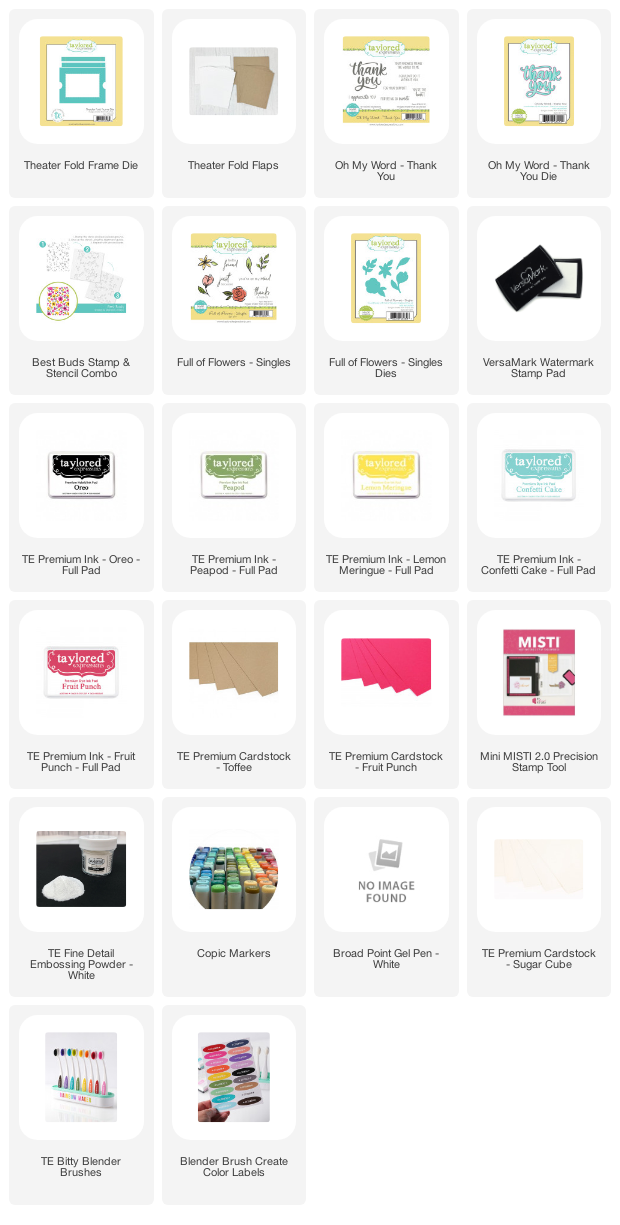
Here is another Theater Fold Card using the new Oh My Word-Thank You Stamp Set and Die. I stamped the thank you sentiment on Fruit Punch Cardstock, with Versamark Ink and embossed with TE White Embossing Powder. The frame is stenciled with the previously released Best Buds Stamp and Stencil Combo.
On the inside to the card I stamped, colored, and die cut flowers and leaves with the Full of Flowers- Singles Stamp Set and Dies.
The sentiment is included in the Oh My Word-Thank You Stamp Set.
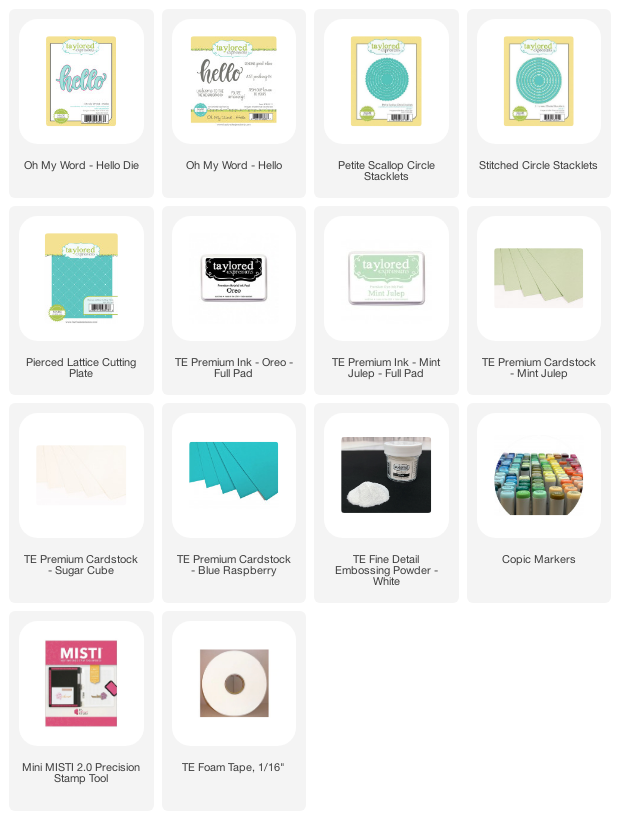
On my final project I used the new Oh My Word - Hello Stamp Set and Dies, creating a traditional A2 Card. I stamped Hello in Versamark Ink on Blue Raspberry Cardstock and embossed with TE White Embossing Powder. I stamped the cute phones in Oreo Ink and colored with Copic Markers.
The circle is die cut with the Stitched Circle Stacklets and matted with the Petite Scallop Circle Stacklets.
I created the background by stamping the phone stamp on the diagonal with Mint Julep Ink on Mint Julep Cardstock. At the bottom I stamped a sentiment from the the Oh My Word - Hello Stamp Set.

Be sure to stop by the TE Blog for all the details, more inspiration, and more detailed instruction on creating the interactive card.


No comments:
Post a Comment