3/30/20

Hop To It!

Hi All! Since we are all social distancing right now I know I will not be seeing many of my family members this Easter. So I have been creating Easter cards I can send out so my loved ones know I am thinking about them. One of my favorite stamps from the latest Taylored Expression release is the Hop to It Background Cling & Clear Combo. The bunnies are the cutest! Today I have a card to share with the stamp and the Hop to It Die.


The Hop to It Background Cling & Clear Combo Stamp Set is a combination of the background stamp that is a rubber stamp, and clear individual stamps to stamp the inside of the ears in different patterns and a stamp to add the cheeks to the bunnies. Here I stamped the background in Oreo Ink and the used Cupcake Ink for the cheeks and Lollipop, Granny Smith, Lemon Meringue, and Confetti Cake for the ears. 


For the center of the card I cut a strip of Confetti Cake Cardstock and add three extra bunnies that I die cut with the Hop to It Die. Below the bunnies I added white trim and the sentiments are from the  Mini Strips - Easter Stamp Set and die cut with the Mini Strip Die. 

Thanks for stopping by! 


3/27/20

Easter Theme Week at Pretty Pink Posh

Hi All! I am up on the Pretty Pink Posh Blog today sharing a couple of Easter Cards. Stop by the PPP Blog for a week of inspiration. All the products in the Easter Section are 15% off. 


You find all the details on my cards and the PPP products I used to create them HERE. Have nice weekend.


3/26/20

Creating New Baby Cards

Hi! I hope all is well with you and your family. I need to send out a few new baby presents so I have been working on cards for new baby boys and girls. Today I have two cards to share created with the Little One Stamp Set from Pretty Pink Posh. (All products are linked below.)


Let's start with a card for new baby boy. I created the plaid background with the Wide Stripes Stencil. I did the vertical stripes first and then flipped the stencil and added the horizontal stripes. I used the new Eyelet Borders Dies to add the white eyelet border and then added a zig zag stitch with my sewing machine. 


I stamped and colored the rattle with Copic Markers and die cut with the Little One Coordinating Dies. I used the square die and scalloped frame from the Spring Days Coordinating Dies to showcase the rattle. Love the way the new sets mix and match. The "It's a boy" sentiment if included in the Baby Stamp Set and the larger sentiment is die cut with the Welcome Little One Script Die. 


Stamped the cute little lamb from the Little One Stamp Set to create my little girl card. The Congratulations sentiment is included in this stamp set. 

I stenciled the card front with the Bow Ties Stencil and pink ink, once on pink cardstock and again on white. I die cut the bottom edge of the pink cardstock with one of the other borders in the Eyelet Borders Dies and laced a think pink ribbon from each side and tied a bow. 

Here are the links to the Pretty Pink Posh products I used to create the cards: 

Thanks for stopping by! Stop back by tomorrow for some Easter inspiration. 

3/19/20

Pretty Pink Posh March Release Day!

Hi! If you are like me you have a little more time to spend in your craft room these days. On of the few upsides to our current situation. I have been in my craft room working on projects from the new March Pretty Pink Posh Release. I hope my cards will make you smile! Crafting definitely helps the soul these days.


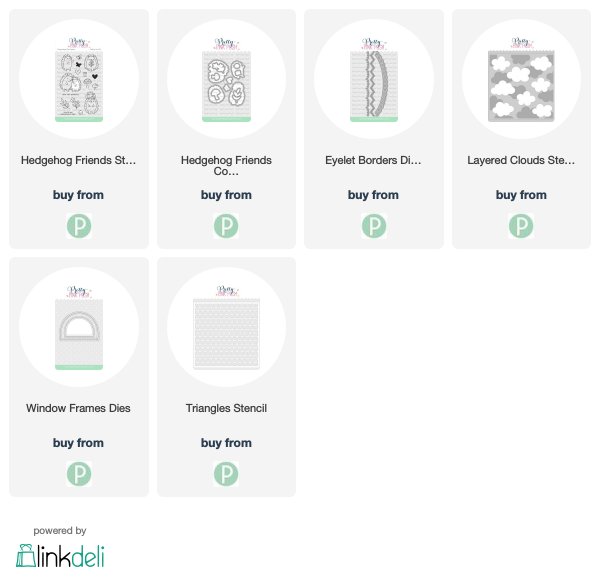
My first card features the new Hedgehog Friends Stamp Set and Hedgehop Friends Coordinating Dies. Just so cute! The stamp set also includes the stamps for the flowers, foliage, and the acorn, and I colored with Copic Markers. 

To create the card front and used the Triangles Stencil with red ink. Then I cut larger of the Window Frames Dies directly into the card front. Inside the window I added a strip of green cardstock for the grass and then stenciled clouds on white cardstock with the new Layered Clouds, a set of two stencils. 


At the bottom of the card I die cut a white border with the new Eyelet Border Die Set. This is a set of three eyelet borders and I LOVE them! I added a sentiment from the Hedgehog Friends Stamp Set. 


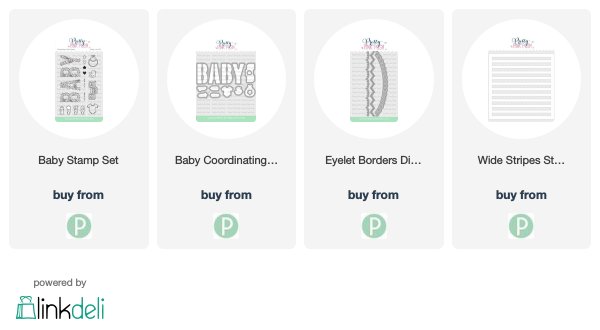
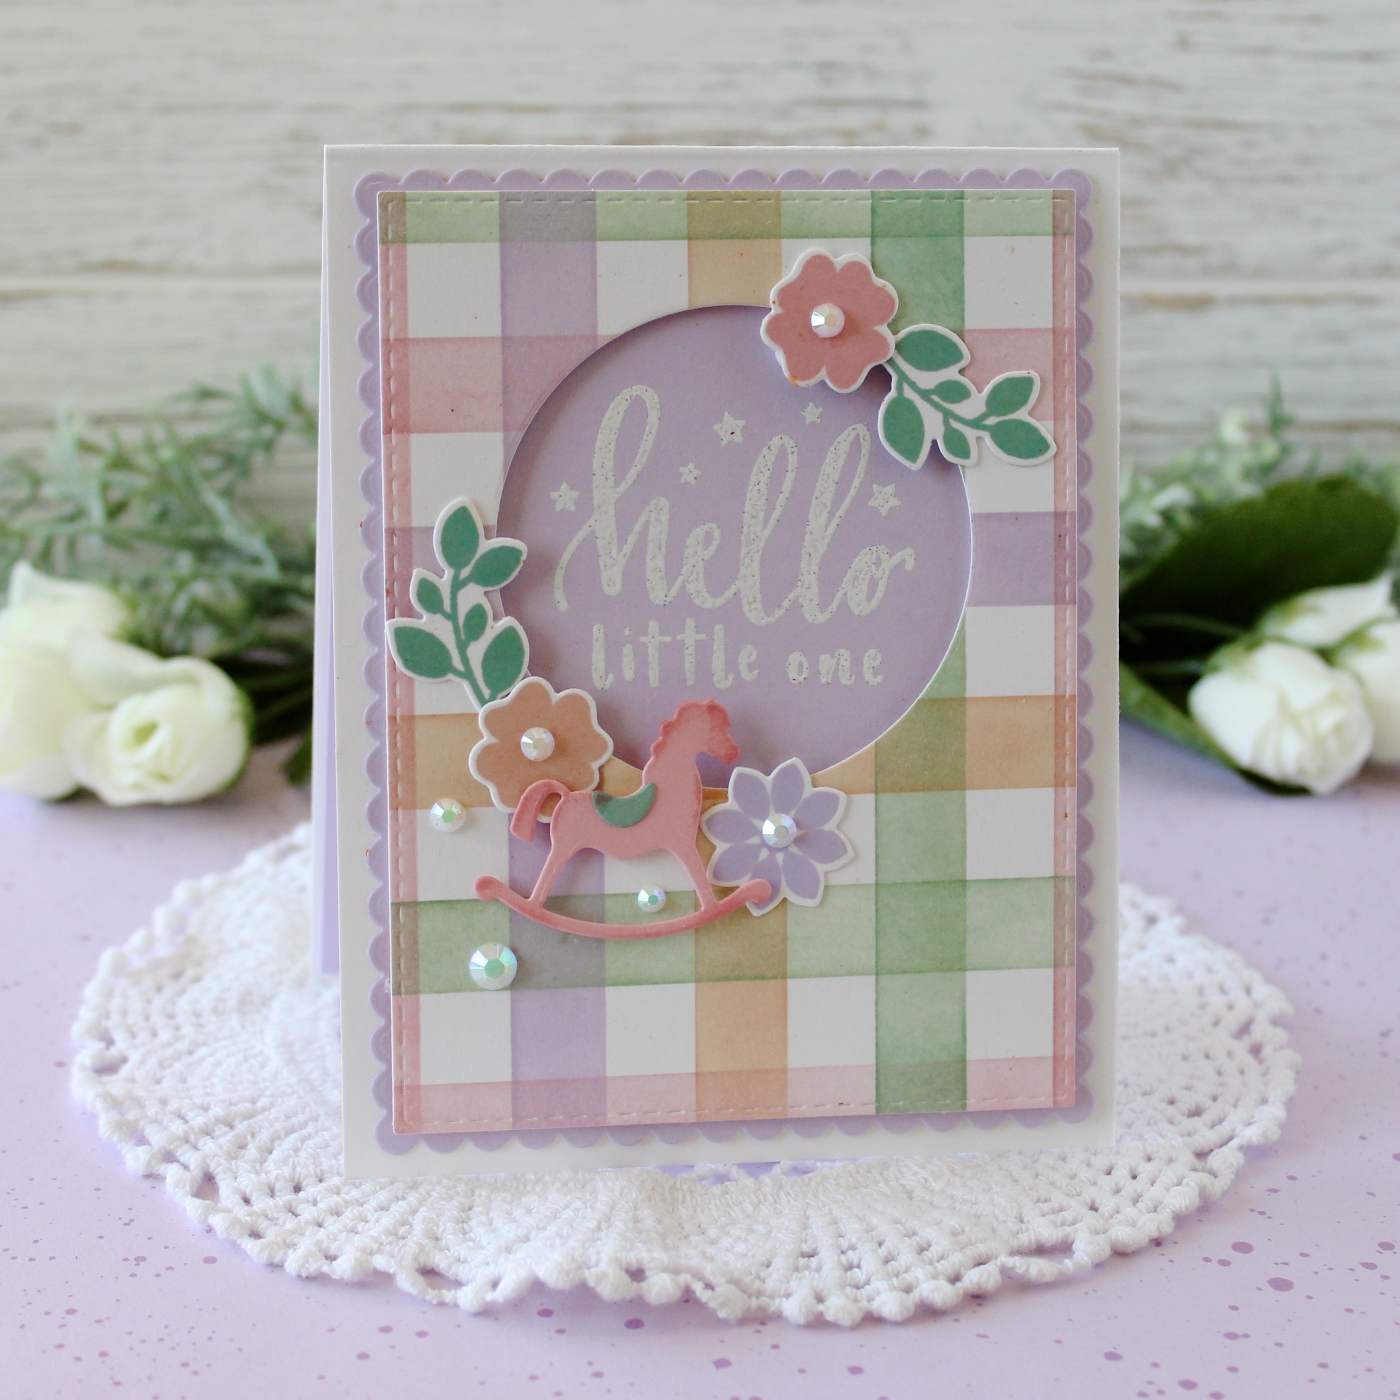
There are a number of new baby products in the new release and I am so happy to have them in my stash. This card is created with the Baby Stamp Set and Baby Coordinating Dies. Cute!


I stamped the letters in Versamark Ink, embossed with white embossing powder and then blending a different color ink on each letter. The stamp set and dies includes additional baby element that I colored with Copic Markers and added to the card front. The sentiment is also included in the stamp set. 


The card front is stenciled with the Wide Stripes Stencil. I added another eyelet border from the new Eyelet Border Die Set, then added a zig zag stitch with my sewing machine. 


I love the new release and I hope you will too. You find all the new product HERE. I will be back over the week with lots more inspiration. Take care! 


More Inspiration for Creating with Quad Colors

Hi Everyone! I hope you are doing well in the crazy world we are living in right now! I am one of those people that has trouble sitting still so I am appreciating my craft room more than ever. Today I have have a few more projects to share using the new Quad Colors collections that are available now at Taylored Expressions.


These color packs help get the color planning part of card making out of the way so you can get creative faster. Each pack has 4 coordinating colors of ink mini cubes and 2 sheets of each color of coordinating cardstock (8 sheets total).


My first card is inspired by the Napa Valley Color Combo. Again these are colors are ones I never would have put together on my own but I love how they all worked together on my card. 


I used the Simply Smitten Stamp Set and the Simple Smitten Dies to create this card. I used the colors in the Napa Valley Quad Combo to inspire the colors of Copic Markers I used to color the images. To create the background I blended the Olive, Raspberry Sorbet, and Sweet Potato Pie Ink with the TE Blender Brushes. 


I used the Stitched Rectangle Stacklets and the Petite Scallop Rectangle Stacklets to die cut the center  of the card. The card front is a panel of Mulled Wine Cardstock stamped with the Buffalo Plaid Background Stamp in Mulled Wine Ink. 


My second card features the SoCal Quad Combo. This combination inspired me to create a plaid pattern with the four inks in the combo and the 1/2" Stripe Stencil Set
 

Once I created the plaid pattern I cut a circle in the center of the card with the Stitched Circle Stacklets. Inside the circle I add a sentiment from the Handlettered - Baby Stamp Set, stamping in Versamark Ink and embossing with TE White Embossing Powder. The front panels are cut with the Stitched Rectangle Stacklets and the Petite Scallop Rectangle Stacklets. 


Around the circle I added a few more embellishments with the All is Bright Additions Stamp and Die Combo, the Little Bits - Rocking Horse, and Bits & Pieces - White Rhinestones. 


Stop by the TE Blog for a look at all the Quad Color Combinations and more inspiration! 

3/17/20

Exploring Color Combinations with Quad Colors from Taylored Expressions

Hi All! Taylored Expressions is release a new product today, Quad Colors! If you are like me you have favorite color combination that you use over and over. It’s easy to get stuck in a rut! And while there’s nothing wrong with your favorite color combination, we thought we’d take some of the guesswork out of the process and help you think outside the box with our new Quad Colors! There are 12 Quad Color combinations . These 12 combos include all of the TE ink colors except Sugar Cube, Sea Salt, and Oreo.


These color packs help get the color planning part of card making out of the way so you can get creative faster. Each pack has 4 coordinating colors of ink mini cubes and 2 sheets of each color of coordinating cardstock (8 sheets total).


I have two card today to share that I created with two of the Quad Color Combos. My first card uses the Quad Colors - Tahiti combination. 


I never would have put this color combo together myself but I love how my card turned out! I used the No Drama Llama Die Set to put together to cute llama. Behind the llama I used the Here Comes the Sun Stencil with the Guava and Fruit Punch Ink. I die cut a small circle with the Stitched Circle Stacklets to add the circle in the center of the sun rays. 


I used the Build A Scene - Snow Drifts to cut the hill from Poblano Pepper Card Stock. I embossed a sentiment from the Whole Llama Love Stamp Set and finished off with a scattering of Bits and Pieces - White Rhinestone. 


Next up with a card with the Nola Quad Colors. I just couldn't help but think Halloween with this color combination!


I started with the background, blending Candy Corn, Jelly Donut, and Eggplant Ink and my TE Blender Brushes. Next I die cut the hill with the Build A Scene - Rolling Hills and the town and the ghosts with the Ghost Town Border from Eggplant Cardstock. Using all the yardstick colors in the the Quad Colors - Nola I added color behind the windows. 


The sentiment is included in the Mini Strips - Halloween Stamp Set and die cut with the Mini Strips Die. 


Stop by the TE Blog for a look at all the Quad Color Combinations and more inspiration! 

3/4/20

Happy Birthday to You

Hi All! I am popping in today with another birthday card I created with some of the new birthday products from Pretty Pink Posh. You can never have too many birthday cards!


My first step was to create the background. I cut a piece of white cardstock to fit the front of the card and then used Blender Brushes to blend Worn Lipstick, Wild Honey, and Squeezed Lemonade Distress Ink. Then I splattered watered down white paint on the background. The sentiment is die cut with the Happy Birthday To You Script Die. I cut the sentiment three times and then layered the die cuts to add more dimension to the card. 


I stamped the border of gifts with the Birthday Borders Stamp Set and colored with Copic Markers and added Lemon Drop Jewels to the center of the bows. I die cut the scallop border with the Scallop Borders Dies

Thanks for stopping by! Have a great rest of the week!