12/29/18

Christmas Thank You Notes

Hi Everyone! I hope you had a wonderful holiday! Today I am sharing an idea for a Christmas Thank You Note. I created the card with the Pretty Pink Posh Poinsettias Stamp Set. This a fun way to get a little more use out of holiday stamps.


I started by stamping the poinsettias and the leaves on watercolor paper with Versamark Ink and embossing with gold embossing powder. I used Daniel Smith Watercolor Paints. Once the paint was dried I splattered the flowers with watered down gold paint. Next I die cut with the Poinsettias Coordinating Dies. I also cut a few leaves from gold glittered cardstock. 


The sentiment is from the Everyday Greetings Stamp Set, stamped in Versamark Ink and embossed with gold embossing powder on patterned paper. In the center of each flower I added a jewel from the  Metallic Gold Jewels


Have a great day! 


12/24/18

Joy to the World

Happy Christmas Eve! Happy Holidays Everyone! I hope you have a wonderful celebration with family and friends. I come from a big family family and have 33 people at my house on Christmas Day!


Joy to the World seems like a perfect last Christmas card for this year. My card is created with the Angel Friends Stamp Set and Angel Friends Coordinating Dies from Pretty Pink Posh. I used Oxide Distress Inks to create the background in Blueprint Sketch and Chipped Sapphire. 


The frame is die cut with the Scallop Frames Dies and the clouds are cut with the Rainy Days Coordinating Dies.  I finished off the card with a few sequins from the Sparkling Clear Confetti Mix

Wishing you and yours a wonderful Holiday. Thanks for all your sweet comments and support throughout the year! 


12/13/18

Last Christmas Card of the Season

Hi All! Today I am sharing my last Christmas card for this year. I am always a little sad when holiday creating season comes to an end. My card today is created with the Pretty Pink Posh Decorative Ornaments Stamp Set and the Decorative Ornaments Coordinating Dies.


I stamped the ornaments in black hybrid ink and colored the ornaments with Copic Markers. I covered the ornaments with a coat of Versamark Ink and the embossed with a Diamond Embossing Powder. I love the effect! Behind the ornaments I stenciled sun rays and stamped a sentiment from the Holiday Greetings Stamp Set. 


At the top I added branches from the Winter Woodland Stamp Set and hung the ornaments with twine. The frame is die cut with the Stitched Notes Dies. I finished off the card with a few sequins from the Sparkling Clear Confetti Mix


Thanks for stopping by! 


12/7/18

Pretty Pink Posh Christmas Theme Week - Day 5

Hi Everyone! I am on the Pretty Pink Posh Blog today sharing this card. You can hop on over to the blog for all the details on how I created the card and the products I used.


Have good weekend! I'm off to finally decorate my tree! 


12/6/18

It's December Release Day At Taylored Expressions

Hi and thanks for stopping by! It's December Release Day at Taylored Expressions. All the new products are available at the TE web store NOW. Today I have two more projects to share with you featuring a number of the newly release projects.


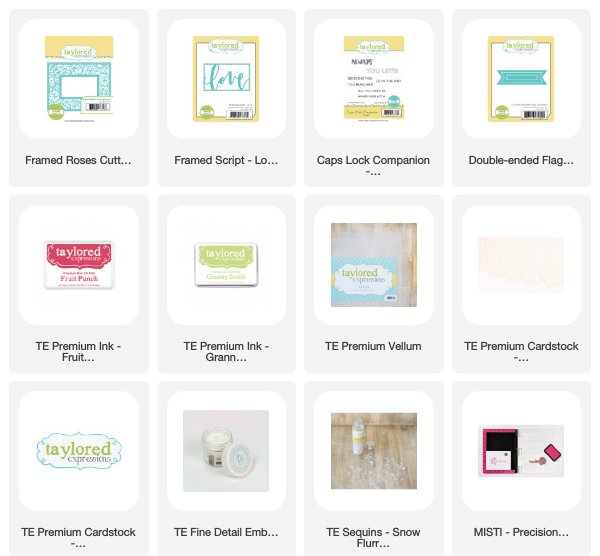
This card features the beautiful Framed Roses Cutting Plate. I cut a piece of Fruit Punch Cardstock and embossed the paper with Diamond Embossing Powder. Then I die cut the paper with the Cutting Plate. Behind the Frame I added a piece of vellum and on the backside of the vellum I dabbed on the color with Fruit Punch and Granny Smith Ink. 


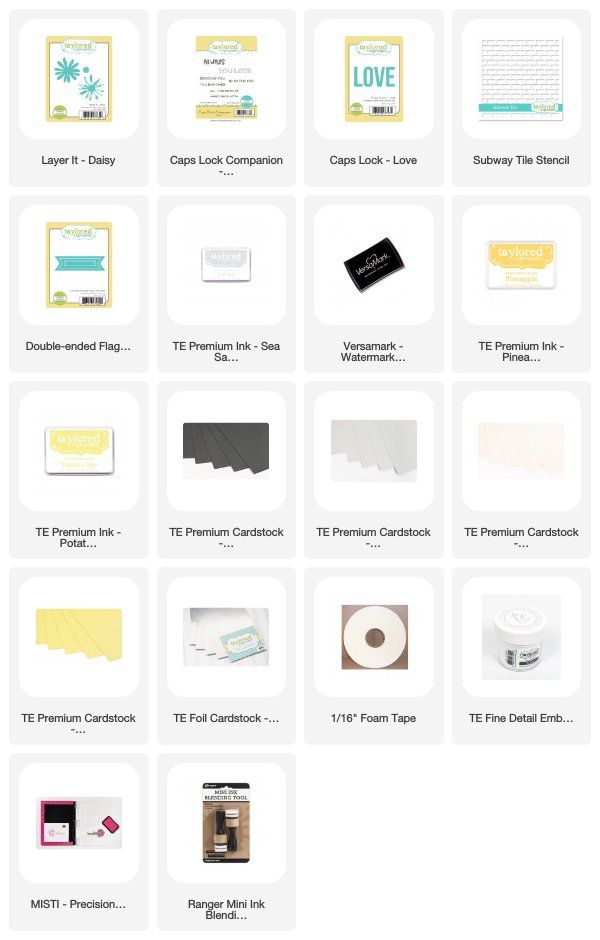
In the center of the card I added the framed sentiment with the new Framed Script - Love Die. The sentiment is from the new Caps Lock Companion - Love. 


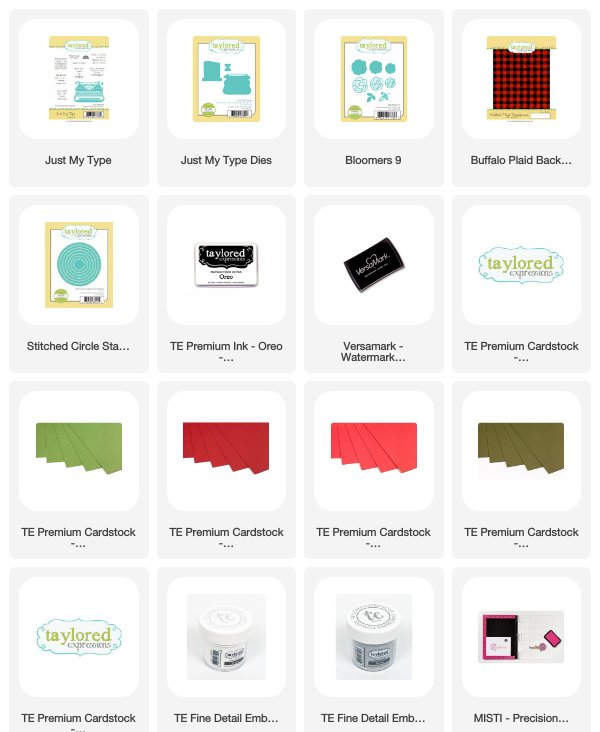
My second card is created with the new Just my Type Stamp Set and Just My Type Dies. I stamped the typewriter in Versamark Ink and embossed with TE Silver Embossing Powder. 


I love how the typewriter paper is interactive and can be pulled up. The flowers are created with the new Bloomers 9 Dies. 


I used the Buffalo Plaid Background Stamp to create the checked background, stamping Versamark Ink on Gumball Cardstock and embossing with White Embossing Powder. 


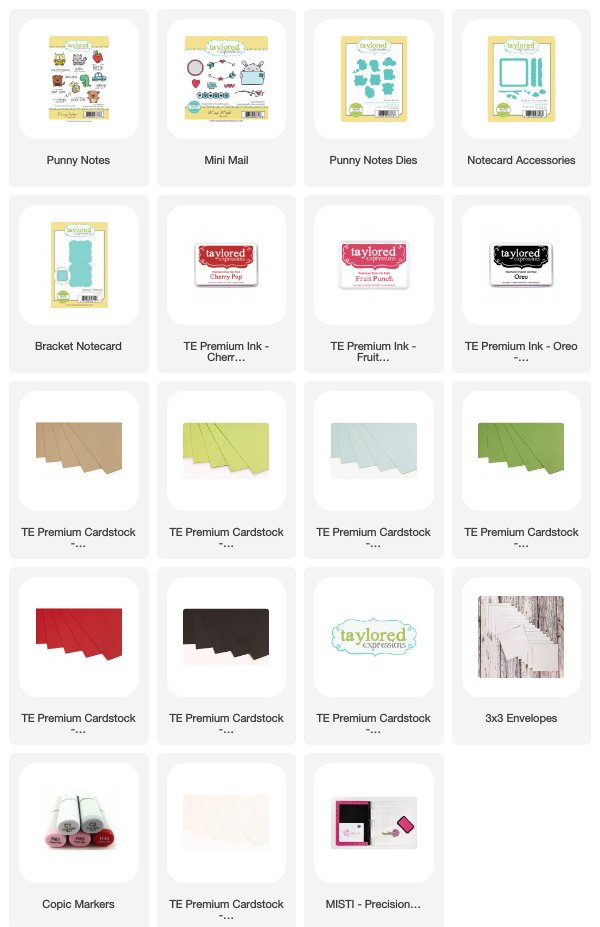
Between December 6th – December 9th, you’ll earn 116 Crafty Points when you purchase this bundle. Crafty points can be applied to save money on a future purchase! Just make sure you’re signed up for an account on the TE website to start earning points today.

Taylored Expressions is celebrating Release Week with a giveaway during each day of sneak peeks! Visit the TE Blog {Insert Link} to answer Taylor’s Question of the Day for a chance to win one of the latest products before you can buy it!

Thanks for visiting! If you'd like to see more projects and new product information, please head over to the TE Blog for a complete list of our participating designers!


12/5/18

Taylored Expressions December Sneak Peeks Day 3

It's Day 3 of Taylored Expressions December Release Sneak Peeks. Today I have two more projects to share with you and love is in the air! All the new products will be available starting at 9am CDT Thursday, December 6th.


My first card is created with the new Bubble Greetings - Love Stamp Set. I stamped the image in Oreo Ink and colored with Copic Markers. Then I die cut the the square with the Stitched Square Stacklets and the new Petite Scalloped Square Stacklets. I sponged on a little Potato Chip ink around the edges of the stitched square. 


The background is stamped with the new Backstory Valentine Background Stamp, stamping Cupcake Ink on Cupcake cardstock. The I added a few conversation hearts with the Filled with Love Stamp and Die Combo. 


My second card features a couple of new products. First there is the new Foil It - Love Paper. There are six different patterns ready to be foiled. I used the striped pattern foil with Green Foil to create the hills, die cutting with the Build a Scene - Rolling Hills Dies. I used a second pattern in the set to create the balloon with the new Accordion Heart Die with Pink Melon Foil. 


The bicycle is stamped with the adorable new You Make My Heart Soar Stamp Set and die cut with the coordinating You Make My Heart Soar Dies. The sentiment is included in the stamp set and the clouds are created with the Stitched Cloud Duo. The background is stenciled with the Set the Scene - Clouds Stencil with Confetti Ink. 


Taylored Expressions is celebrating Release Week with a giveaway during each day of sneak peeks! Visit the Taylored Expressions blog to answer Taylor’s Question of the Day for a chance to win one of the latest products before you can buy it!

Thanks for stopping by! I will be back tomorrow with my release day project. 


12/4/18

Punny Notes - Taylored Expressions December Sneak Peeks Day 2

Hi and thanks for stopping by for Day 2 of Taylored Expressions December Sneak Peeks. I am showcasing two new stamp sets today, Sarcastichick's Winter Closet and Punny NotesAll the new products will be available starting at 9am CDT Thursday, December 6th.


Sarcastichick's Winter Closet is a new addition to the Sarcastichick's product line. I stamped the chick and wine bottle with the original Sarcastichick Stamp Set and then added her hair and dress with stamps in the Winter Closet Stamp Set and die cut with the coordinating dies. The images are colored with Copic Markers and stamped in Oreo Ink. 


The flowers are created with the new Bloomers 9 Die using the new Fruit Punch Cardstock and Ink. The sentiment is included in the Sarcastichick's Winter Closet Stamp Set. 


Next up is this adorable set of Valentine Note cards. The cards are die cut with the Bracket Notecard Die that fits perfectly in the TE 3 x 3 envelopes. The stamped images and sentiments are from the new Punny Notes Stamp Set and die cut with the coordinating Punny Notes Dies. 


I also used the new Notecard Accessories Dies. This set die cuts the the rounded corner squares and the additional embellishments! Such a cute idea! 


We are also releasing the new Mini Mail stamp set that works perfectly fits the 3 x 3 envelopes. 


I had so much fun creating these sweet Valentines! I think the products would also be perfect for children to create that own Valentines! 


Taylored Expressions is celebrating Release Week with a giveaway during each day of sneak peeks! Visit the Taylored Expressions blog to answer Taylor’s Question of the Day for a chance to win one of the latest products before you can buy it!

Thanks for stopping by! I will be back tomorrow with another Sneak Peek.

12/3/18

Taylored Expressions Sneak Peeks Day 1 - Love You Bunches

Welcome to Day 1 of Taylored Expressions December Sneak Peeks. In the stamping world we plan ahead! Although we haven't celebrated Christmas yet, before you know it it will be a new year and we will be moving on to creating for other occasions. When you ready we will have products and inspiration ready for you! All the new products will be available starting at 9am CDT Thursday, December 6th.


My first card showcases the Layer It - Daisy Die. There are two layering dies and a center for the flower in the set. On my card I die cut each layer twice and then layered the four die cuts on top of each other. I sponged on just a little Potato Chip Ink and then added the center to the flower. The background is stenciled with the new Subway Tile Stencil using Sea Salt Ink on Sea Salt Paper.


"LOVE" is die cut with the new Caps Lock - Love Die. I die cut the letter three times. Once for TE Silver Foil and twice from Sugar Cube Cardstock. I layered the die cuts to add more dimension to word. The sentiment is from the new Caps Lock Companion - Love. 


My next card features the new Hearts in Bloom Background Stamp. I stamped the background in Oreo Ink and colored with Copic Markers. Then I cut the corners at an angle and added the scallop edge with the new Petite Scalloped Square Stacklets. 


The yardstick that I used for the front of the card is a new color being released this month, Fruit Punch. I stamped a sentiment from the Simply Said - Valentine Stamp Set on TE Vellum with Versamark Ink and embossed with TE Black Embossing Powder. 


Taylored Expressions is celebrating Release Week with a giveaway during each day of sneak peeks! Visit the TE Blog to answer Taylor’s Question of the Day for a chance to win one of the latest products before you can buy it!

Thanks for stopping by! I will be back tomorrow with another Sneak Peek.


11/28/18

Plaid Christmas Tags

Hi and thanks for stopping by today! I have four Christmas Tags I created to share with you. The products are from Taylored Expressions. I love the the Buffalo Plaid Background Stamp. I have used this stamp on so many projects already. Here I used the stamp for the background of my tags.


I die cut the base of my tags with the Tag Stacklets 2. I layered the Buffalo Plaid on Oreo Cardstock. I punched a small hole at the top of each tag and used Gold Twine to tie the tags to a gift. 


I used the Flip the Script - Tree Tag and Stamp Die Combo for two of my tags. On the first tag I stamped the sentiment in Versamark Ink on Cilantro Cardstock and embossed with TE White Embossing Powder and then used the tree die to die cut the tree. 


On the second tag I stamped the tree, with the sentiment in the negative, in Versamark Ink and embossed with TE White Embossing Powder. The reindeer is die cut from Gold Foil with the Little Bits - Reindeer Die. 


My second tag uses the Flip the Script - Snowman Tag Stamp & Die Combo. I used the same process I used for the tree, stamping the Snowman with the sentiment in the negative and then just the sentiment. 


The hat is included in the die set. The flowers is die cut with the Little Bits - Holiday Bloomers. 

I can't wait to tie this tags on my Christmas packages! The tags inspired by Christmas wrapping theme this year! 


11/26/18

A Penguin Christmas

Hi all! I hope you all had a wonderful Thanksgiving with your families and friends! We rented in house in Julian for the holiday and had wonderful, cozy holiday. Today I am popping in with a cute Christmas card created with products from Pretty Pink Posh. Be sure to stop by the Pretty Pink Posh Shop and check out the sale!


Let's start with the Layered Tree Dies! I just love this die! Here I sponged white pigment ink on the each layer of the tree and embossed with white and glittered embossing powder. The background is created with Distress Oxide Inks in Blueprint Sketch and Chipped Sapphire and then I splattered white paint. The hills of snow are created with the Scallop Borders Dies


There adorable penguins are create with the new Penguin Pals Stamp Set and die cut with the Penguin Pals Coordinating Dies. The sentiment is also from the stamp set. I colored the penguins with Copic Markers. I finished off the card with confetti from the Winter Days Confetti Mix. 

Have a great week and thanks for stopping by! 

11/15/18

Pretty Pink Posh November Blog Hop - Day 1


Welcome to Day 1 of the Pretty Pink Posh November Release Blog Hop. If you arrived here from Angelica Conrad Blog you are on the right track. I’ll list all of today’s blog hop participants below, if you want to start at the beginning.

Be sure to leave comments on each stop. Paulina is giving away four  $25 gift certificates to four random comments (2 winners each day) left before 11:59 PM PDT on 11/20/2018 PM PDT. Be sure to return to the PPP Blog and see if you are one of the winners! 

I have two cards to share with you today! 


My first card features the new Stitched Ornaments Dies. These dies make a quick, elegant card! On the center ornament I stamped a sentiment from the Holiday Greetings Stamp Set. The snowflakes are stamped with images in the Winter Wonderland Stamp Set. I stamped the snowflakes in Versamark Ink and embossed with white embossing powder. I hung the ornaments with twine and created the frame with the Stitched Notes Dies. (Products are linked below) 


At the top I added branches with the Pine Bough Dies and the holly with the Elegant Holly Stamp Set and die cut with the Elegant Holly Coordinating Dies. The holly is colored with Copic Markers. The sparkle is added with jewels in the Holiday Jewels Mix.


On my second card I used the Poinsettias Stamp Set and the Poinsettias Coordinating Dies. I stamped the images in Versamark Ink and embossed with gold embossing powder and colored with Copic Marker. I added Metallic Gold Jewels to the center of the flowers. 


The sentiment is die cut with the new Seasons Greetings Script DiesI glued several layers of the sentiment together to add depth and added a coat of glitter with a glitter pen to the top of the sentiment. 

Thanks for stopping by! The next stop on the hop is Mindy Baxter 

Pretty Pink Posh blog
Amy Yang
Alix Davis
Jeanne Jachna
Kay Miller
Angelica Conrad
Melody Rupple (You are here)
Mindy Baxter
Yoonsun Hur
Thi Lam
Heather Hoffman
Nichol Spohr
Kelly Latevola