12/30/24

It's Day 4 of the Papertrey Ink Release Countdown

Welcome to Day 4 of the Papertrey Ink December Release Countdown. I have two more projects to share with you today.  All the new products will be available tomorrow, December 31st at 12 PM ET. 


My first card today is created with the new Perfectly Coiled Circle Hot Foil Plate, the Into the Blooms: Cute as a Button Dies, and the This is Big Sentiments: Get Well. I used a dark Aqua foil with the Hot Foil Plate and then die cut the circle with the Love to Layer: Scallop Circle dies


Next I created the flowers and greenery with the Into the Blooms: Cute as a Button Dies. I die cut from Stamper's Select White Cardstock and then ink blended the images in the ink colors I have listed below. 


The sentiments are added with the This is Big Sentiments: Get Well Stamp Set and die cut with the coordinating dies. 

Supplies:

Stamps: This is Big Sentiments: Get Well
Dies: This is Big Sentiments: Get Well, Into the Blooms: Cute as a Button, Love to Layer: Circles
Ink: Lemon Tart, Summer Sunrise, New Leaf, Pinefeather, Enchanted Evening, Hawaiian Shore, Tropical Teal
Paper: Stamper's Select White, Mint Julep, Aqua Mist, Lemon Tart, Bitty Big Collections: Aqua Mist
Other: Perfectly Coiled Circle Hot Foil Plate, Aqua Foil, Twine, Dark Blue Gems


My final card features the new Wings of Love Stamp Set. This is one of my favorites of the release. The sentiment is included in the stamp set. 


Once I had stamped and die cut the images I attached them to a rectangle cut with the new Love to Layer: Laced Edges Dies. I die cut the largest die in the set from Stamper's Select White Cardstock and ink blended with Spring Rain and Blueberry Sky Inks. 


I finished off the card is a strip of Spring Rain Cardstock, lace, and a few gold gems. 

Supplies:

Stamps: Wings of Love
Dies: Wings of Love, Love to Layer: Laced Edges
Ink: Spring Rain, Blueberry Sky, Simply Chartreuse, New Leaf, Sweet Blush, Pure Poppy, Lemon Tart, Classic Kraft
Paper: Stamper's Select White, Spring Rain, Bitty Big Collection: Pure Poppy
Other: Gold Gems, Lace, Foam Tape

Thanks for much for stopping by! Stop by the PTI Blog for more inspiration from the team.  


12/29/24

It's Day 3 of the Papertrey Ink Release Countdown

Welcome to Day 3 of the Papertrey Ink December Release Countdown. I have two more projects to share with you today.  All the new products will be available on December 31st at 12 PM ET. 


My first card features the newest additions to the Reflections Collection, Reflections: December Stamp Set and Dies. On my card I used both sizes of the Reflections: December Dies. I die cut the larger die from vellum and then stamped the sentiment in black ink and embossed with black embossing powder. I die cut the smaller die from Stamper's Select Cardstock and placed it under the vellum so that my sentiment would stand out from the background. 


To create the card front I die cut Pure Poppy Cardstock with the North Pole Mail: Candy Cane Frame Post Card Die. This is a die that came out with the Christmas Release but can be used throughout the year. Next I foiled the background with the From the Heart Hot Foil Plate with gold foil. 

I added the flowers and greenery with the previously released All You Need is Love Stamp Set and Dies. 

Supplies:

Stamps: Reflections December, You are Loved
Dies: Reflections December, You Are Loved, North Pole Mail Candy Cane Frame Post Card
Ink: Pure Poppy, Mint Julep, New Leaf, Sweet Blush, Scarlet Jewel, Versamark
Paper: Stamper's Select White, Pure Poppy, Vellum
Other: From the Heart Hot Foil Plate, Gold Foil, Black Embossing Powder, Gold Gems, Gold Embossing Powder


My next card is created with the Elegant Edges: Nature's Blooms Dies and the Praying for You Stamp Set. I die cut a piece of Spring Moss Cardstock, stenciled at the top, and then used the Elegant Edges: Nature's Bloom Dies to die cut the flowers and decorative edge. 


I used the Elegant Edges: Nature's Bloom Dies again, die cutting from Stamper's Select White Cardstock. Using the pieces that cut out, I blended ink on each piece and inlayed the pieces back into the card front. 


The sentiments are from the Praying for You Stamp Set. 

Supplies:

Stamps: Praying for You
Dies: Elegant Edges: Nature's Bloom, Love to Layer: Delightful Brackets
Ink: Spring Moss, Prairie Grass, True Black, Lemon Tart, Summer Sunrise, Orange Zest, Pale Peony, Hibiscus Burst, Aqua Mist, Hawaiian Shores
Paper: Stamper's Select White, Spring Moss, Hawaiian Shores, Bitty Big Collection: Aqua Mist
Other: Glittered Cardstock, Pro Stamper's Box Stencil, Foam Tape

Thanks for much for stopping by! Stop by the PTI Blog for more inspiration from the team. I will be back tomorrow with more projects from the December Release. 


12/28/24

It's Day 2 of the Papertrey Ink Release Countdown

Welcome to Day 2 of the Papertrey Ink December Release Countdown. December's Release is all about Love, Get Well, and beautiful florals. All the new products will be available on December 31st at 12 PM ET. 


I am loving the new Into the Blooms: Cute As A Button Dies. There are so many fun combinations of dies to create these cute florals. I die cut from colored cardstock and then blended the edges with ink.


I threaded the buttonholes with Pure Poppy Baker's Twine but there is a die that can be used for thread. The flowers are centered around a heart I die cut with the new Elegant Heart Die. I added the heart to a rectangle die cut with the new Love to Layer: Laced Edges. 


The background is foiled with the From the Heart Hot Foil Plate and red foil. The sentiment is from the previously released All You Need is Love Stamp Set. 

Supplies:

Stamps: All You Need Is Love
Dies: Into the Blooms: Cute As a Button, Elegant Heart, Love To Layer: Laced Edges
Ink: Pure Black, Sweet Blush, Aqua Mist, New Leaf, Pure Poppy
Paper: True Black, Pure Poppy, Green Parakeet, Stamper's Select White, Bitty Big Collection: Pure Poppy
Other: From the Heart Hot Foil Plate, Red Foil, Pure Poppy Baker's Twine


My second card features the beautiful Cornered: Nature's Blooms Dies and the This is Big Sentiments: Get Well Stamp Set and Dies. I die the card front from Plum Pudding Cardstock. Next I die cut  the Cornered: Nature's Blooms Dies in all four corners and then inked the card edges with Nature's Blooms Dies. 


Behind each flower die cut I added Stamper's Select White Cardstock that I lightly ink blended with Lilac Grace, Plum Pudding, New Leaf, Pinefeather, Sweet Blush, and Hibiscus Burst Inks. I also die cut a few gold foil leaves and inlayed them into the card front. 


The sentiments are from the new This is Big Sentiments: Get Well Stamp Set. There are two different styles of the Get Well sentiment. I finished the card off with a few gold gems. 

Supplies:

Stamps: This is Big Sentiments: Get Well
Dies: This is Big Sentiments: Get Well, Cornered: Nature's Blooms
Ink: Lilac Grace, Plum Pudding, New Leaf, Pinefeather, Sweet Blush, Hibiscus Burst, Versamark
Paper: Plum Pudding, Stamper's Select White, Vellum, Gold Foil
Other: Gold Embossing Powder, Gold Gems, Foam Tape, Blender Brushes

Thanks for much for stopping by! Stop by the PTI Blog for more inspiration from the team. I will be back tomorrow with more projects from the December Release. 


12/27/24

Papertrey Ink December Release Peeks Day 1

Hi Everyone! I hope you had wonderful Holiday and are ready to celebrate the start of a New Year! Today is Day 1 of the Papertrey Ink December Release Countdown. December's Release is all about Love, Get Well, and beautiful florals. All the new products will be available on December 31st at 12 PM ET. 


My first project features the Garden Grace Stamps and Dies and the new Love to Layer: Laced Edges. I like the modern, fun floral images. I used a mix of Sweet Blush, Hibiscus Burst, Lemon Tart, Orange Zest, Simply Chartreuse, New Leaf, and Raspberry Fizz Inks to stamp the images. 


I die cut the largest die in the new Love to Layer: Laced Edges from Stamper's Select White Cardstock. Then starting at the bottom I blended New Leaf, Sweet Blush, and Lemon Tart Ink. I stamped a sentiment from the Garden Grace Stamp Set in Versamark Ink on a strip of Vellum and embossed with Black Embossing Powder. 


The background is stenciled with the Simple Stitch Crochet Stencil Collection and Sweet Blush Ink. 

Supplies:

Stamps: Garden Grace
Dies: Garden Grace, Love to Layer: Laced Edges
Ink: Sweet Blush, Hibiscus Burst, Lemon Tart, Orange Zest, Simply Chartreuse, New Leaf, Raspberry Fizz, Versamark
Paper: Stamper's Select White, Vellum
Other: Simple Stitch Crochet Stencil Collection, Black Embossing Powder, Clear Gems, Blender Brushes, Foam Tape


Next up is look at the Get Well Soon Stamps and Dies and the Perfectly Coiled Rectangle Hot Foil Plate. I stamped the images with a mix of Aqua Mist, Enchanted Evening, Sweet Blush, Mint Julep, New Leaf, Hibiscus Burst, and Lemon Tart Inks and the die cut with the Get Well Soon Dies.

To create the background I used the new Perfectly Coiled Rectangle Hot Foil Plate with Spellbinders Blue Foil. I die cut a rectangle from masking paper and the blended Lemon Tart Ink in the center. 


I finished off the card with gold gems. 

Supplies:

Stamps: Get Well Soon
Dies: Get Well Soon
Ink: Aqua Mist, Enchanted Evening, Sweet Blush, Mint Julep, New Leaf, Hibiscus Burst, Lemon Tart, Versamark
Paper: Stamper's Select White, Enchanted Evening, Bitty Big Collection: Aqua Mist
Other: Perfectly Coiled Rectangle Hot Foil Plate, Gold Embossing Powder, Gold Gems, Gold Glittered Cardstock, Blue Foil

Thanks for much for stopping by! Stop by the PTI Blog for more inspiration from the team. I will be back tomorrow with more projects from the December Release. 


12/17/24

The Crafty Friend Release

Hi All! I am popping in today with a few cards I made with the new Crafty Friends Release at Taylored Expressions.  If you are like me you have a few crafty friends in your life. I met my friends at a class at the local scrapbook store over 15 years ago! I like having products in my stash just for them! 


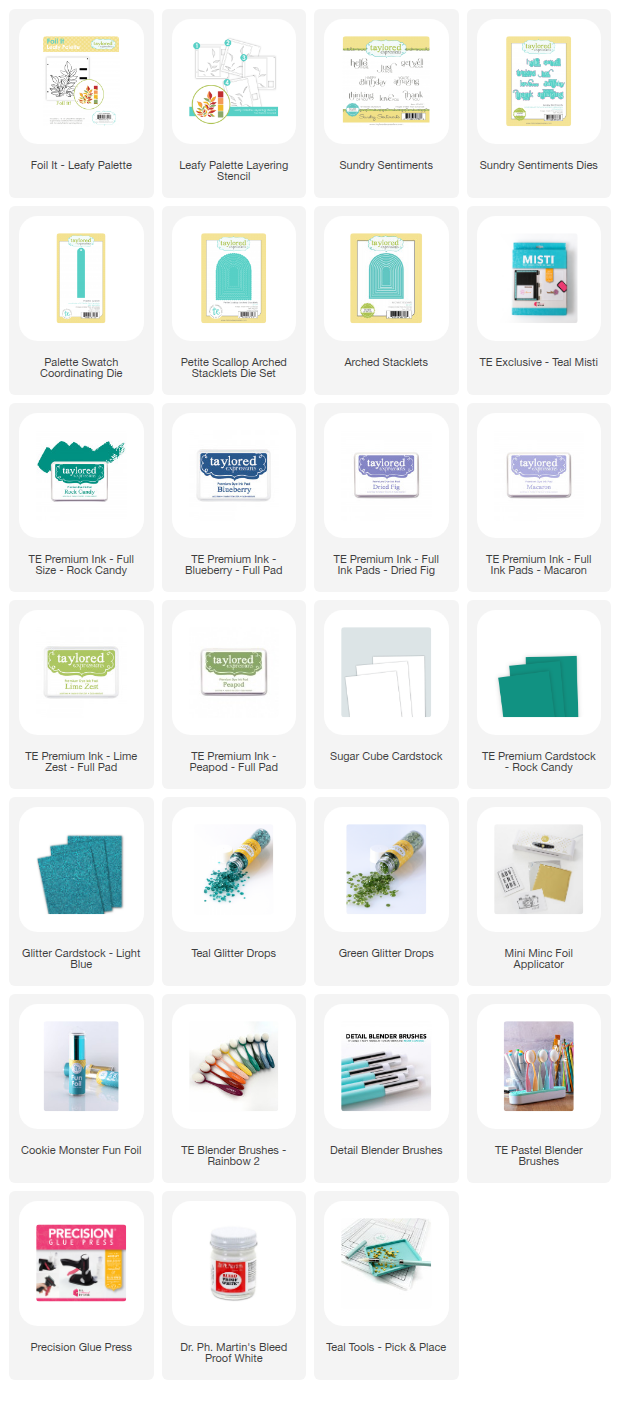
I have two cards to share with you. The first one features the Crafty Tools of the Trade Die Set and the Mugs and Kisses Die and Clear Stamp Combo, along with the new You Color Me Happy Sentiment Stamp Set. 


I just love how the blender brushes look just like TE Brushes and the markers look just like Olo Markers! I die cut the mug with the new Mugs and Kisses Die & Clear Stamp Combo. I used Cupcake Cardstock and added the dot pattern with the Mini Slim Stencil - On the Dot. 

I added the sentiment with the You Color Me Happy Sentiment Stamp Set.


To create the background I die cut the Pierced Grid Cutting Plate with Sugar Cube Cardstock for the top half of the card. Then I stamped the Knock On Wood Backgrounds Stamp on Rock Candy Cardstock using Rock Candy Ink for the the bottom half. The card front is die cut with Petite Scallop Rectangle Stacklets. 


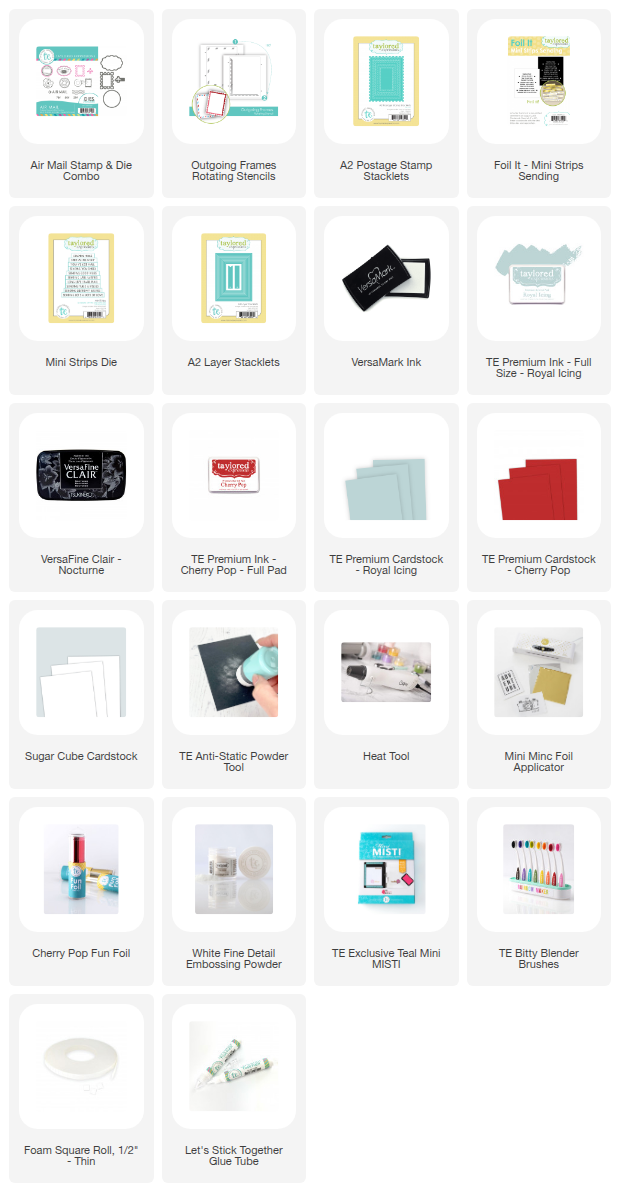
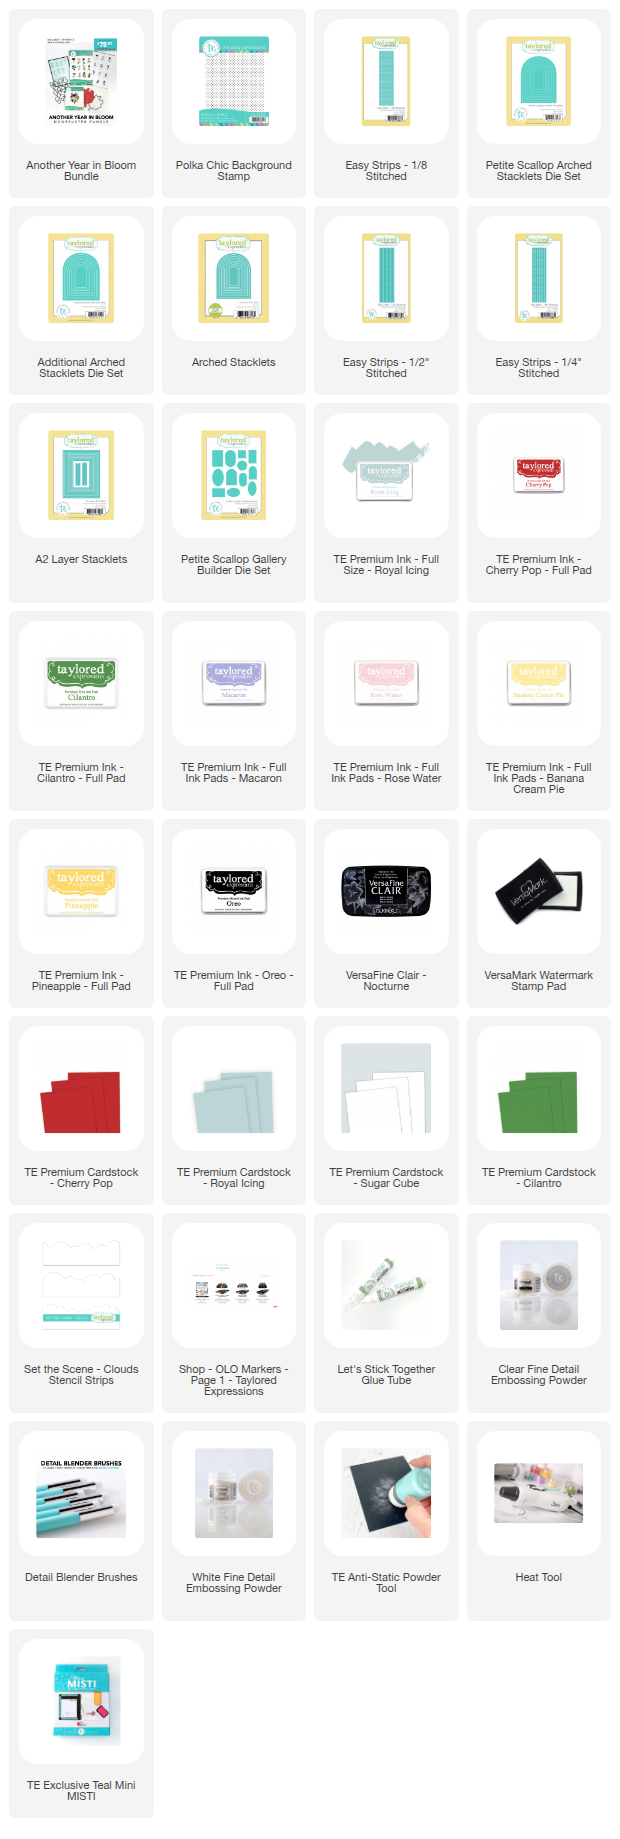
Next is a look at the Sending You Joy Background Stamp. This is an easy card to create. I stamped the background stamp in Versamark Ink and embossed with TE Gold Sparkle Embossing Powder. I recently purchased this embossing powder and I just love the subtle sparkle it adds to my card. 


In the background I lightly stenciled clouds with the Set the Scene - Clouds Stencil Strips with Salt Water Taffy Ink. Then I added the color with Olo Markers.  I added a little more happy sparkle with TE Glitter Drops. 


I finished off with a sentiment from the Simple Strips - Friendship Stamp Set. 


This release is filled with crafty goodness that celebrates both papercrafting and the friendships that make it all the more special! Get the Crafty Friend Stickers FREE with the purchase of any two items from the release. It's the perfect way to treat yourself and add some new fun products to your crafty collection. 

Stop by the TE Blog for all the details and more information from the team. 


12/10/24

The Cute Combos Release

Hi Crafters! Today I have look at the new Cute Combos Release at Taylored Expressions. This release is full of stamp & die combos that cover a wide variety of themes and occasions. There are 10 stamp and die combos in the release. I have four cards to share with you. 


My first card features the Cute to Boot Stamp & Die Combo. There are two different style boots in the stamp set. I couldn't resist the fun sunflower boots. I stamped the boots in Oreo Ink colored with a combination of Olo and Copic Markers. 

Olo-
Y2.2, Y2.3, Y8.6
B2.0, B2.2
G5.1, 5.3
Copic-
E30, 31, 33, 35,37


I stamped the background with the Wood Plank Background Stamp, stamping in Versamark Ink on Toffee Cardstock, and embossing with white embossing powder. I die cut the background with the Frayed Edge Stacklets and blended Toffee Ink on the edges. 


I used the Checking In Background Stamp with Salt Water Taffy Ink and Salt Water Taffy Cardstock to added the center strip. The sentiment is included in the set. 

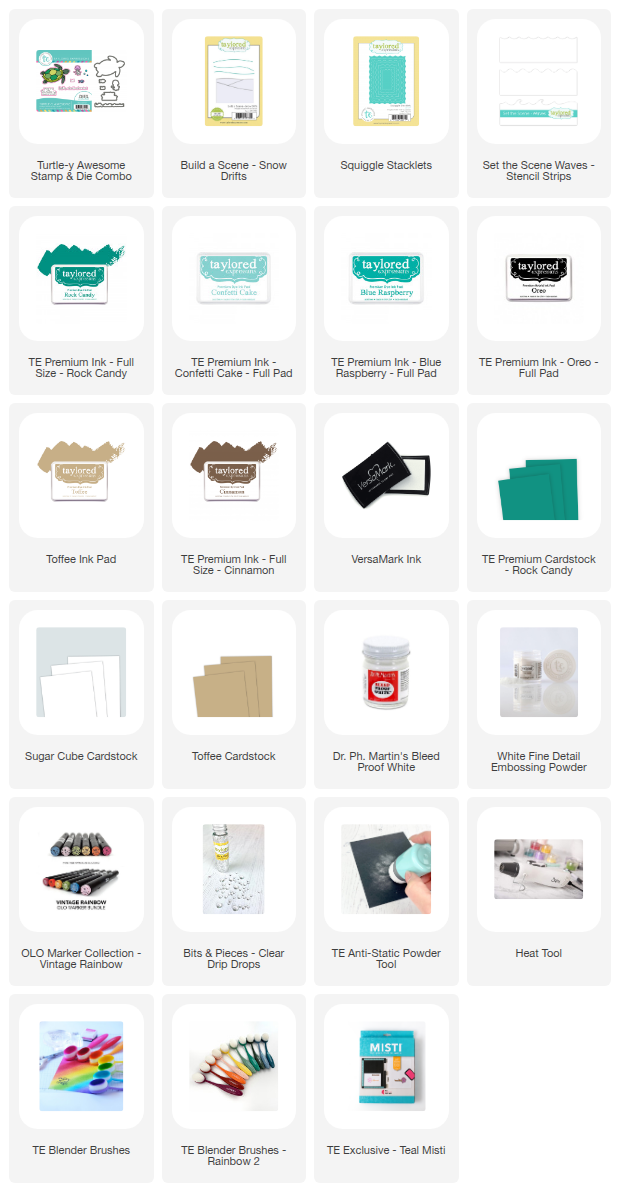
My next card features the Under the Sea Stamp and Die Combo. I colored the mermaid with Olo Markers and added some glitter to her fin. I used Olo Markers in:

G5.1, G5.3, G1.7
BG2.1, BG2.3, BG2.4,BG2.7
BV1.1, BV1.2, BV1.4, BV1.7
Y1.1, Y1.2

Behind the mermaid I used the Build A Scene - Waves Stencil Strips with Brussels Sprout, Poblano Pepper, Blue Raspberry, and Confetti Cake Inks. 


I used the Arched Stacklets to frame and mat the scene. The card front is stencil with the Flickering Stencil with Confetti Cake Ink on Confetti Cake Cardstock. 


I lightly splattered white paint on the background and added Bits & Pieces - Clear Drip Dots. 


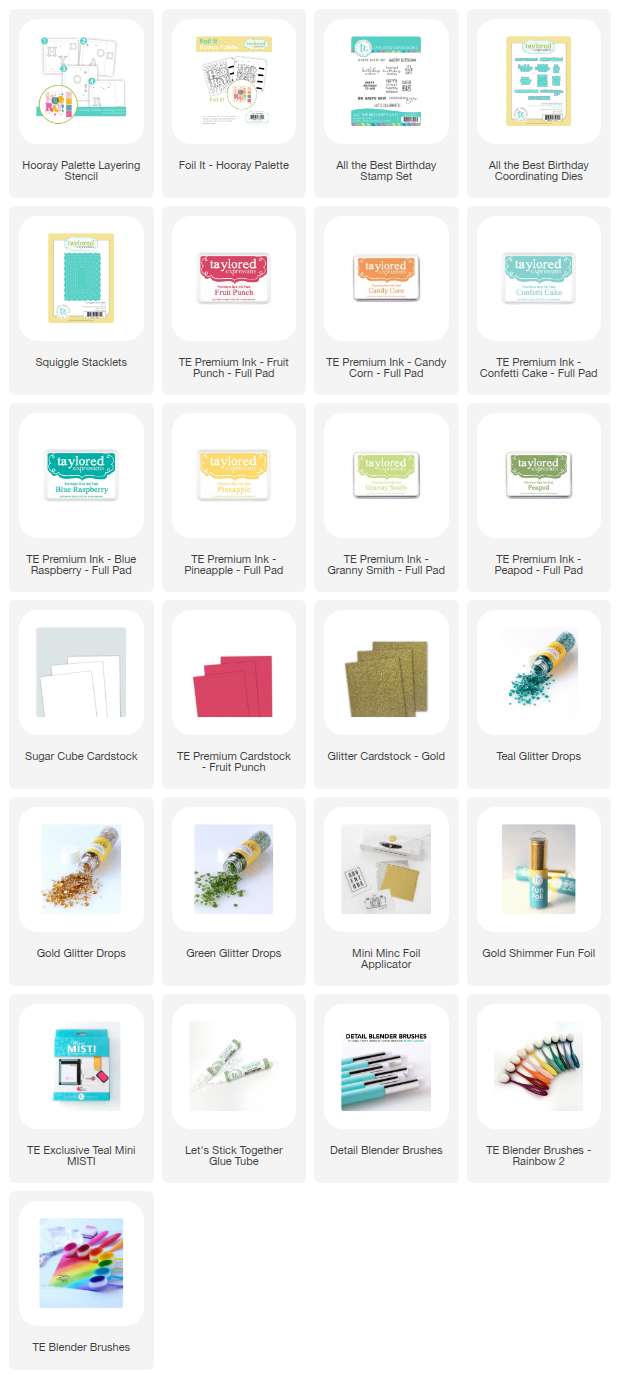
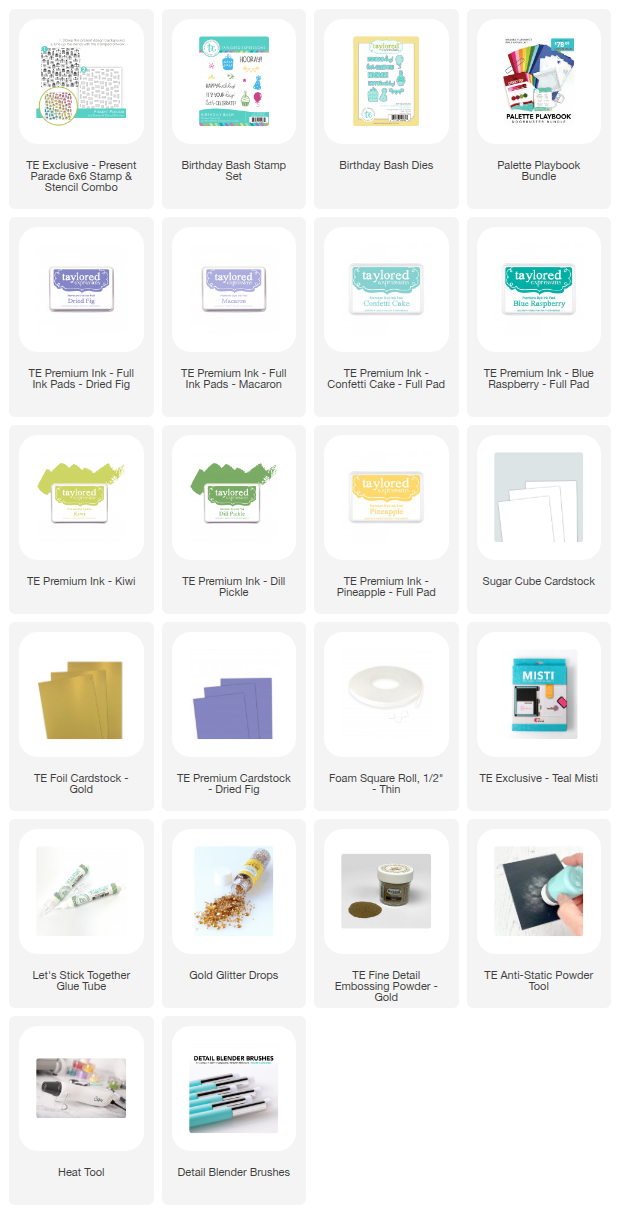
Next up is a look at the Piñata Party Stamp and Die Combo. The set includes these two piñatas and sentiments. I colored with Olo Markers in:

R2.2, 2.4
BV 1.1, 1.2, 1.4, 1.7
B2.0, 2.2, 2.4, 2.6
YG 1.2, 1.4, 1.6
Y1.1, 1.2, 1.3
O 2.2, 2.4, 2.5


To create the card front I used the largest die in the Squiggle Stacklets with Macaron Cardstock. Next I used the Circle Stacklets to cut the circle in the center of the card front. Then I embossed with the Sprinkles Embossing Folder. I used a smaller circle die to mat the image with Kiwi Cardstock. 


I finished off with Glitter Drops in the colors I linked below. 

My last project features the Cottage Garden Stamp and Die Combo. I love the fun, happy flowers! 


I stamped and die cut the flowers and greenery and centered them on an oval die cut with the Stitched Oval Stacklets and matted with the Petite Scallop Oval Stacklets. 


The card front is die cut with the Swirls Pierce & Cut Plate from Cookie Monster Cardstock. 

Get 15% off when you purchase 4 or more new Stamp & Die Combos part of our Cute Combo release. Just add 4 or more new combos to your cart, and the discount will automatically apply!


If you want all the combos, the I Want It All Bundle is yours at a special price of $199, making it easy to get every delightful duo! 

Thanks for stopping by! Stop by the TE Blog for all the details and more inspiration for the team.