10/29/20

Feeling Grateful

Hello Friends! It is finally starting to fell like fall here! Fall is definitely my favorite season and I am ready to embrace it! Today I have a fall themed card to share with the pretty Sunflowers Stamp Set from Pretty Pink Posh

I stamped the flowers in Brown Hybrid Ink and colored with Copic Markers. Then I die cut the flowers and leaves with the Coordinating Sunflower Dies. Next I created the background scene. First I cut a piece of white cardstock to fit the card front and blended Squeezed Lemonade, Scattered Straw, and Wild Honey Distress Inks on the background. I spritzed the blended inks with a mist of water and the splattered white paint on the background. 

I added a hill of grass with the Scallop borders and a green cardstock. Next I added the white fence to the background with the Spooky Fence. (See links below) I layered the sunflowers over the background and tied the stem together with twine. The sentiment is from the Fall Signs Stamp Set and die cut with the Stitched Labels Dies. I finished off with the three Expresso Jewels. 

Thanks for stopping by! Have a good weekend! 

10/20/20

New Pastel Blender Brushes from Taylored Expressions!

Hi All! I am excited to share  a new product from Taylored Expressions today, Pastel Blender Brushes!  There are 5 new pastel colors which will be perfect to add to the beautiful rainbow of blender brushes that were previously released. TE is also introducing a new Tool Tray that will work perfectly for storing blender brushes and other small desktop craft tools. The Tool Tray can be customized with colorful quote stickers sized to fit on the side of the tray. And lastly, to welcome our new blender brushes, there are 12 new stencil designs! 

Today I am going to give you a look at four of the new stencils. 


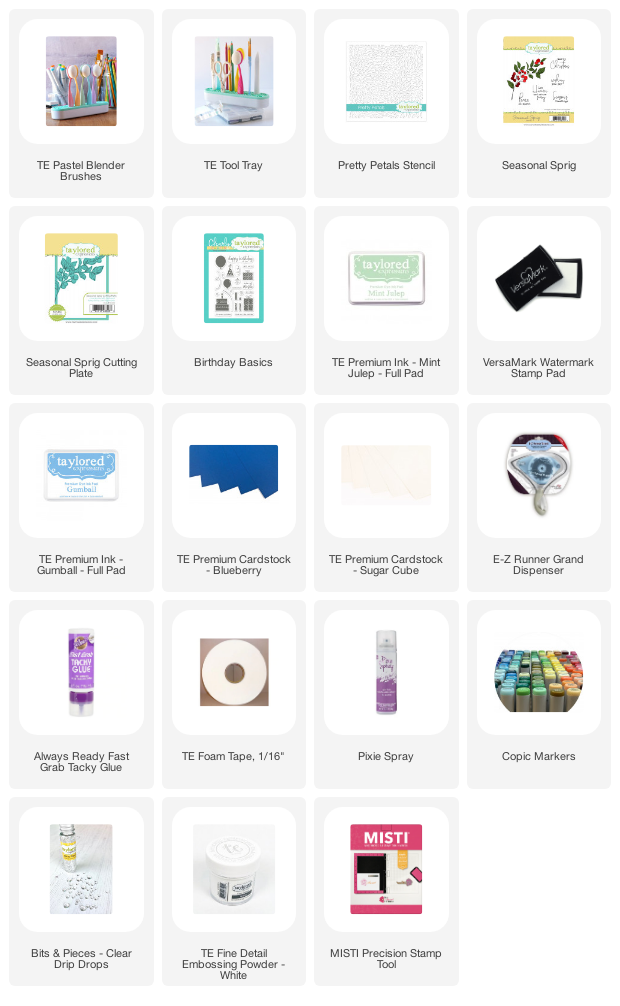
First up is the Pretty Petals Stencil. I cut a piece of white cardstock to fit the card front, attached the stencil with Pixie Spray, and blended Gumball and Mint Julep Ink. This is pretty color combo! 

Next I stamped the Seasonal Sprig Stamp in Oreo Ink and colored with Copic Markers. The Seasonal Sprig was released as a holiday stamp but changing the color of the berries makes it prefect to use throughout the year. 


I die cut with the Seasonal Sprig Cutting Plate and layered the frame over the stenciled background. The sentiment is from the Birthday Basics Stamp Set, stamped in Versamark Ink on Blueberry Cardstock and embossed with TE White Embossing Powder. The card is finished off with a few Bits & Pieces - Clear Drip Dots. 


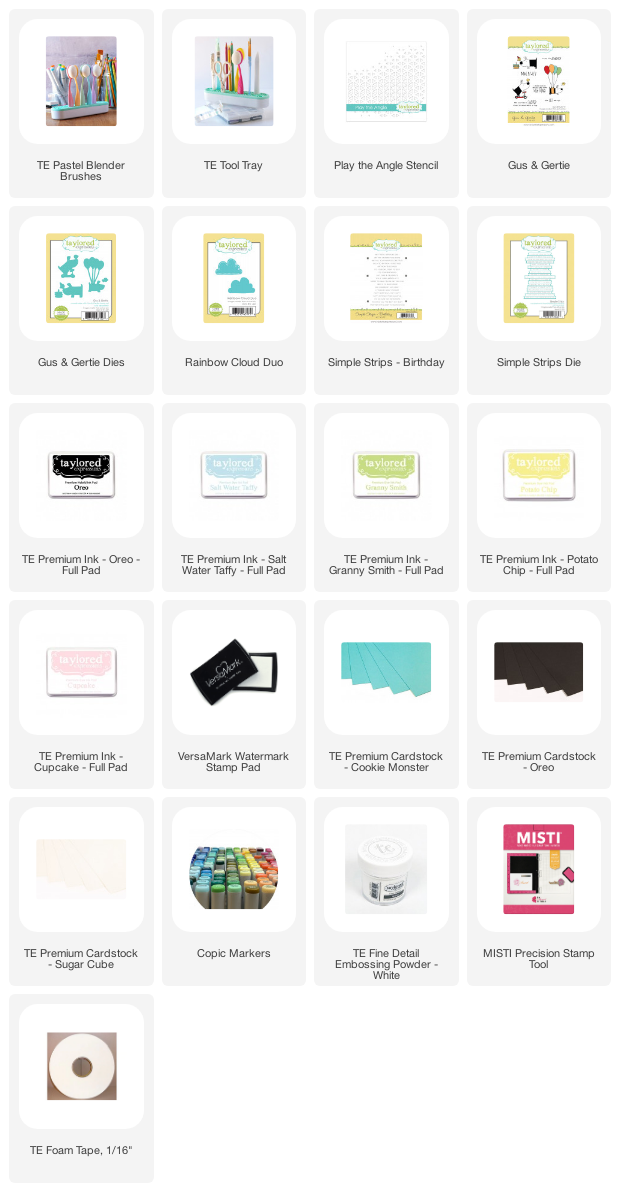
My next card features the new Play the Angles Stencil. On this background I used Potato Chip, Granny Smith, Cupcake, and Salt Water Taffy Ink. I die cut the clouds with the Rainbow Cloud Duo Die and blended Salt Water Taffy Ink on edges of the clouds. 


The cute stamped images are from the Gus & Gertie Stamp Set, stamped in Oreo Ink and colored with Copic Markers. I used a white gel pen to add details to the doggie sweater and the balloons. The sentiment is from the Simple Strips - Birthday Stamp Set and die cut with the Simple Strips Die. 


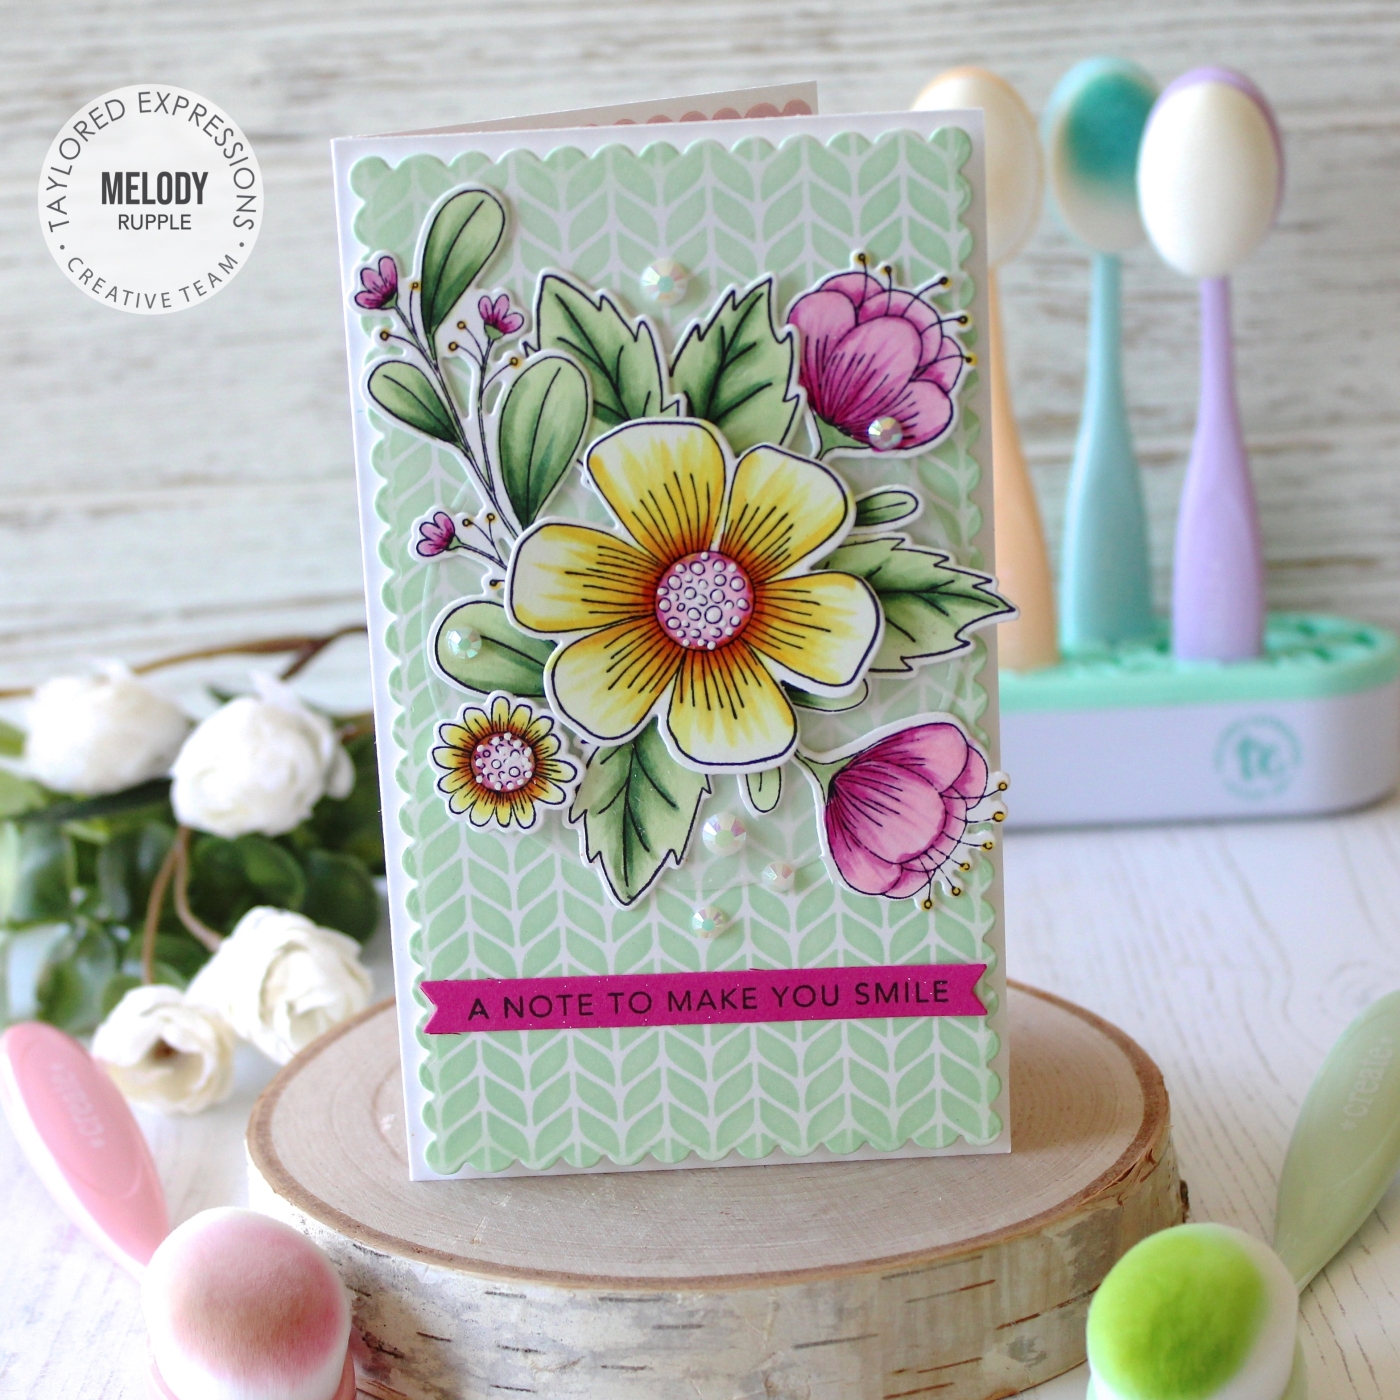
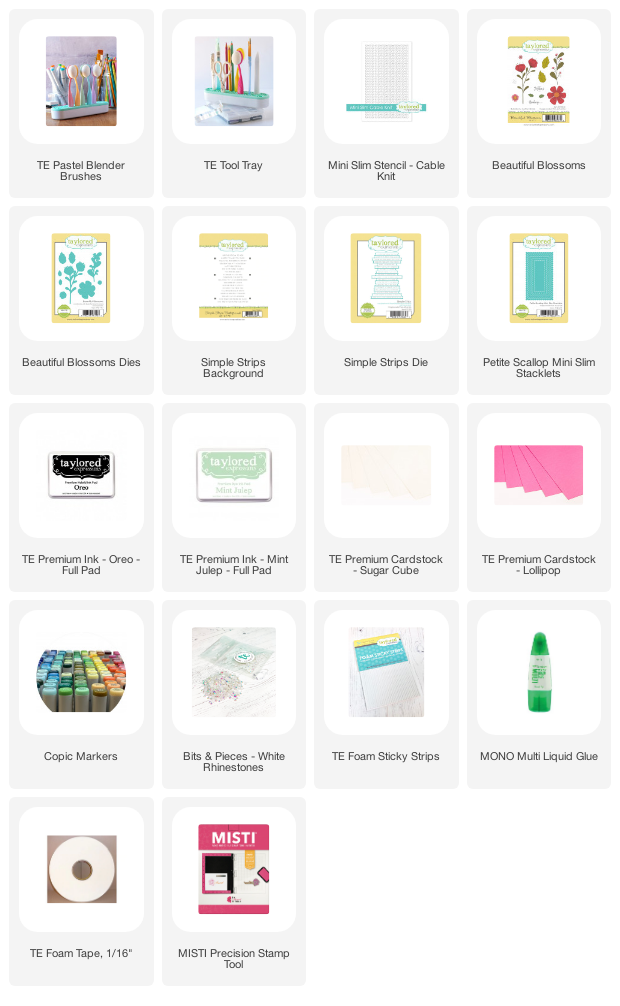
There are three new Mini Slim Stencils in the stencil release. For this card I used the Cable Knit Mini Slim Stencil. I cut a panel of Sugar Cube Cardstock with the largest die in Petite Scallop Mini Slim Stacklets. Then I stenciled with Mint Julep Ink. 


My flowers and leaves are from the Beautiful Blossoms Stamp Set and die cut with the Beautiful Blossoms Dies. The sentiment is included in the Simple Strips Background Stamp and die cut with the Simple Strips Die. I also added a few Bits & Pieces - White Rhinestones. 


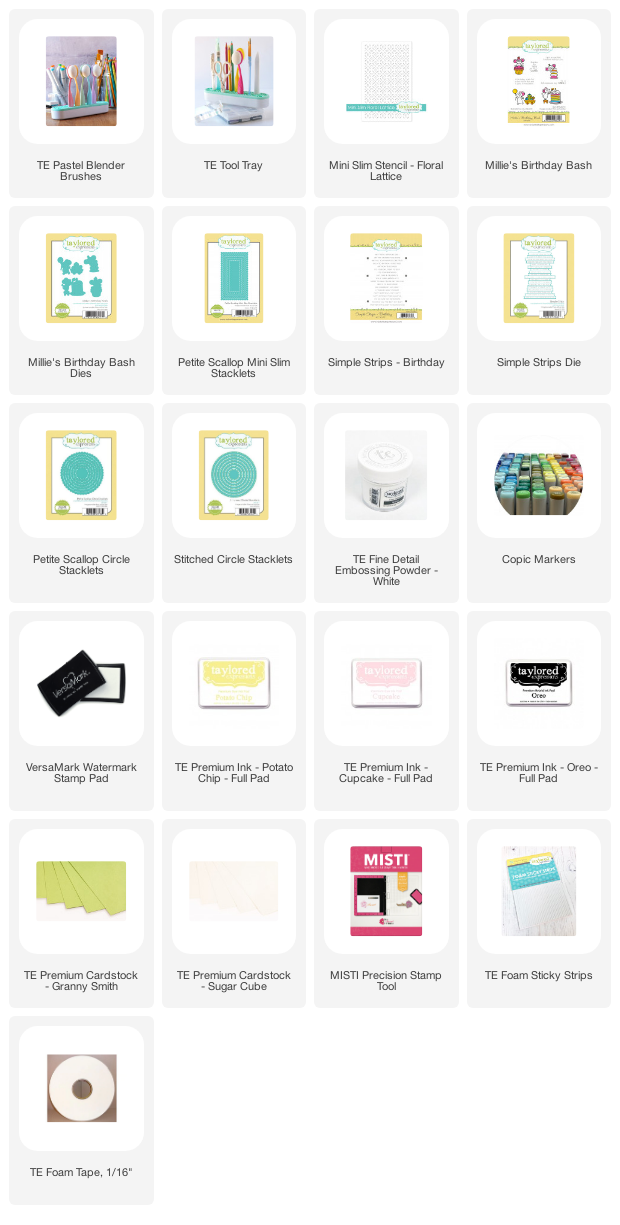
Last up is a look at the new Mini Slim Stencil - Floral Lattice. I cut a panel of Sugar Cube Cardstock with the largest die in Petite Scallop Mini Slim Stacklets. Then I stenciled with Cupcake Ink. I used an image from the Millie's Birthday Bash Stamp Set and die cut with the coordinating Millie's Birthday Bash Dies. 


I attached the stamped images with foam tape to a circle that was die cut with the Stitched Circle Stacklets and matted with the Petite Scallop Circle Stacklets. The sentiment is from the Millie's Birthday Bash Stamp Set. 

All the new products are available now in the TE Shop. Stop by the TE Blog for all the details and more inspirations with the new products! 

10/19/20

One last Halloween Card!

Hi! I have one more Halloween card to share and then I am moving on to Thanksgiving and few more Christmas projects. Today's card is a slim line card created with the Halloween Friends Stamp Set from Pretty Pink Posh

I have really enjoyed creating scenes lately and decided a Halloween night theme. I stamped all the images in black ink and colored with Copic Markers. Then I die cut cut everything with the Trick or Treat Friends Coordinating Dies. See links below. 

To create the night sky I blended Wild Honey, Seedless Preserves, and Black Soot Distress Ink. Next I spritzed the paper lightly with water and splattered water down gold paint. I added the grass with the Stitched Borders I Dies. 

I die cut two Spooky Fence Dies from black Cardstock and cut the to fit the slim line card. I finished off the card by adding a few sequins from the Metallic Gold Confetti Mix. 

Have a good week! I will be back tomorrow with another project I am pretty excited about!! 


10/15/20

The New Ink to Paper October Release!

 Hi All! I am just popping in to let you know that the new October Release from Ink to Paper is available now!! I had so much fun creating the projects I have shared with you over the last week. It is hard to pick a favorite! You can find all the new products here

I have one more project to share today. The Bag-It: Holiday Stamps creates the cutest packaging for giving treats or small gifts this holiday season. 


This bag was quick and easy to create. The window stamp fits perfectly around the window of the Kraft bag. Then I stamped the sentiment and the holly, accenting the berries with white gel pen. 


You can dress up the bag as little or as much as you want. Here I used the stamp in the new Ornament Greetings Stamp Set along with the coordinating Ornament Greetings Dies. I stamped the Holly Leaves with the new Corner It: Holly Stamp Set and die cut with the Corner It: Holly Dies. Love the way all the stamp set work together. 


The stamp set work perfectly with a smaller Kraft window bag too. 


I just chose ribbon I had in my stash and attached the tag with a clothespin. 


The bags would be easy to mass produce! 

I hope you enjoyed getting a peek at all the new products. You can go shopping here!


10/14/20

The Final Day of the Ink to Paper October Release Countdown

I am back today with one more look at some of the new products from the Ink to Paper October Release. Everything will be available for purchase beginning at 10 PM EDT tomorrow, October 15th!


I used a combination of the new Leaves in Fall Stamp Set and Dies and the Feather Friends 5 Dies. I stamped the leaves in Olive Ink and attached the leaves to the panel I cut for the center of the card. Then I splattered watered down gold paint on the leaves. 


The frame is die cut with the Border Bling - Joy Die. To highlight the frame I added a piece of cardstock sponged with Aqua Mist Ink behind the frame. The sentiment is included in the Leaves in Fall Stamp Set. I stamped with Versamark Ink and embossed with gold embossing powder. 


Here's look at the Feather Friends 5 Dies assembled. I cut all the pieces from white cardstock and used Distress Inks to add the colors.


I love making banners. I hang them on my fireplace or they make great handmade gifts for friends and family. I used the new In Stitches - Banner Die to create the five bases for the banner. 


The letters are die cut with the Merry Alphabet Dies. I glued each letter to a circle of white cardstock and then used foam tape to attach to the center of each banner. 


I embellished each letter with the new Folky Holiday Stamps and Dies. The snowflakes are from the Starflakes Dies

Thanks for taking a look! I will be back tomorrow with one more project. Stop by the Papertrey Blog for more more inspiration with the new products.


10/13/20

Holiday Treats - Ink to Paper October Release Countdown

Hi and welcome to Day 3 of the Ink to Paper October Release Countdown! I have two more projects to share with you, including a cute idea for giving holiday treats!  Everything will be available for purchase beginning at 10 PM EDT on October 15th!


I love images of little houses and the new Holiday House Stamp Set and Dies melts my heart! This is such a cute way to give a sweet treat for the Holidays. The Tent Style Packaging Holiday House Die creates the base of the house. I cut the die twice from Stampers Select White Cardstock and stenciled the front panel with a brick stencil. 


Next I stamped and die cut the house embellishments with the Tent House Packaging Holiday House Stamp Set and Dies. I decided it would be fun to add a checked roof. I love the detail of the stamp for the chimney. 


I added the window, door, and trees and trimmed the roof. 


Here is look at the house from the side. You see how there is room to tuck a treat, or a gift card, or other small gifts inside. 


My second card showcases the new Sweet Scenes Stamps and Dies and the Holiday Spirit Stamps, which I used to the stamp the background. 


I created the night sky by blending Blueprint Sketch, Chipped Sapphire, and Black Soot Distress Inks. Then I stamped the Big Dipper and the stars in Versamark Ink and embossed with gold embossing powder.  The mountains are stamped on Kraft cardstock with Versamark Ink and embossed with white embossing powder. 


I added the other elements to the scene and finished off with a sentiment from the new Corner It Holly Stampers Set .  

Thanks for taking a look! I will be back tomorrow for Day 3 of sneak peeks. Stop by the Papertrey Blog for more more inspiration with the new products.

10/12/20

Ink to Paper October Release Count Down Day 2

Hi Everyone! I am back today with another sneak peep of the Ink to Paper Company October Release. I have two more projects to share. Everything will be available for purchase beginning at 10 PM EDT on October 15th!


My first card is created with the Joyous Holiday Stamp Set and Dies. All the images and dies you see on my card are included in the stamp or die set. I love the idea of being able to create the twig wreath. I will those dies throughout the year. 


The birds are colored with Copic Markers. I die cut a circle from Stampers Select White Cardstock and blended Speckled Egg and Peeled Paint Diestress Ink. 


The card front background is stamped with the Brushed Plaid Stamp Set. I finished off the card by wrapping twine around the card and adding a bow at the top. 


My second card showcases the Ornament Greetings Stamp Set. To create the ornaments I cut the ornaments from white cardstock and then added the gold designs by stamping in Versamark Ink and embossing with gold embossing powder.Then I blended ink over the gold designs. I used gold foil to add the tops to the ornaments. 


The pine branches are from the Tree Essentials Stamp Set and die cut with the Tree Essentials Dies. I cut the frame with the Border Bling Skinny Stitched Frame Die. Behind the frame I added vellum and Aqua Mist Cardstock. 

Thanks for taking a look! I will be back tomorrow for Day 2 of sneak peeks. Stop by the Papertrey Blog for more more inspiration with the new products.


10/11/20

Ink to Paper October Release Sneak Peeks

Thanks for stopping by today! Today is Day 1 of the Ink to Paper Sneak Peeks and I am excited to share that I am joining the Ink to Paper/Papertrey Ink Design Team. I have been a huge fan of Papertrey Ink since I first started stamping and am honored to get the opportunity to design for the company! I have two projects to share today to kick off my sneak peeks!  Everything will be available for purchase beginning at 10 PM EDT on October 15th!


How cute are these stacked coffee mugs! This card is created with the Festive Mugs Stamp Set and Festive Mugs Dies


I stamped the mugs one on top of each other and then die cut the stack with the Festive Mugs Die. Next I stamped some of the leaves and the flowers in the stamp set, die cut, and added the foliage to the mugs with foam dots for extra dimension. 


I added the candy cane to the top mug and added a bow with twine. 


To add to the winter feel I die cut snowflakes with the Starflakes Dies and tucked them under the mugs. I finished off the card with a few white rhinestones. 


Next up is the Home Door Decor Stamps and Dies. I stamped the door in Spring Rain Ink and the accents in Enchanted Evening Ink. I added a wreath and snow to the bottom of the door.


I continued to build the scene by adding plants to each side of the door and stamping a house number. At the bottom added a wood porch with the new Woodwork Dies


I added a sentiment from the stamp set, stamping with Versamark Ink and embossing with silver embossing powder. Once I had the card front put together I lightly splashed white paint over the scene I created. The final touch is a few silver rhinestones. 

Thanks for taking a look! I will be back tomorrow for Day 2 of sneak peeks. Stop by the Papertrey Blog for more more inspiration with the new products.


10/7/20

Spellbinders October Large Die of the Month Club

Hi Friends! Today I am sharing a project I made with the October Large Die of the Month Club from Spellbinders. This months die is Always Welcome, perfect for creating card throughout the year.

Join the Large Die of the Month Club and receive an expertly designed die set each month, complete with inspiration. Plus, members get store savings, extra deals, gifts, and more. Click Here to learn more about club membership. 

Membership Includes:

Exclusive Larger Set of Versatile Dies that cut, emboss, deboss and stencil. Double the size of the Small Die Set! $40 Value!

Project Inspiration: Each kit will feature project ideas with at least one detailed how-to instruction tutorial each month.

Member Benefits & Savings: Receive exclusive member pricing in the Spellbinders store. Plus receive access to deals, savings, and gifts - only available to members.


I went with a Christmas theme for this card but you could change up the decorations and colors to use this die throughout the year. I cut a piece of white cardstock to fit the card front and the stenciled bricks lightly in the background with Antique Linen Distress Ink. 

Next I cut all the pieces for the front door from Kraft cardstock and starting assembling the door per the instructions that come with the die. 

I added gold accents with gold cardstock. I added vellum behind the door window. Then I added the porch and welcome mat. The door does open if you want to add a sentiment inside. 

Thanks for taking a look. You can find all the information about the Large Die of the Month Club here