9/29/20

Hey There - A New Kit from Taylored Expressions

Hi All! Taylored Expressions is releasing a new kit today and it the perfect way to send hugs and good vibes through the mail to the special people in your life. The kit is built around happy colors and happy sentiments and is available now in the TE Store


I have two cards to share with you today 


The envelopes and envelope seals are all included in the kit. 


Here is look at my first card. I cut a piece of white cardstock for the card front. I stencil clouds in the background with the Set the Scene - Clouds Stencil which can be purchased separately. Next I used the Dotty Ray Stencil, included in the kit, with Confetti Cake, Potato Chip, Granny Smith, and Blue Raspberry Ink. I created the "Hey There" sentiment with the Hey There Stamp and Stencil Combo, also part of the kit. 


I added a sentiment from kit stamp set, Good Vibes. I love the fonts in this stamp set! I finished off the card with a few Pieces & Pieces - White Rhinestones, sold seperately. See links below. 


I created my background on my second card with the Hey There Sunshine Stencil from the kit, blending Potato Chip and Pineapple Ink.  


The sentiment is stamped and stenciled with the Hey There Stamp and Stencil Combo with Lollipop, Lime Zest, and Confetti Cake Ink. The I die cut with the Hey There Die included in the kit. 


The sentiment is another great one from the Good Vibes Stamp Set. 


Stop by the TE blog for all the details on the kit and more inspiration from the rest of the design team. Thanks for stopping by! 

9/25/20

Merry & Bright

 Hi and happy Friday! Today I have another card to share from the new Ink to Paper Christmas Release. 


This card is created with the Tree Essentials Stamp Set, the Tree Essentials Die, and the On the Border: Fir Branches Die. 


I started by creating the card front. First I cut a piece of white cardstock and blending Aqua Mist Ink on the background. Next I die cut the Fir Branches Die from white cardstock and blended a mix of green inks. I attached the fir branches to the card front and splattered white paint to give the feel of fallen snow. 


I decided on a mix of white, gold, aqua and green.  I stamped  the ornaments, tops, and strings from the Tree Essentials Stamp Set in Versamark Ink and embossed with gold embossing powder. I hung the ornaments from the branches and finished off the card with a few sequins. 

Thanks for stopping by and have a good weekend! 


9/22/20

A Fall Release from Taylored Expressions

Hi Everyone! Today Taylored Expressions is releasing some new Fall themed products! This release includes 6 new products – two new Stamp & Stencil Combo sets, a new handlettered sentiment set with coordinating dies, a Thanksgiving themed addition to our Tag Team collection, and a mini kit to create the cutest felt pumpkin pouches.


First up is a card I created with the new Modern Tree Stamp and Stencil Combo. The Modern Tree is perfect for fall but could be used throughout the year by simple changing the color of the leaves. I stamped the tree trunk in Mocha Ink on Buttercream Cardstock. 

Next I layered the stencils over the stamped tree and stenciled the leaves in three different color, Sweet Basil, Cherry Pop, and Pumpkin. 


The sentiment is included in the stamp set. I stamped in Versamark Ink and embossed with Gold Embossing Powder. I lightly splattered gold paint on the background. The card front is die cut with Stitched Rectangle Stacklets and matted with the Petite Scallop Rectangle Stacklet. 


I created these cute pumpkin pouches with the TE Project Kit - Felt Pumpkin Pouch. The kit includes the a circle of felt, with the holes already punched out, felt leaves, and the twine. The pumpkin pouches are easy to create. Here I added tags, but I love the idea of creating tags with names and using the pumpkins as place cards on the Thanksgiving dinner table. 


I created the tags with the Tag Team - Thanksgiving and the Tag Team Dies. The Tag Team Dies cut the holes at the top of the tag and then I added twine to the top of each tag. 


Tomorrow through Sunday, September 27th (or while supplies last) get the Modern Tree Stamp & Stencil Combo set for only $30 – you save $5 off the regular retail price!

Thanks for stopping by! Stop by the TE Blog for all the details and more inspiration.


9/15/20

Ink to Paper September Release!

Hi All! I am thrilled to be a Guest Designer for Ink to Paper this month!! The release if full of Holiday and Winter Themed Products. I had so much fun playing with all the new stamps and dies. I am excited to share my projects with you. 

Today I have two Christmas cards I created with the new The Joy of Noel Stamp Set and The Joy of Noel Dies. I just love the woodgrain option for the letters! 


The woodgrain letters are created in two steps. First I stamped the solid J and Y in red ink. Then I placed the woodgrain J and Y stamps over the red and stamped with Versamark Ink and embossed with white embossing powder. I completed the same process for the star and then stamped in wreath. 

The branches and sentiment are from another new stamp set, the Tree Essentials Stamps and Dies


To created the card front I stamped the new Brushed Plaid Background Stamp in red ink on red cardstock. On the bottom half I added a strip of Kraft cardstock and stamped the sentiment from the Tree Essentials Stamp Set. I lightly splattered white paint on the card front and finished off the card with a few sequins. 


On my second card I used the Noel Letters. I like this fun arrangement of the letters. 


I attached the letters to a circle of cardstock with foam tape and slipped the evergreen branches from the Tree Essentials Stamp Set under the letters. 


The Kraft panel is stamped with the Brushed Plaid Background. The sentiment is stamped on vellum and wrapped around the card. The sentiment is from the new Winter Wonder Stamp Set. I'll have a card to share with that stamp set soon! 

You can find all the new products here. I will be sharing more projects over the next few day. Thanks for stopping by! 


9/9/20

Spellbinders September Large Die of the Month - Have Your Cake!

Today a have two birthday cards to share with you that I created with the Spellbinders Large Die of the Month, Have Your Cake

Join the Large Die of the Month Club and receive an expertly designed die set each month, complete with inspiration. Plus, members get store savings, extra deals, gifts, and more. Click Here to learn more about club membership. 

Membership Includes:

Exclusive Larger Set of Versatile Dies that cut, emboss, deboss and stencil. Double the size of the Small Die Set! $40 Value!

Project Inspiration: Each kit will feature project ideas with at least one detailed how-to instruction tutorial each month.

Member Benefits & Savings: Receive exclusive member pricing in the Spellbinders store. Plus receive access to deals, savings, and gifts - only available to members.


For my first card I went with a strawberry cake! All the dies are included in the Spellbinders Large Die of the Month, Have Your Cake that I used to create both card. I cut all the frosting from white Cardstock and blended TE Cupcake Ink to add the color. 


I added the strawberries and the candle and then added the cake to patterned paper. On the pink card front I stamped sprinkles with the Sprinkles Stamp Set which is a EXTRA BONUS for VIP Value Club Members in September. Get a "Sprinkles" Clear Stamp Set with your VIP Value Club membership. Coordinates perfectly with the Large Die Kit of the Month Set!


My second card shows the other sentiment for the cake you can create. Here I made each layer of the card a different color. I also added a few jewels to the cake. 


I created the background by stamping the confetti in four different ink colors and added a candle at the top. 

Thanks for taking a look. You can find all the information about the Large Die of the Month Club here

9/8/20

Happy 12th Birthday Taylored Expressions!!!

Today we are celebrating Taylored Expressions 12th Birthday! We are releasing 18 new products with a birthday theme! All the new products are available now in the TE webstore. 

I have four projects to share with you showcasing many of the new products. Let's get started! 


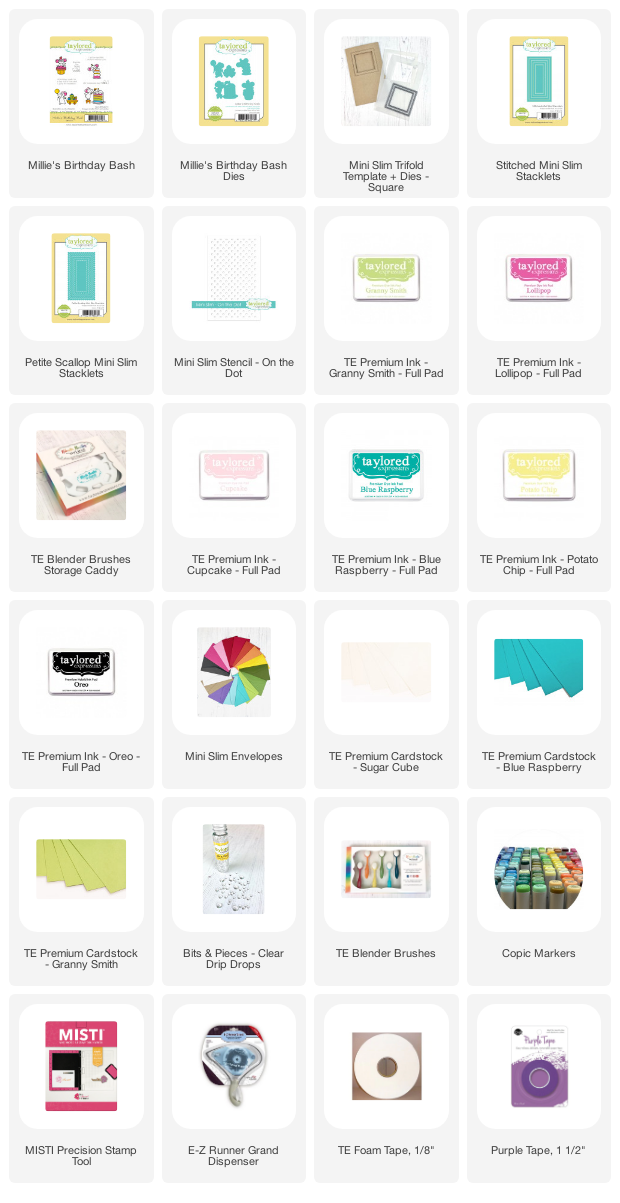
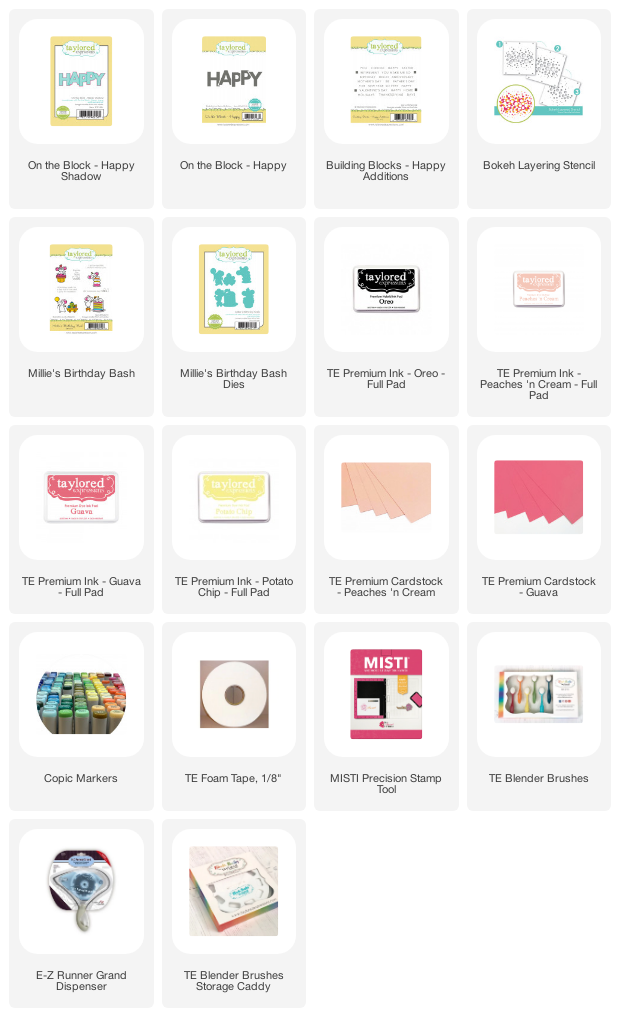
First up is a Mini Slim Card featuring Millie's Birthday Bash. I used the Slim Line Stencil - On the Dot with Sugar Cube Cardstock and Potato Chip, Lollipop, Lime Zest, and Blue Raspberry Ink to created the background. I die cut the card front with the Stitched Mini Slim Stacklets and the Petite Scallop Mini Slim Stacklets. Then I used the Mini Fold Trifold Template and Dies to cut the windows in the card front. 


The sentiment is from the Millie's Birthday Bash Stamp Set and Millie is colored with Copic Markers. 


Here is look at the inside. I stenciled the square with Lime Zest and Cupcake Ink. I added a few Bits & Pieces - Clear Drip Dots and another sentiment from the Millie's Birthday Bash Stamp Set. 


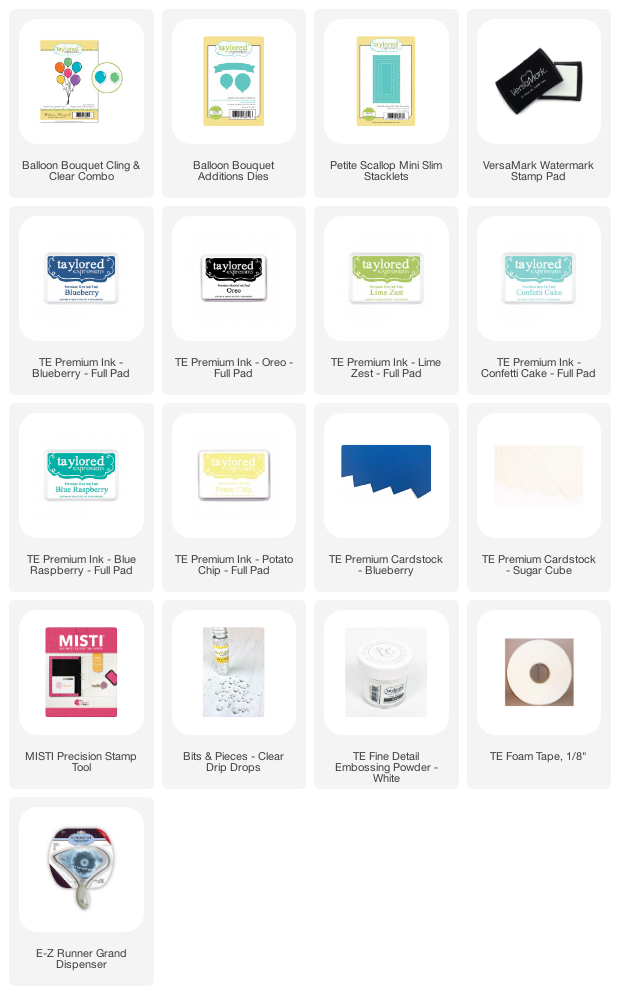
Next up is a look at the Balloon Bouquet Clear & Cling Stamp Set, Balloon Bouquet Additions Stamped Set, and the Balloon Bouquet Addition Dies. 


I die cut a panel for the card front with the Petite Scallop Mini Slim Stacklets and then I stamped the Balloon Bouquet in Oreo Ink. I stamped the balloons in a variety of solids and patterns with the Balloon Bouquet Clear & Cling Stamp Set and the Balloon Bouquet Additions Stamped Set. I used Potato Chip, Lime Zest, Confetti Cake, Blue Raspberry, and Blueberry Ink. 


The sentiment and banner are included in the Balloon Bouquet Additions Stamped Set. I stamped in Versamark Ink and embossed with TE White Embossing Powder. I finished off the card with a few  Bits & Pieces - Clear Drip Dots. 


Next up is a look at the new On the Block - Happy Stamp Set, On the Block - Happy Shadow DieBuilding Blocks - Happy Additions Stamp and the Bokeh Layering Stencil.

Let's start with the background. I love the new Bokeh Layering Stencil! This is a set of three stencils that layer on top of each other. I used Potato Chip, Peaches n' Cream, and Guava Ink with my TE Blender Brushes. 


I stamped the On the Block - Happy Stamp in Guava Ink on Peaches n' Cream Cardstock and then die cut with the On the Block - Happy Shadow Die. I added Hello with the Build Blocks - Happy Additions Stamp Set and die cut with Building Blocks Die. 

I used the Millie's Birthday Bash Stamp Set and Dies to add the stamped image. 


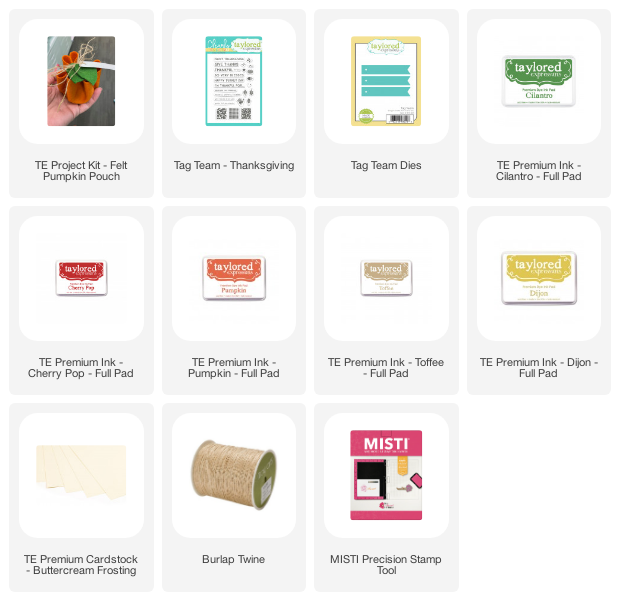
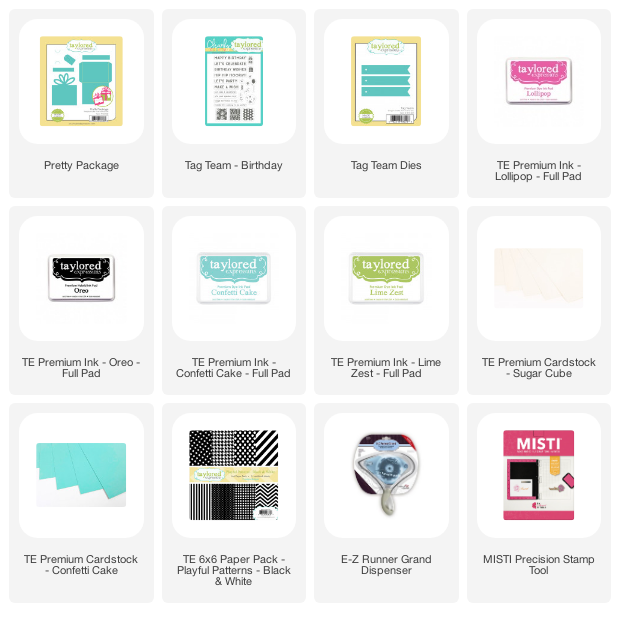
And last but not least is the new Pretty Package Die. The die is perfect for birthdays and will also be perfect for the holiday season! 


I created the set of tags with the Tag Team Birthday Stamp Set and the Tag Team Dies. Makes giving a gift card extra special! 

Tomorrow through Sunday, September 13th you can also get our 12th Birthday Bundle for only $62. The 12th Birthday Bundle includes:

  • Bokeh Layering Stencil
  • Building Blocks – Happy Additions
  • On the Block – Happy
  • On the Block – Happy Shadow
  • On Repeat – Birthday
  • On Repeat Die
Stop by the TE Blog and wish Taylor a happy TE Birthday! You will find more inspiration and link to all the designers sharing projects today.