3/28/18

Friends Make Everything Better

Hi Everyone!  I have a project to share created with the Cherry Blossoms Stamp Set and the Cherry Blossoms Coordinating Dies. I was so excited when Pretty Pink Posh added flowers to their product line and the new Cherry Blossoms are definitely a favorite.


Let's start out by talking about the card front. I used the new Stacked Edges 2 Die. There are three dies in the die set and I am using the v shaped die for inspiration for the layout. I cut the die twice, once from white cardstock and again from black cardstock. I layered the die cuts in the middle of card, adding white cardstock at the top and a patterned paper on the bottom. 


At the top of the card I stamped a sentiment from the Encouraging Greetings Stamp Set in black ink. Next I stamped the flowers and leaves on watercolor paper in white pigment ink and embossed with white embossing powder. The flowers are watercolored with Zig Clean Color Real Brushes.


When the flowers were dry, I die cut with the Cherry Blossoms Coordinating Dies. Once I was happy with the placement of the flowers and leaves I added them to the card front with glue and foam tape. In the center of each flower I added a Watermelon Jewels

I love how this card came together and I hope you do too. Thanks for joining me today! 


3/23/18

Beautiful Cherry Blooms

Hi Everyone and Happy Friday! I wanted to share a card I created with the Cherry Blossoms Stamp Set from Pretty Pink Posh. I love the modern, contemporary feel of these florals.


I stamped the flowers and leaves on watercolor paper in gold ink and embossed with gold embossing powder. I used Daniel Smith Watercolor paints to color the flowers. Then I die cut the stamped images with the Cherry Blossoms Coordinating Dies. The sentiment is also embossed and stamped with the Encouraging Greetings Stamp Set

I cut the vertical border with the new Stacked Edges 2 Die from gold foil. In the center of each flower I added new Watermelon Jewels

Thanks for stopping! Hope you have a great weekend with a little time to create something pretty! 


3/22/18

Hello Friend

Hi Everyone! I am popping in today with a card I created with products from Taylored Expressions. I used a few of my new Distress Oxide Inks in pretty spring colors. We are getting another round of rain and colder weather but I think spring must be around the corner!


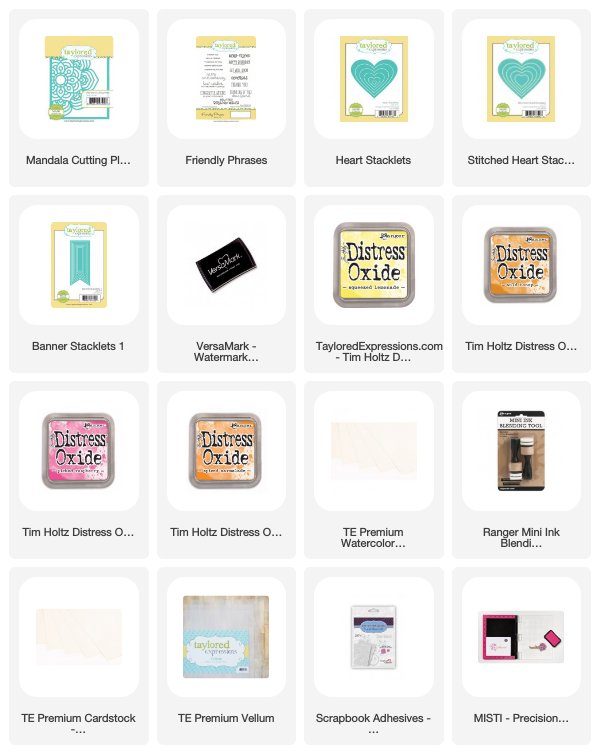
I die cut the frame with the Mandala Cutting Plate. I think this is one of my all time favorite cutting plates! I cut the plate from Sugar Cube Cardstock and then cut a piece of watercolor paper to fit behind the frame. To create the background I used a blending tool to blend the Oxide Distress Inks in Squeezed Lemonade, Wild Honey, Spiced Marmalade, and Picked Raspberry.When I was happy with the blend of colors I splattered the paper with white paint. 


I cut the hearts with the Heart Stacklets and Stitched Heart Stacklets. The sentiment is from the Friendly Phrases Stamp Set, stamped on Vellum and die cut with the Banner Stacklets 1.

Thanks for taking a look! 

3/21/18

Enjoy Gift Card Holder

Hi! I am up on the Maya Road Inspiration Blog today. You can find all the details and links to Maya Road products HERE.


Have a good day!


3/19/18

Something Wonderful

Hi and thanks for stopping by! I finally got a chance to play with this beautiful stamp set from Reverse Confetti, Something Wonderful. I love the sentiment! I am using this month's SFYTT for inspiration.


I started by creating by background. I cut a piece of watercolor paper for the card front and randomly stamped the flower from the stamp set, leaving a space in the center for the sentiment, in Versamark Ink and embossed with white embossing powder. Next I used Oxide Distress Inks in Sage and Worn Lipstick to added the color over the embossing. 


I stamped the sentiment and the flower in Versamark Ink and embossed with gold embossing powder. The flower is die cut with the Something Wonderful Confetti Cuts.  Next I used the Hello & Thanks Label Confetti Cuts to cut out the center of the card front. I added foam tape behind the card front to add depth and then inlayed the center back in the card. I finished off the card with a few sequins from the Marshmallow Confetti Mix from Pretty Pink Posh

Well I off to work! Have a good week. 


3/16/18

Happy Easter Shaker Eggs

Hi Everyone! Happy Weekend! It is cold and rainy here in San Diego but I am looking forward to a couple of days off. So even though it make feel like winter I have a "Happy Spring" card to share with you today created with some fun, spring products from Pretty Pink Posh.


How cute are these Decorative Eggs Dies! For this card I decided to create little shakers for the center piece of the card. Inside the eggs I dropped in jewels in Pansy PurpleLemon Drop, and Pink Blush. I love these jewels. They are SO pretty in person. 


I cut the hill with the Scallop Borders 2 Dies and stamped the sentiment from the Bunny Friends Stamp Set in white ink and embossed with white embossing powder. Then I sponged in Distress Ink in Twisted Citron. The flowers are leaves are also stamped with the Bunny Friends Stamp Set and die cut with the Bunny Friends Coordinating Dies

Thanks for stopping by and have a great weekend! 


3/14/18

Daisy Happy Birthday

Hi Everyone! I am popping in today with a pretty, spring birthday card created with the Big Bloom - Daisy Stamp Set. from Taylored Expressions. I have really depleted by birthday card stash so! I need to work on that. I really like having them ready when I need them.


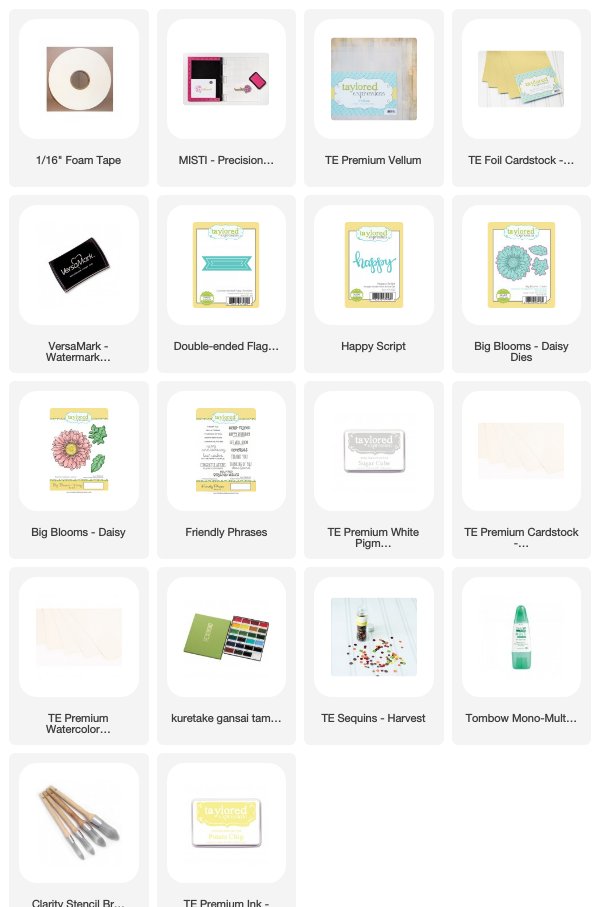
To create the background I cut a piece of Sugar Cube cardstock for the card front. Then I used a Clarity Stencil Brush to add Potato Chip Ink. Next I splattered the paper with watered down gold paint. I stamped the daisy and leaves on watercolor paper with Sugar Cube Ink and embossed with white embossing powder. 


I watercolored the images, let me dry, and die cut with the Big Blooms Daisy Die. I die cut the word "happy" with the Happy Script Die Set from TE Foil Cardstock in Gold. The word "birthday" is from the Friendly Phrases Stamp Set. I stamped on vellum with Versamark Ink and then embossed with Gold Embossing Powder. The sentiment is die cut with the Double-ended Flag Stacklet Die Set. I finished off the card with a few gold sequins. 

Thanks for stopping by!

3/9/18

Pretty Pink Posh March Release Blog Hop - Happy Easter

Welcome to Day 2 of the Pretty Pink Posh March Release Blog Hop! Hop along for lots of inspiration and prizes!

Be sure to leave comments on each stop. Pretty Pink Posh giving away 4 $25 gift certificates to four random comments (2 winners each day) left before March 12, 2018 at 11:59 PM PST. The winners will be announced next week on the PPP Blog!


I have two spring cards to share today. My first card features the Happy Easter Shaker Die


I started by cutting the card front from watercolor paper and blending distress ink in Worn Lipstick, Wild Honey, and Squeezed Lemonade. Then I splattered the paper with white paint. Next I cut the Happy Easter Shaker Die directly into the card front. Behind the die cut I added clear acetate and foam to create the shaker and then dropped in a few of the new jewels being released in Pink Blush and Lemon Drop, along with a few sequins from the Sparkling Clear Confetti Mix.


The cute bunny and flowers are from the new Bunny Friends Stamp Set and die cut with the Bunny Friends Coordinating Dies. I added jewels to the center of the the flowers. These new jewels are SO pretty! 


On my second card I created a fun background with the new Stacked Edges 2 Die. There are three different borders in the set. I layered the borders on top of each to cover the card. 


I used the Bunny Friends Stamp Set again to create the bunnies and the flowers. They are colored with Copic Markers. I added Buttercream Jewels


I added the sentiment with the Happy Easter Script Die

Thanks for hopping along! Be sure to leave a comment for a chance to win! You can stop by the Pretty Pink Posh Blog for all the details! 

Here is the list of designers sharing projects for Day 2 of the Blog Hop: