11/26/20

A Pretty Christmas Wreath with Pretty Pink Posh

Hi All! Happy Thanksgiving! Just like everything else this year, Thanksgiving looks a little different this year. But I am thankful my family is healthy and have done okay in our new reality. And I am so thankful to have my creative outlet to help keep me sane! And I thank all of you who stop by my blog, follow me on Instagram, leave me sweet comments, and show me so much support! 

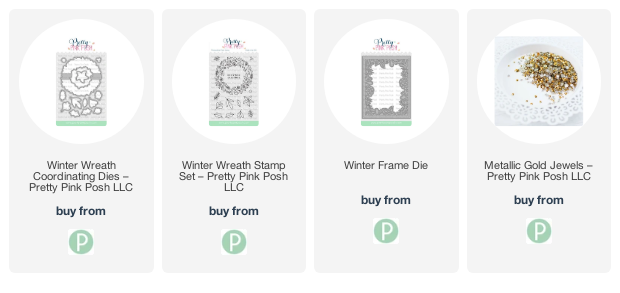
Today I have a Christmas card to share created with the Winter Wreath Stamp Set and Winter Wreath Coordinating Dies from Pretty Pink Posh. See links below. 

I colored the wreath and few flowers and foliage from the stamp set with Copic Markers and then die cut the images. Behind the wreath I added a circle of dark blue Cardstock. I stamped a sentiment from the stamp set in Versamark Ink and embossed with gold embossing powder. 


The frame is die cut with the Winter Frame Die. I die cut from white cardstock and then blended Peeled Paint and Olive Distress Inks. 

Behind the frame I add a piece of Vellum. Before I attached the wreath I splattered the vellum and the Frame with gold paint. Then I attached the wreath to the card front and added the additional flowers and foliage on the the left side of the wreath. I finished off with a few Metallic Gold Jewels. 

Thanks for taking look! 


11/25/20

25 Tags of Christmas Tags!

Hi and welcome the 25 Days of Christmas Tags 2020! Today is day 25 and it is time to the Pretty Pink Posh Design Team to share their Christmas Tags. There are a number of ways to win one of the great prizes, including leaving a comment on my blog post! Stop by Tracy's blog, In My Creative Opinion, for all the details. 


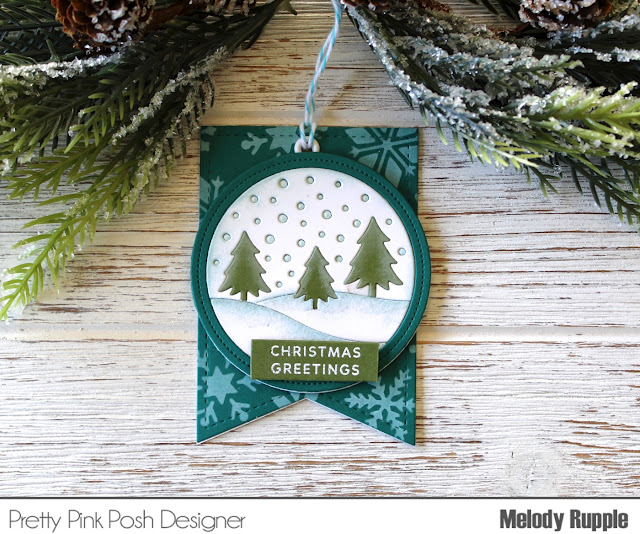
Here are my tags! 


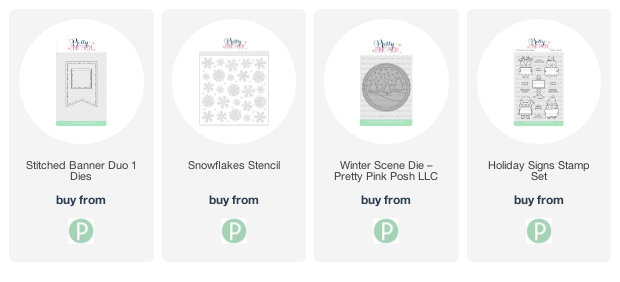
To cut the base of each tag I used the Stitched Banner Duo 1 Dies. See links below. I stenciled the background of each tag with the Snowflakes Stencil and white pigment ink. 


Next I created the scene on each tag with the Winter Scene Die. The die cuts each element in the scene. Just choose the colors of cardstock you want to work with, die cut, and inlay the pieces back in the circle. 

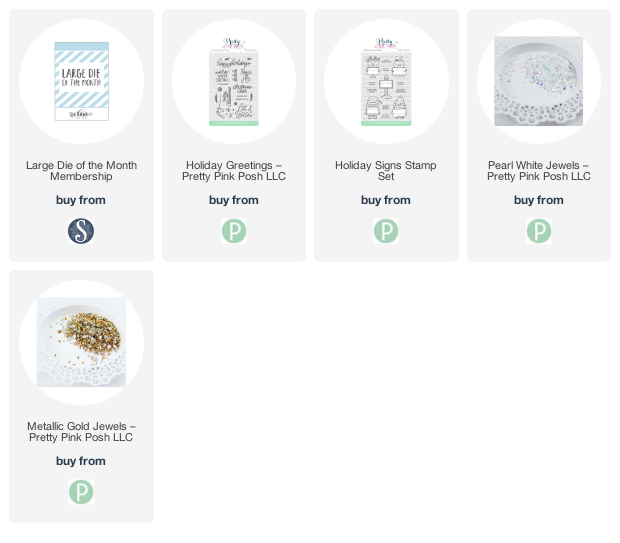
I added glitter to the tops of the snow drifts. The sentiment is from the Holiday Signs Stamp Set. I added an eyelet to the top of each tag and attached twine. 

Thanks for taking a look! Leave a comment for a chance to win! And stop by Tracy's Blog for all the details and the other Pretty Pink Posh Designers sharing tags today!! 


11/17/20

Snowman Candy Capsule from Taylored Expressions

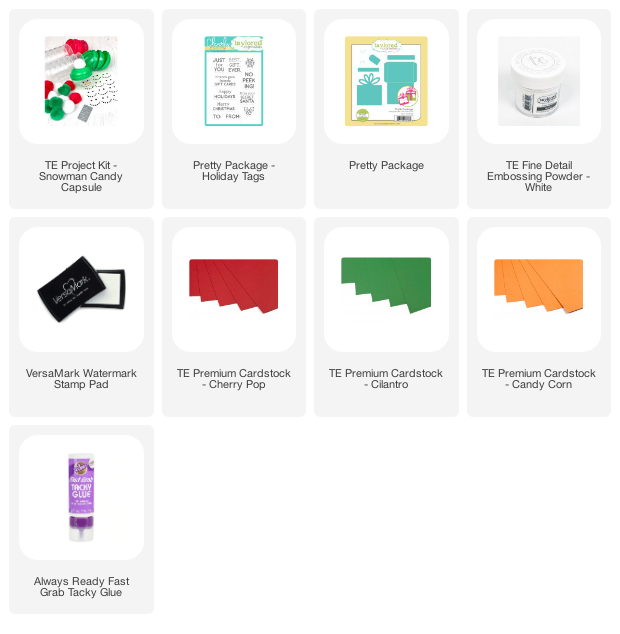
Hi all! Today Taylored Expressions is releasing a new TE Project Kit - Snowman Candy Capsule. You can  create cute little snowman candy capsules with pom-poms to finish up the top of their hat and a tiny carrot nose die to die cut from orange cardstock and adhere after applying the vinyl face sticker.


First I applied the black decals for the snowmen's faces. Next I die cut the noses from Candy Corn Cardstock and attached the nose to the capsule with glue, just holding it in place for a few seconds. Then I attached the pom moms to the top of each capsule with a glue gun. 

I filled my snowmen with peppermints, but you can use any candy of your choice. You could even put a small gift inside or some cash. If you decide you want to add more the detail you can add a tag. I used the tag die from the Pretty Package Die Set and stamped a sentiment from the Pretty Package - Holiday Tags. 

Stop by the TE Blog for all the details!! 


11/15/20

The New Ink to Paper November Release is Available Now!

It is Release Day at Ink to Paper! All the new products available now HERE. I popping in with one more card with the  new to release created with the Deer to Me Stamp and Die Set


The Deer to Me Stamp Set can be used throughout the year but today I created a holiday card. I stamped the deers on Kraft Cardstock in Versamark Ink and embossed in white embossing powder. I also stamped and die cut flowers and leaves from the stamp set. 


The deers are framed with Border Bling: Skinny Diagonals Frame Die. I added vellum and Aqua Mist cardstock behind the frame. I also die cut snowflakes with the Starflakes Dies from white cardstock. I slipped part of each snowflake under the vellum 


The card front is die cut with the Border Bing: Tin Stitch Die. The sentiment is from the Just Sentiments: Warmth Mini Stamp Set . I finished off with a few white jewels. 

Thanks for joining me this week for all the Sneak Peeks. You can find all the new products HERE

11/14/20

It's Day 4 of the Ink to Paper November Release!

Hi Everyone! I am back today for the last day of sneak peeks at the Ink to Paper November Release! There are Winter theme products that can also be used for the holiday, thoughtful get well products, and new products that can be used throughout the year. Everything will be available for purchase beginning at 10 PM EDT tomorrow, November 15th!


My first card features the new Abundant Blooms Stamp Set and Die. It's so pretty and I love the two layer stamping on the pitcher. I stamped the pitcher in Aqua Mist and Ocean Tides Ink. 


The flowers are stamped in Sweet Blush and Raspberry Fizz Ink. And then I tied twine on the handle of the pitcher. The frame is die cut with the largest die in the Border Bling: Skinny Diagonals Frame Die


Behind the frame I added a piece of patterned paper from the Bitty Big: Aqua Mist Color Collection. I added sentiment from the stamp set and added a piece of lace. 


My second card features the In Stitches: Candy Swirl Dies. I created a card but the die is perfect for ornaments and tags. 


The frame is die cut with the Border Bling: Joy Frame Die from Bitty Big: Scarlet Jewel Color Collection. I added the branches with stamp dies from the Tree Essentials Stamp Set


I used DMC embroidery floss to do the stitching. I decided on three strands. The sentiment is from the Joyous Holiday Stamp Set. 

I hope you have enjoyed a week of sneak peeks. You can shop at 10 PM EDT tomorrow HERE. 


11/13/20

Ink to Paper November Release Day 3

I am back again today with more sneak peeks of the Ink to Paper November Release Sneak Peeks. I have two more projects to share with the new products. Everything will be available for purchase beginning at 10 PM EDT on November 15th!


My first card features the new Vintage Lantern Stamp Set and Dies. Warmest wishes seems perfect of the winter season. 


Stamped the lantern and I love the detail of the two layer stamping. The flowers are colored with Copic Markers. The sentiment is from the stamp set. 


The background is die cut with the new Border Bling: Twinkle Die. I used Ocean Tides Cardstock for the frame. 


On my second card I stamped the bird with the new Feathered Friends 6 Mini Stamp Set and Dies. I added branches from the new Brighter Days Stamp Set and Dies that I showcased yesterday. 


The sentiment is from the new Just Sentiments: Together Stamp Set

I used the new Border Bling: Twinkle Die for my background on this card too. Used True Black Cardstock  and splattered white paint after I die cut. I finished off with a few sequins. 

Thanks for taking a look! I will be back tomorrow for Day 3 of sneak peeks. Stop by the Ink to Paper Blog for more more inspiration with the new products.

11/12/20

Ink to Paper November Release Sneak Peeks Day 2

Thanks for stopping by for Day 2 of the Ink to Paper November Release Sneak Peek! I have two projects to share today.  Everything will be available for purchase beginning at 10 PM EDT on November 15th!


The star of my first card is the new Feathered Friends 6 Dies. I die cut all the pieces for the bird from white cardstock and then blended distress inks to add the color. I used Speckled Egg for the body of the bird, Weathered Wood on the edges of the white cardstock and Mermaid Lagoon and Blueprint Sketch on the wing. The Branches are stamped in Ripe Avocado and are included in the new Brighter Days Stamp Set and Dies. 


I used the new Cover Plate: Ornate to die cut the pretty background. Behind the frame I added vellum and Ocean Tides Cardstock. 


The sentiments are included in the Brighter Days Stamp Set. To finish off the card I added a few white rhinestones. 


Here is a closer look at the new Brighter Days Stamp Set and Dies. I stamped three sets of the flowers and the stems, bunched them together, and then added the bow. 


The background is a blend of Blueberry Sky and New Leaf Inks. The sentiment is included with the stamp set. 


The background is created with the Border Bing: Tin Stitch Die and Lavender Moon Cardstock. 


On the inside I stamped a sentiment from the new Inside Greetings: Feel Better Stamp Set

Thanks for taking a look! I will be back tomorrow for Day 3 of sneak peeks. Stop by the Ink to Paper Blog for more more inspiration with the new products.


11/11/20

It's Time for a Peek at the Ink to Paper November Release!

Hi all!! Thanks of stopping by for Day 1 of sneak peeks at the Ink to Paper November Release! I have two projects to share today to kick off my sneak peeks!  Everything will be available for purchase beginning at 10 PM EDT on November 15th!


My first card features the Deer To Me Stamp Set and Dies. I love the artistic style of the deers. I stamped the legs in Dark Chocolate Ink, the body in Kraft Ink, then stamped the antlers in Versamark Ink and embossed with Gold Embossing Powder. 


I attached the deers to a rectangle background that is blended with Speckled Egg and Peeled Paint Distress Inks and splattered with gold paint. I stamped a variety of the flowers and leaves in the Deer to Me Stamp Set and die cut with the Deer to Me dies. 


I used the new Border Bling: Believe Dies to die cut the card front from Avocado Cardstock. I added Aqua Mist cardstock behind the die cuts in the corners. The sentiment from the stamp set is stamped on Vellum in Versamark Ink and embossed with Gold Embossing Powder. I layered the flowers around the sentiment and added a few gold jewels. 


My second card features the Winter Woodlands Stamp Set and Dies. I just love the scene it creates! First I cut a piece of white cardstock to fit the card front. I blended Distress Inks in Blueprint Sketch, Chipped Sapphire, and Black Soot to create the night sky. I spritzed the background with water and splattered white paint to add to the winter feel. 


The front trees are stamped in Versamark Ink on Kraft Cardstock and embossed with white embossing powder. The back trees are stamped on Royal Velvet Cardstock and embossed. I die cut the snow from White Glittered Cardstock and then added the lamp posts on each side. 


I love the option of adding the strings of lights at the top. I added a few sequins to the lights. I finished off with a sentiment from the Winter Woodlands Stamp Set.

Thanks for taking a look! I will be back tomorrow for Day 2 of sneak peeks. Stop by the Papertrey Blog for more more inspiration with the new products.

11/10/20

Spellbinder Large Die of the Month Club for November

Hi Friends! Today I am sharing a project I made with the November Large Die of the Month Club from Spellbinders. This months die is Merry Stitching. There are three switchable dies in the set, a snowflake, a tree, and a pretty border die. 

Join the Large Die of the Month Club and receive an expertly designed die set each month, complete with inspiration. Plus, members get store savings, extra deals, gifts, and more. Click Here to learn more about club membership. 

Membership Includes:

Exclusive Larger Set of Versatile Dies that cut, emboss, deboss and stencil. Double the size of the Small Die Set! $40 Value!

Project Inspiration: Each kit will feature project ideas with at least one detailed how-to instruction tutorial each month.

Member Benefits & Savings: Receive exclusive member pricing in the Spellbinders store. Plus receive access to deals, savings, and gifts - only available to members.


I cut the snowflake from white cardstock and stitched with DMC White Floss and Gold Thread. The Dies come with detailed instructions on how to do the stitching. The solid snowflake die backs the stitched snowflake. I used a gold glittered cardstock. I added white jewels to the snowflake.

To create the background I cut a piece of white cardstock to fit the card front and then die cut the snowflake a number of time. I added color with Speckled Egg Distress Ink. I added the flower with a die from a previous month. 


On my second card I used the tree and border dies. I added stitching to the tree but left the border unstitched. I backed the border with gold glittered cardstock and you see how pretty they look even without the stitching! 

I added gold jewels to the tree and used patterned paper behind the tree. 

Thanks for taking a look. You can find all the information about the Large Die of the Month Club here

Taylored Expressions's new Calendar Kit!

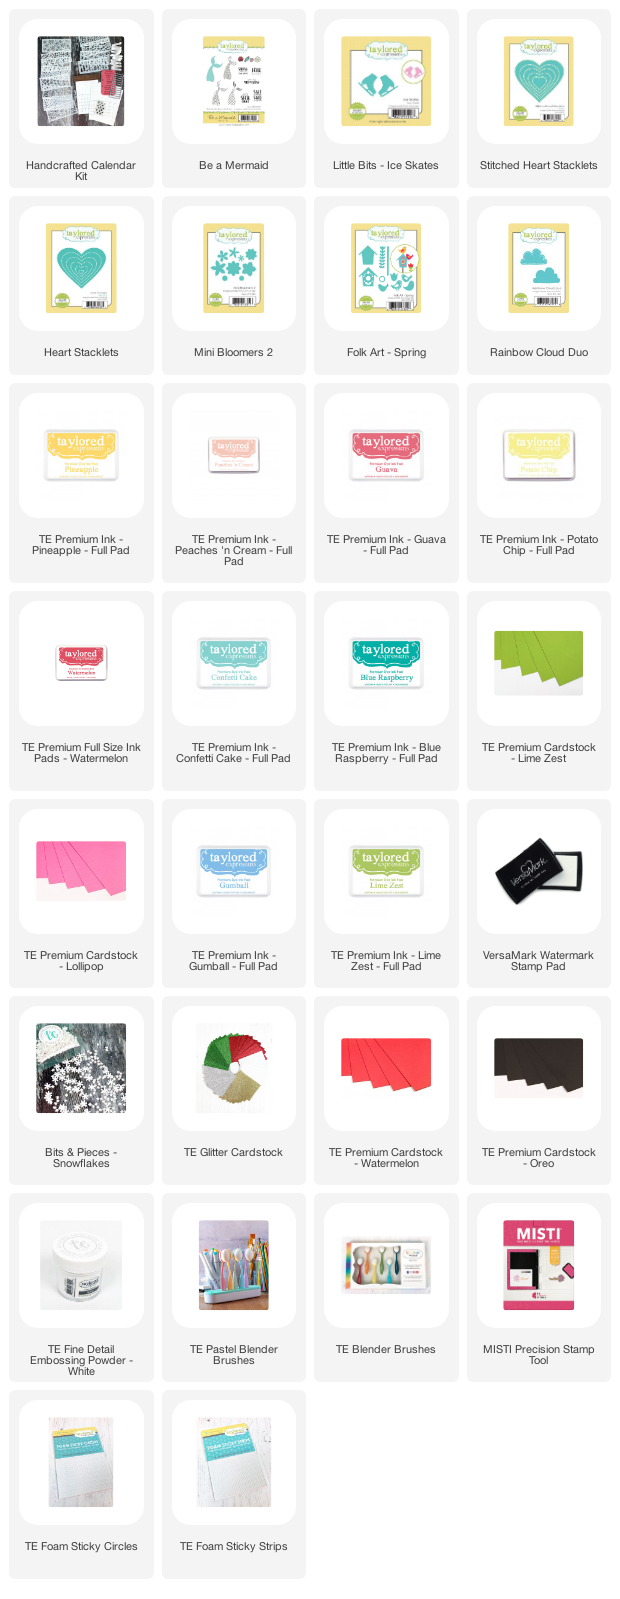
Hi! I am excited to sharing the latest kit from Taylored Expressions, The Handcrafted  Calendar Kit! The Kit is available now in the TE Store


Calendars are one of our favorite crafts to make, and one of our favorite gifts to give or receive. This year, we’re offering this exclusive Handcrafted Calendar Kit to help you get ready for 2021! It includes everything you need to make a customized 5″ x 8″ calendar designed to hang from a magnetic walnut wood hanger. It comes packaged in a plastic clamshell box with an exclusive kit sticker (perfect for gift-giving!), and includes:

  • Walnut Wood Hanger Frame (includes 12″ length of leather cord)
  • 5×8 2021 Dated Grid Calendar (12 individual 5″ x 8″ sheets printed on 100 lb. Sugar Cube cardstock)
  • Stencil Strips – Calendar (set of 12, numbered to correspond with the months of the year)
  • Group Text – Months stamp
  • Group Text Die
  • Clearly Crafty It’s a Date stamp set

Most items not available to purchase separately. Limited quantity available.

The items that are available to purchase separately for this kit release are: 5×8 2021 Dated Grid Calendar, the Walnut Wood Hanger Frame5×8 Clear Calendar Boxes, and the Stamp & Style Pouch.


I started off by creating calendars for the first six month of the year. The stencils are labeled so that you know which stencil goes with which month. 


You can keep the calendars as simple with just the stencil and the month, or embellish with products you already own. For January I added the ice skates with the Little Bits - Ice Skates. I also attached a few Bits & Pieces - Snowflakes. 


All the months are stamped with the Group Text – Months stamp. I stamped with Versamark Ink and embossed with TE White Embossing Powder. Here I added a heart with the Heart Stacklets and the Stitched Heart Stacklets. 


I used the Folk Art - Spring Dies to add the birds and birdhouse. 


For April I just added a few clouds with the Rainbow Cloud Duo and Gumball Ink. 


Here the flowers are added with Mini Bloomers. 


The Mermaid Tale Die seemed perfect for June! 


On the next six months I just stenciled and added the name of the month. And you will be amazed how well the Walnut Wood Handle Frame holds all 12 months!

Thanks for taking a look! You can find all the new products here. Stop by the TE Blog for all the details and more inspiration!