1/25/20

Valentine Theme Week at Pretty Pink Posh


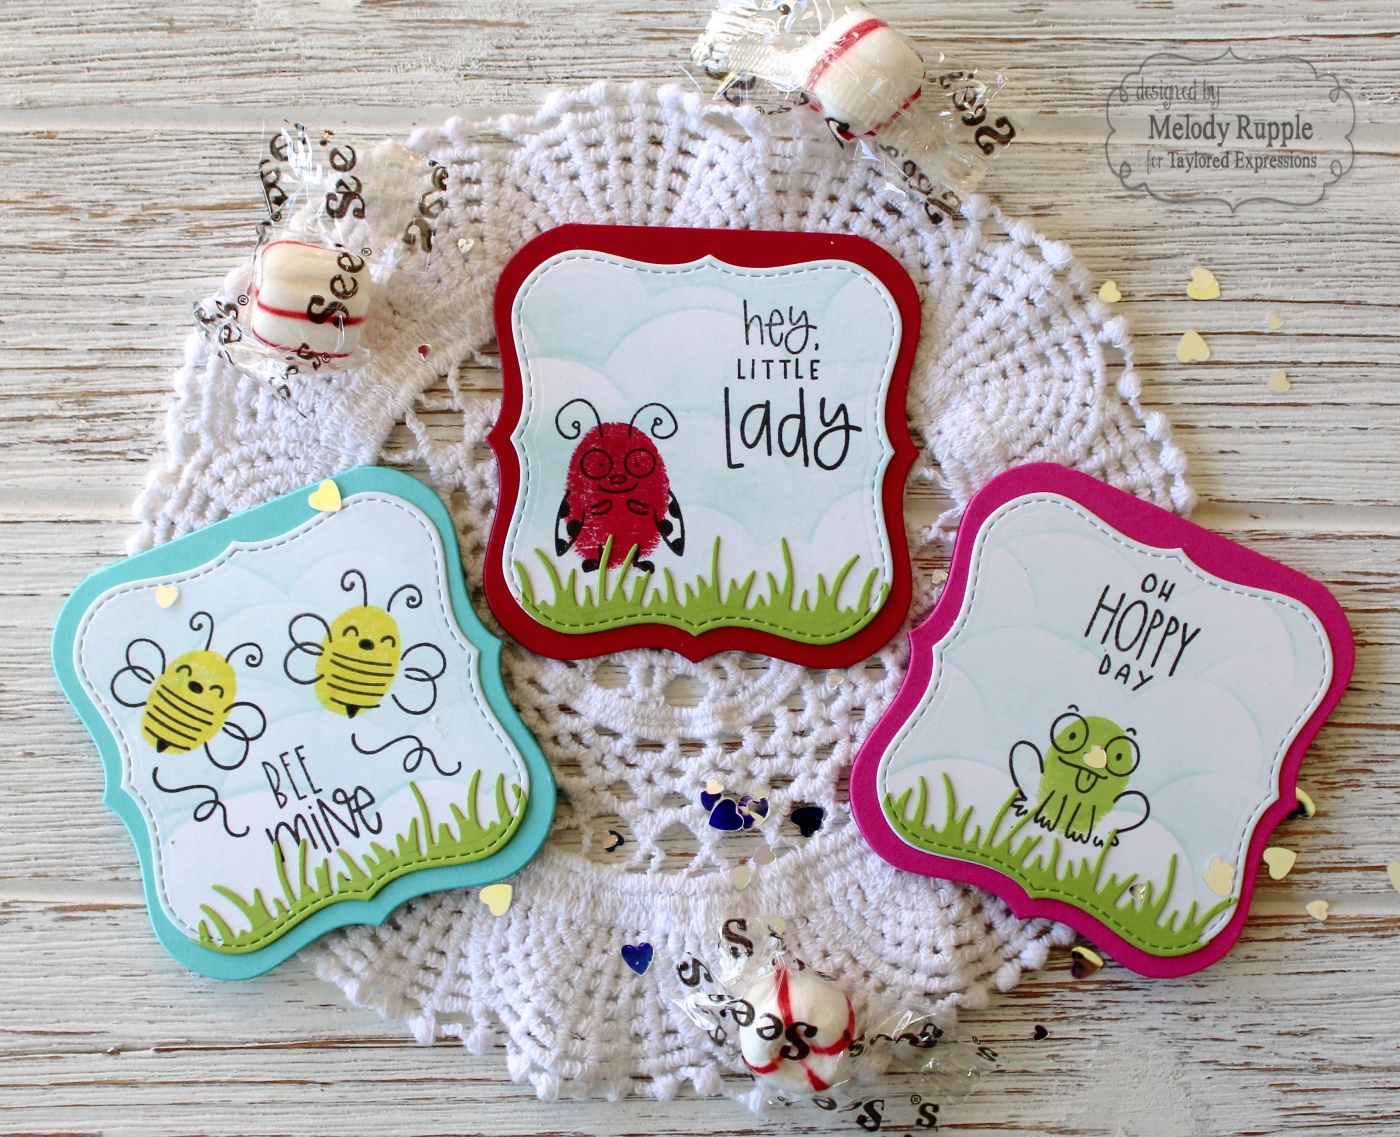
Hi Everyone! I am sharing a card on the PPP Blog and on my own blog today for Day 6 of Valentine Theme Week! I have a Valentine card to share with you that was created with one of my daughters in mind. Even though my girls are not "kids" anymore, I still like to give them a card and a sweet treat for Valentine's Day! I used a combination of both newly and previously released products to create my card. I love the way all the stamp sets and dies work together. 


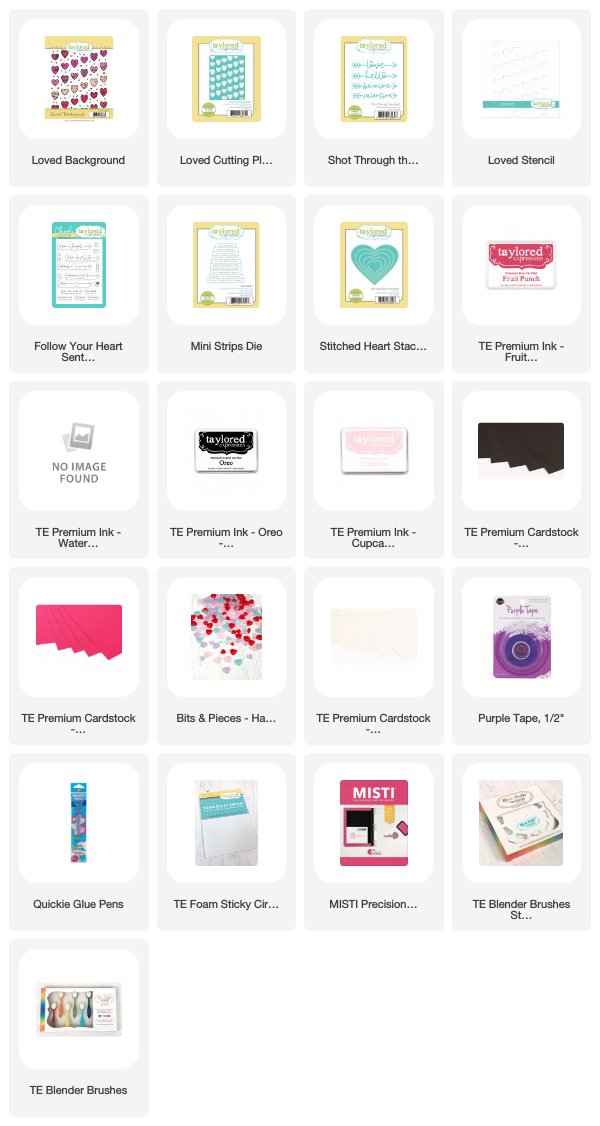
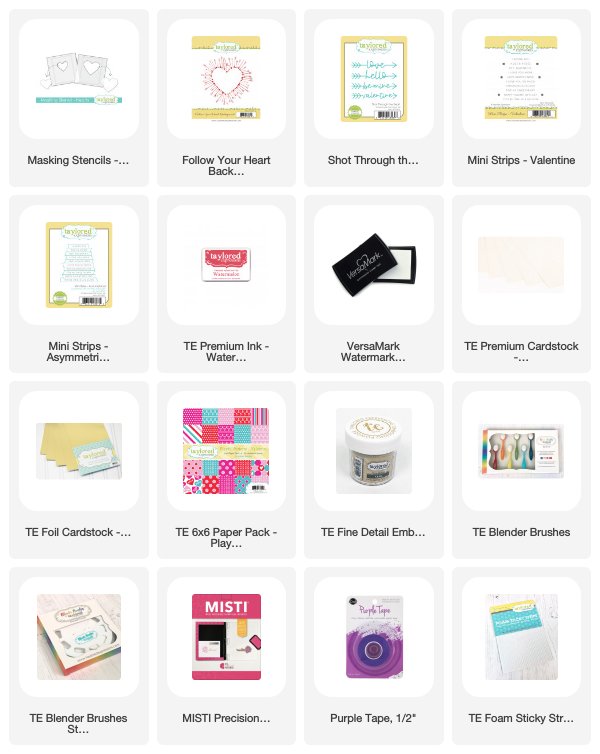
Let's start with the background. I cut a piece of white cardstock for the card front and then used the Wide Stripes Stencil with a light aqua ink to create the subtle background pattern. Next I die cut the Love Shaker Die from a red cardstock and attached the heart to the front of the card. 


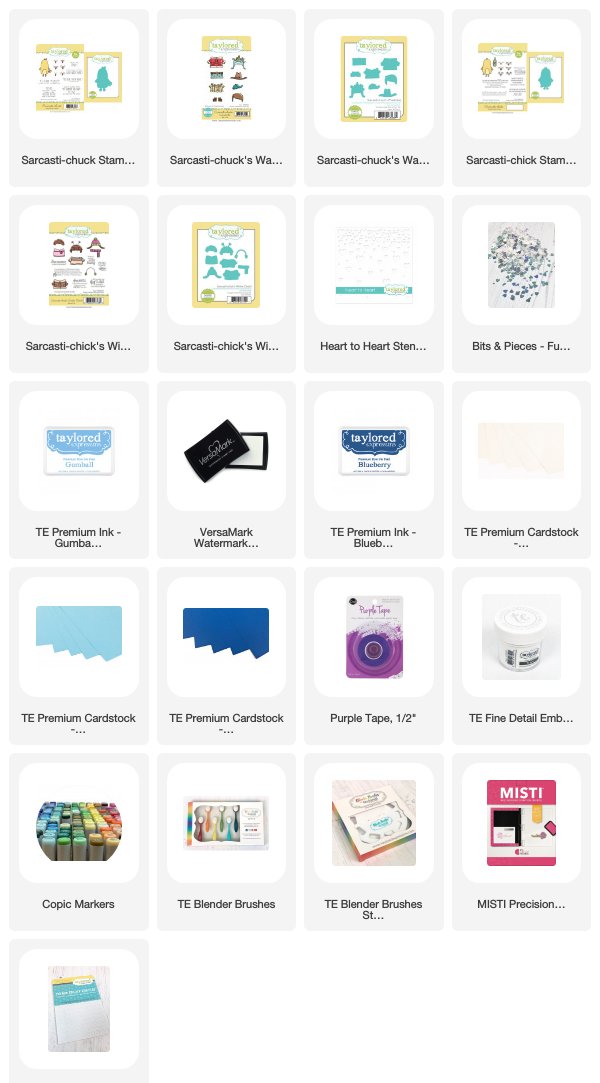
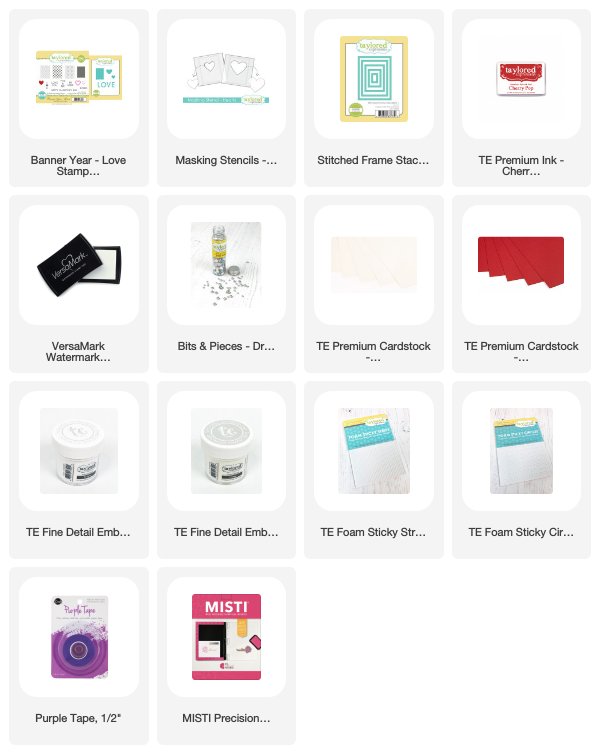
Around the heart I created this arrangement with the Love Stamp Set and the Love Coordinating Dies. The stamped images are colored with Copic Markers. I used foam squares to attach some the images. I like the dimension it adds. The sentiment is from the previously released Floral Hearts Stamp Set. I stamped in Versamark Ink and embossed with white embossing powder. 


At the bottom of the card I stamped one of the three borders in the Love Borders Stamp Set and added a sentiment from the Love Stamp Set


I finished off the card with a few Buttercream Jewels. I love adding just a little sparkle! 

Thanks for visiting! I hope we have given you some ideas for your Valentines! Stop by the PPP Blog for a week of inspiration! And we'll be having a 15% discount on all items in our Valentine section during Valentine theme week!


1/15/20

Pretty Pink Posh 6th Birthday Celebration - Day 3

Good morning and welcome to Day 3 of the Pretty Pink Posh's 6th Birthday Blog Hop! The hop will be full inspiration with products for the new release, including love and birthday theme stamps, dies, and stencils! 

Be sure to leave a comment as you hop! There are 6 $50 gift certificates up for grabs Winners will be picked randomly along the blog hop. Winners will be announced on the PPP blog.


My first project is a sweet birthday card created with the new Party Friends Stamp Set and Party Friends Coordinating Dies. I colored the stamped image with Copic Markers and added Caribbean Blue Jewels to the cake. I die cut the image and mounted it on an oval die cut with the Scallop Ovals Dies. The scalloped framed is die cut from a glittered cardstock. I also added confetti with another stamp in the stamp set. 


The background pattern is stamped with one of the stamps in the Birthday Borders Stamp Set and I added a piece of pink lace in the center. The sentiment is included in the Party Friends Stamp Set.


My second card is a Valentine card created with the Love Stamp Set and the Love Coordinating Dies. The details in the word LOVE are colored with Copic Markers. Then I cut a piece of light pink cardstock from the card front and die cut LOVE directly into the card front. I layer the stamped image behind the die cut.


The additional stamped details and the sentiment are included in the stamp set. The scalloped border is die cut with the Scallop Borders Dies. I finished off the card with a few jewels from the Valentine Jewels Mix


Here is the complete blog hop list for today: 

Melody Rupple  (You are here)

Thanks for visiting! You can find all the new products HERE.     

1/10/20

The Pretty Pink Posh January Release is

The new Pretty Pink Posh January Release is available now! You can find all the new products HERE! It's a really fun release with six new stamp set, new dies, and new stencils. During January 2020, we’ll be giving away this not-yet-released 3″ x 4″ stamp set called Ladybug Friends with qualifying orders over $80. Qualifying orders over $100 will also receive the coordinating die set! This is while supplies last and will automatically be included with orders.

Today I have a card I created with the Ladybug Friends Stamp Set and coordinating dies.


I stamped the ladybugs in black ink and colored with Copic Markers and then die cut the images. I cut a piece of white cardstock for the card front and lightly blending Tumbled Glass Distress Ink on the background. I cut a heart directly into the card front, along with the scalloped heart frame with the PPP Scallop Hearts Dies


The sentiment is included in the stamp set. I stamped in Versamrk Ink and embossed with white embossing powder. The grass is die cut with the Scallop Borders Dies and the fence with the Spooky Fence Die. I finished off with a little sparkle with a few sequins from the Sparkling Clear Confetti Mix.


Stop by the the PPP Blog for a lots of inspiration with the new release! Thanks for visiting!! 


1/9/20

Valentines for Kids and Adults!!

I am back again today with two more projects with the new Taylored Expressions January Release. I have more Valentine ideas for you, both for the kids and adults in your life. You can find all the new products HERE.


My first project is a set of five notecards featuring the five stamps  and sentiments in the Inky Fingers - Valentine Stamp Set. This is a great stamp for kids who want to create their own Valentines. Just stamp the outline and ink up your finger or thumb! 


I used the Bracket Notecard Die along with one of dies in the Stitched Bracket Stacklets to create the base for each notecard. The background is stenciled with the Set the Scene - Clouds Stencil. 


The grass is die cut with the Wispy Grass Border and the small clouds and branch are included tine Notecard Accessories Die Set. 


My second card was created for my hubby! The background is stenciled with the new Heart to Heart Stencil with  Cherry Pop Ink on Toffee Cardstock. I cut two hearts with the Stitched Heart Stacklets, one from Cherry Pop Cardstock and one from TE Gold Foil. 


I added four of the sentiments from the new Mini Strips - Valentine Stamp Set and die cut with the new Mini Strips - Asymmetrical Die


Thanks for visiting! If you'd like to see more projects and new product information, please head over to the TE Blog for a complete list of our participating designers. 

1/8/20

Taylored Expressions January Release!

Hi! I am back today with a look at more products from the new January Release from Taylored ExpressionsAll the new products are available at the TE web store NOW. Today I am sharing products that work perfectly for different occasions throughout the year and are quick and easy to create! 


My first card is created with the new Flip the Lace Stamp Set and Flip the Lace Die. I stamped the beautiful lace pattern on Sugar Cube Cardstock with Versamark Ink and then embossed with TE Black Embossing Powder. I also die cut the Flip the Lace Die from Oreo Cardstock to edge the lace pattern. 


I used the birthday sentiment on the card, but the stamp set comes with five great sentiments that can be used throughout the year. I finished off the card with a few of the new Bits & Pieces - Drip Dots


Here is a look at the new In Your Corner Stamp Set and TE's {Boxed In} Corners, a set of 12 pre-printed 4" x 5 1/4" panels featuring hand-drawn doodle borders (two each of six unique designs) on Sugar Cube cardstock.


There are four sentiments in the In Your Corner Stamp Set. I created two cards that can be used for many occasions. The stamp set also includes sentiments for Fall and Christmas. I simply stamped the flowers in the corners and colored with Copic Markers. On this card I die cut and matted the sentiment with the Stitched Circle Stacklets and the Petite Scallop Circle Stacklets. 


On the second card I brushed the white background with Potato Chip Ink and then stamped the colored the flowers. 


Thanks for stopping by! I will be back tomorrow with a more projects. If you'd like to see more projects and new product information, please head over to the TE Blog for a complete list of our participating designers!

1/7/20

It's January Release Day at Taylored Expressions and Love Is In The Air!

Hi and thanks for stopping by! It's January Release Day at Taylored Expressions. All the new products are available at the TE web store NOW.  This release includes over 25 new products including stamps, dies, stencils, 2 new Masking Stencil designs, and new embellishments! Today I have two more projects to share with you.


My first card is created with the new Loved Collection, a stamp set, stencil, and cutting plate that all coordinate together giving you lots of options! I created the background in three steps. First I stamped the Loved Background Stamp twice in Oreo Ink on Sugar Cube Cardstock. On the bottom layer I attached the Loved Stencil with Purple Tape to the cardstock and quickly colored the rows of hearts in Watermelon, Fruit Punch, and Cupcake Ink with the TE Blender Brushes. On the top layer I used sponged on Cupcake Ink and then die cut with the Loved Cutting Plate.


The center heart is die cut with the Stitched Heart Stacklets. The sentiment is stamped with the new Follow Your Heart Stamp Set and the arrow is die cut with the Shot Through the Heart Dies. The small heart is one of new embellishments, Bits and Pieces - Happy Hearts


My next card feature the new Sarcasti-chuck Stamp & Die Combo, the Sarcasti-chucks Wardrobe Stamp Set and Die, and Sarcasti-chuck's Wardrobe Dies. Chuck is paired with the previously released Sarcasti-chick Stamp & Die Combo and Sarcasti-chick's Winter Closet Stamp Set and coordinating dies. The images are colored with Copic Markers. 


The sentiment is from the Sarcasti-chuck Stamp & Die Combo, stamped in Versamark Ink and embossed with TE White Embossing Powder. The background is stenciled with the new Heart to Heart Stencil. I finished off the card with a few of the new Bits & Pieces - Full of Heart.


Thanks for visiting! If you'd like to see more projects and new product information, please head over to the TE Blog for a complete list of our participating designers! I will be back tomorrow with a few more projects with the new release. 

1/6/20

Valentine Love - Taylored Expressions January Release Day 1 Sneak Peeks

Hi all! I finally get to share my projects I have been working on with the new Taylored Expressions January Release. Today I have two Valentine's Day cards. All the new products will be available tomorrow, January 7th at 9 AM CST in the TE Store.


My first card features the new Banner Year - Love Stamp & Die Combo. This is a clear stamp with cute patterns for banner. To create the banner I used Sugar Cube and Cherry Pop cardstock. On the Cherry Pop cardstock I stamped the pattern with Versamark Ink and embossed with TE White Embossing Powder. On the Sugar Cube Cardstock used my Misti and stamped in Cherry Pop Ink and then in Versamark Ink and embossed with TE Clear Embossing Powder. 


The heart behind the mask is created with the Designer Masking Stencil - Hearts, Cherry Pop Ink, and TE Blender Brushes. I framed the card with the largest die in the Stitched Frame Stacklets. The sentiment, heart dies, the letters to create LOVE are all included in the Banner Year - Love Stamp & Die Combo.


My second card features the new Designer Masking Stencil - Hearts. On my first card above I used the larger heart stencil. On this card I used the smaller heart stencil with Watermelon Ink.  The smaller heart fits perfectly inside the new Follow Your Heart Background Stamp, which I stamped in Versamark Ink and embossed with TE Gold Embossing Powder. 


To add the sentiments I used the new Shot Through the Heart Dies and the new Mini Strips - Valentine Stamp Set and coordinating Mini Strips - Asymmetrical Dies. I cut a piece of patterned Paper from the Playful Pattern - Valentine Paper Pack for the card front and added machine stitching. 


Taylored Expressions is celebrating Release Week with a giveaway during each day of sneak peeks! Visit the TE Blog to answer Taylor’s Question of the Day for a chance to win one of the latest products before you can buy it!

Tomorrow is Release Day! I will be back with two more projects! 


1/4/20

Sneak Peek at the Pretty Pink Posh January Release

Hi Everyone! I am up on the Pretty Pink Posh Blog today kicking off the new year with sneak peek at the new Large Floral Hearts Stamp Set being released on January 9th. I have two cards to share with you that I created with the stamp set and the Coordinating Large Floral Hearts Dies.


I used the two heart stamps and their coordinating dies to to give you some ideas for Valentine's Day cards. I love that this stamps can be used for so many different occasions throughout the year! 


PPP released a similar smaller version of the stamp set last year, the Floral Hearts Stamp Set. Here is how the two stamp sets compare in size. You can see that the new Large Floral Hearts Stamp Set is much larger and will the centerpiece of your project.


Here's a closer look at my first card. I stamped the heart and flowers in black ink, colored with Copic Markers, and then die cut with the coordinating dies. Next I cut a piece of white cardstock for the card front, sponged on Distress Ink in Tumbled Glass, and used the heart die to cut a heart directly into the card front. Then I inlayed the flower heart into the card front. Behind the heart I stamped a sentiment from the stamp set in Versamark Ink on red cardstock and embossed with white embossing powder.


At the bottom of the card I stamped the heart border from the new Love Borders Stamp Set in red ink. I added another sentiment from the stamp set. Then I arranged the extra flowers around the heart and finished off the card with a two Lemon Drop Jewels.


On my second card I stamped the other floral heart in the stamp set on white cardstock. I brushed the cardstock lightly with pale pink ink and then colored with Copic Markers. I die cut the heart and layered it on a large heart die cut. I added a few more flowers around the heart. Next I cut a piece of white cardstock with the largest die in the Stitched Notes Dies and stamped another sentiment in the set.


I used the Wide Stripes Stencil to add pattern to card front, added a piece of lace, and few Flamingo Pink Jewels.

Thanks for stopping by! Be sure to visit the PPP Blog for more sneak peeks of the January 9th release!


1/2/20

Warm Hugs with Pretty Pink Posh

Hi all! I am kicking off the year with a winter themed card and another term designing for Pretty Pink Posh! I have been designing for Pretty Pink Posh for a few years now. Paulina is so wonderful to work for and it has been a pleasure to watch PPP grow and expand over the years. You can stop by the PPP Blog for all the news and a chance to win a prize.


January is PPP’s Birthday month, and there is a new release coming next week! I will have more details on that coming soon!  Today I have a winter themed card to share. 

For the background on my card I used the Snowflakes Stencil. I taped the stencil to white cardstock and stamped Versamark Ink over the stencil. I removed the stencil from the cardstock and embossed with white embossing powder. Then I sponged on Distress Ink in Tumbled Glass.


I cut a circle in the card front and the green scalloped frame with the Scallop Circles Dies. The holly branch, birds, and sentiment are included in the Winter Woodland Stamp Set and die cut with the Winter Woodland Coordinating Dies. I added Sparkling Clear Jewels to the snowflake background. 

Be sure to stop by the PPP Blog for all the news and a chance to win a prize. Here's to a creative 2020!